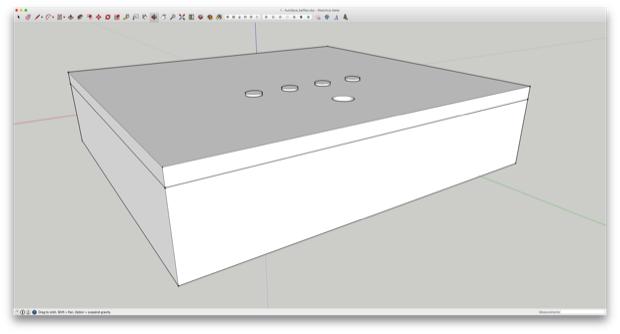
For the Word Clock 2 3D-printed case, the original plan was to incorporate the baffles into the case. I thought I’d be slick and make it one part and fill the holes with little 3D-printed white cubes.
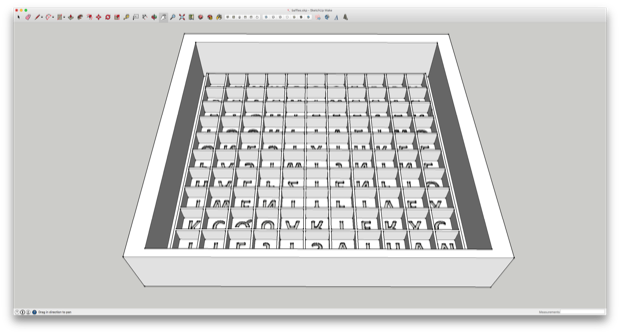
This is a classic case of something that looks good on screen and totally makes sense in my head, but in reality, it just falls short on practicality. This is why we prototype. Trial and error.
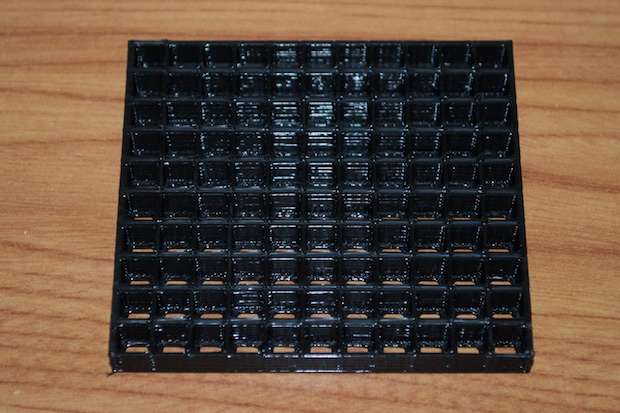
I mean, it looks great, right? It just doesn’t work as intended. I guess the baffles don’t fully contact the PCB, and thus light leaks into adjacent cells. The white cubes do a great job in diffusing the LEDs, but the baffles in this configuration are useless. It's just as well. I did have one for each cell, but my cat got a hold of the pile on my desk. Well, needless to say, two of them are just gone.
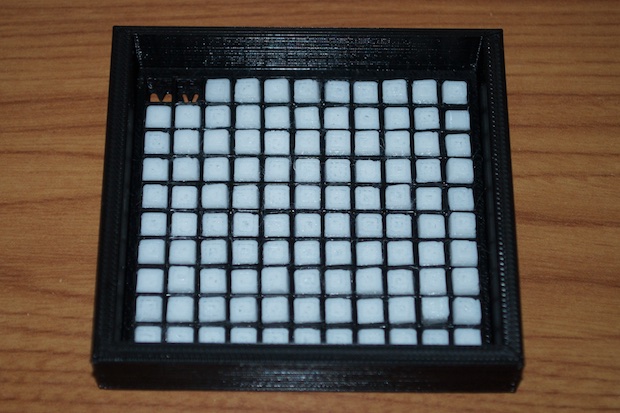
I’m going to have to do what I did with the Word Clock 1 and create the baffles separately and glue them directly to the PCB.
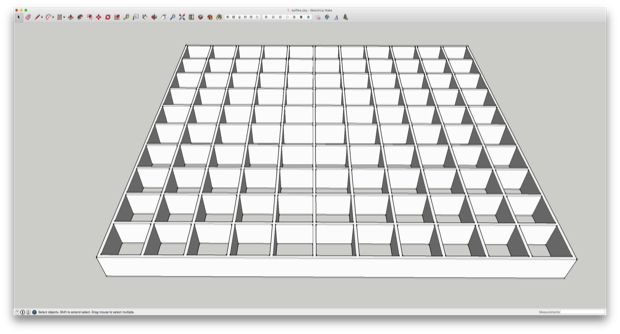
I printed the baffles, but even with baffles this small, the openings for each LED were still a little too big. The amount of light that came out of each opening was just enough to bleed into the adjacent cells.
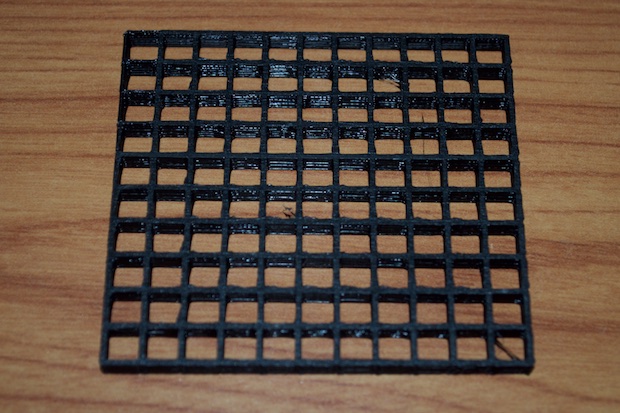
I modified the design so that the openings on one side was smaller than the other. This way, one side was still big enough to fit around each LED and resistor.
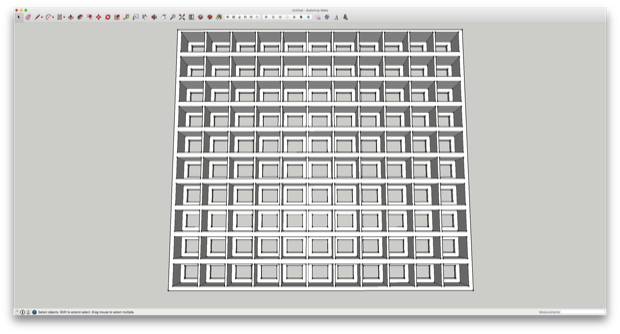
I was worried that I made the part too complicated to print, but it came out pretty good considering it's small size. Sometimes when I create really small parts with thin walls, my slicer engine just barfs and tries to start the print on layer 2.
I reworked the case to remove the baffles and gave it a reprint.
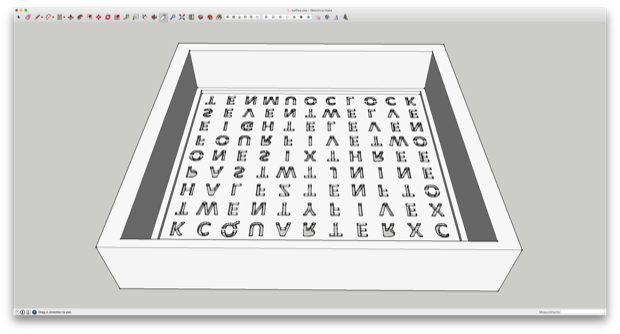
Surprisingly enough, the print came out better with a .2mm layer height. I originally thought that printing it at the higher .1mm resolution would do better to improve the clarity of the tiny letters. However, the opposite was true. Printing at a really high resolution left an even smaller opening for each letter, leaving them somewhat illegible.
It came out pretty good, but what would be really awesome is to have the front laser-cut. However, I don't want to incur the additional expensive for the project. After all, getting a front panel laser cut could easily add another $20 bucks to the project.
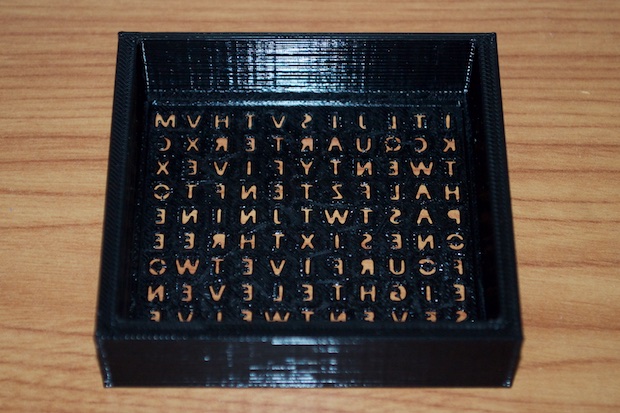
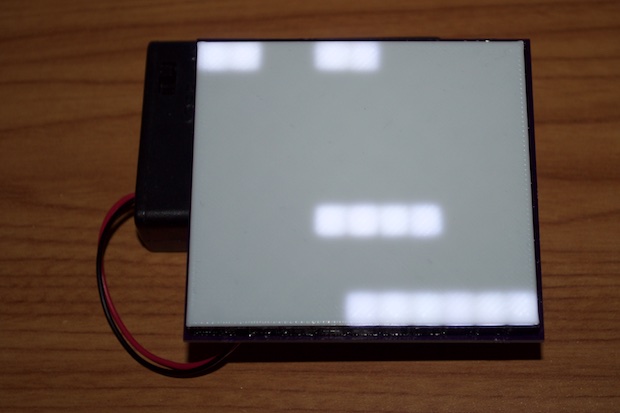
For diffusing the LEDs, I thought I'd need to get my hands on a sheet of vellum or something fancy. I even printed a really thin sheet of white PLA. It turned out to be too “glowy”. I found that a regular piece of paper worked the best.
In order to complete the back of the case, I needed to mock up a 3D model of the PCBs in order to find out exactly where the push buttons would lie.
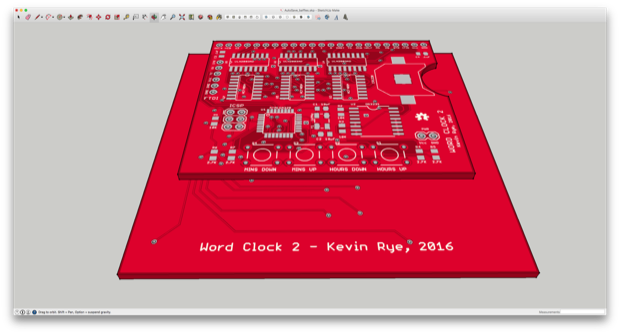
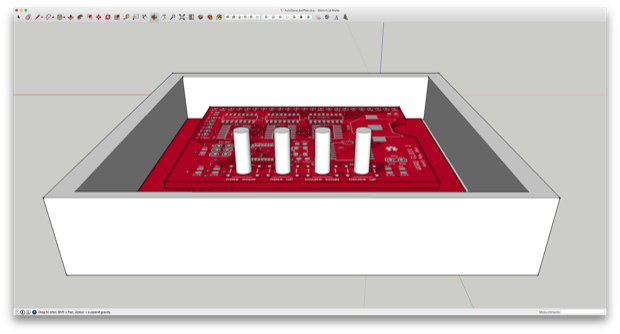
Once the model was complete and placed within the case, I was able to measure out where the buttons would be and create the back of the case.
I also added a small hole for the power cord as well as a recess for the 2-pin power connector.
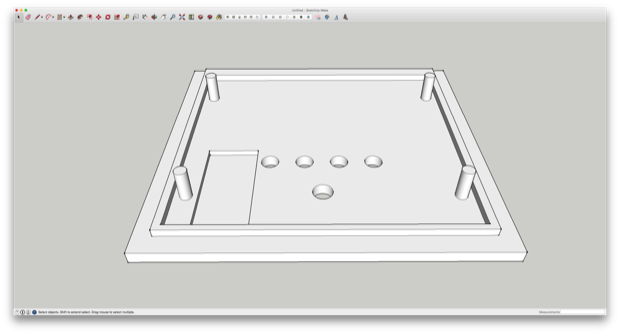
The buttons will stick out of the case with just enough clearance to make them easy to press.
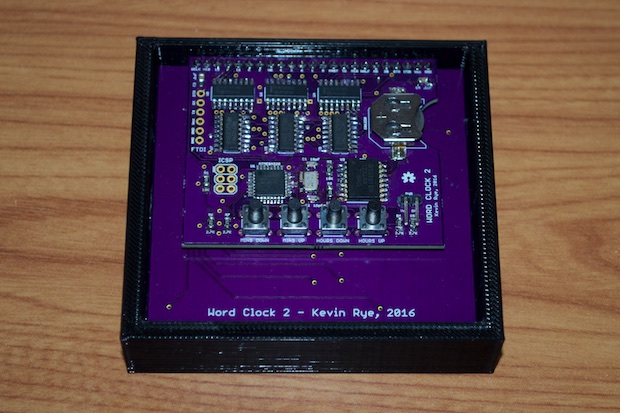
The four 10mm standoffs help push the PCB up against the baffles and the front of the case and stops the assembly from falling away from the front panel; not that it really needs it. It's a perfect fit and pretty much snaps into place.

With all the necessary parts printed, it was time to put it together. See, perfect fit!
I took a USB cable, snipped the end off, fed it through the back panel, and soldered on a 2-pin Dupont connector.
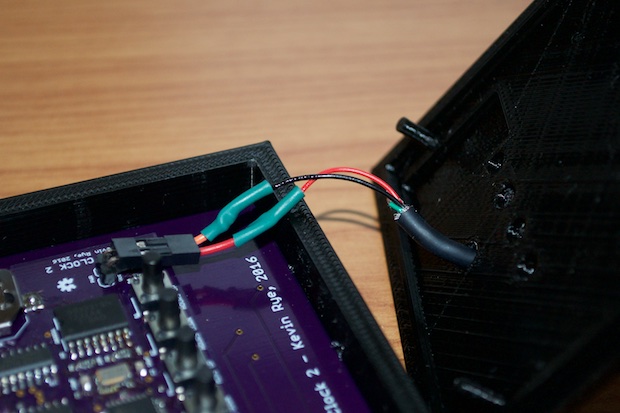
The back panel snaps right on and fits like a glove. I really need to get my hands on a laser cutter. I'd really like to laser engrave a panel for the buttons.

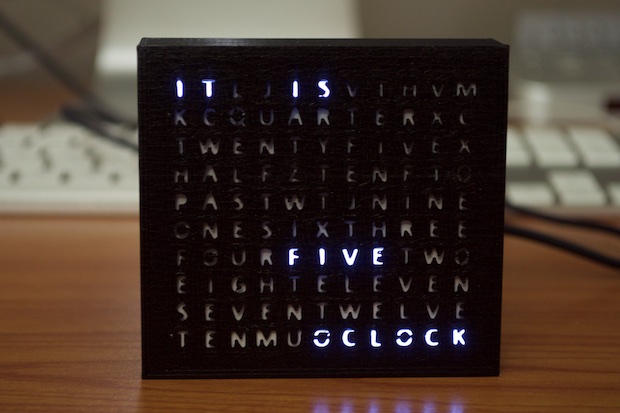
Wow! It really works! And it looks great! Could the case be better? Yes, but I think it looks pretty good. I am really surprised at how fast I cranked this one out. Granted, all the code (with the exception of the two new set buttons) was already written. It was just a matter of taking what I had already accomplished with version 1, and making it better. Still, I completed this project in only 2 weeks. That has to be a record for me.
 See this project from start to finish: Word Clock 2 - Part I Word Clock 2 - Part II
 Word Clock 2 - Part III
Word Clock 2 Case Upgrade


