With all the electronics complete, it was time to work on the enclosure. It took 15 hours to print.

Before I stain the enclosure, I want to give it a good sanding. I hate sanding. How do you sand something like this with the least amount of effort?
Spin it really fast!
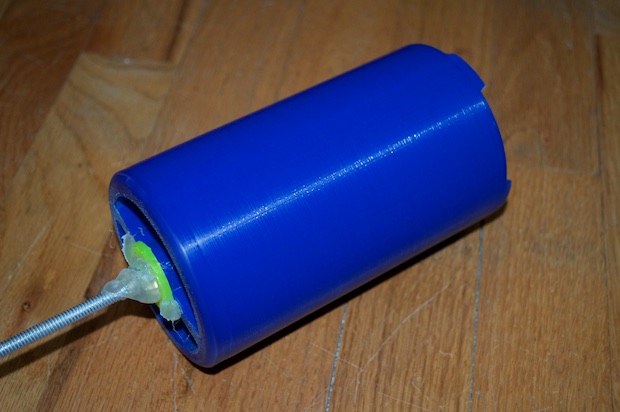
I created somewhat of a jig so that I could attach it to my drill.
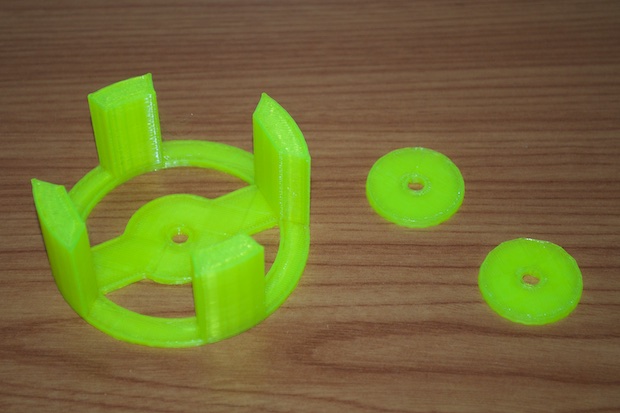
It fits perfectly. I’m going to try it on my old prototype print first. I’d hate to ruin the wooden one. That PLA is expensive!
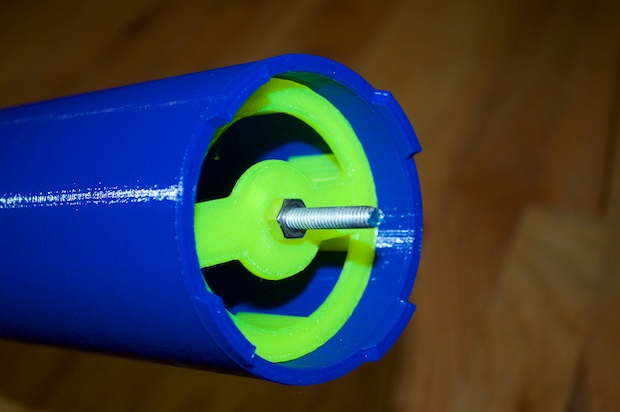
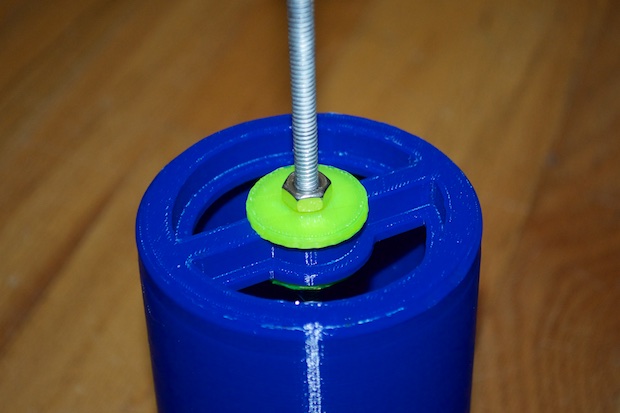
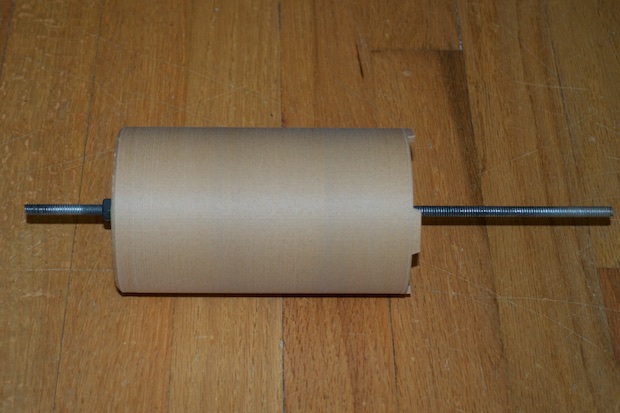
It secured it at both end with some nuts. I then put some hot glue on the nuts to stop them from spinning off.
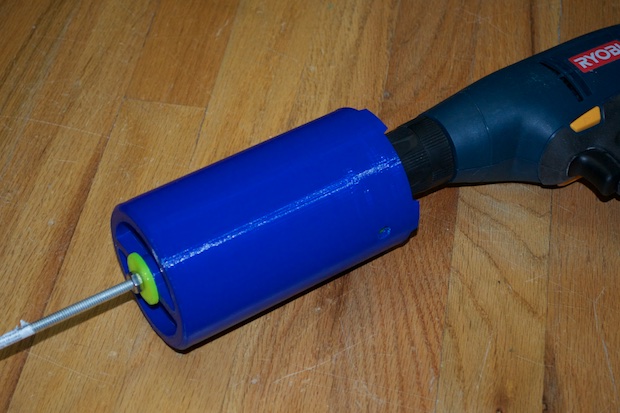
All I have to do now is spin it at a few thousand RPMs and hold some sandpaper against it. It’s genius!
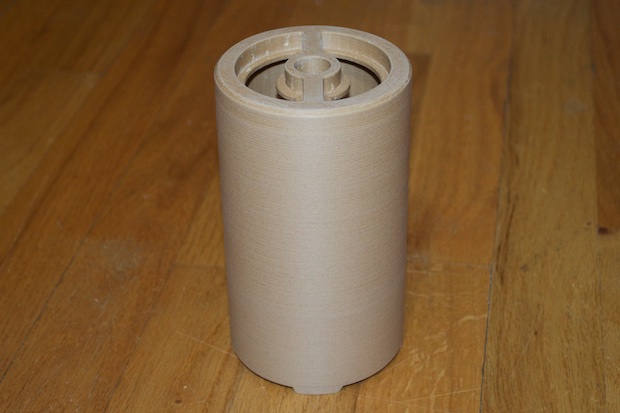
Wow it came out so smooth. And it took me no time at all.
Proof-of-concept nailed. I then did the same thing with the wooden one.
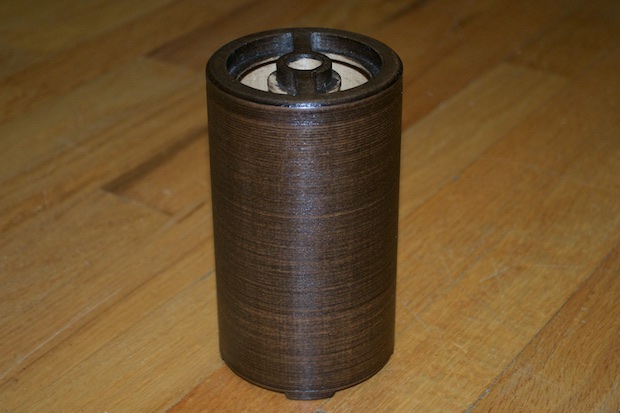
It’s sooooo smooth! I just had to do a small portion of the top by hand, but this wooden PLA is super-easy to sand.
I then gave it some stain. I really love how the layers in the print give it the look of wood grain.
While the stain dried, I got to work on the inserts for the speaker. The plan is to wrap them in speaker fabric and click them into the top.
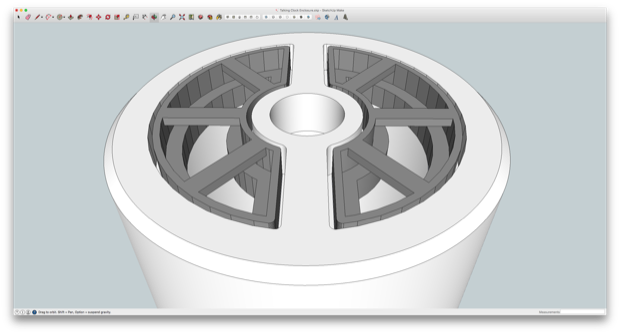
They have some tabs on the bottom. Once they go in, they don’t come out.
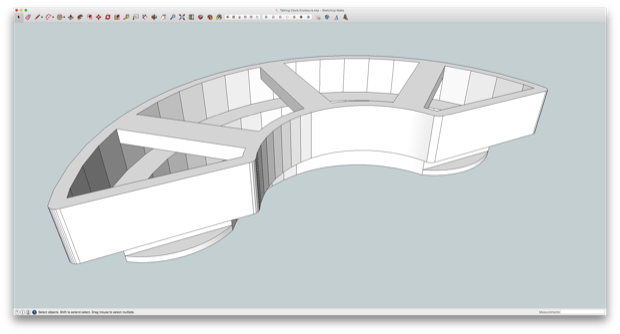
Despite the crazy geometry and the complexity of the model, they came out really good.
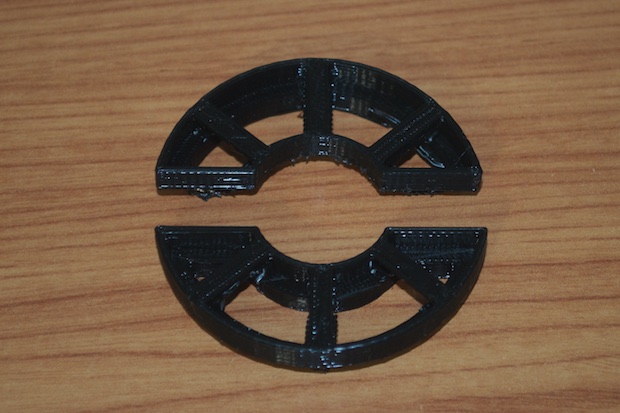
…and they fit perfectly. I picked up some speaker fabric and cut out some small squares. I then wrapped up the inserts and popped them in.
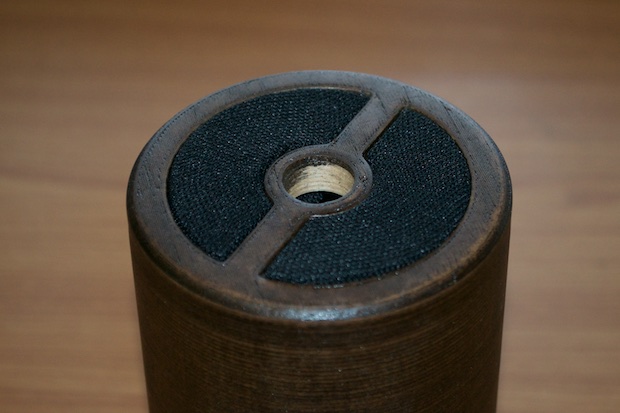
It looks amazing. I just have a few small tweaks to make to my code and I think it’ll be time to install the electronics.
See this project from start to finish:
Adafruit's VS1053 MP3 Player Breakout Talking Clock - Part I Talking Clock - Part II Talking Clock - Part III Talking Clock - Part IV Talking Clock - Part V
Talking Clock - Part VI
