Talking Clock - Part VI
With all the Talking Clock electronics complete and the code written, it was time to finally assemble this clock. It took just about 2.5 months from start to finish. I would have finished it sooner, but some of that time was spent
juggling other
projects.
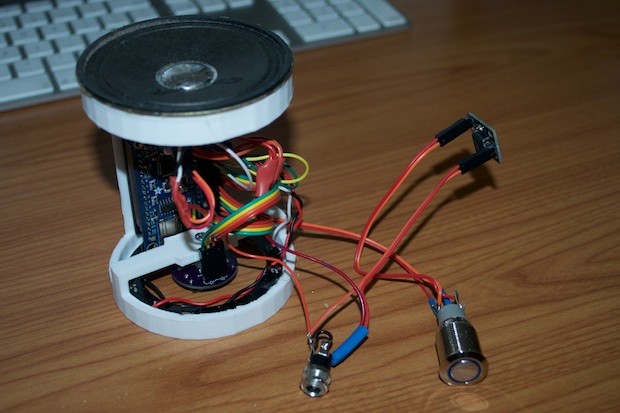
The stain on the enclosure finally dried and the speaker inserts came out great. I got to work on installing the innards. I’m not going to lie, it wasn’t easy.
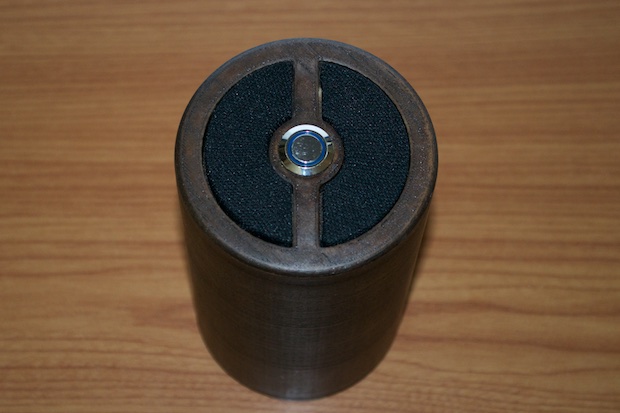
Inserting the illuminated play button in the top was easy enough, but sneaking the wires past the speaker to the PCB was no easy task. Despite the fact that I made some space to sneak the wires past the speaker, it was a little cumbersome. The wires ended up being an inch or so too short for me to reach them once the inner chassis was installed. It made it impossible to slide them onto the header pins, even with the aid of some needle-nose pliers. I ended up soldering on a few extra inches of wire to make them long enough to reach.
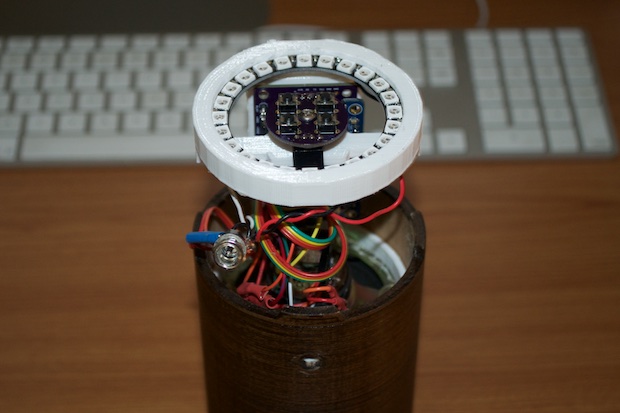
Once that was sorted out, the chassis slid right in with a tight fit; no need for extra screws or hot glue. It’s in for good.
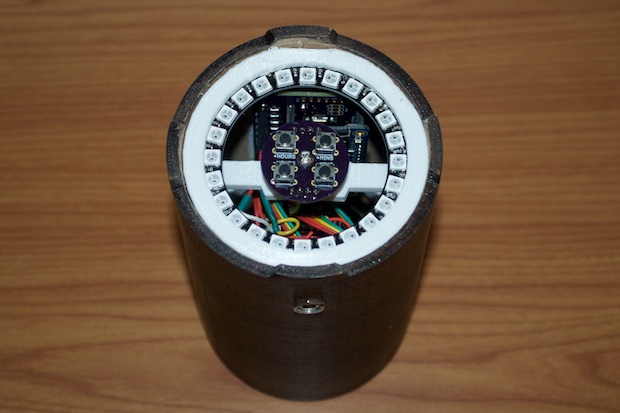
I really wanted this clock to be something special, so I spared no expense, took my time, and made sure everything was perfect. No shortcuts, half measures, or it’ll do’s. It came out better than I’d hoped. I just hope it shows in the final assembly.
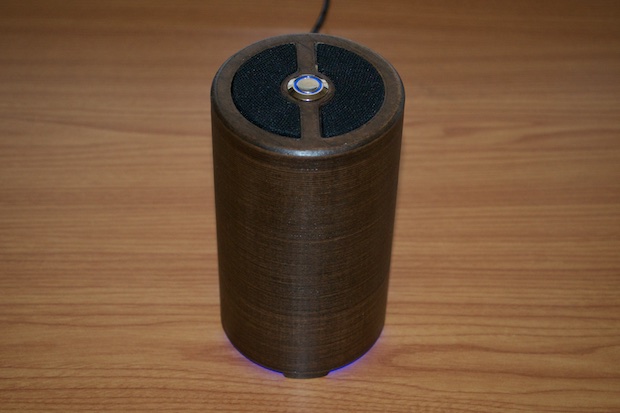
Here it is in action…
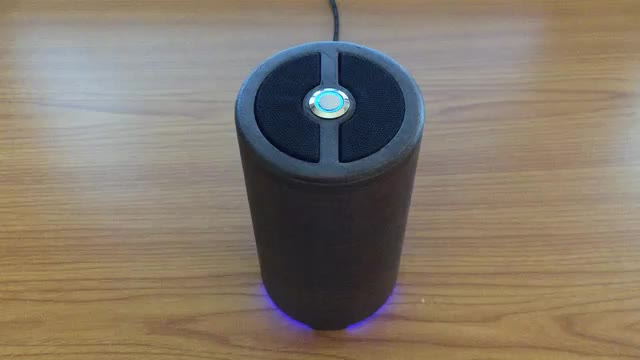
See this project from start to finish:
Adafruit's VS1053 MP3 Player Breakout Talking Clock - Part I Talking Clock - Part II Talking Clock - Part III Talking Clock - Part IV Talking Clock - Part V Talking Clock - Part VI


