Making the LCD Clock Stand - Take 1
Nov 23, 2012 Filed in:
Clocks | DIY | 3D ModelingI’ve been throwing around a bunch of ideas on how to make a stand for my Arduino LCD Clock. I wanted to just order a piece of acrylic online with some holes in it, but everything is so expensive to have it custom laser cut. I figured there had to be a good DIY option. I figured I’d just buy a cheap acrylic frame, cut it up, and bend it using a heat gun.
I took a trip to Staples to buy an acrylic photo frame or sign holder and was very happy to see that they had 3” x 5” acrylic sign holders for only $3 each.
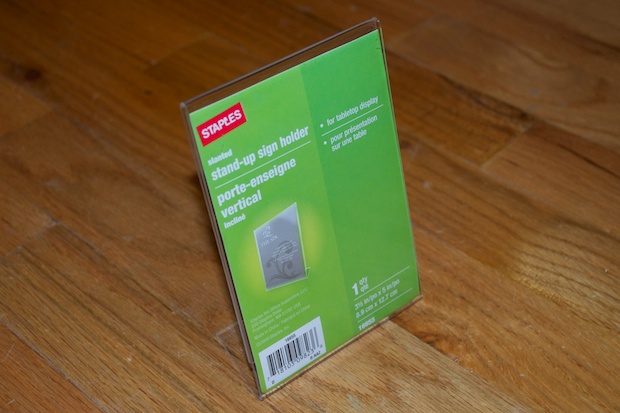
They’re almost perfect and match exactly what I had in mind. The width is right, but it’s a little too tall. I’ll have to cut a few inches off the top to make it shorter.
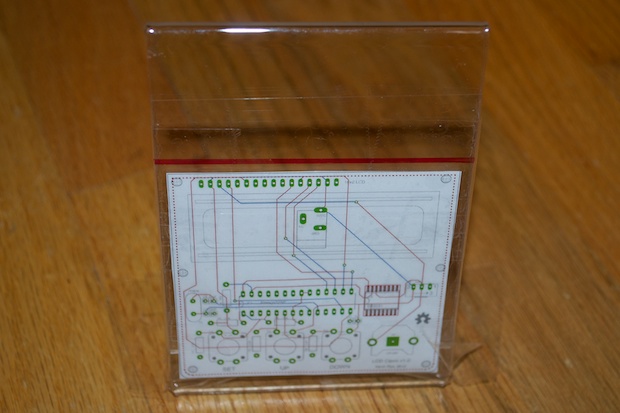
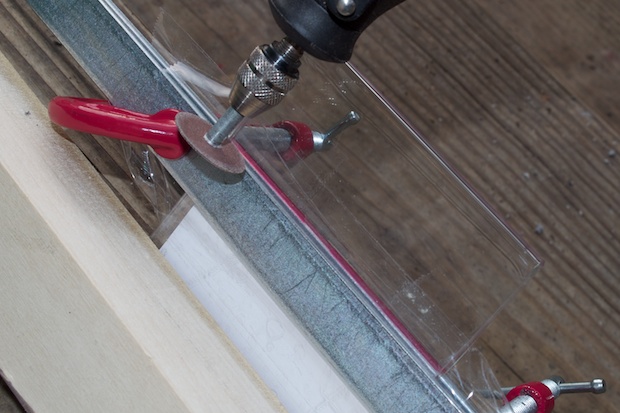
I taped a printout of the board to the front and marked off the cut with a marker.
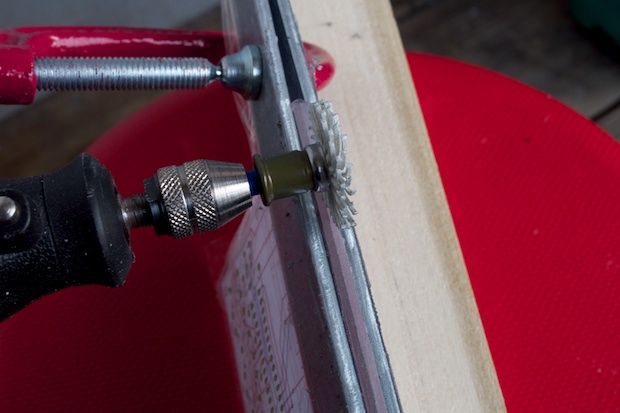
I then sandwiched the acrylic between two metal rods an tightened it with some clamps.
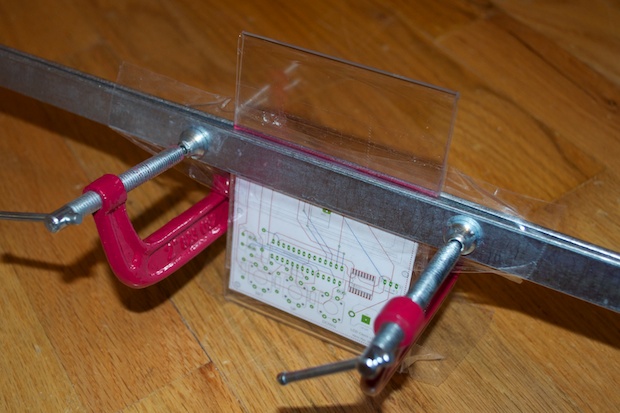
I took it outside and trimmed the top off with a Dremel.
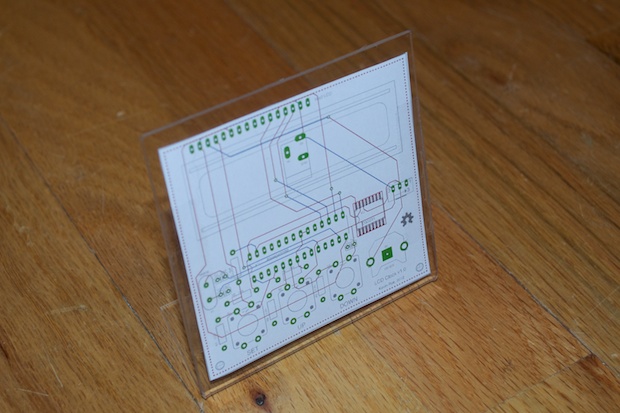
Once the top was cut off, I polished it.
It’s a nice clean cut and it looks prefect.
I’ll wait on drilling the holes until the boards arrive in the mail. That way I know everything lines up perfectly. I at least wanted to try this out as a proof of concept before the boards arrive. Looks like it’s going to wok out fine.
See this project from start to finish: We Have a Clock Setting the Clock Clock Code is Complete Clock Design Decisions New DS1307 Kit ChronoDot Breakout Board Arduino LCD Clock PCB Complete Making the LCD Clock Stand - Take 1
Arduino LCD Clock PCBs Arrived! Arduino LCD Clock Assembly Making the LCD Clock Stand - Take 2 Another Clock Stand Arduino LCD Clock: New GUI Laser Cut LCD Clock Enclosure: Take 1 Laser Cut LCD Clock Enclosure: Take 2
