Scale Mail Bust - Part II
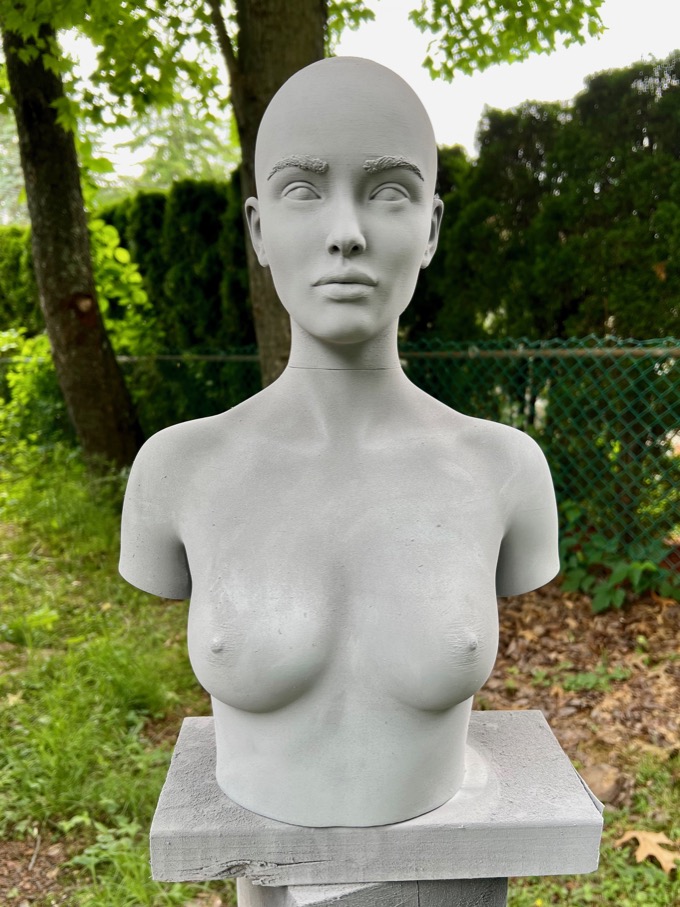
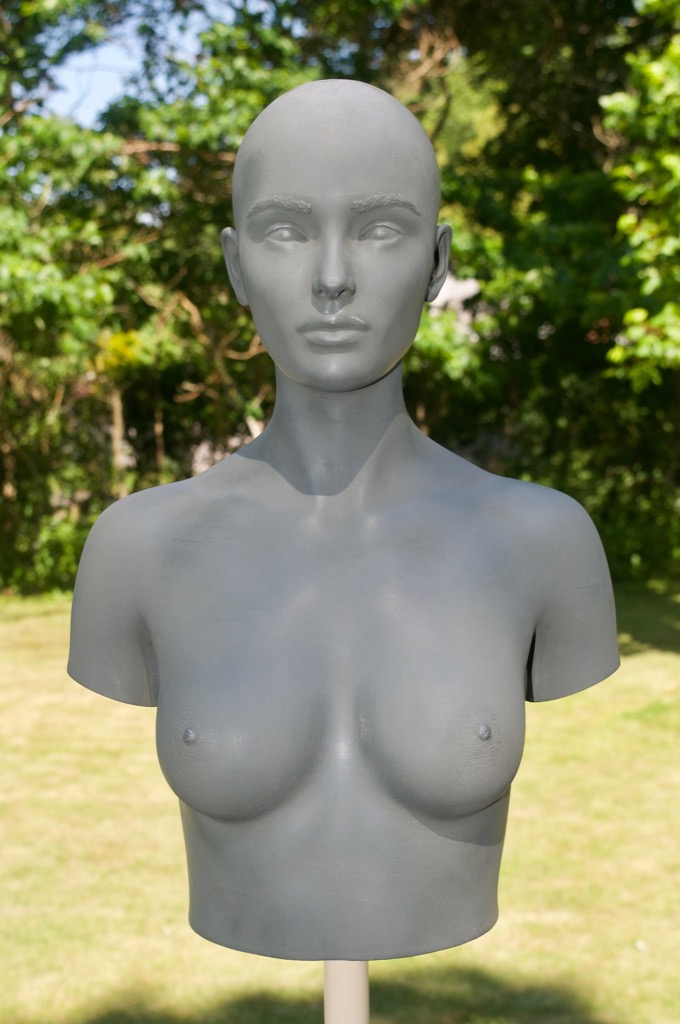
I started with giving the bust a really good sanding with some 100 grit paper. This model is a mess. It's going to take a lot of work to get it nice and smooth. Since it was a pretty high-def model, there's actually a fair amount of detail in the areolas. I avoided sanding them in order to preserve some of the detail.
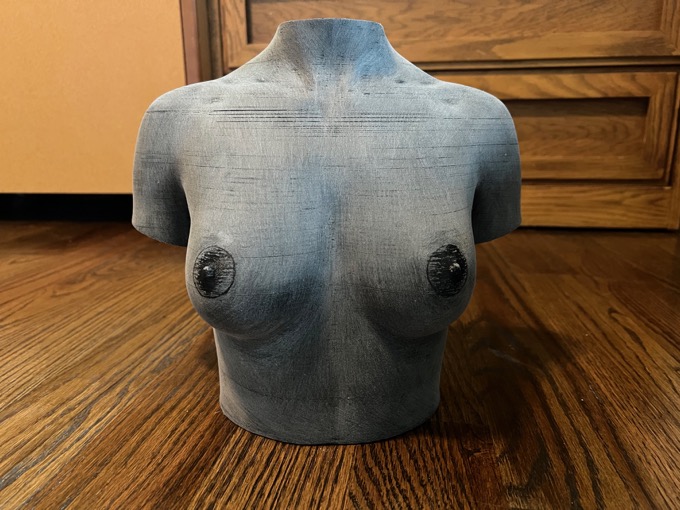
Once the finish was dulled by the sanding you can really see the layer separation. Just imagine, this is the "good" print.
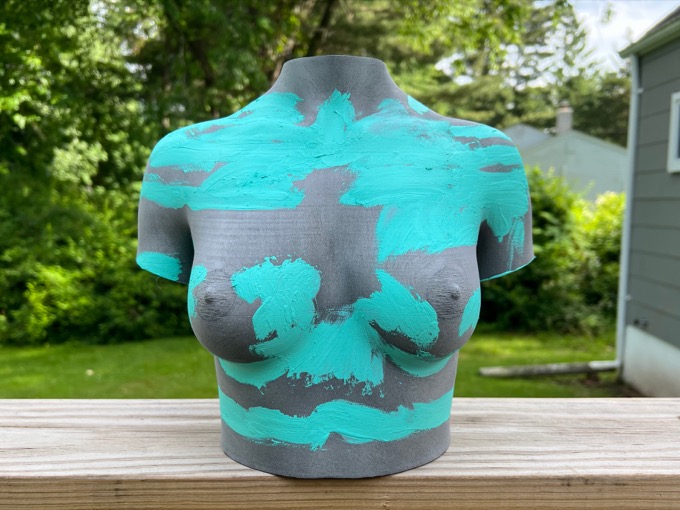
I then gave it the first pass with the 3M Acryl-Green putty.
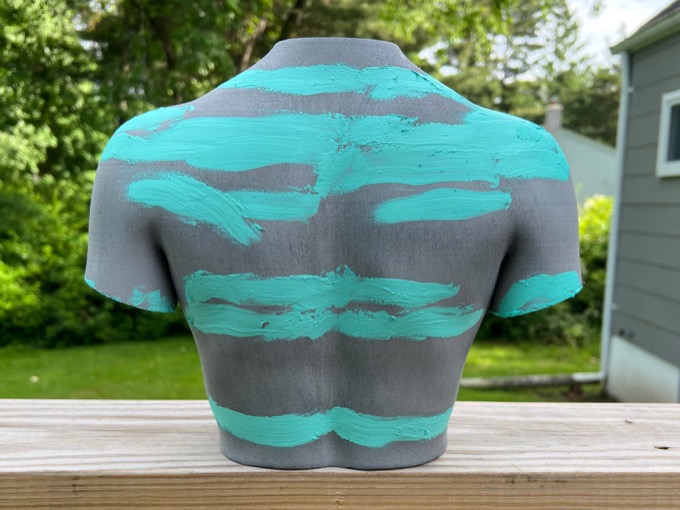
More sanding. There's a really bad spot right under the right collar bone that keeps splitting. I'm not sure what to do about that. If I sand it any more, I'm going to end up sanding right through the model.

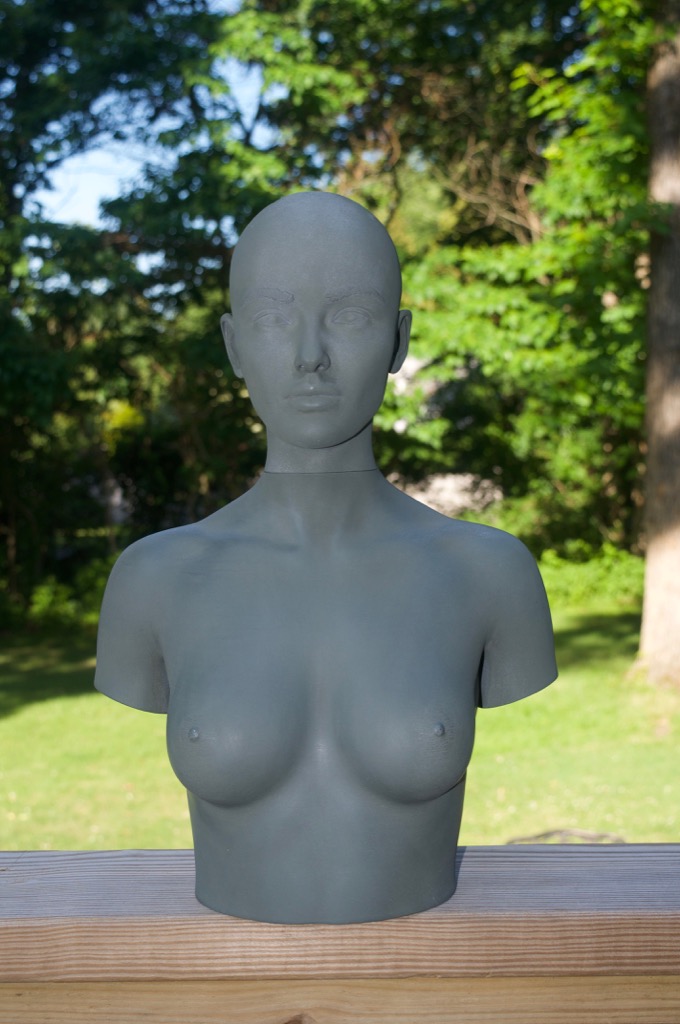
Rinse and repeat. After a few more sessions, it was starting to look really good. There's still some more work to do, and I have to cover the seam on the neck. I could just cover it with a choker or something, but it would bother me knowing it's there.
A few more sessions later and I was really happy with how it was looking.
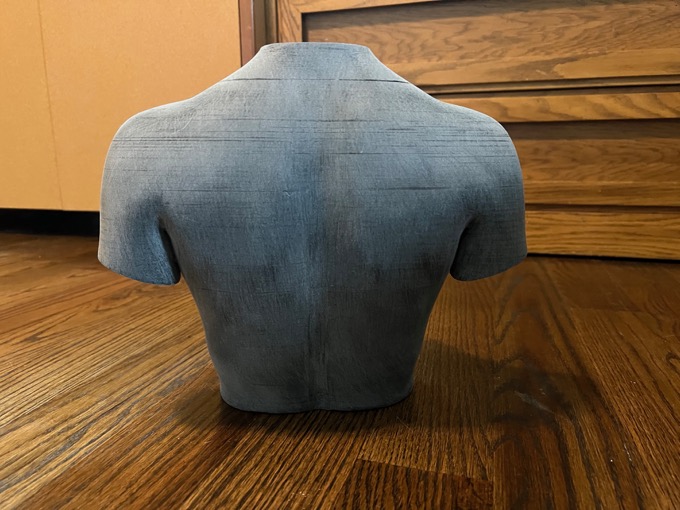
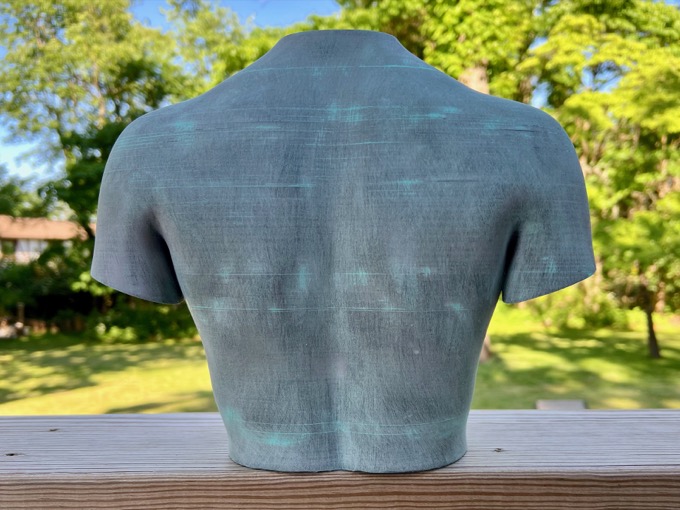
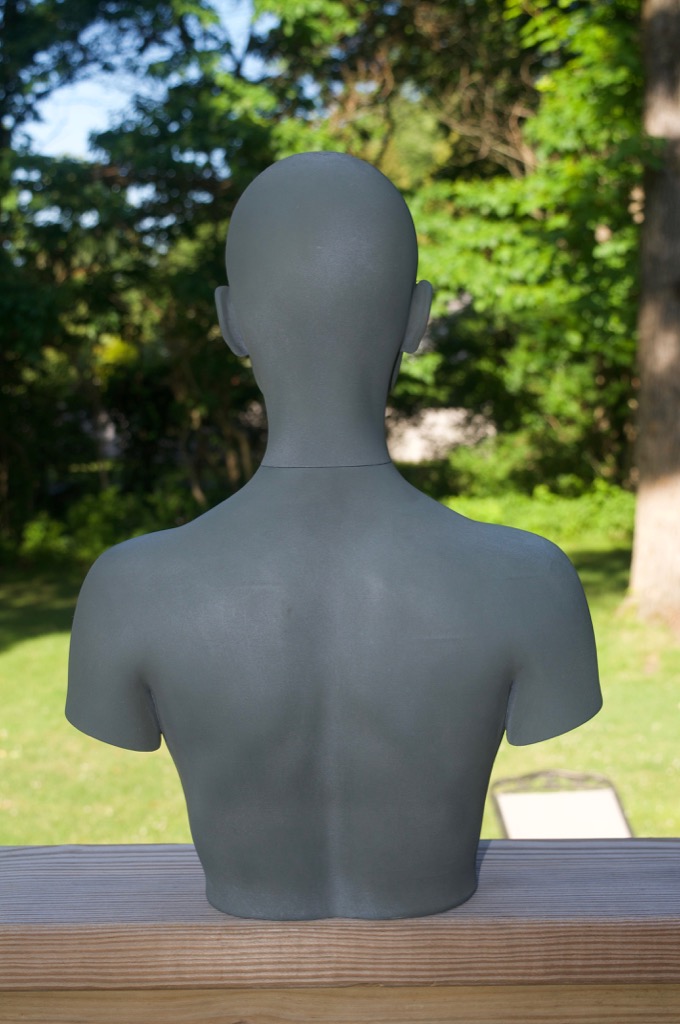
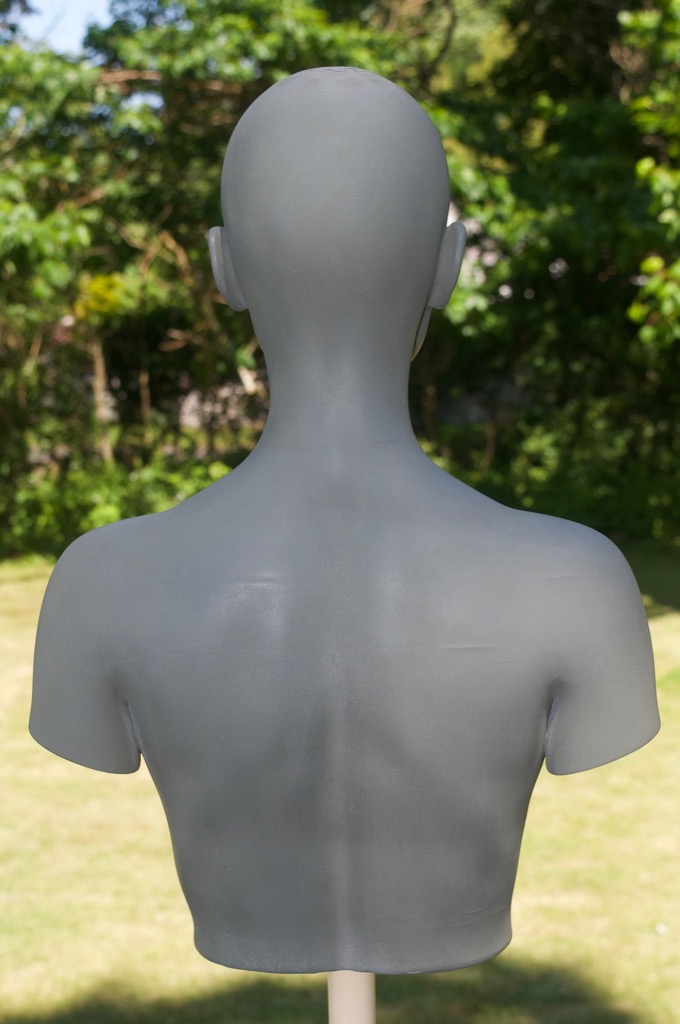
There're a few spots on the back where I can't seem to sand out the defects. I don't want to over do it and risk sanding right through the model. I tried to patch them as best as I could. I'm lucky it's on the back. Hopefully once it's painted and covered in armor, it won't be noticeable.
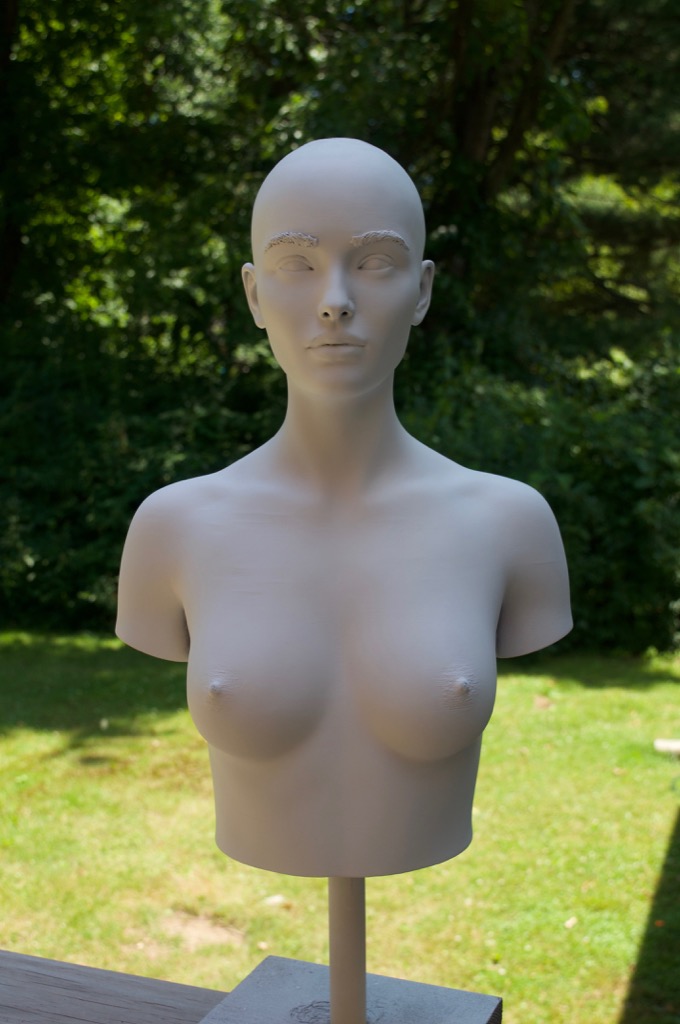
I then patched the neck and gave it one last wet-sanding.
Lastly, I painted it white.
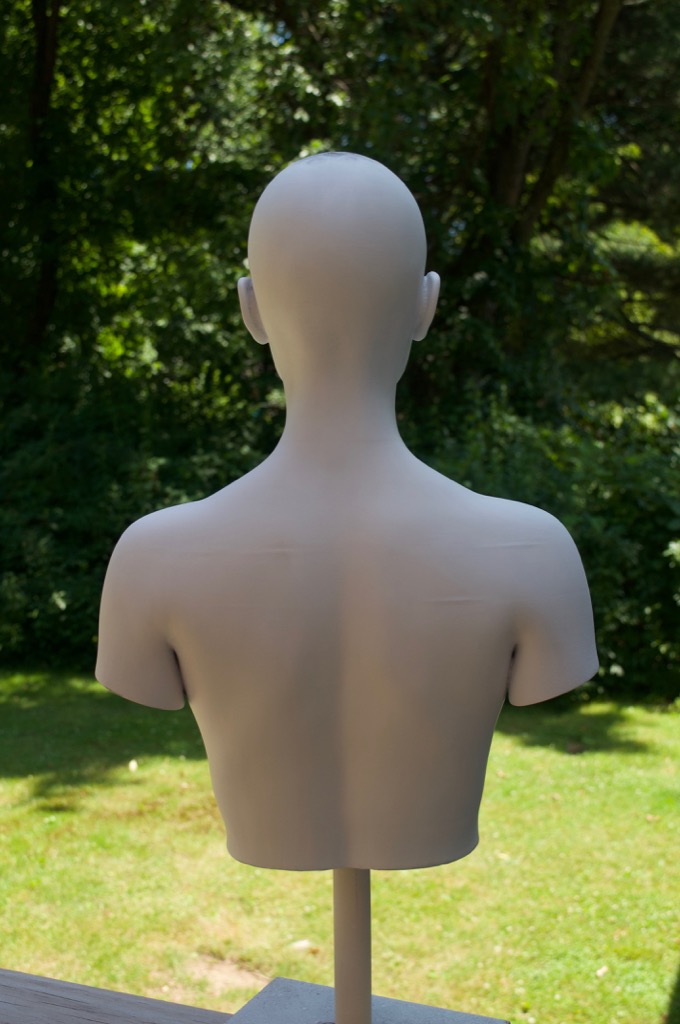
You can really see those three layer splits on the back now. Fingers crossed I can hide them with armor and/or paint.
Next up, armor!
See this project from start to finish: Scale Mail Bust - Part I Scale Mail Bust - Part II
Scale Mail Bust - Part III Scale Mail Bust - Part IV Scale Mail Bust - Part V Scale Mail Bust - Part VI
