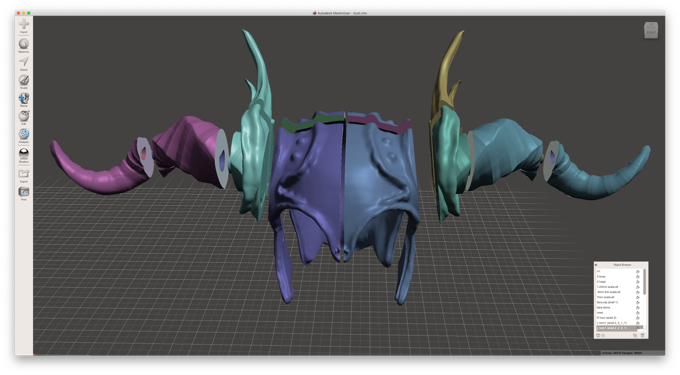
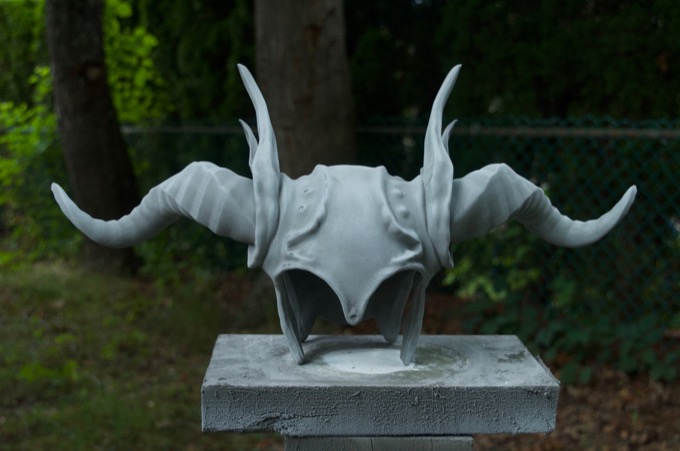
I found a really sweet headdress model that I wanted to print for the Scale Mail Bust. It's huge and will have to be broken into several smaller parts. I could have just taken the horns off and printed the whole thing on my CR-10S, but I was afraid the print quality would require a ton of cleanup.

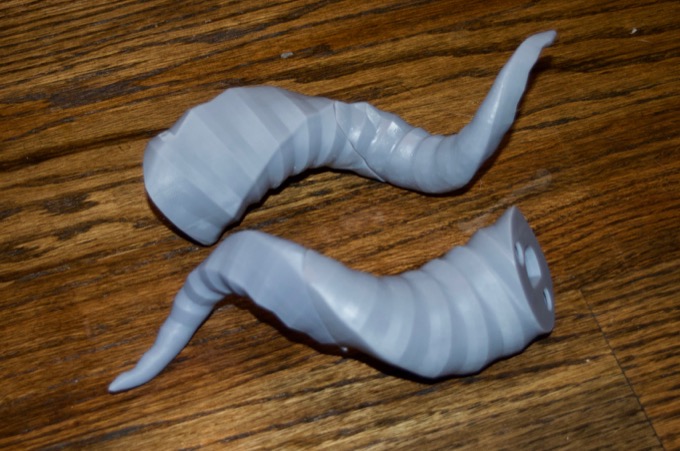
I decided to resin print it. Sine my Mars Pro 2 is tiny, it'll have to be broken up into a bunch of parts. 12 to be exact.
While I was working on painting and assembling the scale mail for the bust, I started printing all the parts. Since it was going to take about 75 hours to print all the parts, I figured I'd multitask.
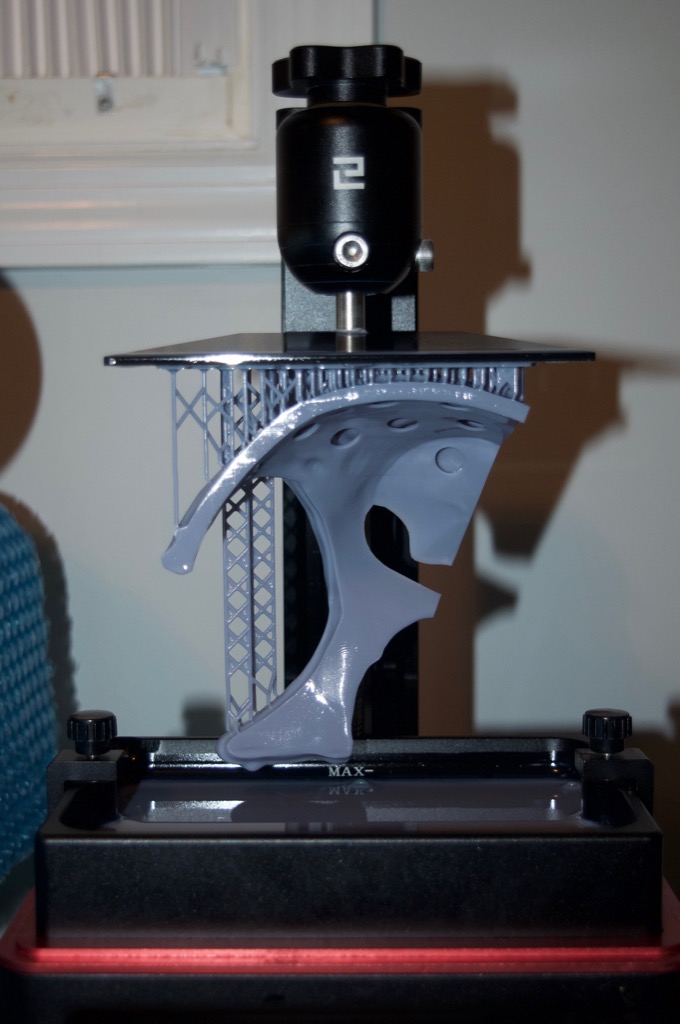
Counting all the parts, the support material, and a few failed prints, I used an entire 1L bottle of resin.
I took my Dremel and roughed up all the surfaces that were to be glued. I then applied a generous coating of epoxy and glued the main portion together one piece at a time.
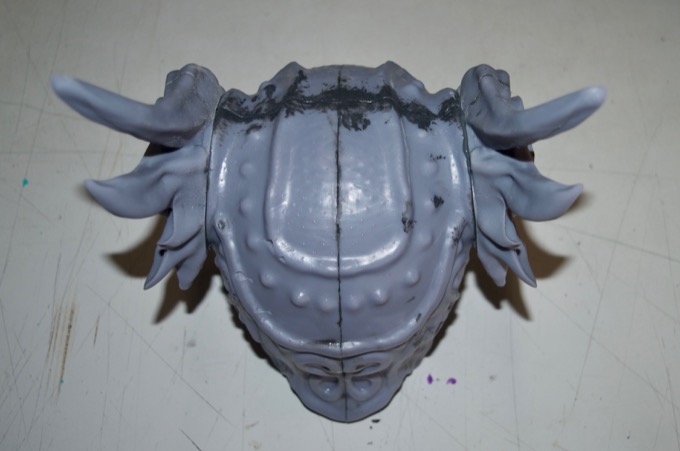
I then took some heavy grit sand paper and tried to remove as much excess epoxy as possible.
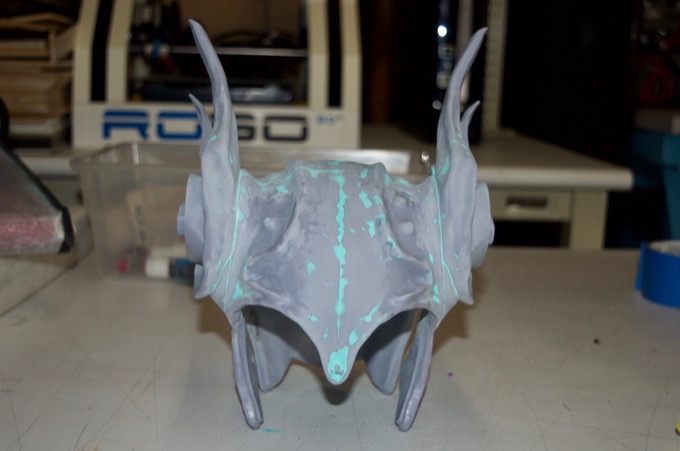
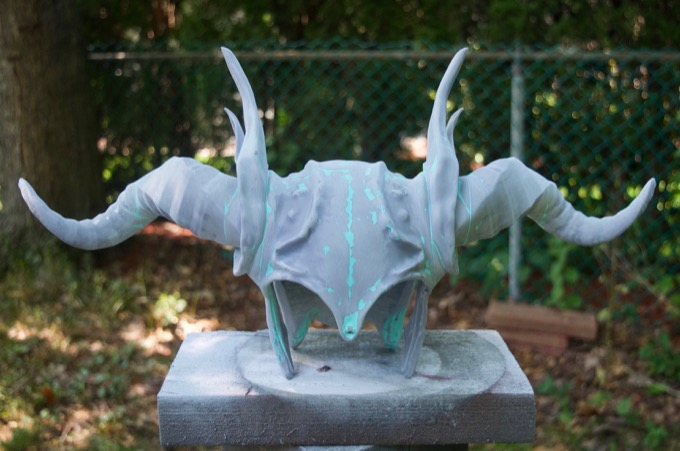
I then started to fill the seams and hide some of the defects with 3M Acrylic's-Green putty.
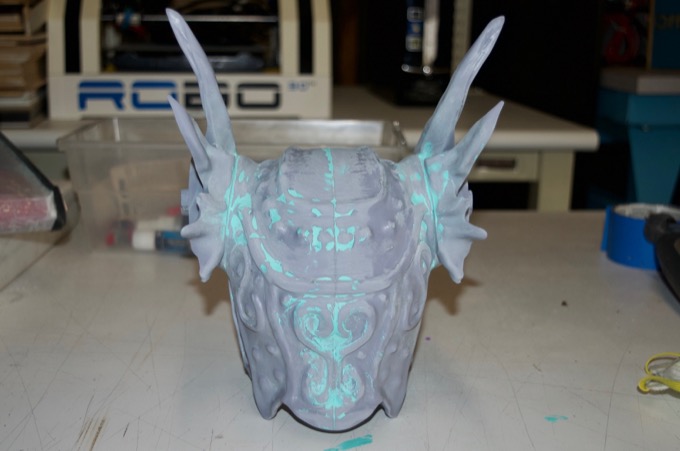
Once I was done man-handling the main part, I glued the horns on and cleaned up the seams. I thought if I glued them on first, I'd risk snapping them while trying to sand everything smooth.
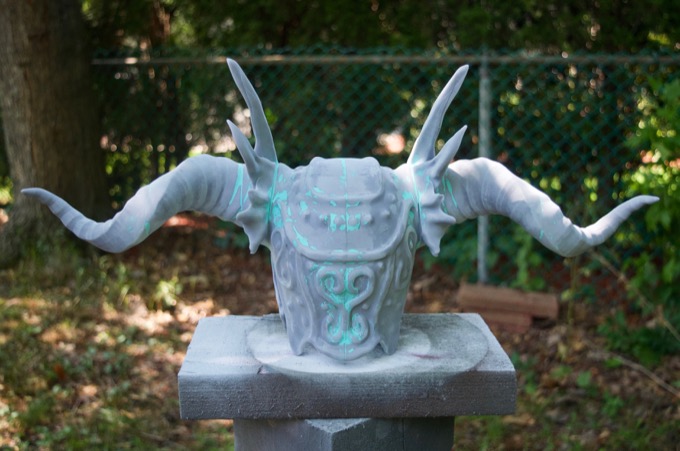
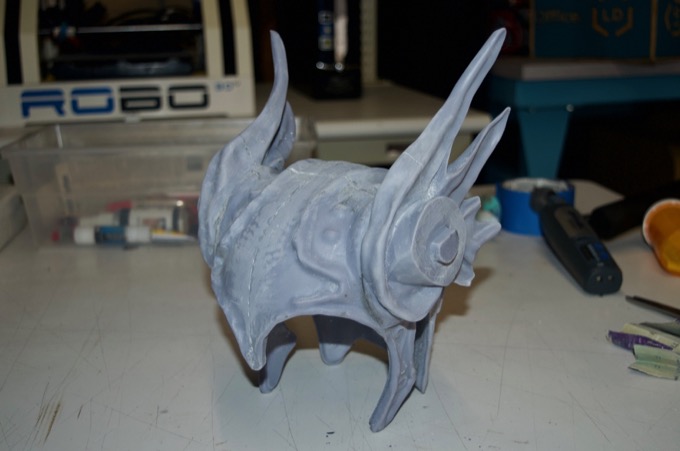
I then applied a coat of primer to see how the finish looked.
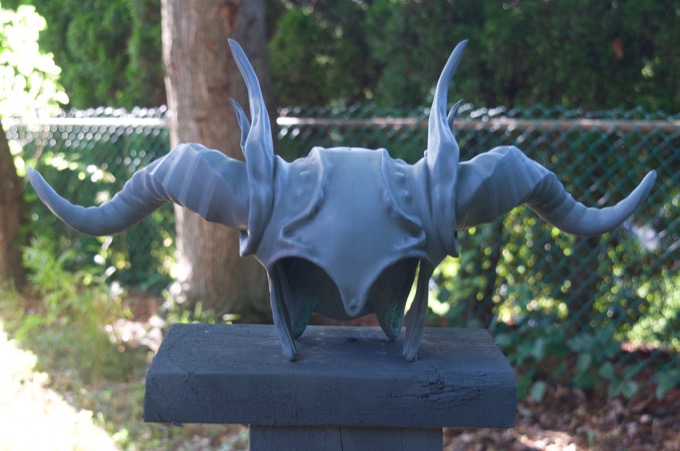
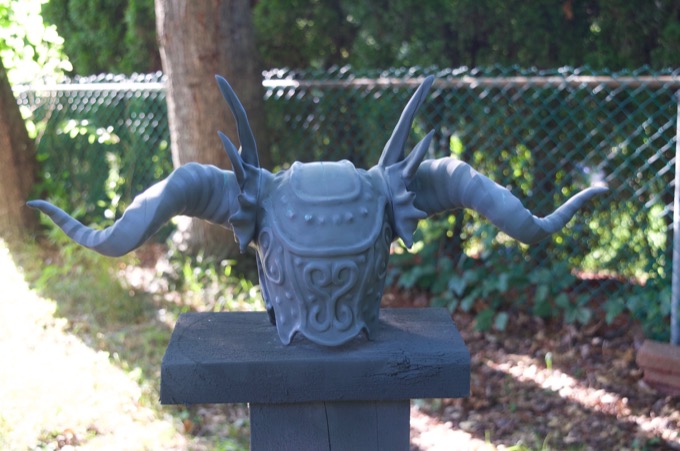
I then gave it a little more putty, more sanding, more primer. By round 4, I was happy with the results.

I then painted it black and gave it a glossy clear coat.
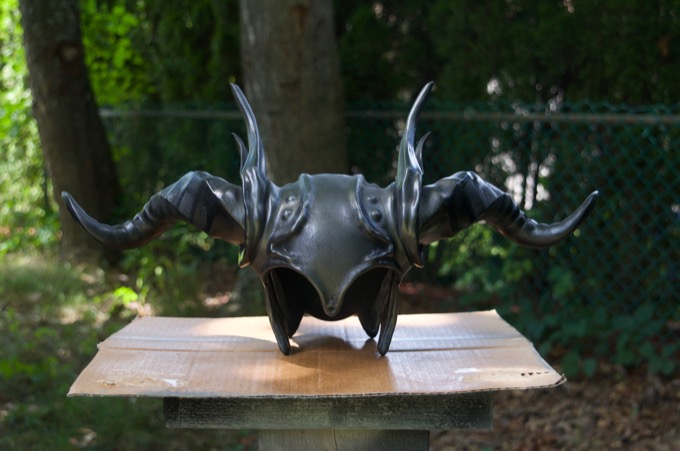
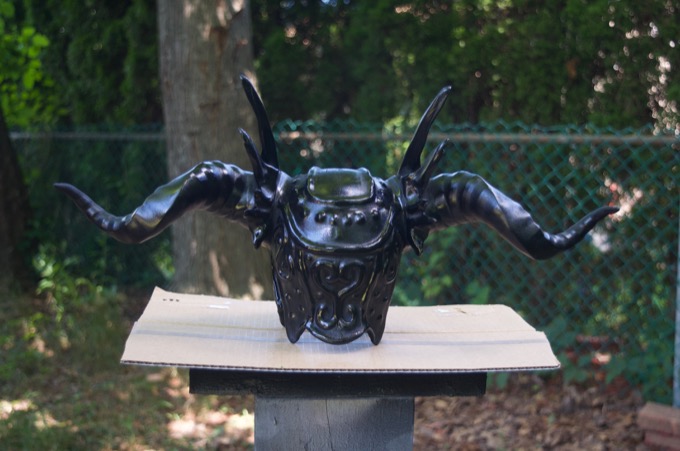
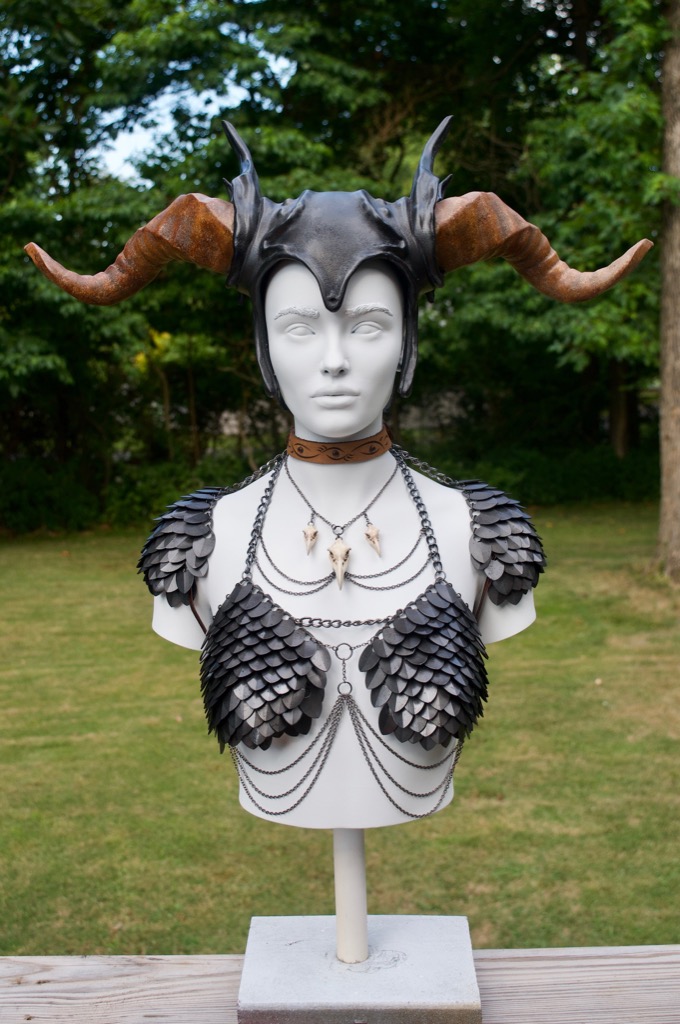
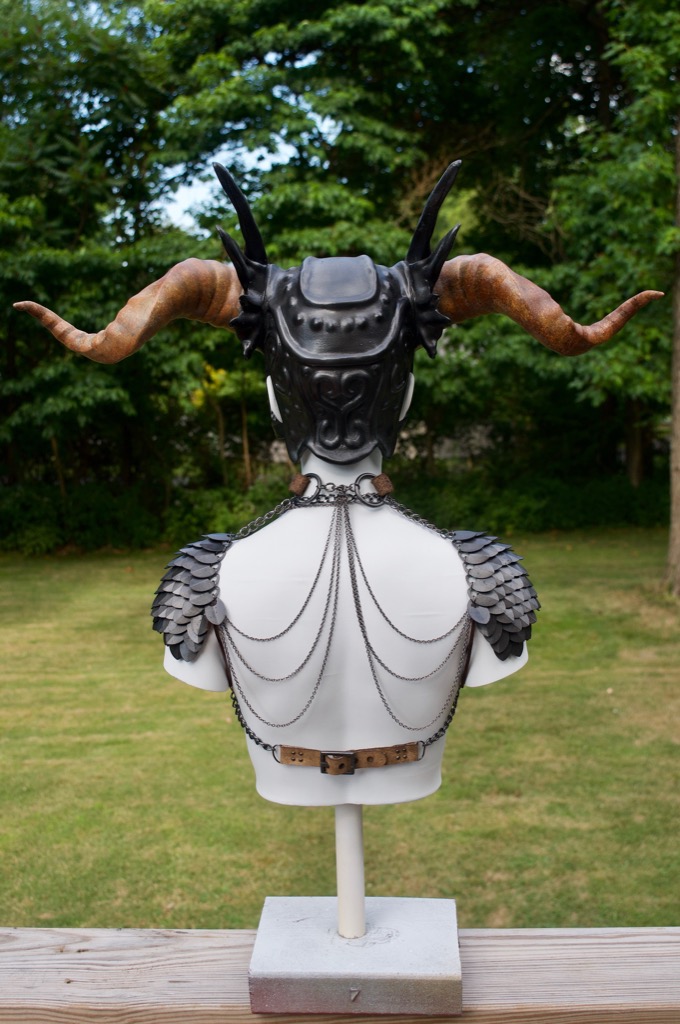
The last step was to buff it with graphite powder, give it a satin clear coat, and then paint the horns. It came out awesome.


I have to admit, it was almost impossible getting the headdress on. I thought I made it big enough to just slip right on the head, but once it was all glued together and painted, it was just a tad too small. I really thought I was going to snap the cheek guards off trying to get it on. I ended up taking my Dremel and removed some of the material on the underside to give me a little more clearance. With some finagling, I managed to get it on.
Next up, the final paint job!
See this project from start to finish: Scale Mail Bust - Part I Scale Mail Bust - Part II Scale Mail Bust - Part III Scale Mail Bust - Part IV
Scale Mail Bust - Part V Scale Mail Bust - Part VI
