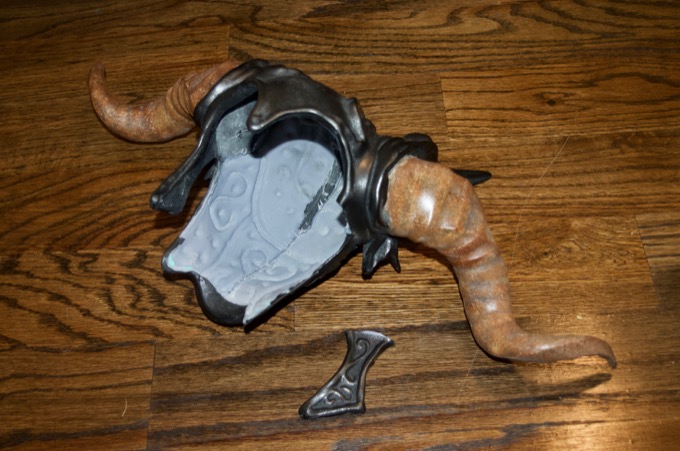
I left off with breaking the headdress during the final assembly. This is such a setback. It's going to take me at least a week to print another headdress since most of the pieces are 12 hour prints.
Let's get to it.
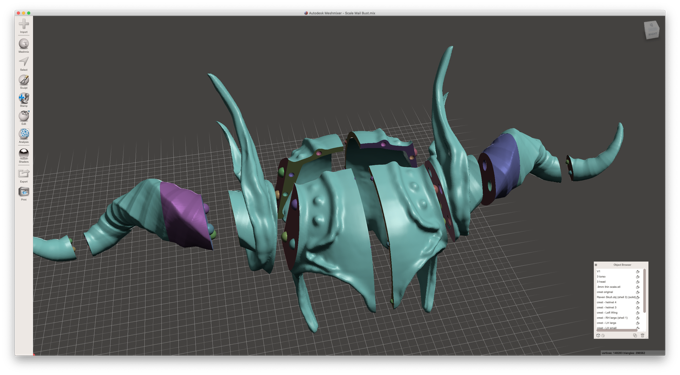
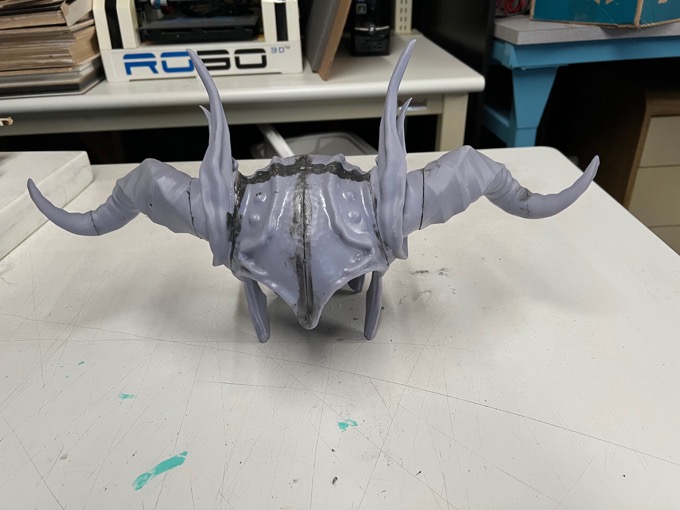
I scaled the model up by 15mm. That should be big enough. I managed to re-slice the model into 10 pieces instead of 12. That'll save me some time. I also decided to key the pieces with balls and sockets to help them hold together a little better during the glue-up.
It took 91.5 hours to print.
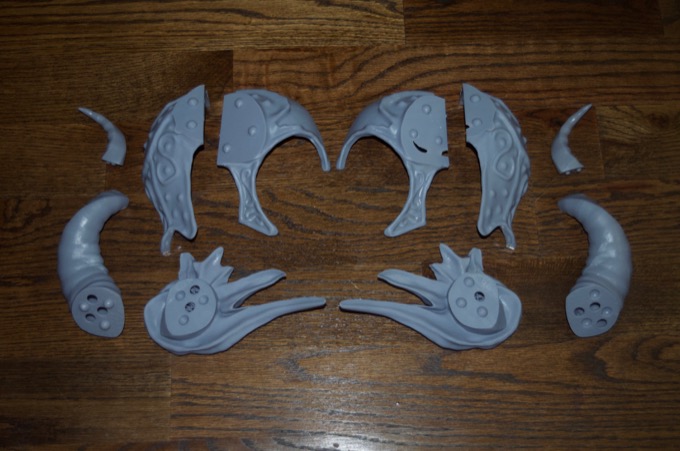
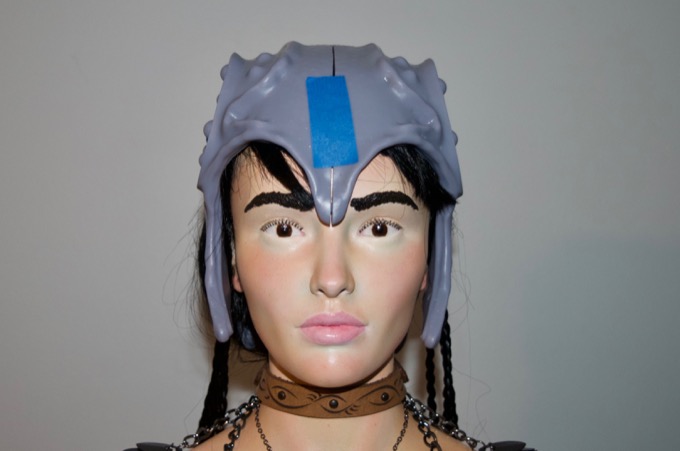
For a quick sanity-check, I taped the 4 main parts together just to see if I could get it over the wig. Looks like it's going to fit just fine.
I then epoxied the parts together.
I then used some 3M Acryil-Green putty to clean up the seams.
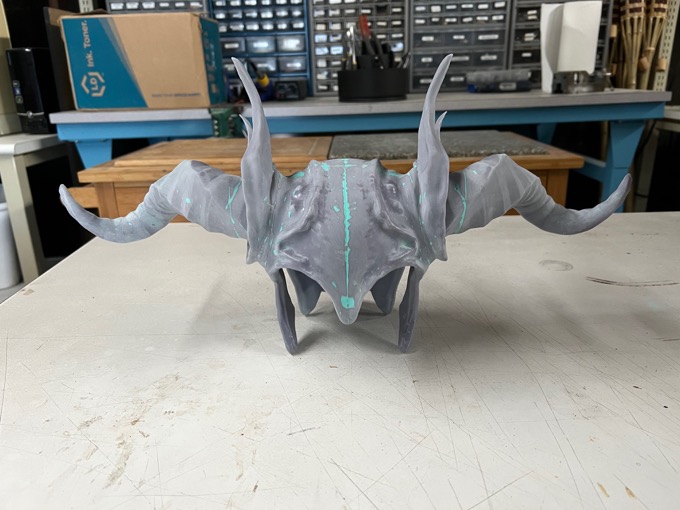
It took a few more rounds of sanding, primer, and putty to get it just right.
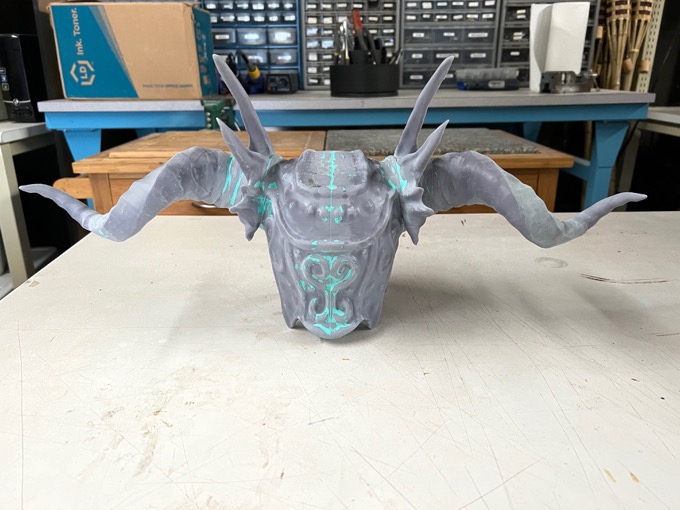
I then painted it black and gave it a few coats of gloss.
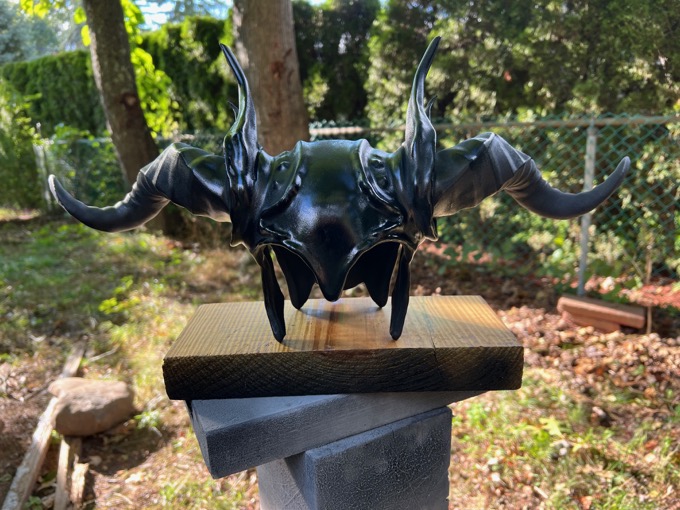
The last step was to buff it with some graphite powder and give it a coat of satin gloss.

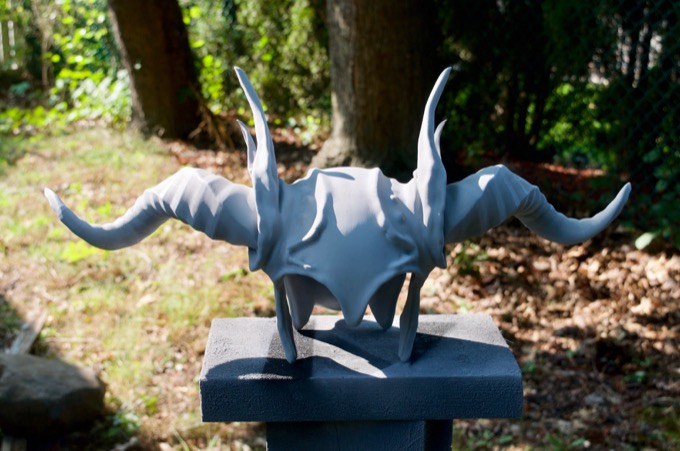
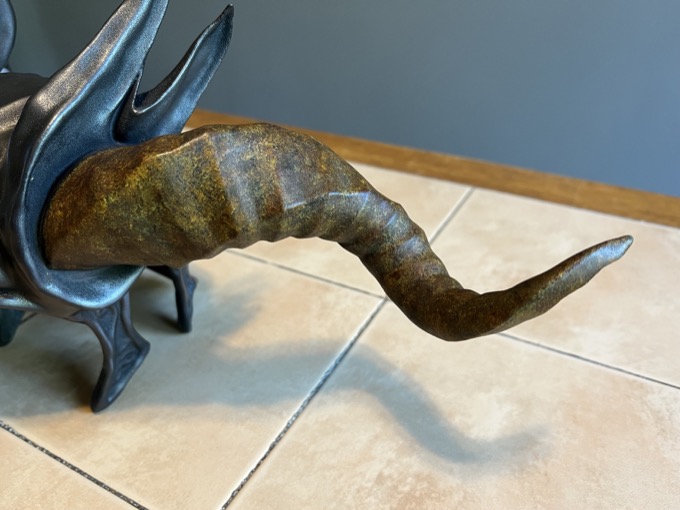
I then painted the horns black and dabbed on some yellow acrylic paint.
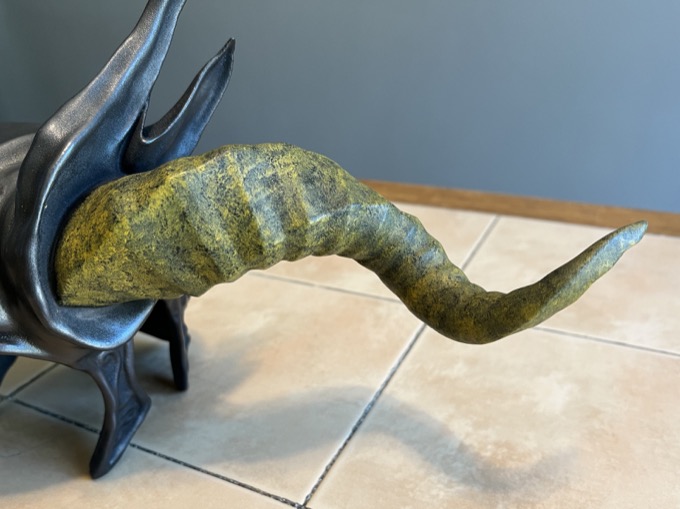
I then dabbed over that with brown. I think it came out way better than the first one.
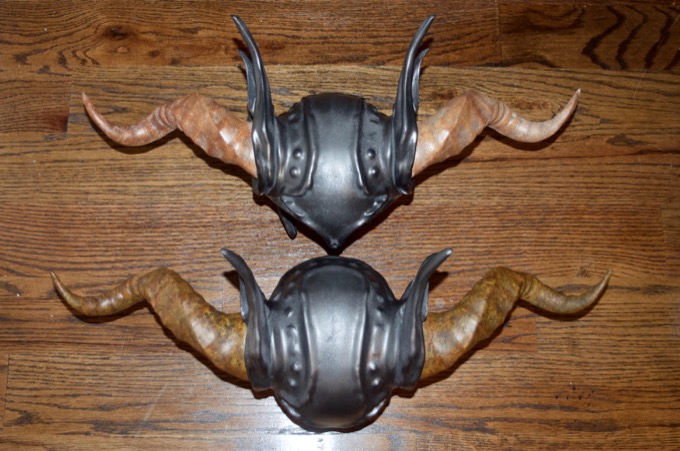
This is officially my largest resin print to date. It's pretty big. You can definitely see the difference when they are side-by-side.
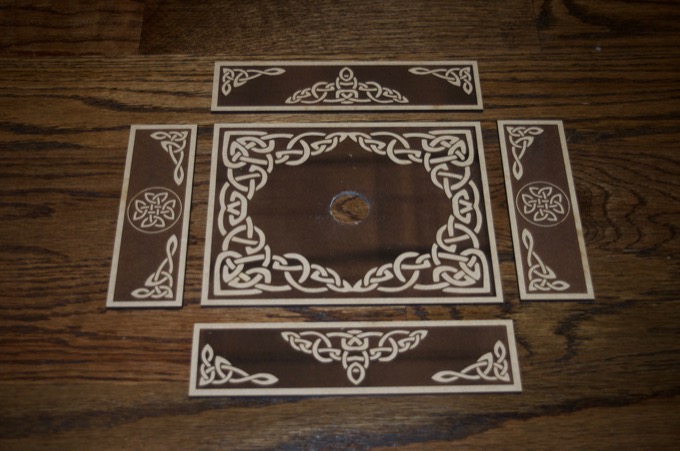
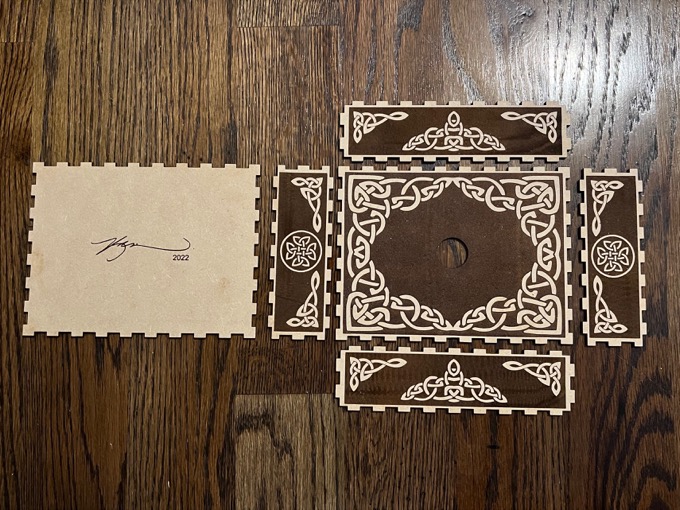
The last thing to do is to make a base for it. I designed a box in SketchUp and then took the panels into Inkscape to detail them. I then engraved and cut them out on my Glowforge.
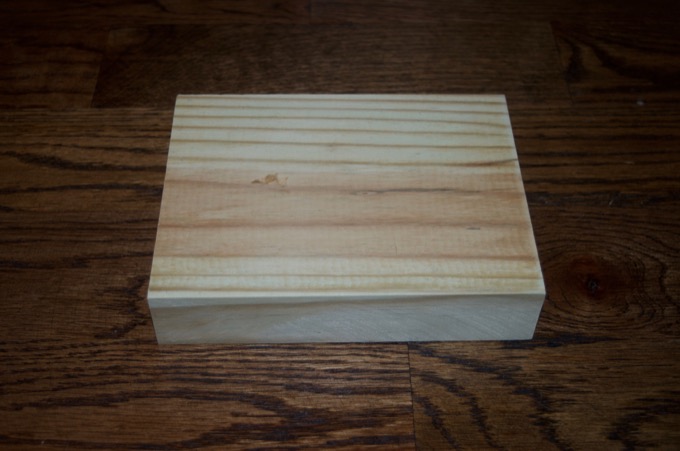
I cut a piece of scrap wood to size so that I could glue the panels to it.
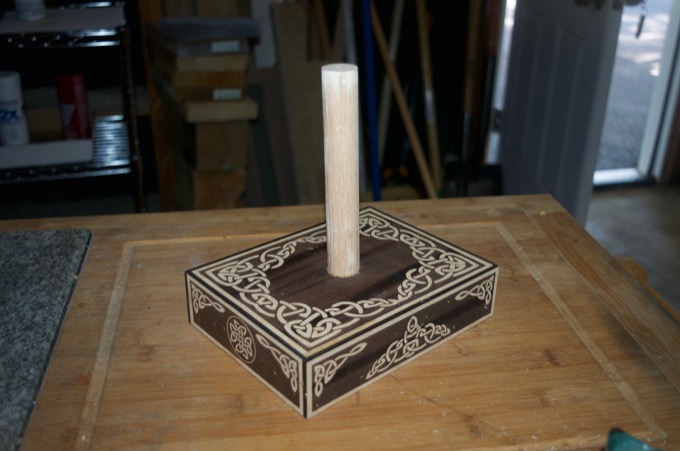
I glued the panels on and then drove a screw up from the bottom that I could attach a dowel to. Not too shabby.
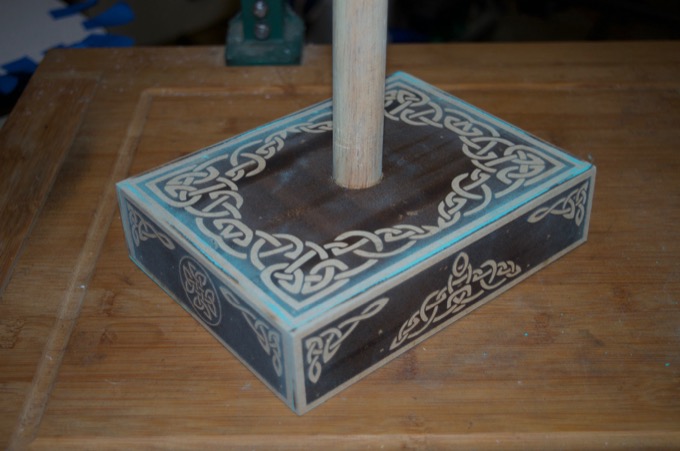
I then attempted to clean up the seams. However, after one pass, I could tell how horrible it was going to look.
I decided to go back and redo the box with tabs along all the edges. I think this will help all the sides line up perfectly.
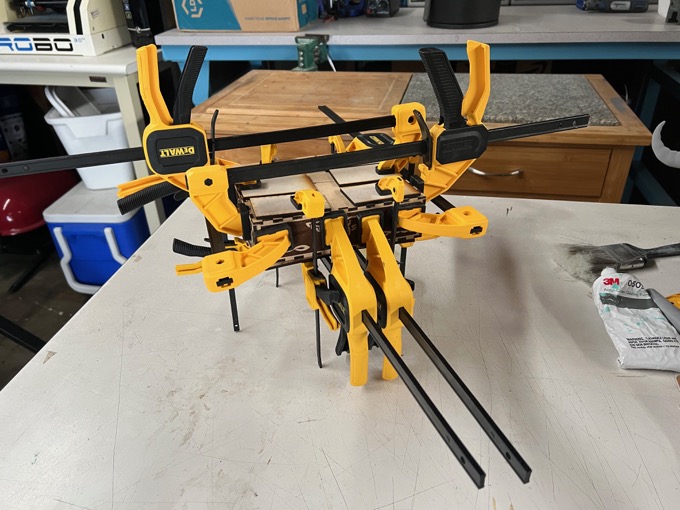
I then glued the box together.
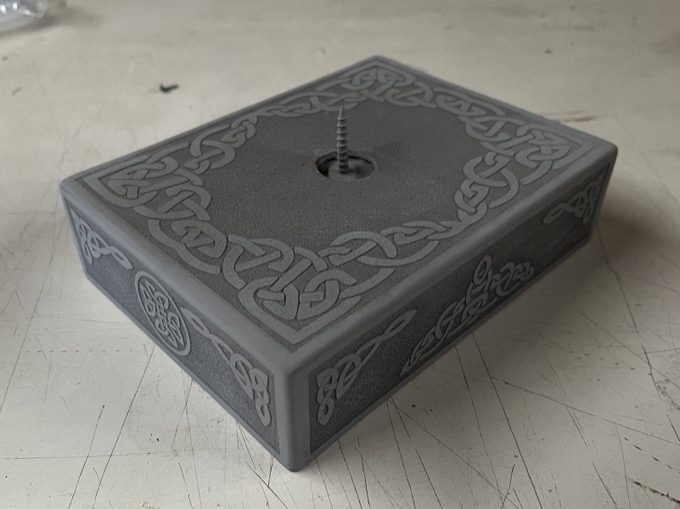
Before gluing the lid on, I drilled the screw though the block of wood and dropped it in. I then sanded all the edges nice and smooth and gave it a coat of primer. That actually looks really good!
I then painted it black.
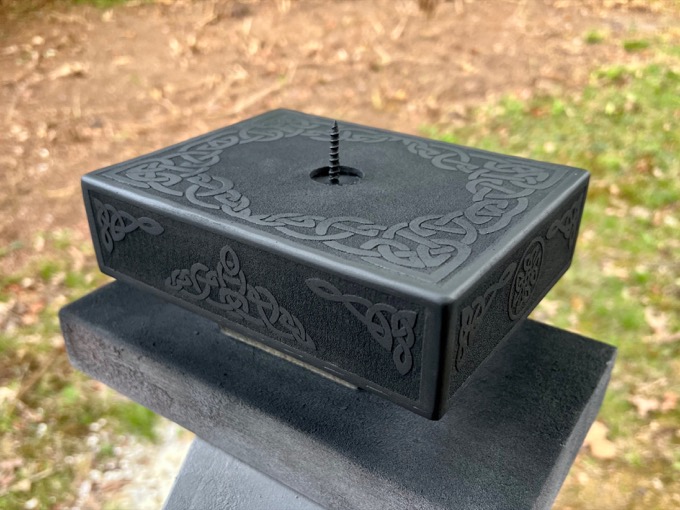
I then gave it a coat of gloss, buffed on the graphite powder, glossed it again, and gave it some weathering with black acrylic.
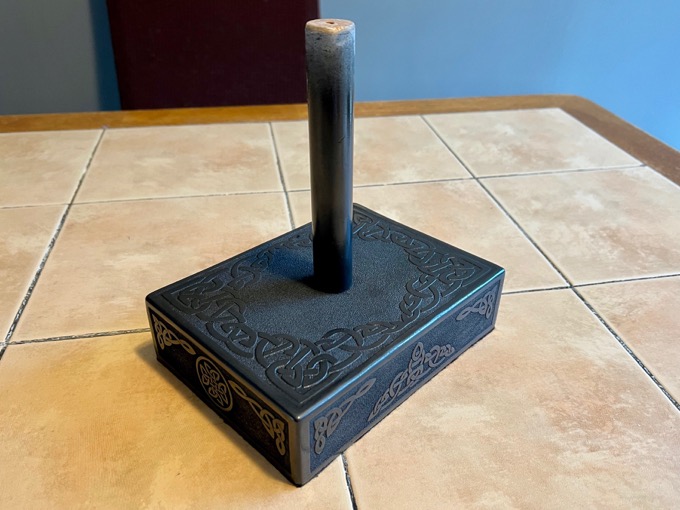
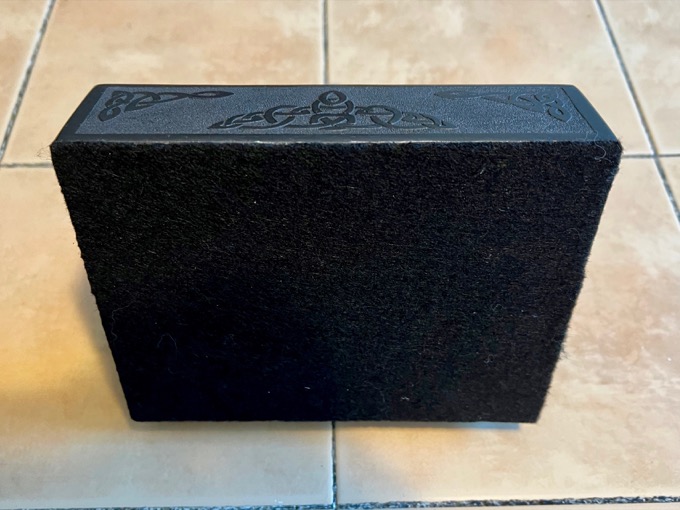
The final step was to apply some felt to the bottom.
I got the headdress on, but it wasn't as easy as I thought it was going to be. I guess when the pieces were held together with tape, there was a little more wiggle room. I'm just glad I was finally able to get it on without breaking something.
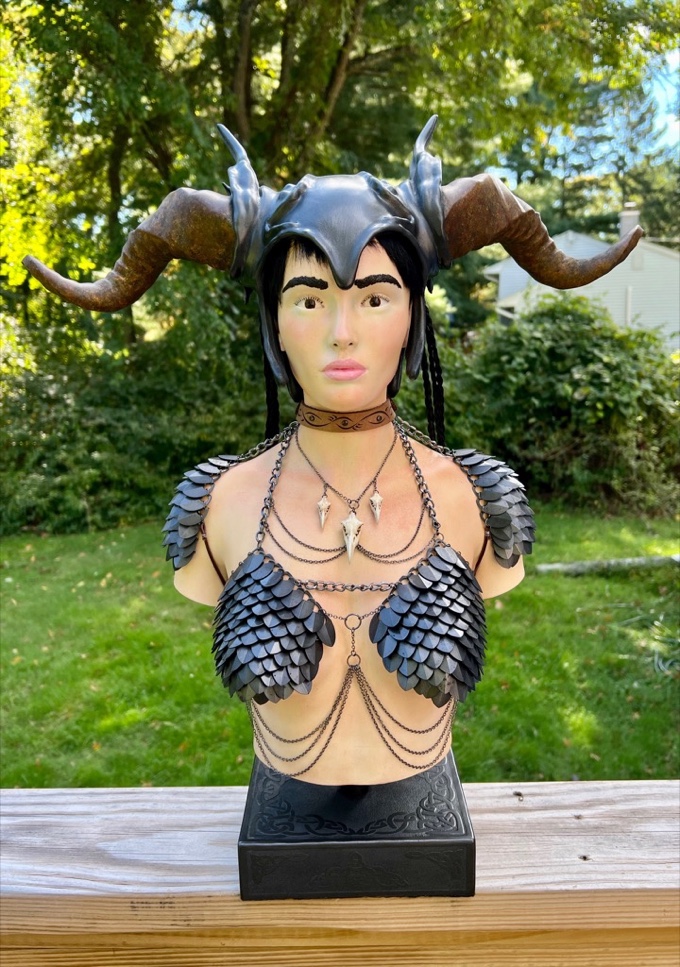
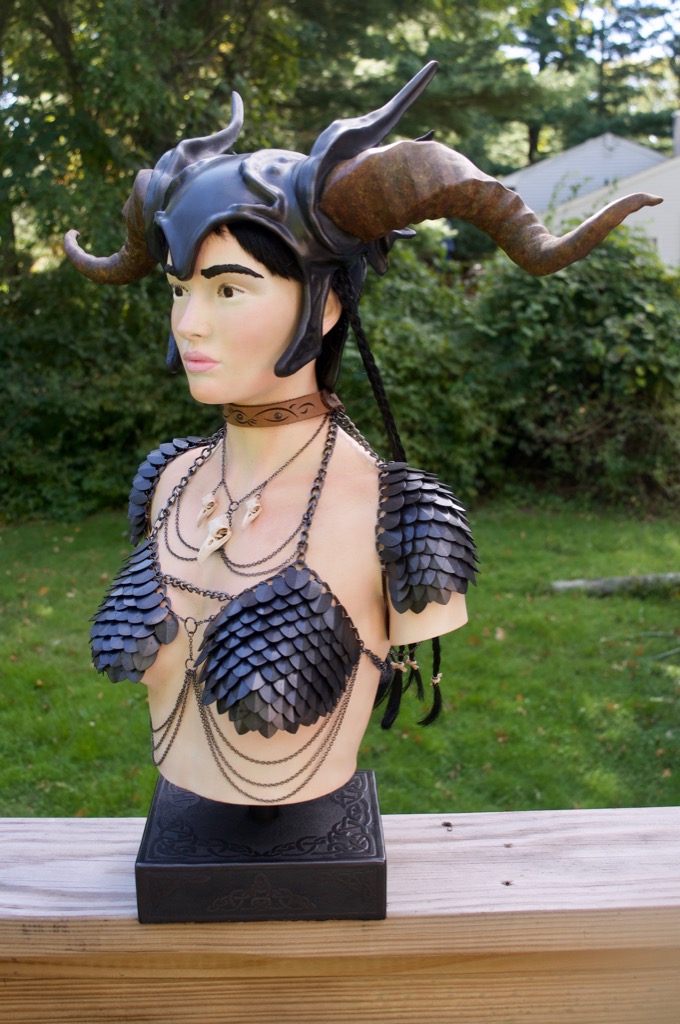
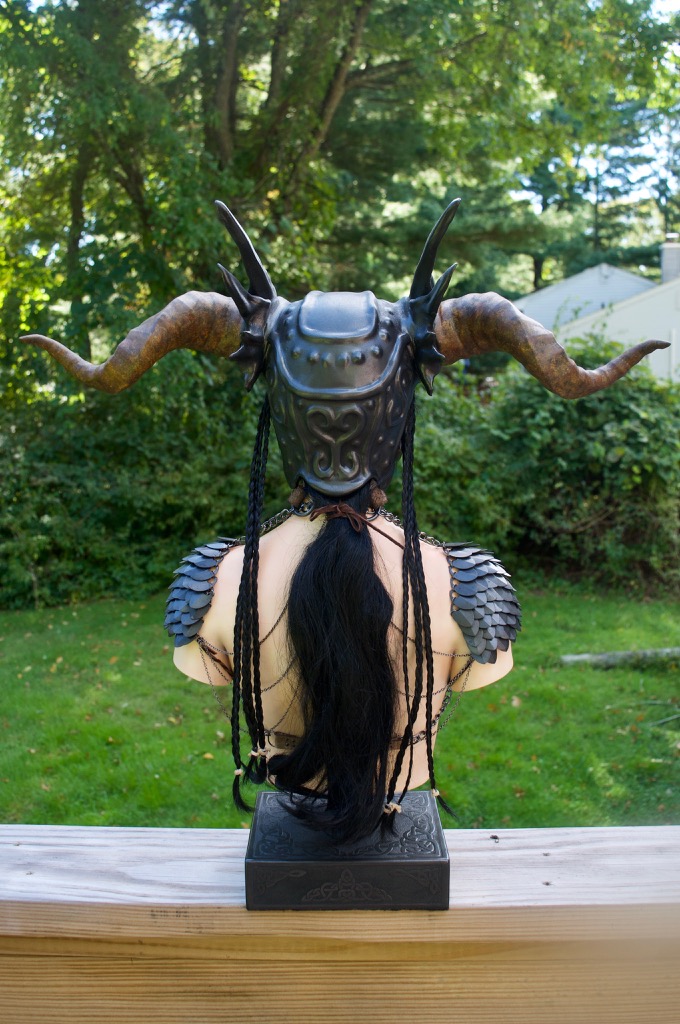
That's it! It's finally complete. I am so happy with how it came out. I think this is my most elaborate project yet! I can't wait to see what's next!
See this project from start to finish: Scale Mail Bust - Part I Scale Mail Bust - Part II Scale Mail Bust - Part III Scale Mail Bust - Part IV Scale Mail Bust - Part V Scale Mail Bust - Part VI

