The progress that I've made on this clock over the past week is amazing. It also helped that there was a 4-day Thanksgiving weekend in the mix. All the clock code is complete, including the alarm menu and the audio.
I needed a way to incorporate a PM indictor, as well as something to denote that the alarm is set. Luckily, this clock has upper and lower indicators for each digit.
I added three more NPN/PNP transistor pairs for the colon grid and the upper and lower indicator anodes.
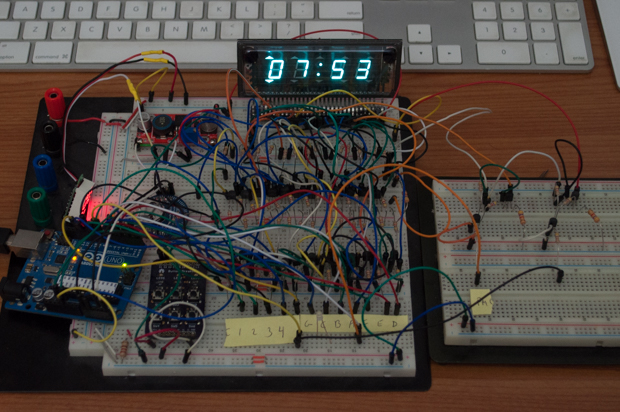
I was able to figure out how to incorporate the colon and the indicators into the multiplexing routine. I was going to make the colon flash on the second, but it was really annoying. That, and it was very complicated to get it to flash and not display the upper and lower indicators at the same time. In any case, flashing the colon seems to not be a thing anymore. I took inventory of all the "off the shelf" clocks in the house: microwave, stove, cable box…none of them have a flashing colon. I figured I'd just make it solid.
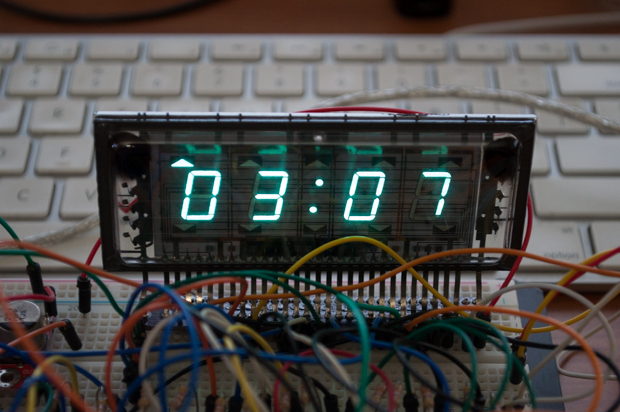
Here is the upper indicator to indicate PM.
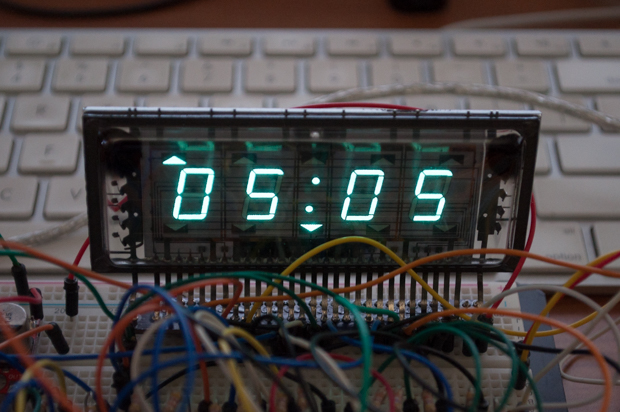
While in the alarm setting menu, I have the lower indictor under the colon turn on to let you know you're in the alarm setting menu.
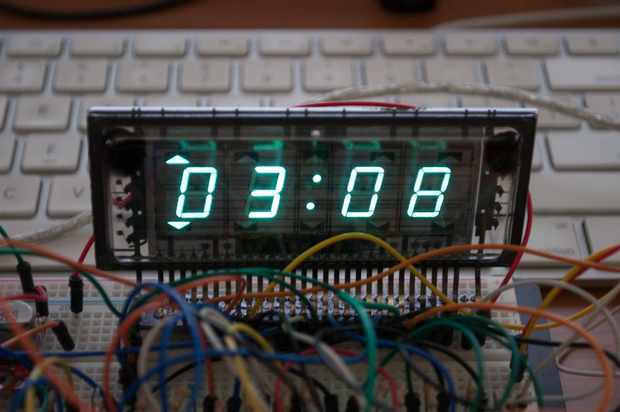
Pressing the alarm enable button turns on the lower indictor underneath the PM indictor to let you know that the alarm is set.
All that was left was to incorporate the audio stuff. Unfortunately, I am totally out of I/O on the Arduino. I've used up every pin. I usually just sound my alarms by comparing the saved alarm hour and minute to the current hour and minute. I then just play a tone on one of the pins connected to an amplifier and speaker. I'm not going to be able to connect to anything since I've used up all the pins.
Instead, I decided to use the built in alarm function in the DS3231. Once the alarm is triggered, the INT pin on the DS3231 will go low. I can have a second microcontroller play a tone using the output of the DS3231 as a trigger. Since it just has to look for a pin to go low and then play a tone, I can do it all with an ATtiny85.
I broke out my ATtiny programming shield and put together some code.
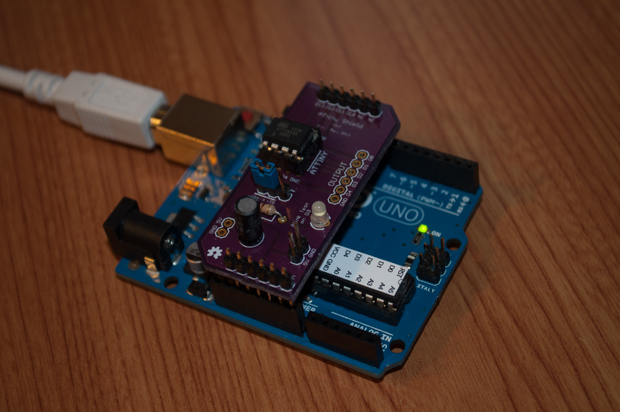
I connected it to my mono audio amplifier breakout and connected a speaker. Now when the alarm is triggered, the DS3231 INT pin goes low. Once D0 on the ATtiny detects that the pin has gone low, it enables the amplifier on D3 and outputs the audio on D1.
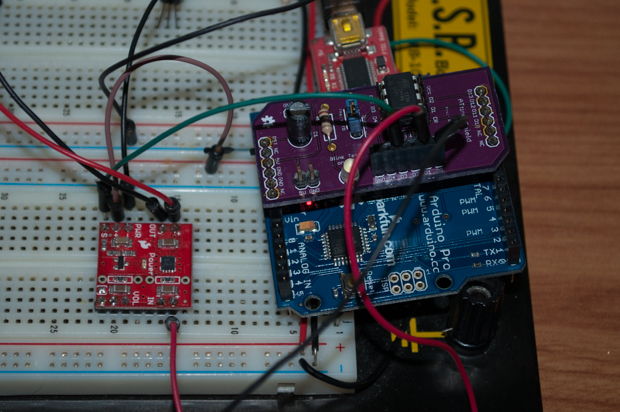
Since all the audio stuff runs completely independently of the clock's ATmega328, I don't have to worry about any delays or anything. It'll just play the tone for 20 seconds, and then shut off.
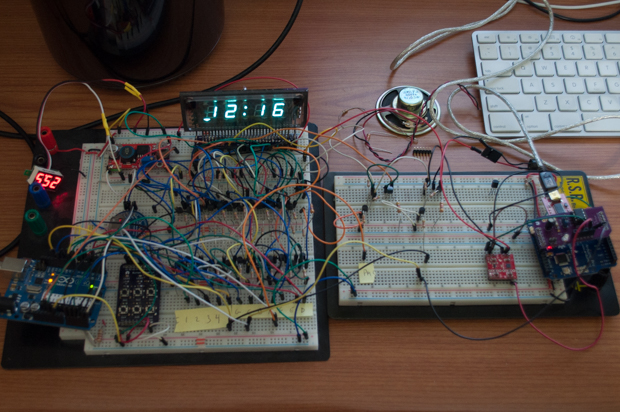
Here it is in action:
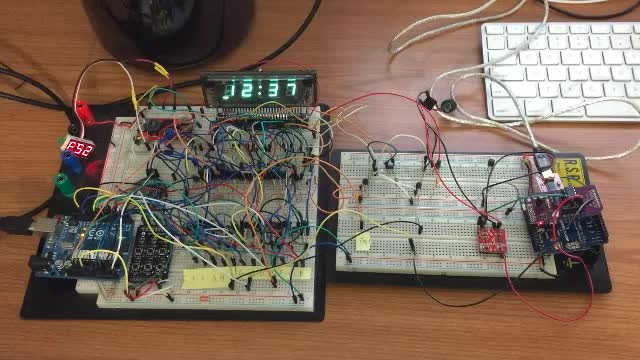
Despite the fact that the filament is powered by DC, there doesn't seem to be much ghosting at all. It's very slight, and you probably wouldn't notice it if I didn't mention it. Another problem with DC is that the side that is grounded is usually a lot brighter than the side that is connected to positive. That also doesn't seem to be a problem. I think it has something to do with the fact that the display is multiplexed and that not all the segments are really on at the same time. I think that fact helps to mitigate any ghosting or uneven brightness that you'd normally get by driving all the segments at the same time.
In any case, I'd really like to have a go at powering the filaments via AC. I could do something similar like I did to drive the LCD displays in my
15" LCD clock and use another ATtiny to generate a square wave, but three microcontrollers in a clock sounds a little crazy. Not to mention, the ATtiny can't source that kind of current. I'd also have to lift the signal above ground, so it sounds like more trouble than it's worth when there are dedicated chips out there to do the job. The LM9022 Vacuum Fluorescent Display Filament Driver seems to be the perfect chip for it, but unfortunately (like VFDs) it's obsolete. Luckily I found some on the cheap from an eBay seller. The LM9022s are coming from overseas, so hopefully they don't take too long to arrive.
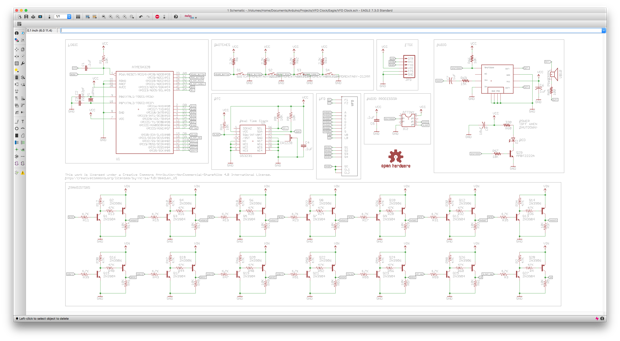
I completed the schematic for what I have so far, with the exception of the boost converter and the 3V regulator (for the filaments). I don't know if I want to pay for PCB real estate to incorporate them as daughter boards, or if I'll just cram them into the enclosure and connect them with a ribbon cable.
Once the LM9022s arrive, I'll prototype a little more and see if it's worth the trouble to drive the filaments with AC.
See this project from start to finish:
I Finally Figured Out This Vacuum Fluorescent Display VFD Clock - Part I VFD Clock - Part II
VFD Clock - Part III VFD Clock - Part IV VFD Clock - Part V VFD Clock - Part VI Clock Button Panels


