VFD Clock - Part VI
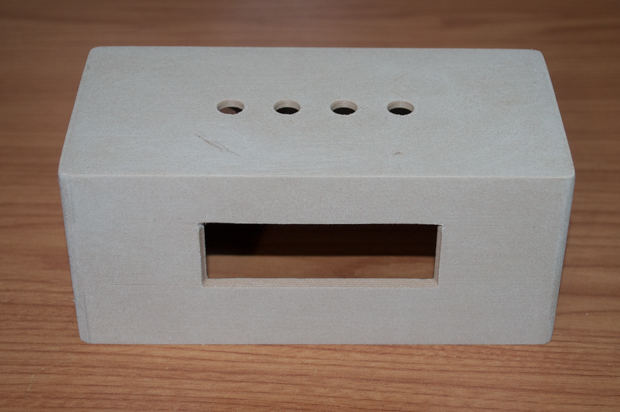
I ran out of wood PLA, and I wasn't happy with the way that the last print came out. There was a blog of plastic between the top and the raft that I didn't notice while it was printing. It left a really unsightly mark on the top.
I decided to order another roll and try again. Once it was printed, I gave it a light sanding. I didn't want to go nuts with the sanding. I wanted to leave some of the layer details in so that it would look like wood grain. If thought if the surface finish was perfect, it would look like plastic. I wanted some small imperfections in the finish to remain so that it would look like wood.

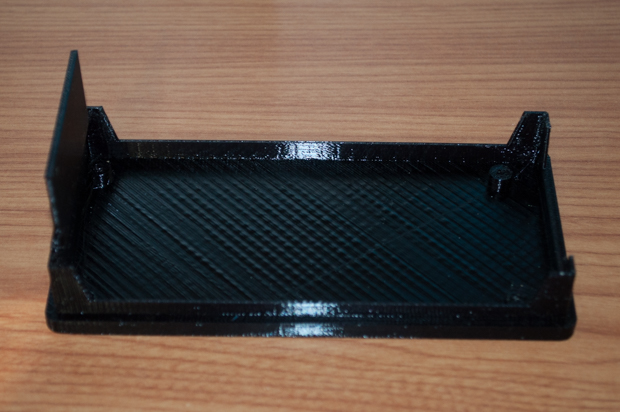
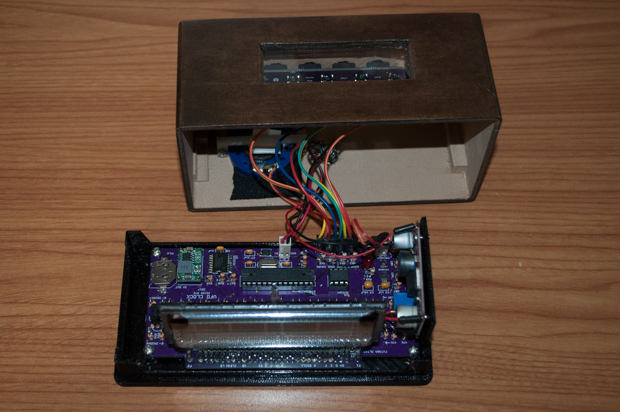
Since my roll of black PLA was finally delivered, I printed the final base.
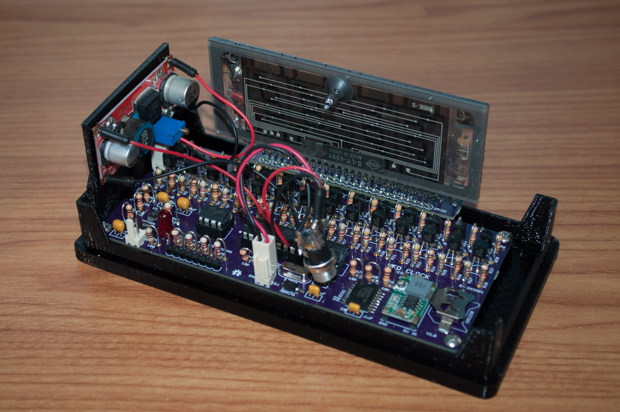
I then installed all the hardware. Looking good.
I then took the top outside and gave it a coat of wood stain.
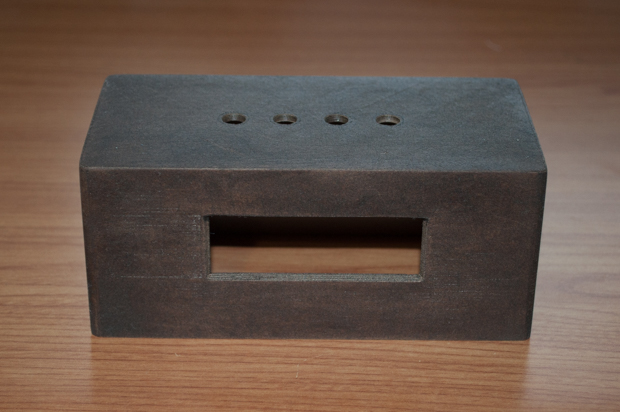
A friend at work is a wizard when it comes to wet sanding and clear coating, so I passed it off to him for a few days so that he could work his magic. Boom.
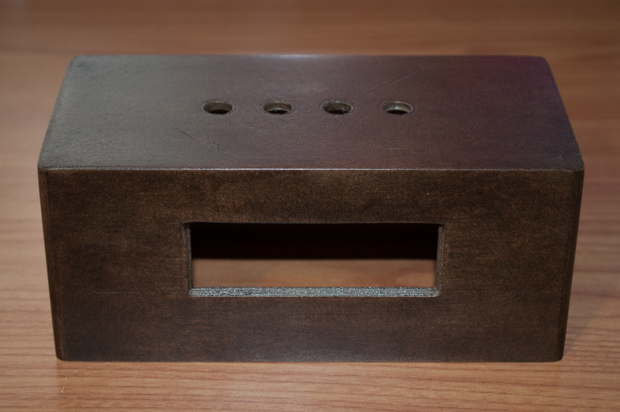

I sifted through my acrylic scraps and found a piece that was perfect for the display cutout. It's actually the cutout from the
first clock that I made.

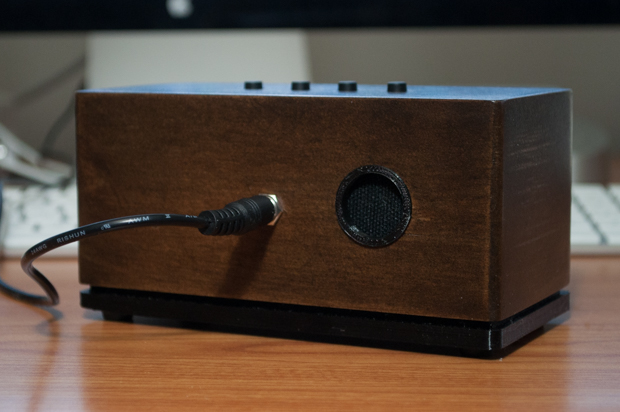
I hot glued it in place and installed the buttons and the speaker.

I then made all the necessary connections.
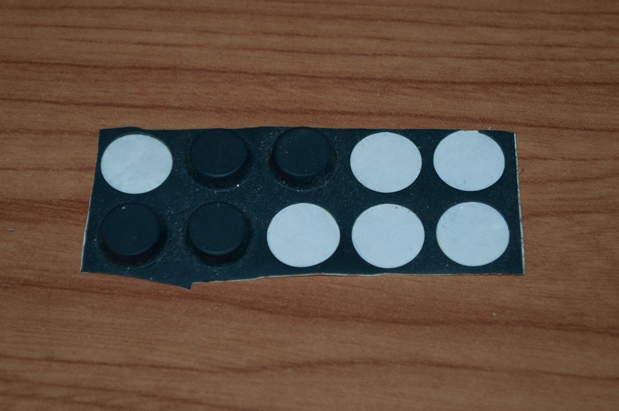
One last detail…what vintage kit is complete without rubber feet?
And there it is. I think it came out awesome.
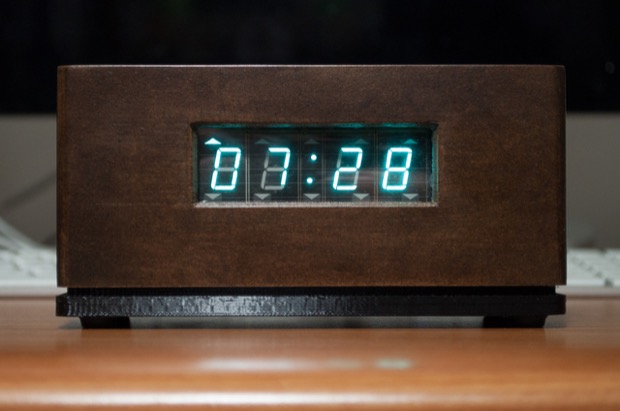
I started the clock
almost a year ago. However, once I actually figured out how to drive the display, it was another 7 months before I actually started it. I had so many other projects to finish first. I'm glad I waited until my plate was clear to work on this. It really came out nice. It's definitely one of my favorites.
See this project from start to finish:
I Finally Figured Out This Vacuum Fluorescent Display VFD Clock - Part I VFD Clock - Part II VFD Clock - Part III VFD Clock - Part IV VFD Clock - Part V VFD Clock - Part VI
Clock Button Panels
