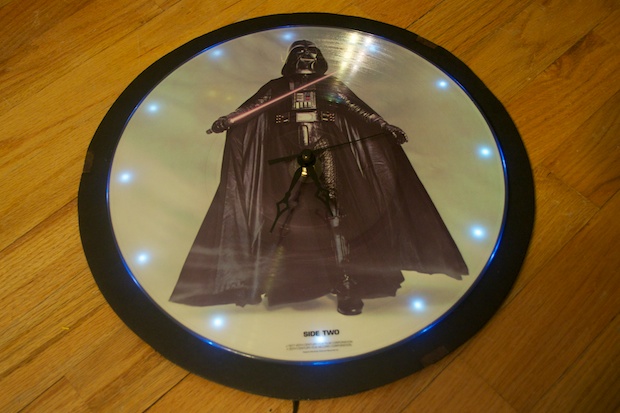
Back in 2010, I scored a clock from the maintenance guys at work. They replaced all the clocks around the building and put the old ones in the break room for people to take home. I refinished it and used a 1977 Star Wars LP as the face.
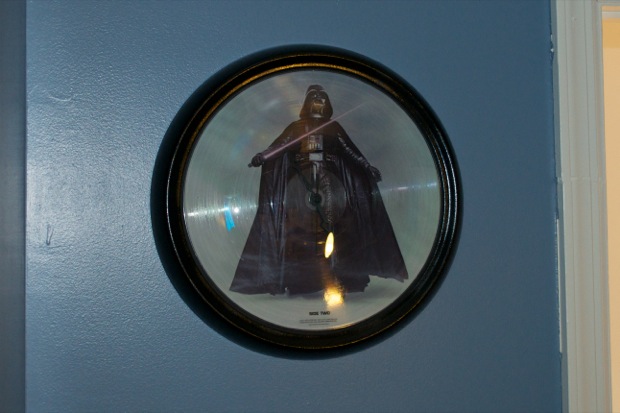
I was very happy with the way that my
Darth Vader clock came out. It hangs in my 7-year old son's room. He tells me that he has a hard time seeing what time it is without numbers on the clock.
I told him I probably couldn’t put numbers on it since I didn’t want to glue anything to the LP. Printing some kind of overlay would look horrible. Not to mention, printing a 12" x 12" overlay isn’t something I’d be able to print on my laser printer. It would have to be some kind of custom thing done at a print shop. It's not for all of that. This sounds like it should be a quick and dirty upgrade involving a dozen LEDs.
"How about some LEDs?", I asked. He said that would be cool. So I got to it.
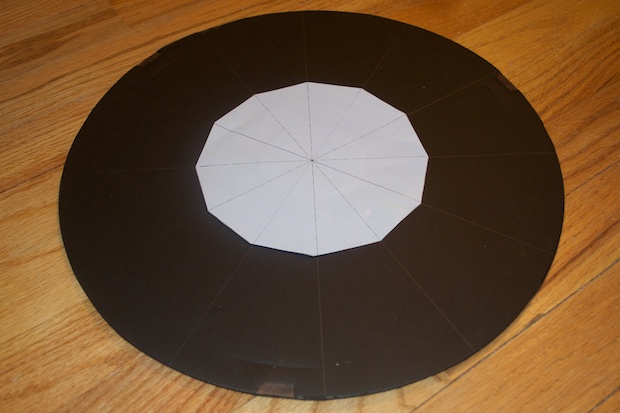
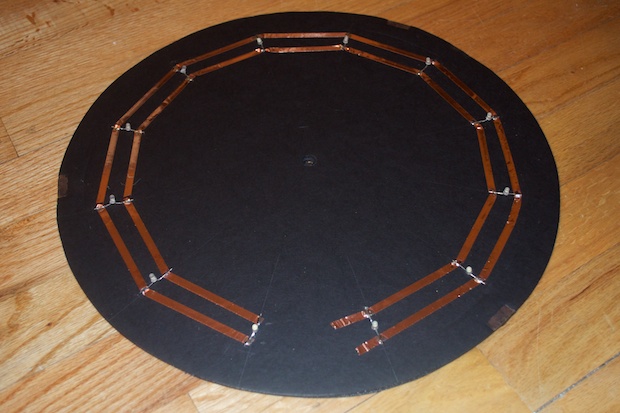
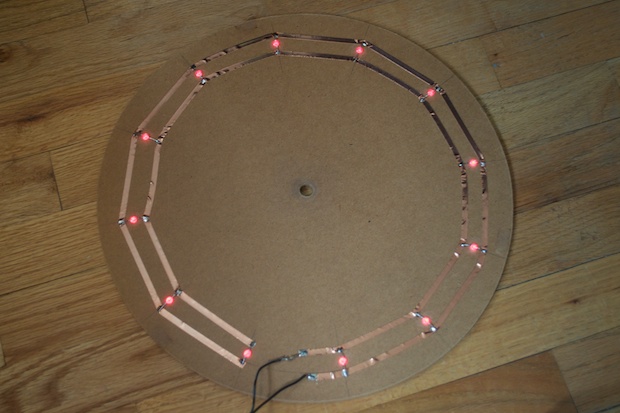
Rather than search for my long-lost protractor, I simply printed a 12-sided polygon and marked off the backboard where the LEDs should go.
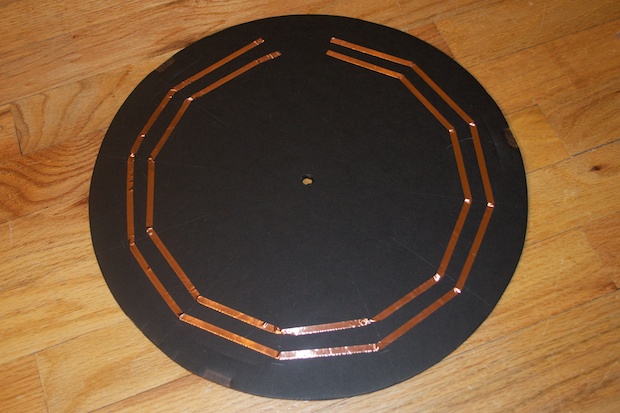
I then ran two traces for the cathodes and anodes using some
copper tape that I picked up from SparkFun. I figured it was a “nice to have” and that it would come in handy one day. Looks like today is that day. This stuff is awesome.
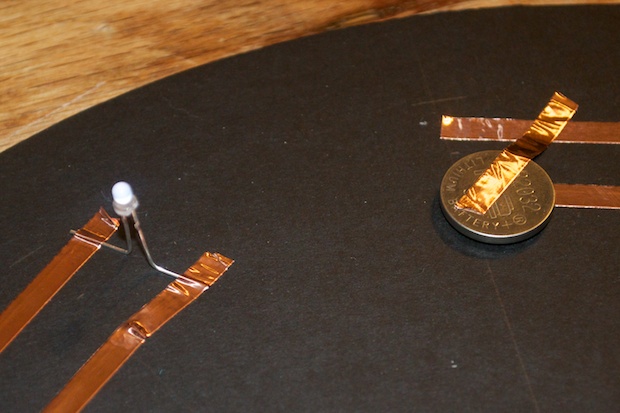
As a simple test, I stuck an LED under the tape at one end and connected a coin cell to the other. It worked like a charm. I'll just solder the LEDs directly to the tape to make a more permanent connection.
I then soldered all 12 LEDs to the copper tape and trimmed the leads.
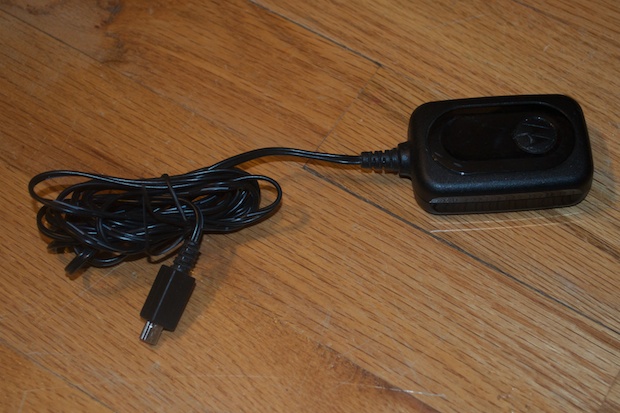
I then dug out an old cell phone charger that had enough juice to power all the LEDs. It also has a pretty long cord. It should reach from where it hangs on the wall all the way down to the outlet.
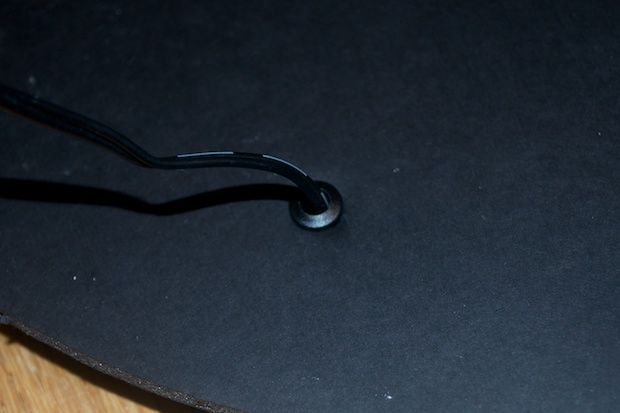
I cut the connector off and fed the wires through a hole in the back. I used a 5mm LED bezel to keep it nice and neat.
I then soldered the leads to the copper tape. I also added a current limiting resistor and threw on some tape just to hold everything in place. I plugged it in and watched the magic!
It works.

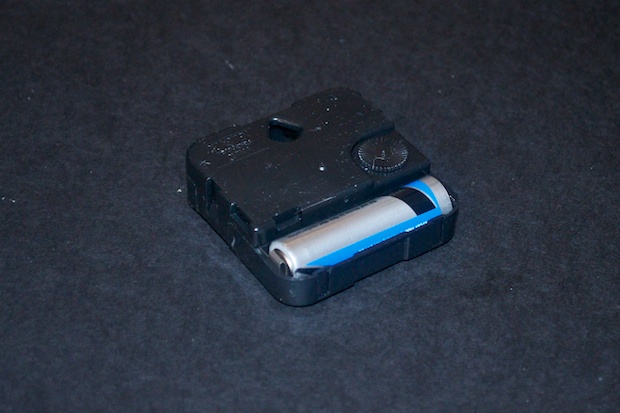
With the electronics complete, it was time to put it all back together. I thought about just powering the whole thing off the adapter, but in the end I decided to just keep the clock-works running off the AA battery. The clock is plugged in the outlet that's controller by the light switch, so when the switch is off, the clock will still run. The LEDs will only come on at night when I flick the switch. I thought about adding an ATmega and a light sensor that activates the LEDs when it gets dark, but that sounded like total overkill.
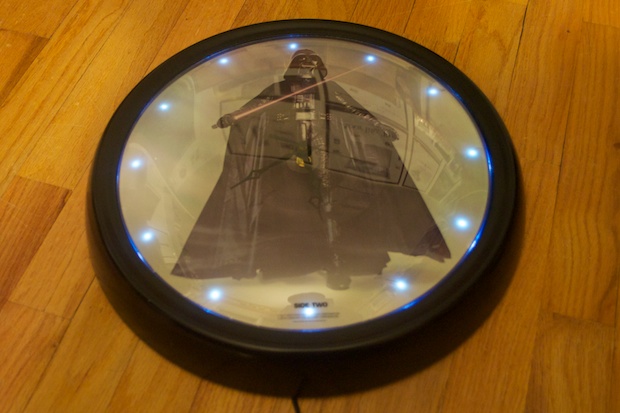
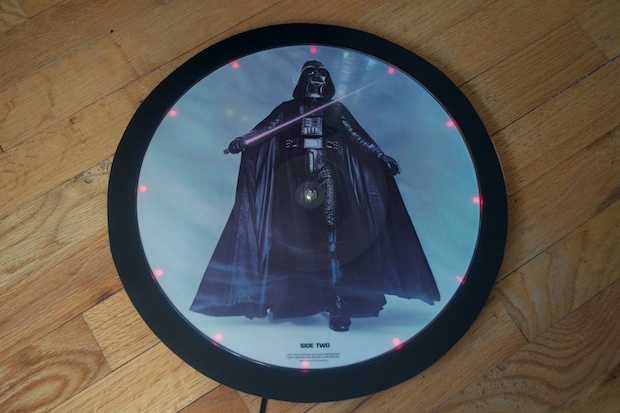
Even with the lights on in the room, it's still pretty easy to see the LEDs underneath the LP.
With the face complete, all that remained was the bezel. I'm just glad that there was still enough room under the glass to accommodate the additional height of the LEDs. Everything went together without a problem.
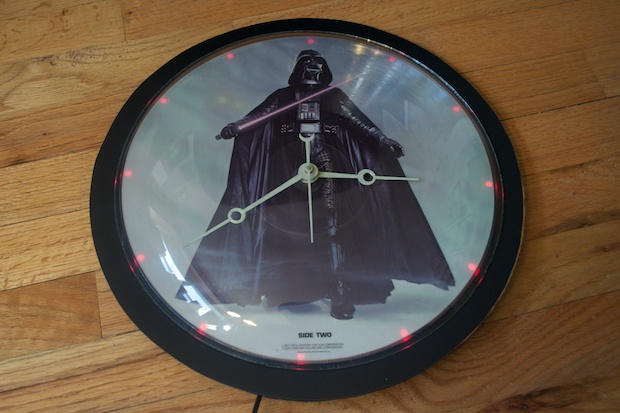
It looks awesome. Things are happier with LEDs!
I sent a picture to a friend and his immediate reaction was, “Huh? A Darth Vader clock without red LEDs? It looks awesome, but is red not the most obvious choice for a Darth Vader clock”?
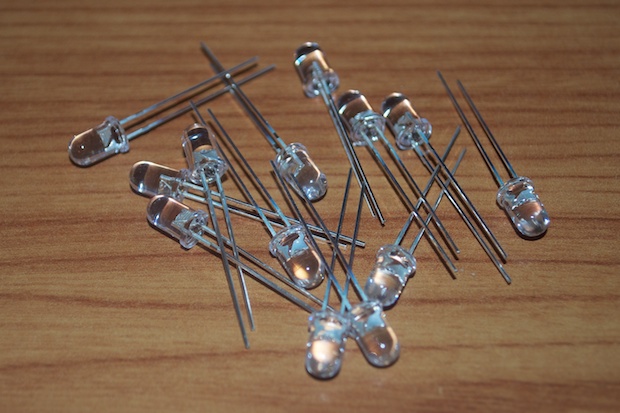
True. It’s so obvious it’s hard to believe I didn’t think of it. If I had a whole drawer full of red LEDs I might have though of it, but since I have more
white LEDs than I can count, I guess I just naturally reached for them.
So red it is. I hopped online and ordered a dozen super-bright LEDs. I didn’t think cheapie diffused LEDs would be strong enough to penetrate the LP, so I ordered the slightly more expensive super-bright variety.
I figured if I’m going to this much trouble to redo the LEDs, I might as well redo the hands too. I picked up another set of larger hands.
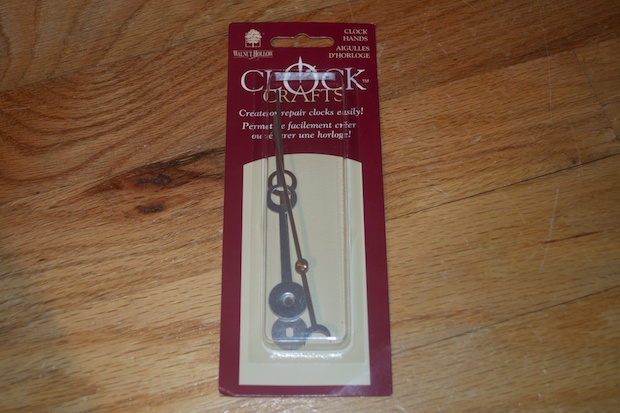
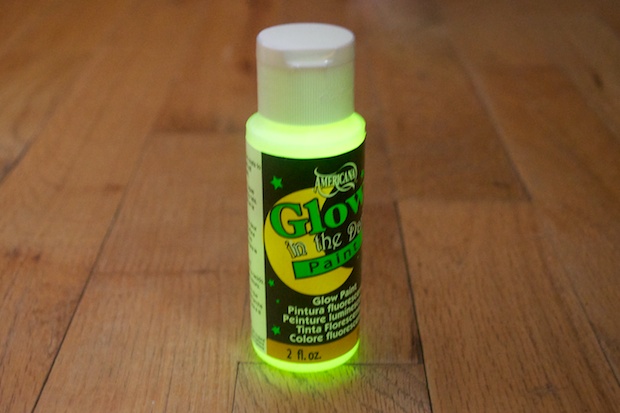
I also picked up some glow-in-the-dark paint to paint the hands.
Seeing as these LEDs are larger than the white ones, there’s no way I’m going to be able to fit them under the LP and still manage to squeeze the glass into the bezel. I’ll have to push the LEDs in from behind.
I drilled holes through the original backboard (it’s a good thing I held onto that) and slid the LEDs through the holes. I then ran the copper tape on the back and soldered everything in.
It’s perfect.

I then cut out a piece of black poster board and laid that on top along with the LP. I put one on the back too in order to cover the electronics.
I then added my newly painted hands. With the LEDs coming from the back, there’s more than enough room to allow the glass to sit flat against the face.
I then added the bezel and secured it from the back with the metal retaining clips.
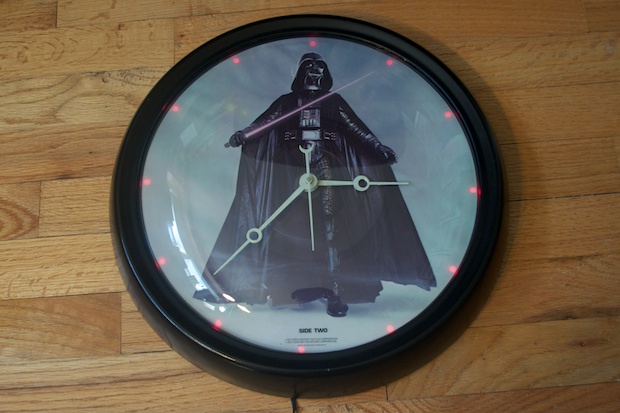
Sweet. It looks so much better in red.
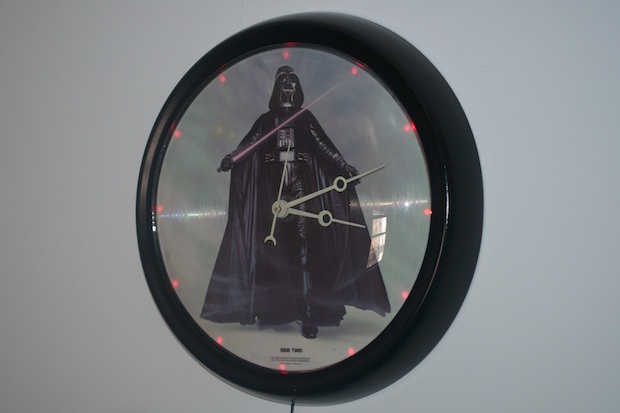
My son also agrees.
See this project from start to finish: Darth Vader Clock Darth Vader Clock Upgrade

