Apr 29, 2018
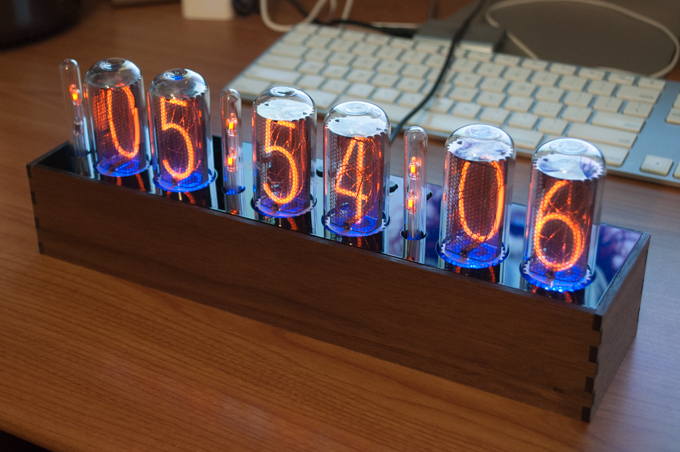
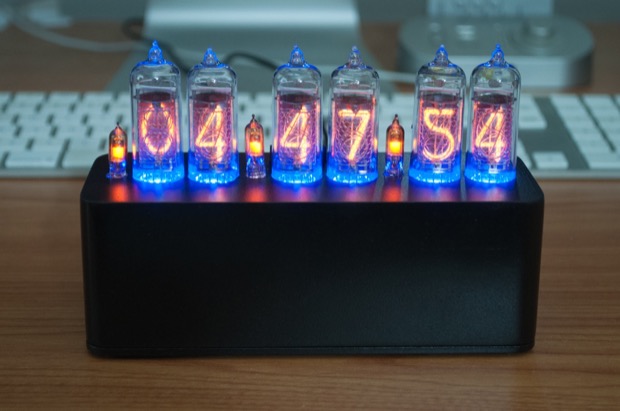
I can't believe it took four months to complete. It came out awesome. It was well worth it to be patient and do everything right.
Read More...Apr 28, 2018
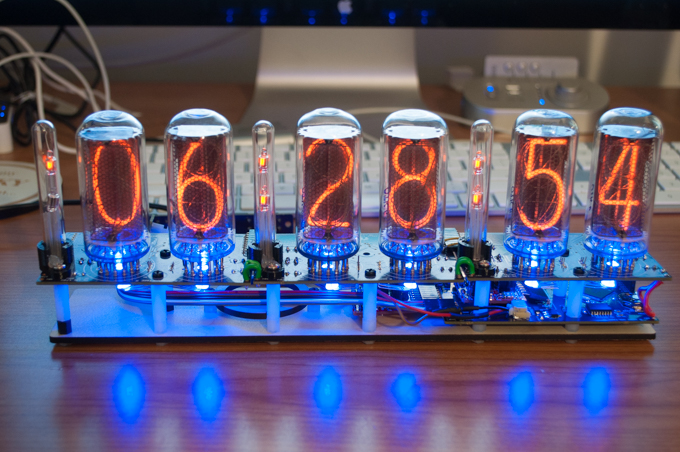
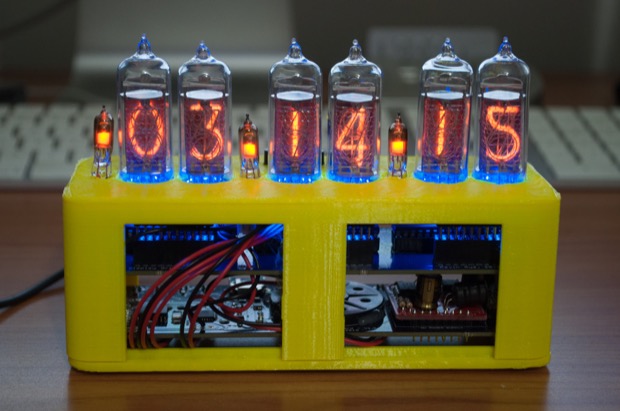
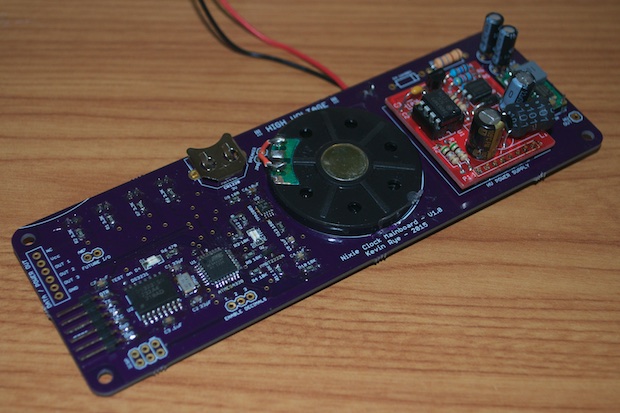
Woo hoo! My controller board works. All the hardware is complete. I just need to add the audio code and make a case for it. This clock is coming together pretty quickly!
Read More... Mar 25, 2018
What a great weekend! Major progress has been made! All I need to do is finish the last two colons, design the controller board, and make a case for it.
Read More...Mar 11, 2018
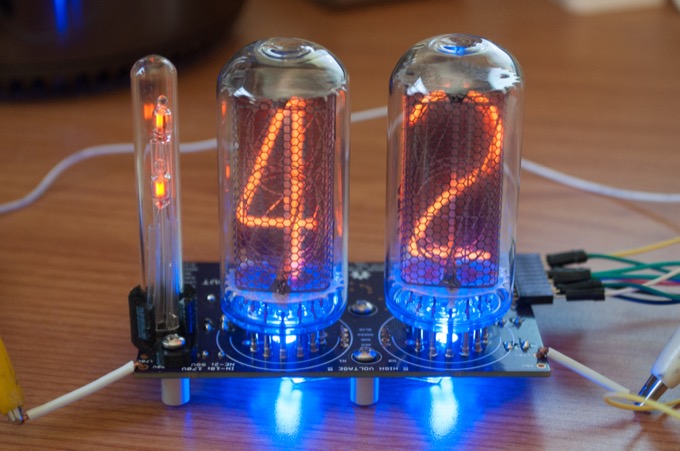
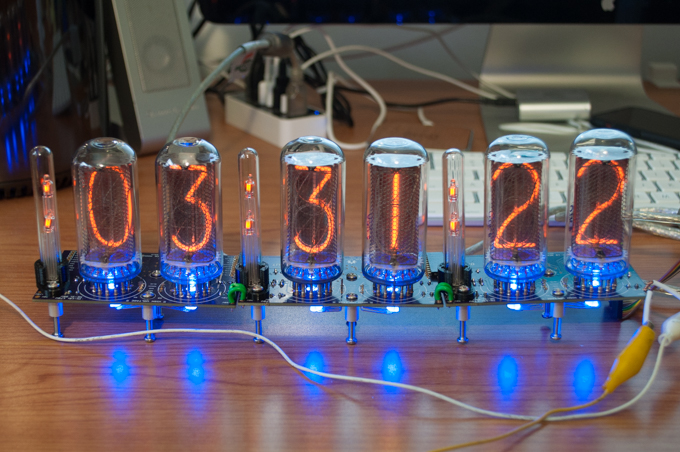
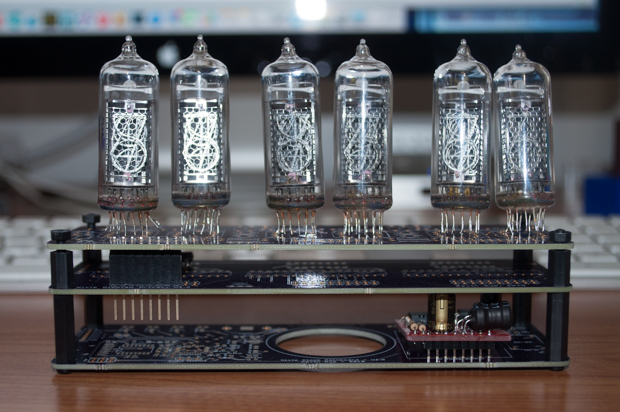
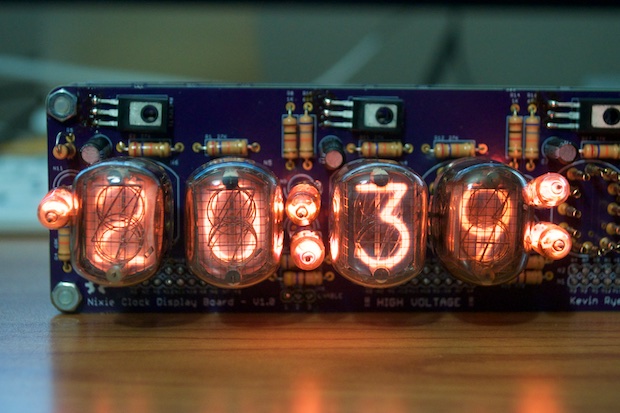
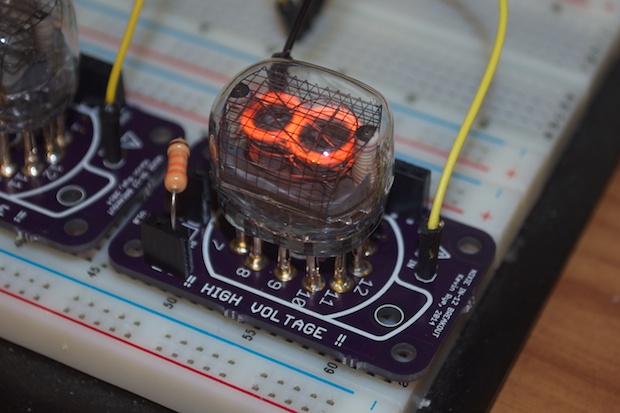
Section one of three for my IN-18 Nixie Clock has been successfully assembled. Everything works!
Read More...Feb 26, 2018
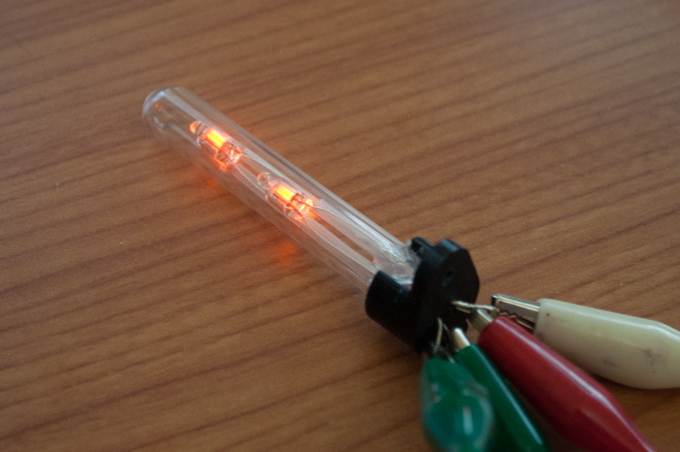
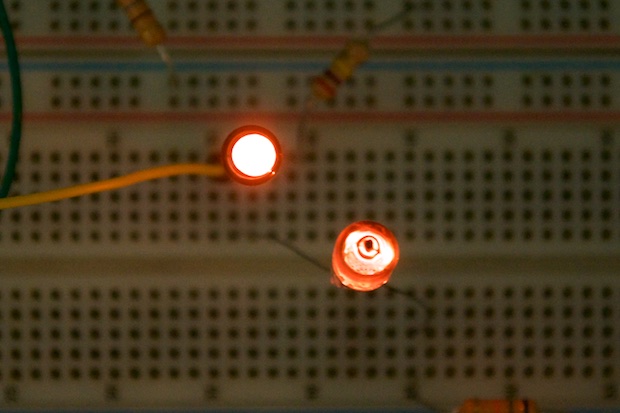
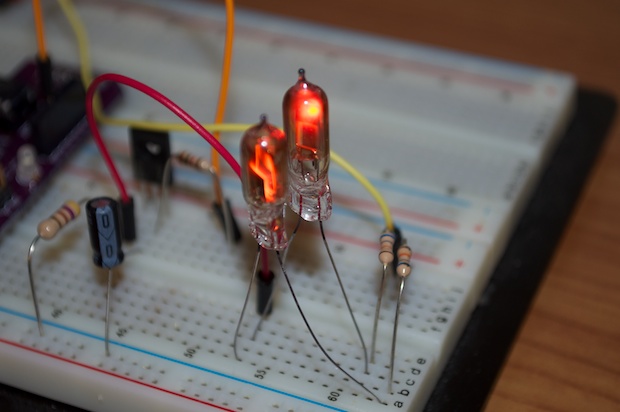
I need three nixie colons for the IN-18 clock. They can be found on eBay, but they are a little expensive for what they are. It's basically a glass tube and two little neon bulbs. There's no way I'm paying $12 each for those. They can be made for a fraction of that.
Read More...Jan 27, 2018
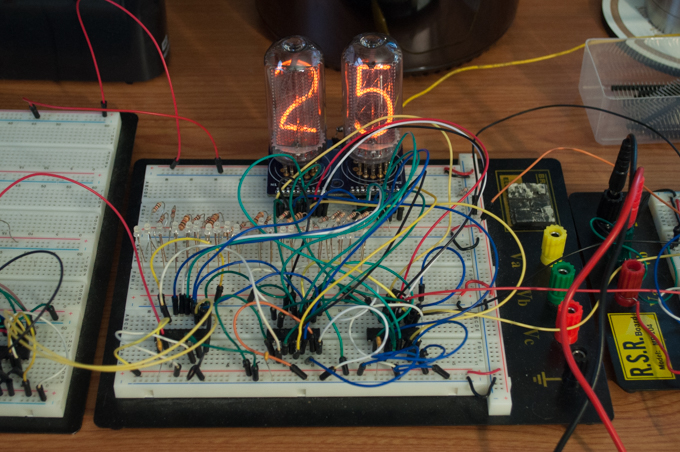
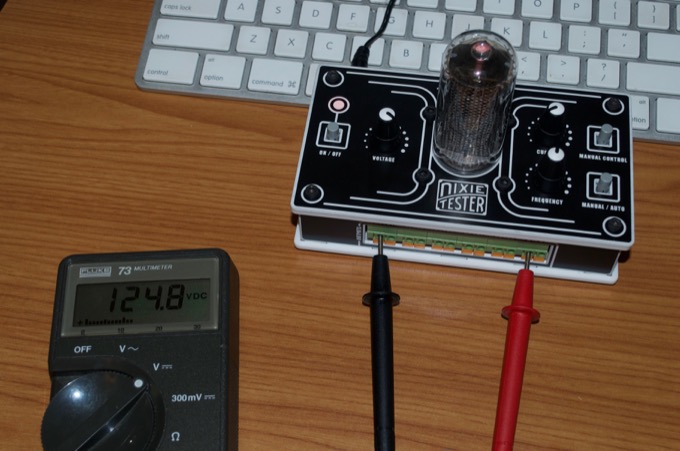
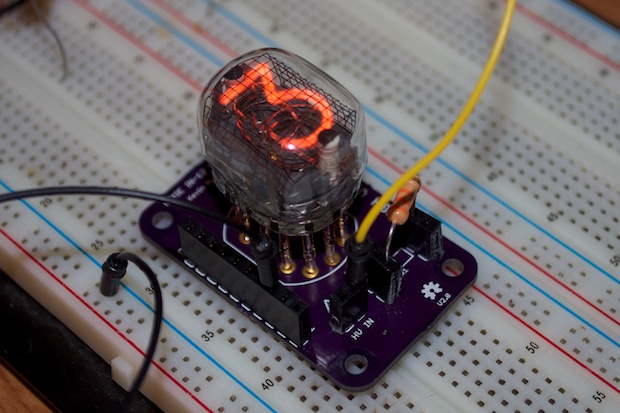
My breakout boards finally arrived. What a long two weeks! I popped one into my breadboard and I applied 160 volts. It works!
Read More...Jan 13, 2018
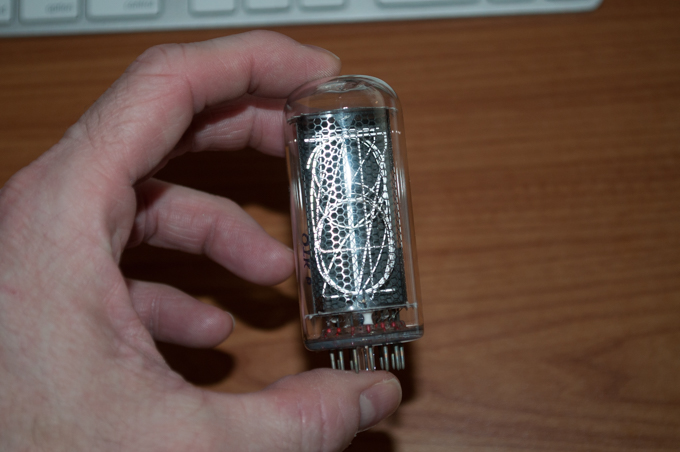
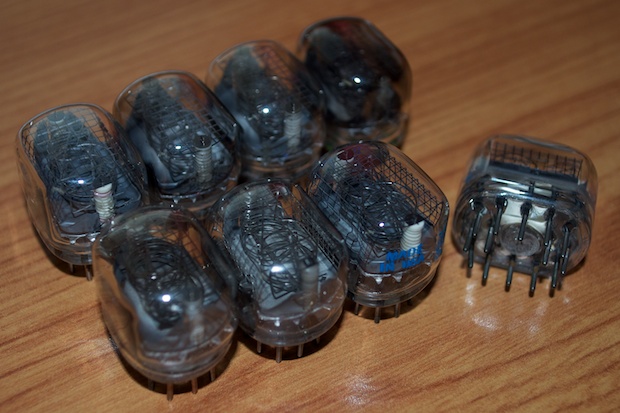
When my wife asked me what I wanted for Christmas, I didn't hesitate: IN-18s. Six of them. After all, it's not everyday someone buys you $300 worth of tubes.
Read More...Jun 14, 2017
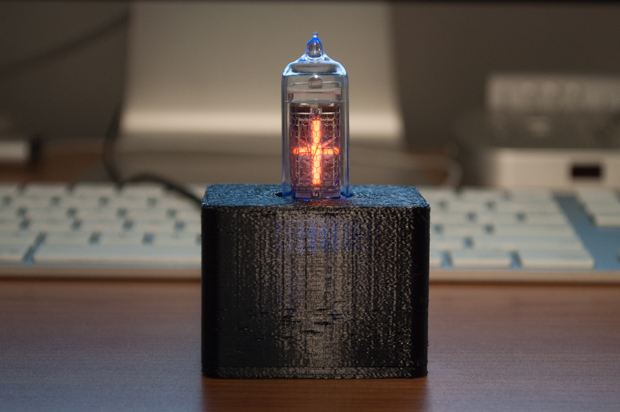
While waiting for the paint to dry on my IN-14 Nixie Clock, I decided to tinker around with a small board idea to do something with this lonely IN-19 that I have. When I bought the IN-14s for my clock, the eBay seller threw one in as a way to make up for a delay in shipping. It's a cool little tube. But what would I ever use it for?
Read More...Jun 03, 2017
I'm really happy with the way that this clock came out. It's so much nicer than my IN-12 clock. I can't wait to get started on another one!
Read More...May 20, 2017
This clock is coming along nicely. I know I designed it a few months ago, but I shelved it for a month to wrap other things up. Now that I've decided to go ahead with it, it's been less than a month and it's almost complete!
Read More... Apr 26, 2017
I left off last time with the notion that I'd be able to create a new IN-14-nixie clock based off the design that I used for my IN-12 nixie clock. The plan was to use the main controller board as-is, and combine the driver and display boards. This proved to be more difficult than I had anticipated. The routing of the high voltage traces left much to be desired, simply due to the lack of real estate. I decided to not only use the original controller board, but the driver board too. After all, OSH Park gives you three boards for each order, so I have some left over from the last clock. I might as well use them up.
Read More...Mar 15, 2017
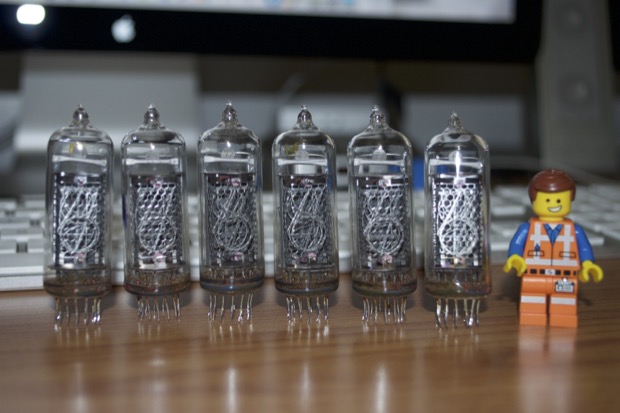
Look what I scored on eBay! (LEGO guy for scale.) I've been wanting to do another nixie clock for a while. It's been a year and a half since I completed my first nixie clock. I think it's time for another one.
Read More...Aug 22, 2015

Since this is my first nixie clock, I really wanted it to be something special. I've been wanting to build a nixie clock for over 15 years. I started out with a 7-segment clock back in 2001 just to get my feet wet, but I just never got around to it. I'm so glad that I bit the bullet and just went for it. I put a lot of work into this clock, and spared no expense. I learned a lot from this project. I'm sure the next nixie clock will come out even better.
Read More... Aug 21, 2015
I was using IN-3s for the colons on the nixie clock because I thought that was all that was available as a single bulb for use as a colon. I didn’t like the fact that they appeared to be made to be viewed from the front, not the top. I don’t like all that extra glass on top. I did a little searching and found that there’s an IN-1, and it's made to be viewed from the top. What a difference it makes!
Read More... Aug 08, 2015

The clock is built, the case is prototyped, and the code is 90% complete. This project really picked up some steam. I'm almost finished!
Read More...Jul 30, 2015
There is still much work to be done. I have to put in a bunch of code for the set buttons, the date, the alarm. Little things. I also still have to design a 3D-printed enclosure for it, as well as order some more nixies for the 2 that arrived DOA. In any case, it's coming along great!
Read More... Jul 20, 2015
At long last! My nixie main boards arrived. This project has been long in the making, but it's finally starting to come together.
Read More... Jun 30, 2015
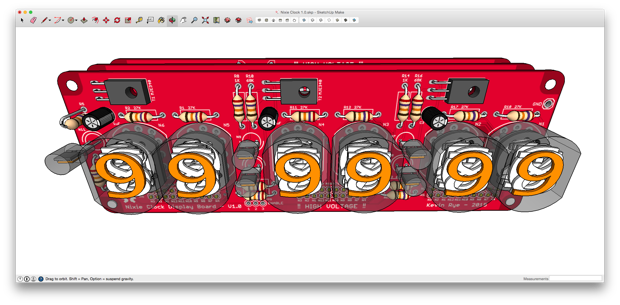
I've been struggling trying to make the PCBs since EAGLE limits the board size on the free version to 100mm x 80mm. I have to make everything modular. That means one board for the power supply, one for the audio stuff, one for all the logic, and 3 each for the nixies and the drivers. 5 PCB designs, 9 boards in all. They'll all have to be clipped together with wires and headers, etc. The whole thing seems less than ideal. I wanted to be able to just make one big board. I know I can’t make the entire clock one giant PCB. It’ll have to be at least 3 "layers" stacked up, but not made out of 9 separate boards. I bit the bullet and paid the $169 upgrade fee to the EAGLE Hobbyist version. It allows 160mm x 100mm PCBs. What a difference! Now I can make PCBs that are 6.29” long!
Read More... Jun 23, 2015
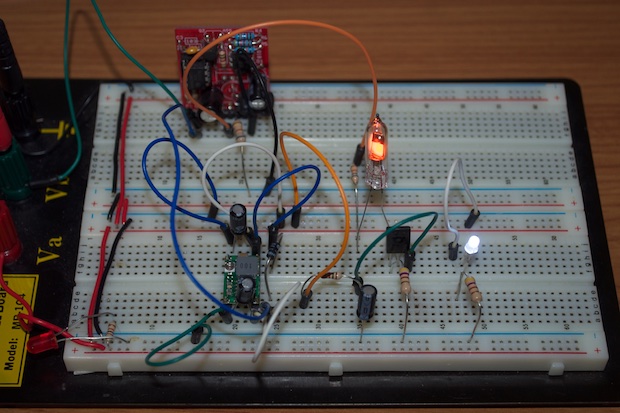
The past few months have seen zero progress in the nixie clock department. It's time to dig back in and make some progress. In order to power the logic of my clock, I need to regulate the 12 volts that's feeding the nixie power supply PCB. I decided to go with a super small buck converter that I found on eBay for $3 bucks. Works like a charm.
Read More... Oct 17, 2014
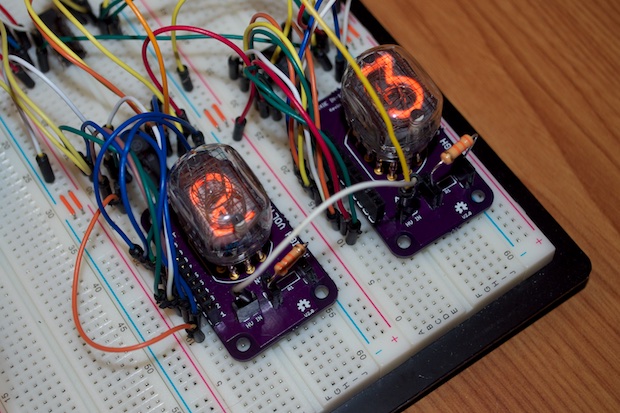
Moving right along with the nixie tube experiments... I decided to add a 74595 shift register into the mix and attempt to shift out some data to two of my nixie breakout boards through a 74141 nixie driver.
Read More... Oct 06, 2014
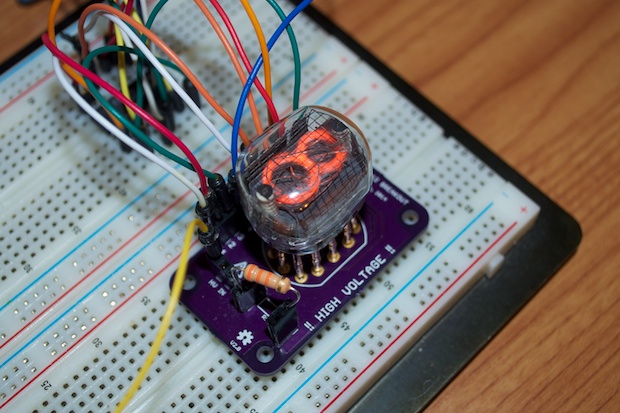
In order to drive a nixie, you can use a 74141 BCD decoder. Sure, you can use transistors, but you’ll need a bunch of them. You can drive all 10 nixie segments off one 74141 chip. All you have to do is feed it a number in binary and the chip lights up the corresponding cathode on the nixie; the same way you’d drive a 7-segment display with a 74247.
Read More... Oct 02, 2014
Rev 1 of my IN-12 Nixie Breakout Board was an abomination. Upon realizing that the nixie footprint that I used for the PCB was completely wrong, I immediately re-spun the board. I got it right this time. All ten digits light up when the corresponding pin is grounded on the 10-pin header.
Read More... Sep 20, 2014
I’m in the very early stages of prototyping a nixie clock. I picked up some MJE340 power transistors to switch on some IN-3s. I can then use a digital pin on my Arduino to turn on the IN-3s through the transistor. I’ll then have myself a blinking colon for my nixie tube clock.
Read More... Sep 20, 2014
After a long month of waiting for PCBs, nixie pins, nixie sockets, and resistors....I was finally able to assemble my IN-12 Nixie Breakout Boards. Too bad the pinouts are backwards and half the digits don’t work. See, this is why we prototype!
Read More... Aug 06, 2014

Ohhhh yeaaah!!!! It only took me a decade, but I finally got one of these nixies fired up! As I mentioned in my previous post, I picked up a new nixie power supply kit off eBay for under $10 bucks. It worked like a charm.
Read More... Aug 03, 2014
I’ve been wanting to build a nixie clock for over 15 years, ever since I saw the TTL nixie clock my Dad build in the 70s. Being a young lad, I was very apprehensive in dealing with the high voltages required to fire nixies. I just never had the guts. Back in 2001, I figured I’d start out small and design a TTL clock using 7490s and 7-segment LEDs. The whole clock runs off 5V and there’s zero chance of being electrocuted. It’s been a long time coming, but I think it’s finally time to bite the bullet and make a nixie clock. I’ve learned so much over the past few years working with the Arduino platform, that I’ll be able to apply what I’ve learned from all my other clock projects.
Read More...