I wanted to make a digital photo frame from an old laptop. I’ve had various laptops over the years that I’ve found in the garbage. I kept them for a while, but eventually they all ended up in the garbage for various reasons. Mostly due to the fact that they were so old, that the hard drives and RAM would not support any OS or applications that would make them the least bit useful. Now that I think back, they all could run a screensaver! For a digital photo frame, thats all you need: an OS, images and a screensaver. I needed to get my hands on another old laptop.
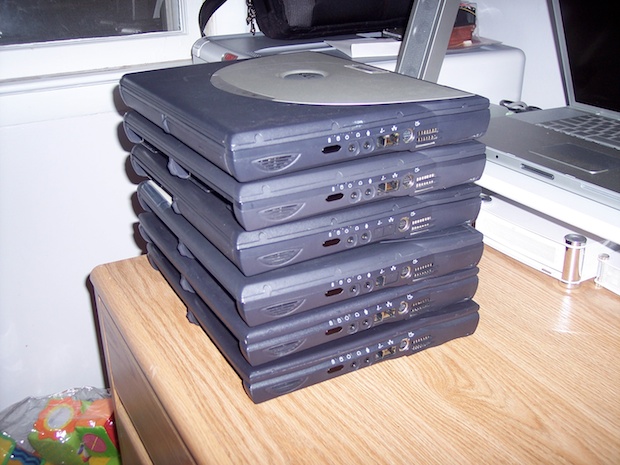
I told the IT guy at work about my idea for a digital photo frame. I asked him if he had any old laptops destined for the garbage that he wouldn’t mind giving up. Much to my delight, he presented to me a hefty stack of 6 Dell Inspiron and Latitude laptops.
They had all been totally gutted. No batteries, hard drives, or optical drives. Four had the memory pulled. Two of the laptops were Pentium 4’s clocked at 2.2 GHz and 2.0 GHz. The rest were Pentium III’s from the 850-1000 MHz range. They all took a mix of DDR and SDRAM memory. Lucky for me, two laptops still had memory; a 128M DDR stick from the P4’s and 512M of SDRAM from the PIII’s. Good thing too, I don’t have any spare laptop memory.
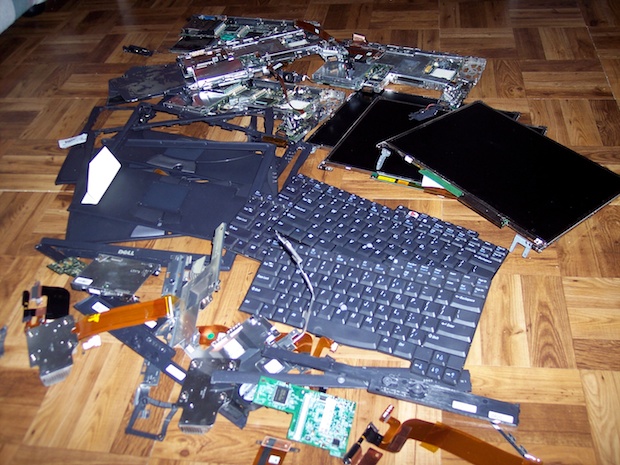
The first step was to sort the good from the bad. With a nice mix of defects, surely there’s enough to make at least one working machine. A few powered on, but wouldn’t POST. Some had cracked LCDs. One was dead as a door nail.
Just as I had suspected, after ripping them to pieces and playing a little Dr. Frankenstein, I managed to salvage two machines. Both of which were Pentium 4’s. Sweet! Time to get my build on.
Here’s the work flow:
Thanks IT!
Divide and conquer. Sort out the good from the bad.
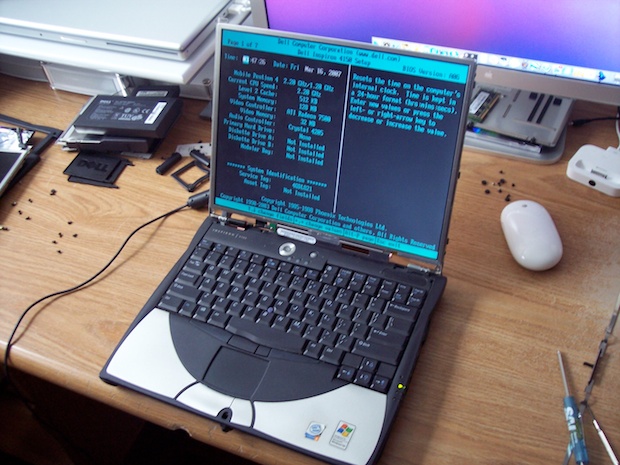
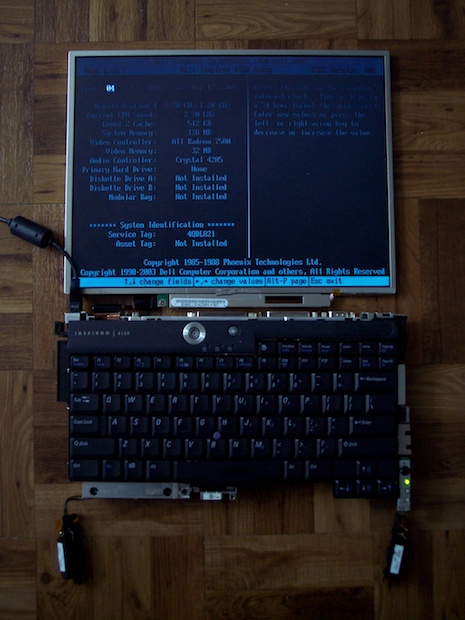
This rebuilt 15” Inspiron 4150 P4 2.2GHz works like a charm.
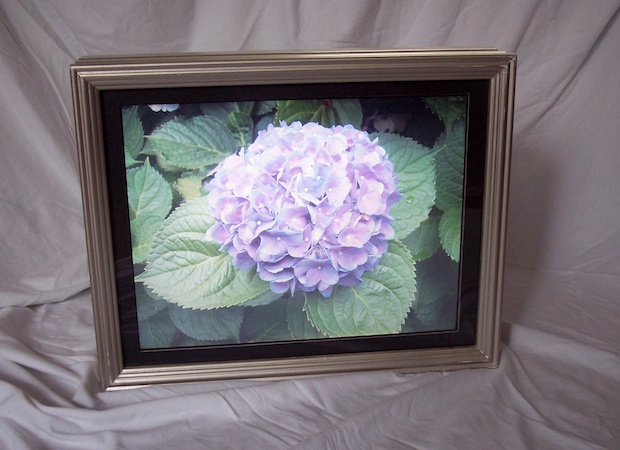
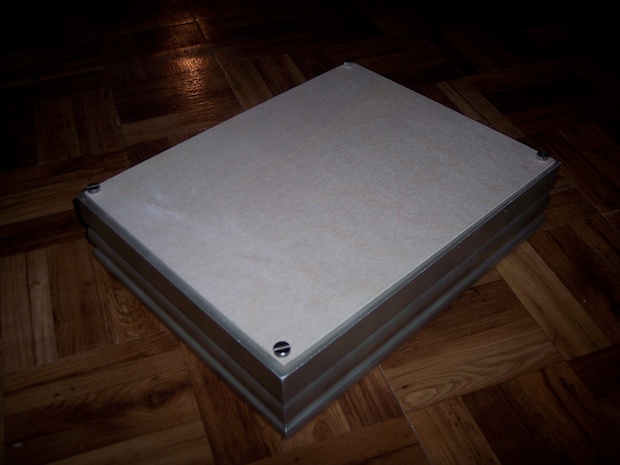
Get a “shadow box” for the laptop guts.

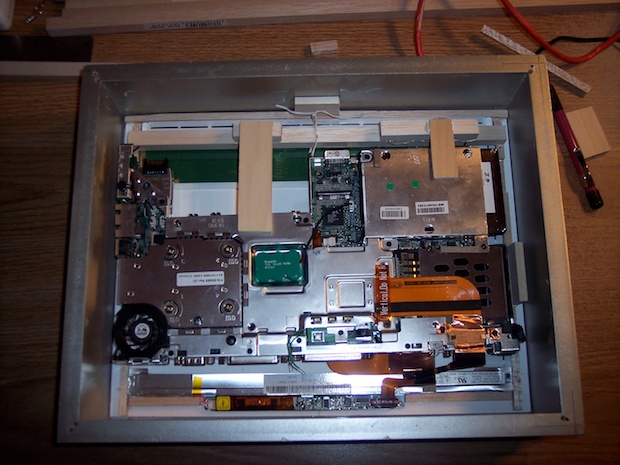
Remove guts from the laptop enclosure.

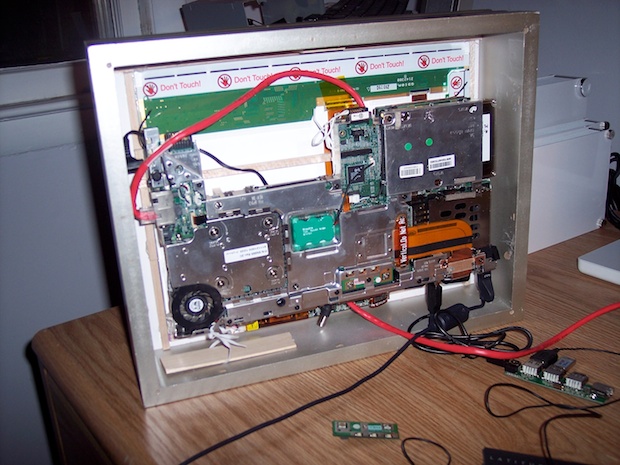
Test and make sure everything still works.
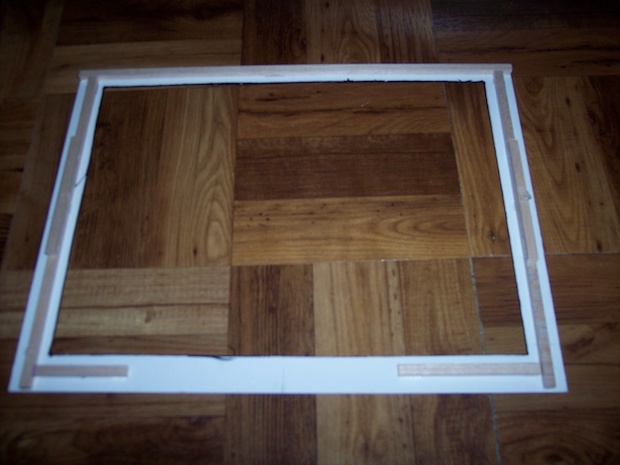
Cut a mat for the 15” LCD and trim with balsa wood to hold the LCD centered in the window.
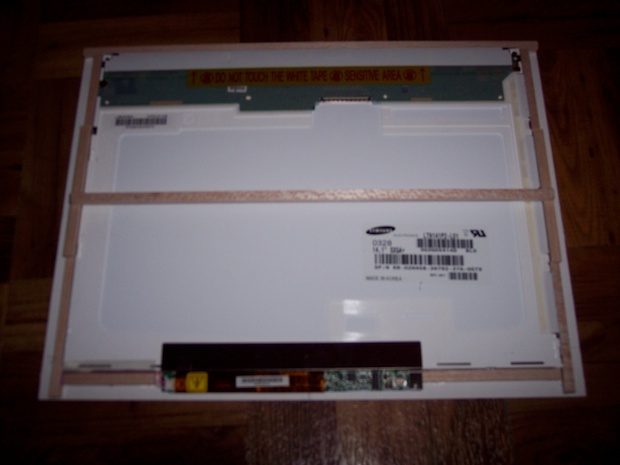
Add braces to keep LCD flush against the glass.
Looks good.

Glue wooden stand offs on the back of the motherboard to keep it off the LCD.

Add more braces to keep the motherboard in place.
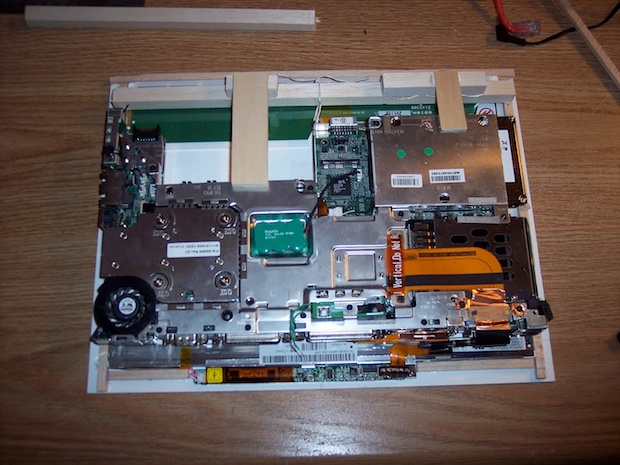
Drop it in the box.
LCD and motherboard held in place.
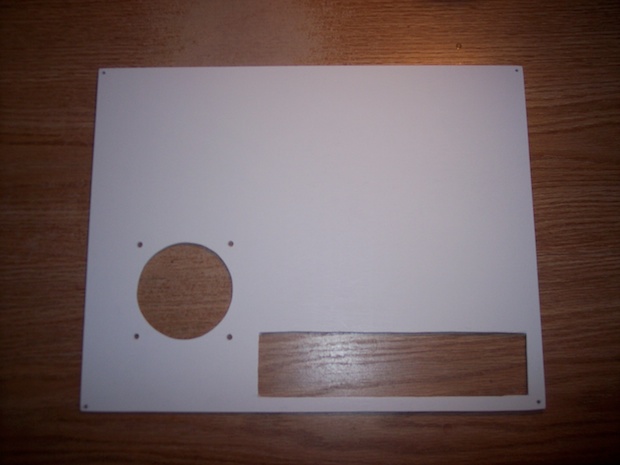
Cut a wooden back and drill holes for the 4 corners.
Cut out holes for the case fan and I/O panel.
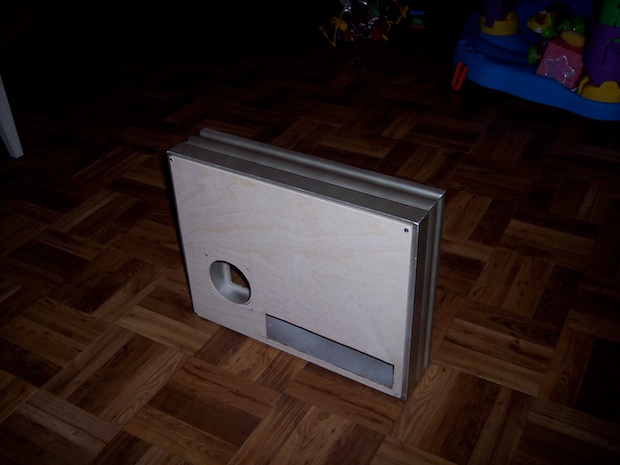
Paint it white.
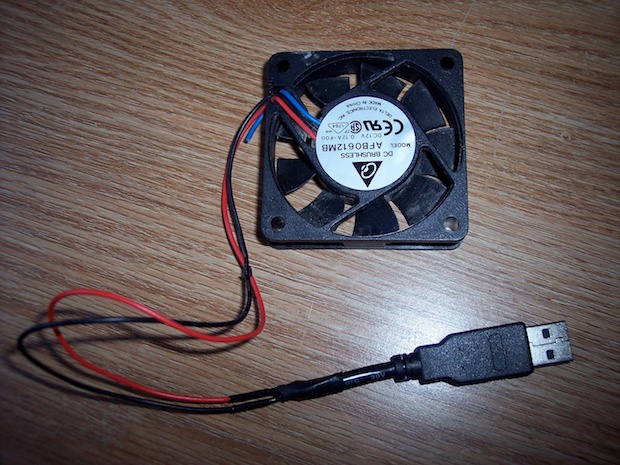
Solder a USB connector to a standard 80 mm PC fan.
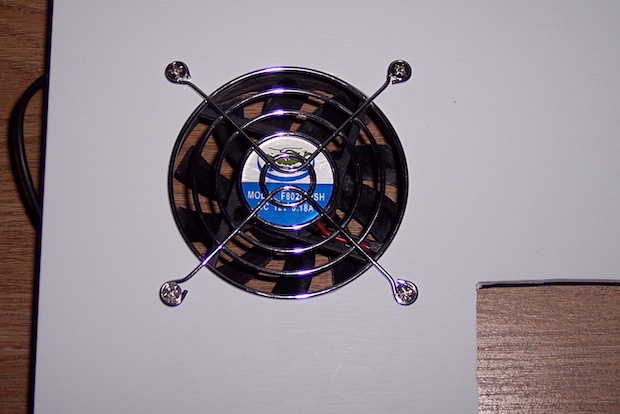
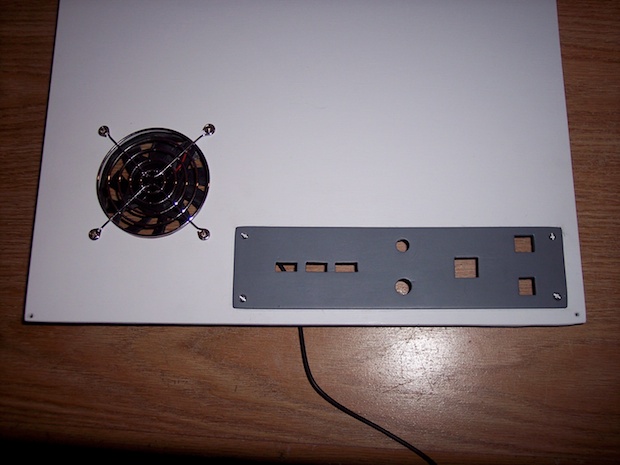
Mount the fan and grill.
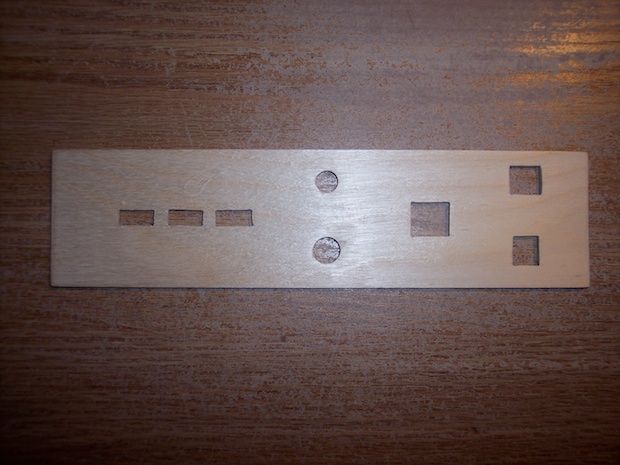
Cut out an I/O panel.
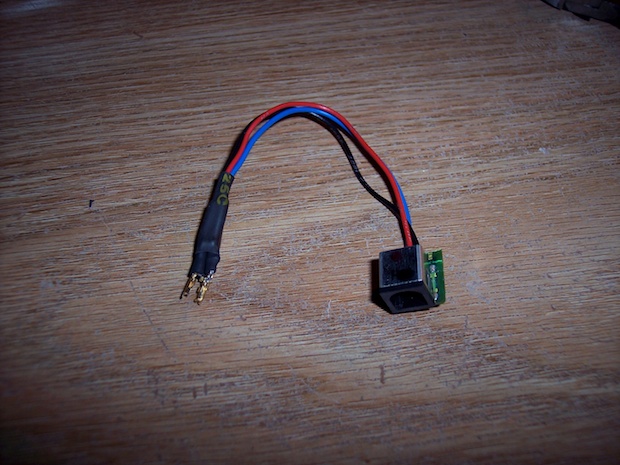
Wire up a home-brew power connector for the I/O panel.
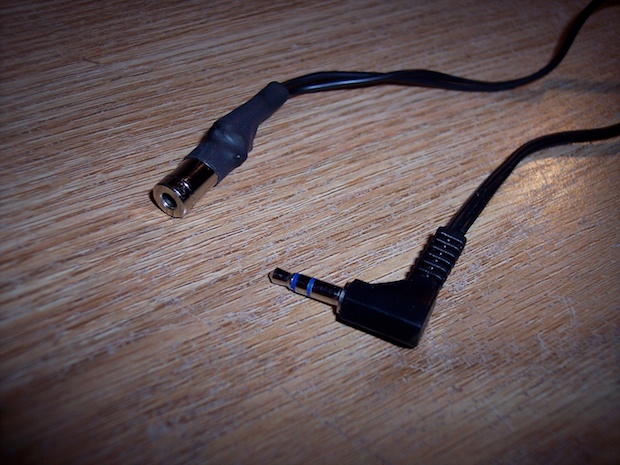
Wire up an audio pass-through cable for the I/O panel.
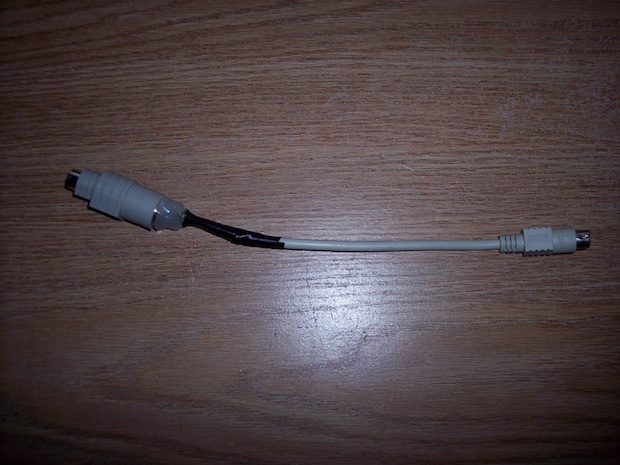
Wire up a PS/2 pass-through cable for the I/O panel.
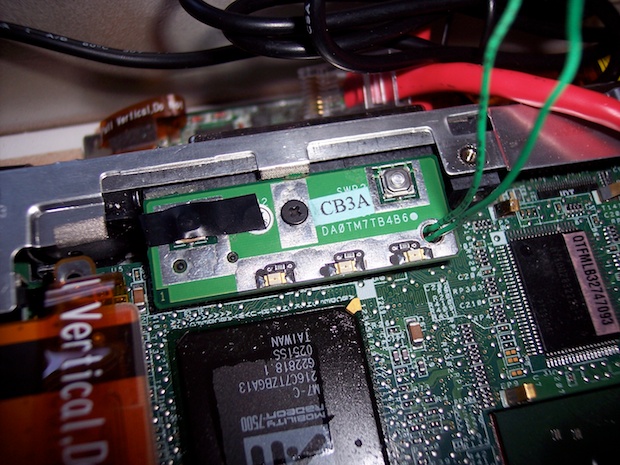
This is the daughter board from the laptop that holds the power switch.
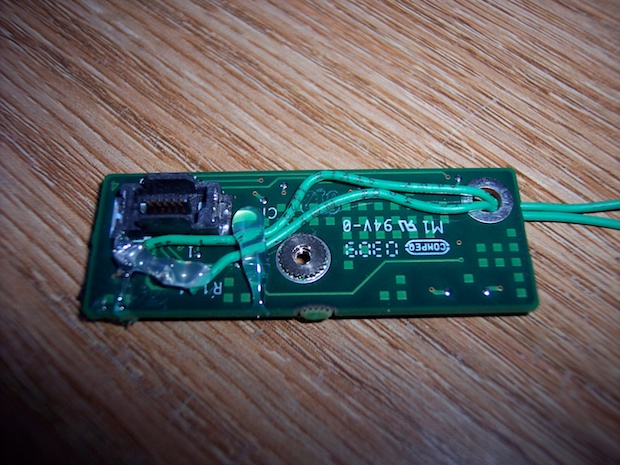
I soldered wires to the back of the board that are connected to the on/off switch and ran them to my own switch.

I screwed the daughter board back onto the motherboard and fed the new wires out to the I/O panel.
Paint and attach the I/O panel
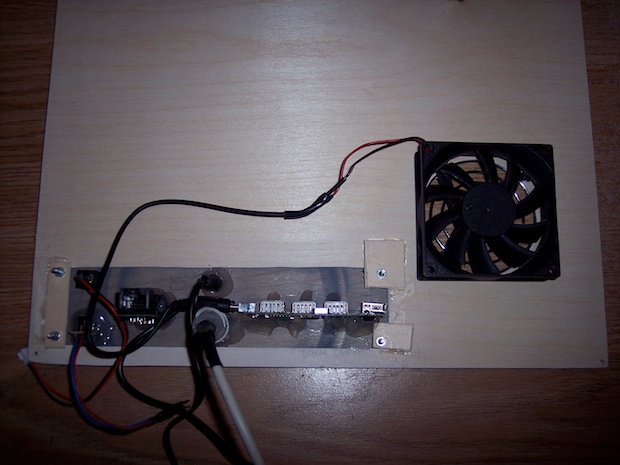
Wire it up with the power cable, USB hub, ethernet pass-through, audio out, and PS/2 adapters. I have the case fan plugged into the USB hub.
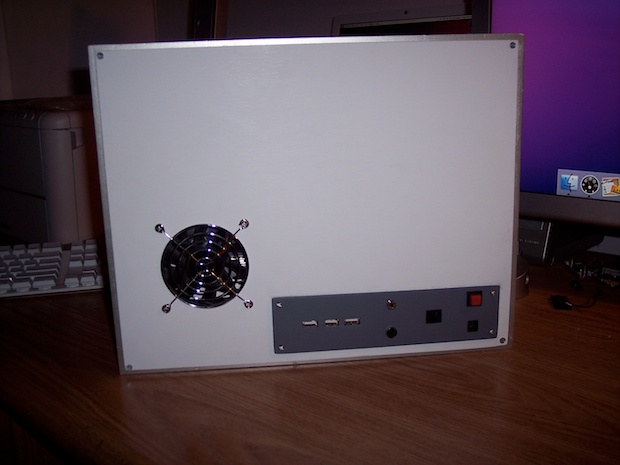
All done. Thats a full-up I/O panel.

Screw on the back and connect all the pass-through cables.
I then plugged in a keyboard, mouse, USB thumb drive with images, and dragged them over to my Pictures folder and set the screensaver to a slideshow.

After 1 minutes, it’ll scroll through my images. Complete!!