I can't believe this day is finally here! I've been waiting two years and a month for my Glowforge to ship! I guess it's a small price to pay for getting it at the pre-order price of $1500 off. When I first pre-ordered it in February of 2016, they were supposed to start shipping units in June. There were delays after delays after delays, but they finally pulled it off and started shipping units in late 2017/early 2018.
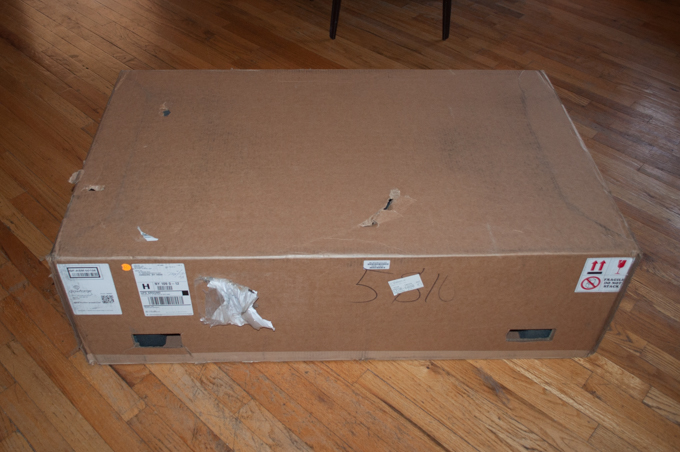
I have to give them mad props for their packaging. This is a heavy unit. Although the unit is clearly marked on all side with "this end up stickers" the idiot on the UPS truck had the unit in the back laying on its side! There were several holes in the top of the box, and three out of the four locking handles were missing. I offered to help the driver unload the unit from the truck. As soon as I saw it I said, "Really? It's laying on it's side?" The driver just looked at me. Not a word. We both grabbed one end of the box and pulled it off the truck. Again, he was trying to turn the box on it's side. I was like, "Look! It's "this end up"! This whole thing is glass on the top and it better not be broken!" Again, he just looked at me, not a word. We carried the unit to the house, I opened the door and went to lower my end to the floor. Again, the guy starts to twist the box to lower one edge to the floor sideways. I was like, "No! It is THIS END UP!". It's amazing everything doesn't arrive totally destroyed by UPS.
In any case, the unit arrived safe and sound. I was so nervous opening the box. I was so afraid with those holes in the top that the glass would be shattered. It was actually supposed to be delivered 4 days ago on Friday, but it snowed and the package was delayed. UPS doesn't deliver on the weekend, so it got pushed out to Monday. On Monday, the driver showed up an hour before he was supposed to be here. (I was given a 2 hour deliver window which the driver completely disregarded.) The unit was then delivered the following day. I was afraid with all the back and forth, and the multiple times the unit was loaded and unloaded onto a truck that it would be in a million pieces before it arrived.
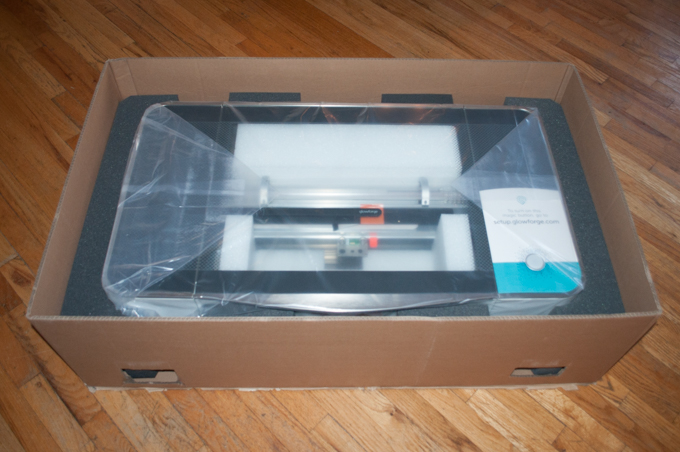
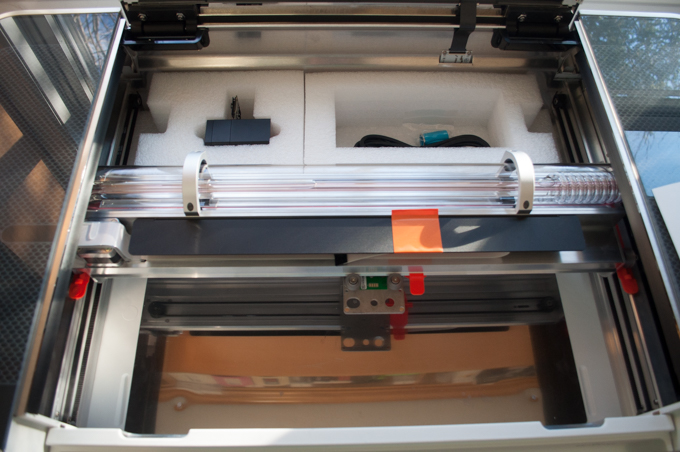
I crossed my fingers and lifted the lid. Pheeew! The glass is OK.
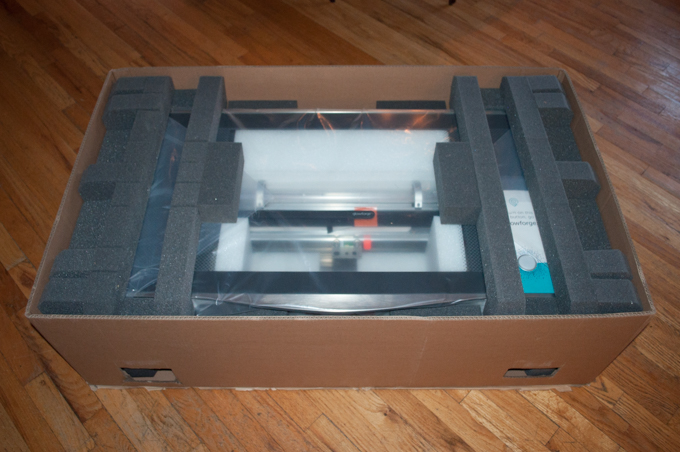
I removed the foam and took a closer look. Everything looks great. What a relief!
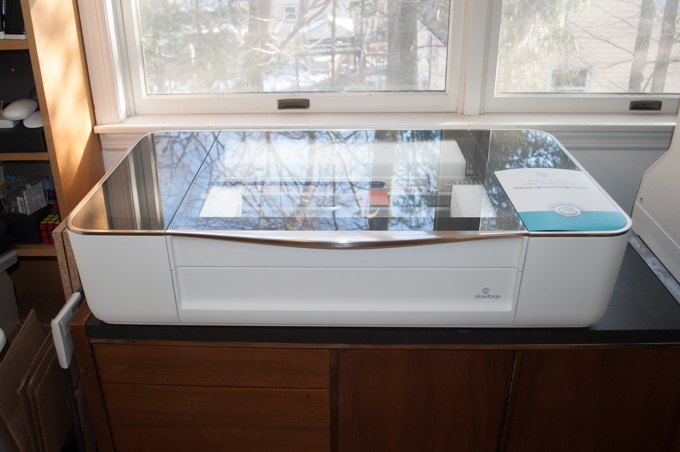
I then took the Glowforge out of the box and carried it upstairs to the computer room. Wow this is heavy! I probably should have waited until my wife was home so she could have grabbed one end, but I just couldn't wait!
Everything is so solid. I can't believe the quality. This really does feel like a $4000 unit. You really know where your money went. This is top of the line. Everything is so well crafted.
Everything is nicely packed and entombed in foam. It looks like they spared no expense in the packing and shipping of these units.
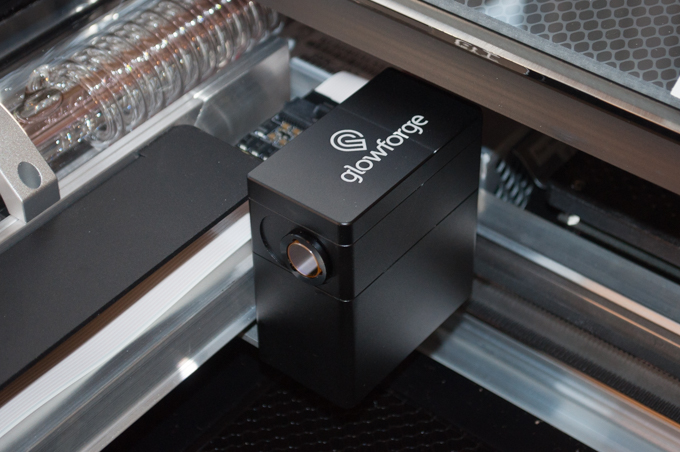
Here's the laser head assembly. Very nice.
I usually never bother with instructions because I'm pretty good at figuring out how things work, but for this I downloaded the manual from their website before delivery and gave it a good read. I then walked through the instructions page by page while I unpacked and set up the Glowforge.
The laser head assembly just snaps into place with some magnets and goes exactly where it needs to.
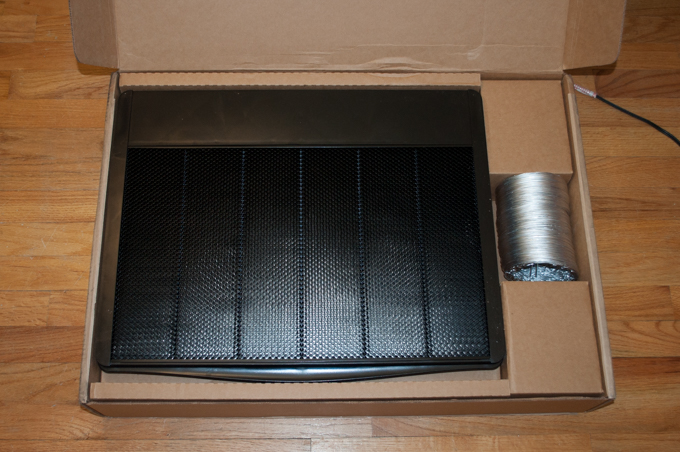
There was a second box that arrived with the Glowforge. It included the crumb tray and the exhaust hose. You'd think it would have been cheaper to just ship the Glowforge with the tray inside, but this just goes to show the attention they paid to ensure that your Glowforge arrives in one piece. The crumb tray is solid and heavy and you probably don't want that bouncing around in the bottom of your Glowforge.
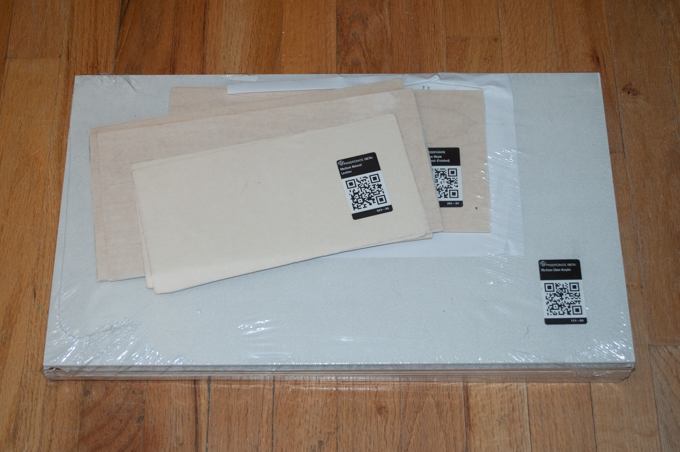
Prior to delivery of the Glowforge, I received a separate shipment of Proofgrade materials. It was such a tease having these for a week before the Glowforge arrived. There's some acrylic, draft board, cherry, walnut, maple, and leather. A very nice assortment of materials to get you started.
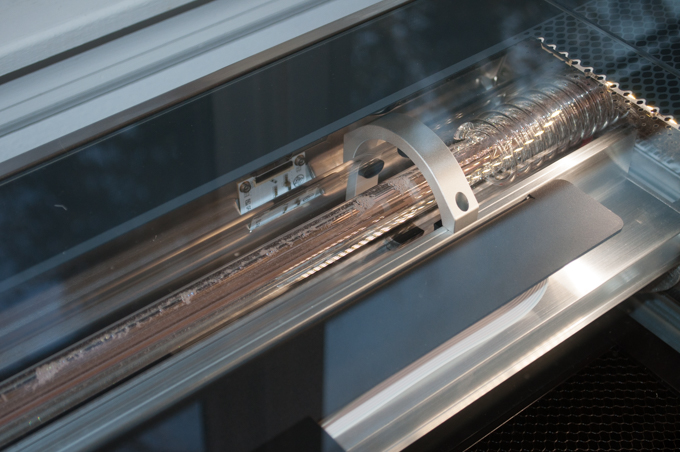
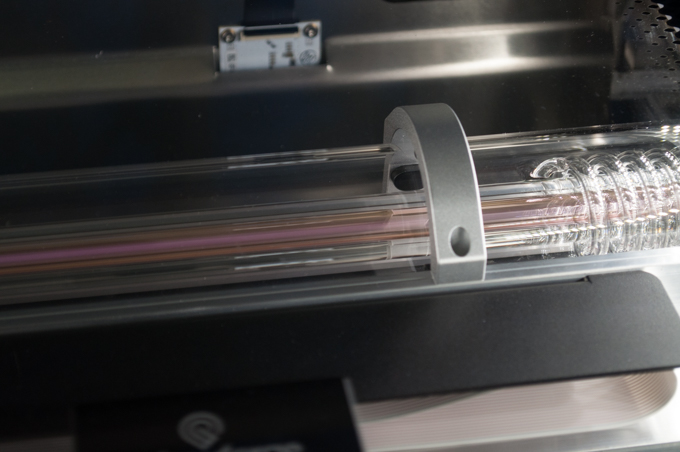
I powered on the unit and let it do its thing. There's some really nice and bright LED strips along the sides.

The laser is liquid cooled. I could hear and see the fluid bubble through the unit.
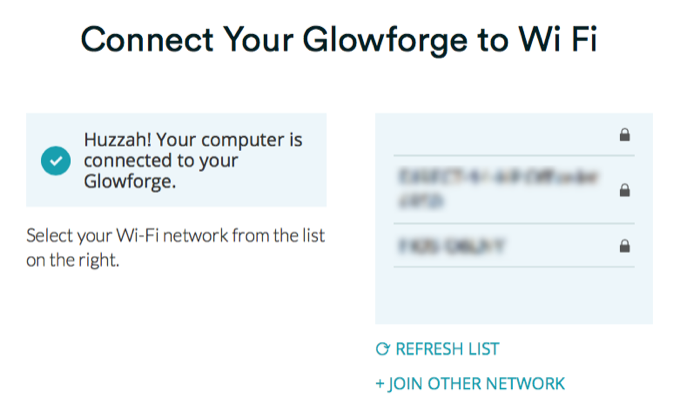
When the unit was ready to connect the my WiFi, the button turned teal to let me know it was ready.
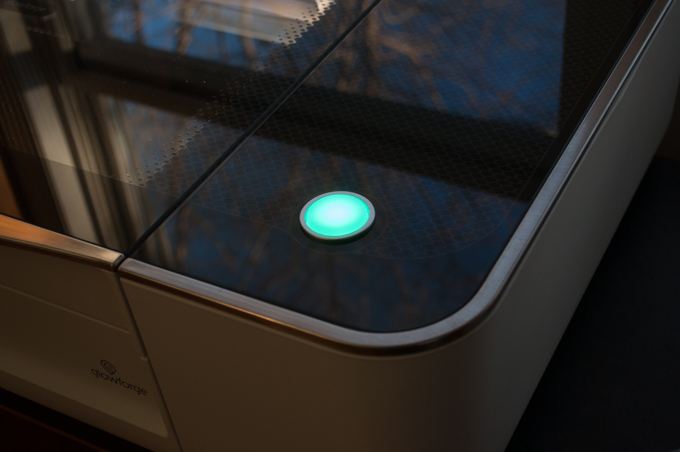
The setup was a snap and I was ready to rock in minutes.
After the Glowforge was on the Internet, the setup page took me right to my dashboard. It had already been populated with a bunch of freebies that I could cut right away.
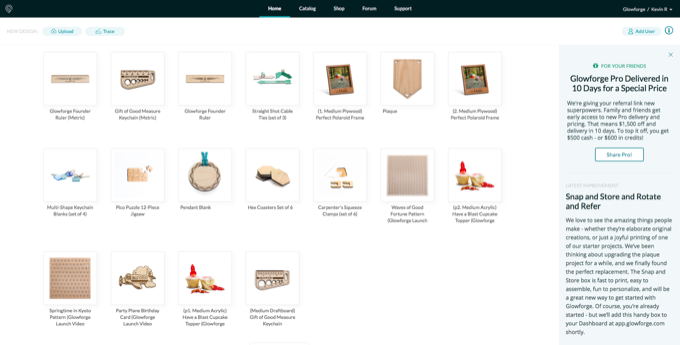
Since I pre-ordered the Glowforge and had to wait so long for delivery, I was given "Founder" status. Founder status affords you several benefits. A ton of free stuff, coupons codes, store credit, discounts, etc.
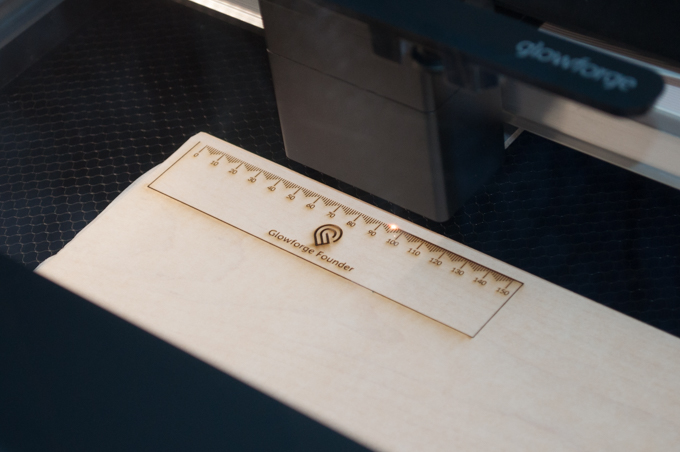
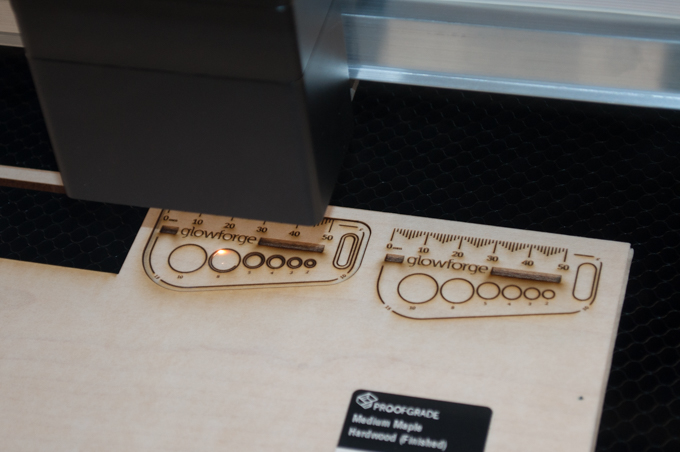
After visiting the forums over the past 2 years, it's been made clear that it's tradition to cut a Founder's ruler as your first project. It's the "Hello World" of laser cutting.
The Glowforge uses a web interface. Personally, I would have preferred a full-fledged desktop app, but this'll do fine. The one drawback with the Glowforge is that it's cloud based. When you upload a design, everything is processed on Glowforge's servers. There's no processing done locally. This means you have to be connected to the Internet and you have to hope that Glowforge's servers aren't down. Maybe one day that'll change and they'll release a desktop app where jobs can be processed locally, but for now this is what we have. I'm not worried about them going out of business and leaving me with a $4000 paperweight. They made a statement that if they ever go out of business, they'll open source the thing. It would be nice if it was like a 3D printer where you could use a multitude of programs to run it, but I get it.
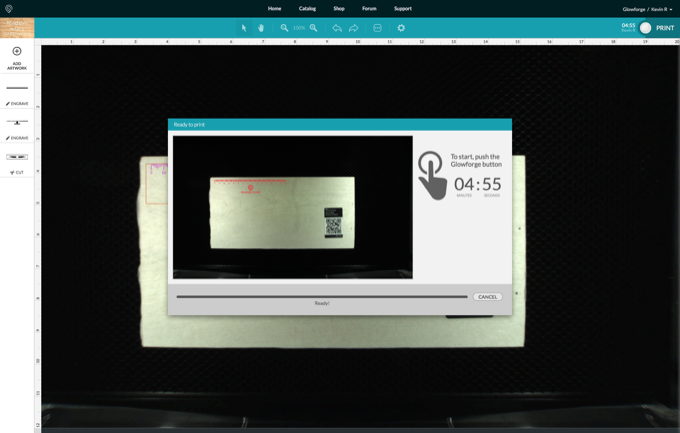
I loaded in a piece of wood and positioned the ruler. It's so easy to use. Proofgrade materials have a code on them that the Glowforge scans. This allows it to set up the cutting and engraving parameters automatically for you. Super easy. You don't have to dial anything in. All you have to do to tell the Glowforge what gets engraved vs. cut is to make the paths in your SVG file a different color. In the interface, you can then pick which one is a cut and which one is an engrave. It doesn't get any easier than that. If you use 10 different colors, you can assign 10 different engrave/cut settings to each color. Awesome.

That's it. Place your material, position your file, and hit PRINT. Once it's ready to go, the button on the Glowforge glows white. Press the button, and off it goes.
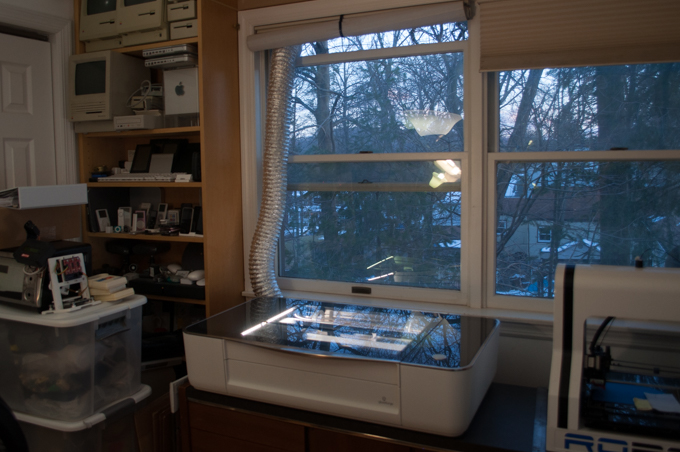
I hung my hose out the window and pressed the button.
Awesome!
It's really cool how you can see the laser pulsate a cool purple color as it's cutting.
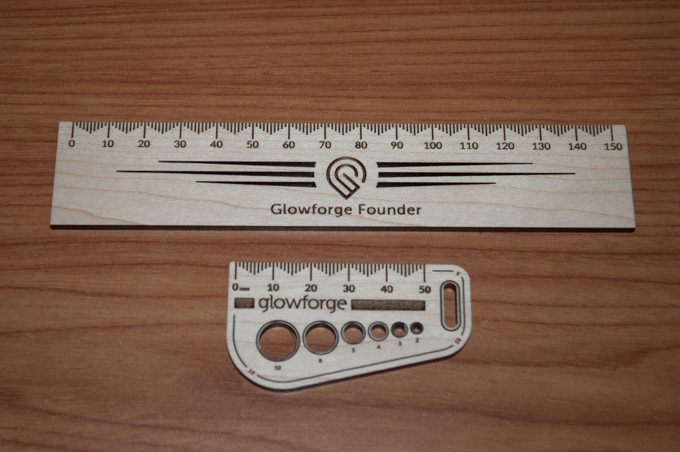
I also cut out a few of these cool little "Gift of Good Measure" keychains.
That is just awesome. It's amazing it cut these things out in like 5 minutes. You can easily just crank projects out with this thing.
Since I'm a Founder and I waited so long, I have about $250 worth of store credit to put towards Proofgrade materials. Working with Proofgrade material is easy, but what about other stuff? If I want to cut or engrave something else, I'll need to know what power and speed settings to use.
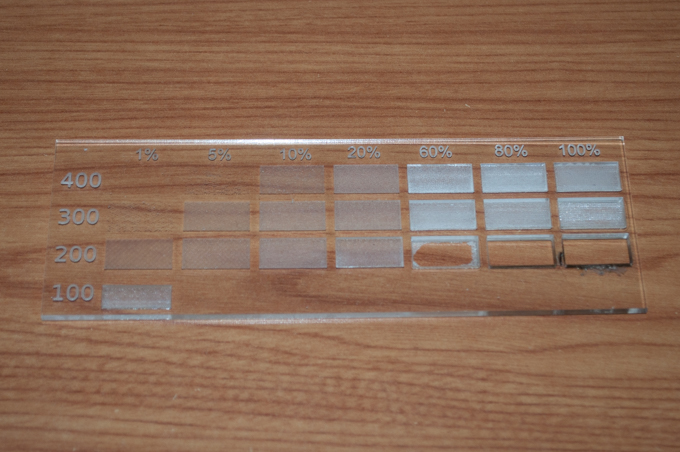
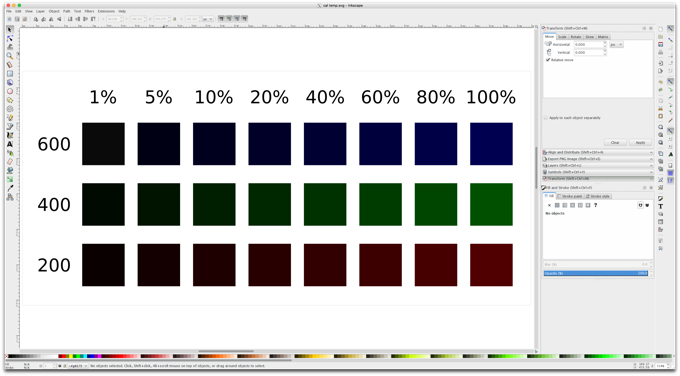
I jumped into Inkscape and laid out some boxes that I could apply different speed and power settings to. I then let 'er rip on a piece of clear acrylic.
That's a really good test. It's amazing the difference you can achieve changing the speed and power. It was funny to see what happened once power hit 80% and the speed went down to 200. It pretty much just started cutting holes. I stopped the job after 1% power at 100 speed because it was going to take something like 45 minutes to complete. It would have just started making holes at about 10% in, so I cut my losses. (No pun intended.)
I'm sure every material has a sweet spot so I'll probably have to cut one of these for every material I plan to use.
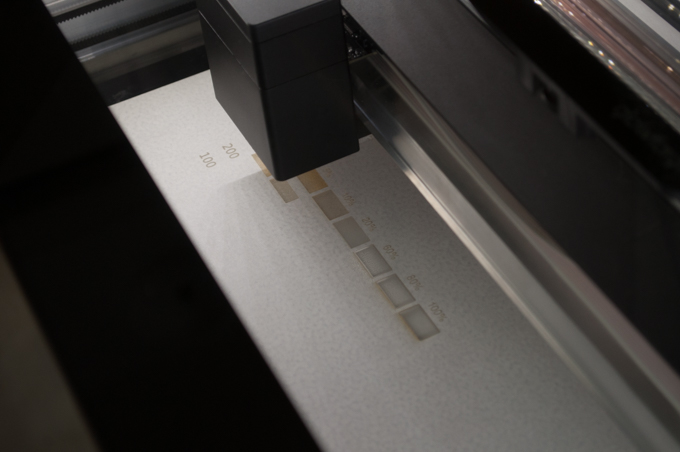
However, this panel is way bigger than it needs to be, and it's a waste of material. I jumped back into Inkscape and made a smaller one that's only about 4 inches long.
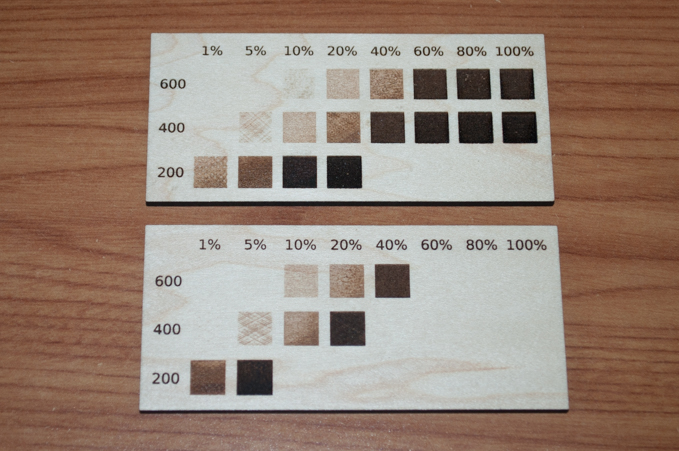
I then cut two different kinds. One at 270 lines-per-inch and another at 450 lines-per-inch. I didn't bother engraving the areas that would most likely just end up with a hole, or the really low settings that barely marked the wood. If you compare the 600/40 squares on each panel, you can definitely see a difference in quality when the lines per inch setting was increased. I only had it set to 450 lpi on the bottom panel. The lpi settings on the Glowforge go up to 1355! Speed goes up to 1000. There's an infinite combination of power and speed settings. This gives me a pretty good idea of what to expect, or at minimum, establishes a baseline.
I can't believe after all these years I finally own a laser cutter. I have wanted a laser cutter as long as I can remember. The Glowforge is such a game changer. Before the Glowforge, laser cutters were unjustifiably expensive, ugly, clunky, complicated machines to use. The Glowforge is as easy to use as a 3D printer and is beautiful to look at.

