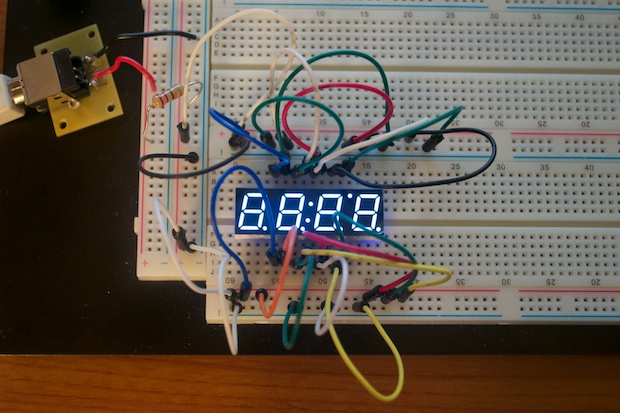
I was really happy with the way that version 2 of my
Mini 7-Segment Clock came out. Apparently, I wasn’t the only one. I’ve had several people ask me for a kit. I was reluctant to do it at first, but the more I thought about it, the more I thought it would be something cool to try. I’m not looking to be the next SparkFun or Adafruit, but I thought it would be fun to see if I could do it. Who knows? Maybe this will turn out to be the “next big thing”. Nah, probably not, but it’ll be fun anyway!
For a one-off, the price is pretty high. All together, one clock cost me a good $30 bucks in parts. The ATmega was about $5 bucks. The DS3231 RTC was about $9. The PCB was about $6. That's $20 bucks just for those 3 things. Adding a $5 DC adapter brings it to $25. Never mind the rest of the components, I can't imagine someone paying more than $25 for one. I can't just give them away either, so in order to make a few bucks I'd need a way to bring the price down so that I could sell one for $25. I figured $25 is a good price for such a neat little digital clock.
For my prototypes, I ordered my PCBs from OSH Park. They're great if you just need a few boards, but if you need dozens, it quickly get's pretty expensive. The PCBs for the clock cost about $6 each from OSH Park. You can get them made in China from the likes of
Seeed Studio and
iTead Studio for a fraction of that.
I submitted a small order to iTead for 10 PCBs just to try out a small run. I figured 10 kits is a good way to test the waters and work out all the logistics involved in making a kit. I don't want to break the bank trying to get 50+ kits together for them to not sell.
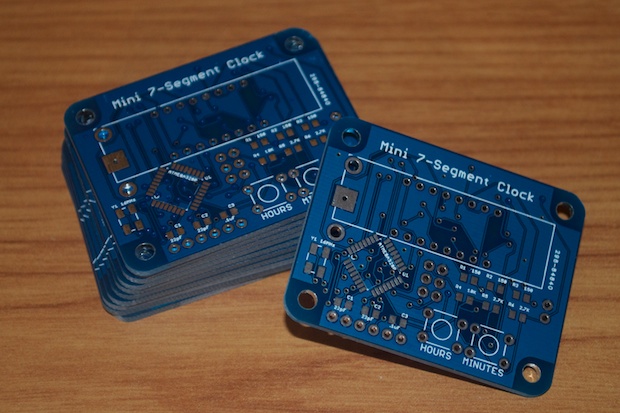
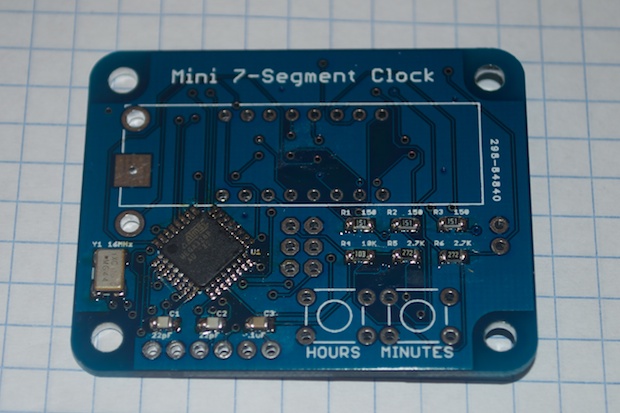
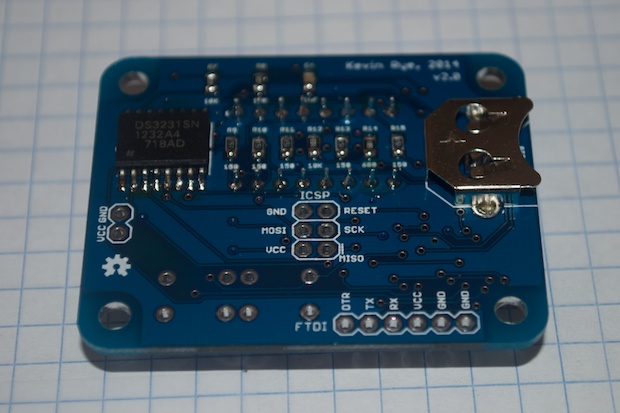
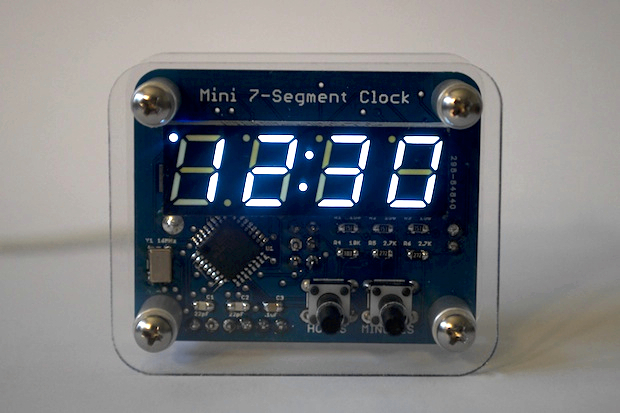
After a few weeks, my PCBs from iTead finally arrived. I thought blue PCBs with white LEDs would look a lot cooler than my previous green on purple.
The PCBs look great. I’ve heard of people complain about the quality of the silkscreening on Seeed/iTead PCBs, but I think it looks great.
All the others parts that I ordered from Digi-Key and SparkFun had already been received. The PCBs took several weeks to come in and really held up the project.
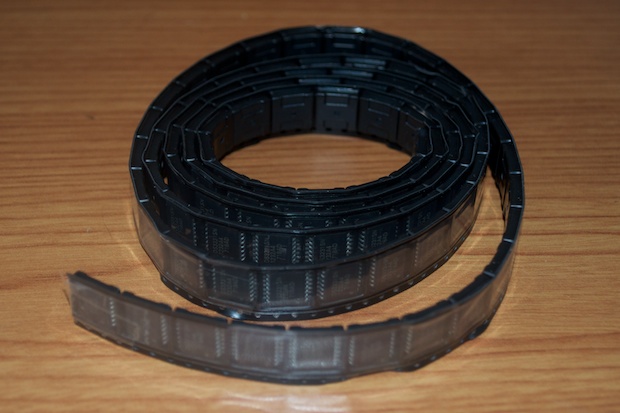
Well, not just the PCBs, but the DS3231s that I ordered from China. They took a month.
Since these chips cost $9 from Digi-Key, I could really bring the cost of the kit down by saving a few bucks on those. I found a seller on eBay in China that sold them for a fraction of that. I've used them before in many of my other clocks and they’ve performed flawlessly. Although I only need 10 for the kits, I ordered 100. I regularly use these myself, so it's nice to have a bunch of extras. In addition, if I do go ahead with a larger run of kits, it'll be nice to not have to wait another month for more to arrive.
Laser cut acrylic from
Ponoko usually takes about two weeks to arrive. I needlessly paid a little extra to rush the laser cut acrylic panels. They arrived weeks before everything else. Oh well, lesson learned. But that's good! This is the stuff I wanted to find out. Now I know how long this stuff takes to come together, it'll be that much easier next time coordinating everything.
Again, I only need enough to make 10 kits, but I ordered enough to make 24 just in case I decide to make a second batch. I think it's a little cheaper in the long run to make 1 big board vs. 2 smaller boards. If anything, I might save a buck or two on shipping.
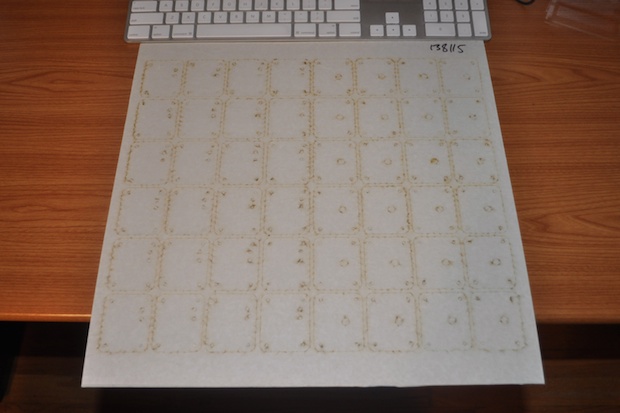
Last time I ordered the green displays from SparkFun, 3 out of 4 of them were duds. I had to contact them, get an RMA number, and wait for them to send new displays. That delayed the project about a week. In order to eliminate any repeats of that, I ordered 2 extra displays beyond the 10 that I needed for the kits. Furthermore, I tested all 12 displays to make sure that every LED worked. I guess I just got a bad batch last time, because these all worked perfectly.
I had ordered 10 PCBs for the kits, but received 11 from iTead. That’s awesome. I decided to put that extra one together to validate that the PCBs were good to go. I could also take pictures of it and use them on my
Store Page.
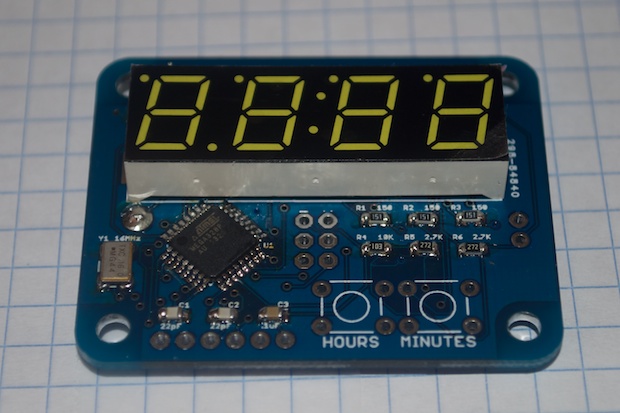
I always like to solder all the SMD stuff first. I started with soldering in the crystal, the ATmega, the caps, and the resistors for the display and the switches.
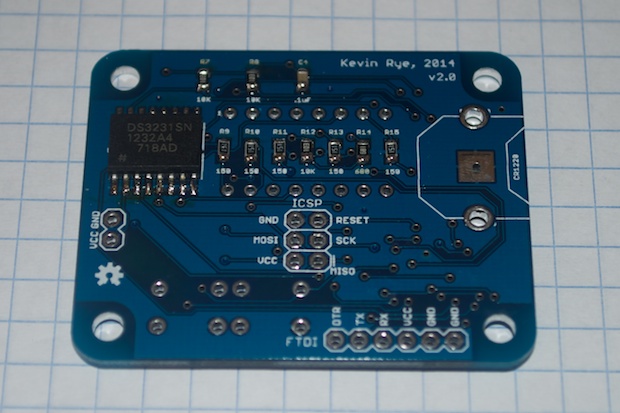
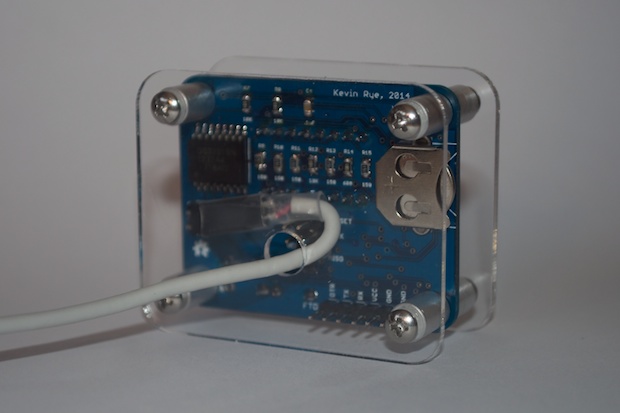
On the back, I soldered the DS3231, followed by the rest of the resistors and the caps.
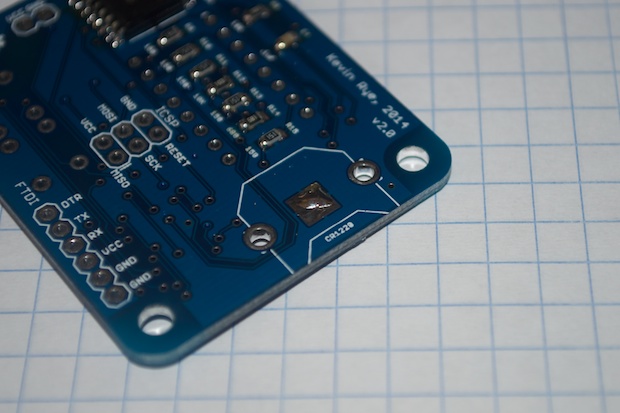
For the battery holder, I’ve found putting a little blob of solder on the ground pad helps keep the battery in nice and tight.
I then soldered in the display, upside down! That's totally intentional. The decimal point is used as the PM indicator.
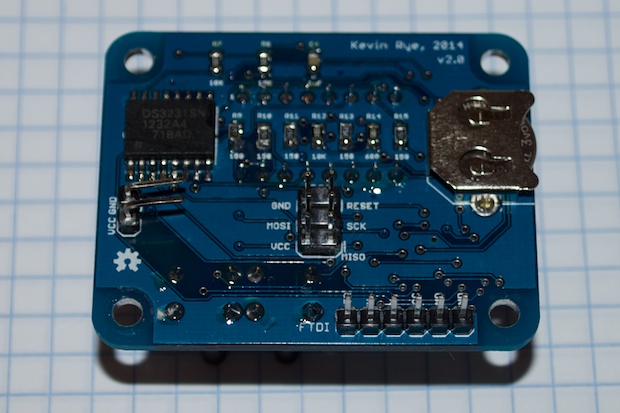
Finally, I soldered in the 2-pin power connector, the 6-pin ICSP and FTDI headers, and the buttons.
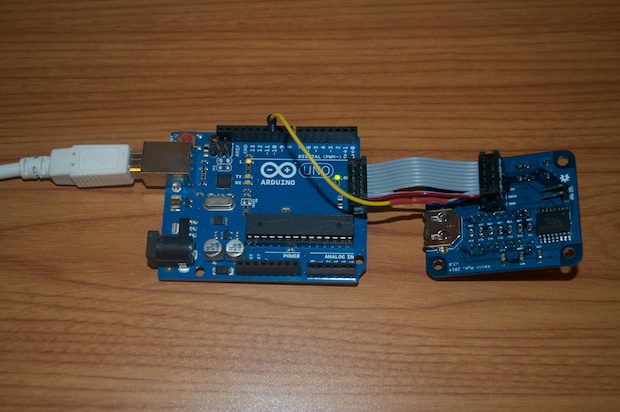
In order to burn the bootloader, I made a custom cable per this
cool tutorial.
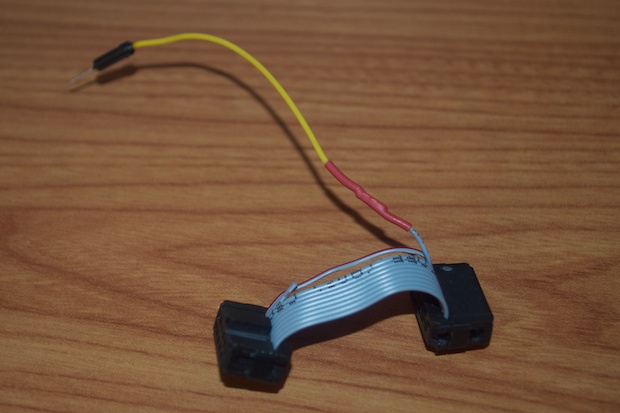
I then connected the Mini 7-Segment Clock to my Arduino Uno and burned the bootloader.
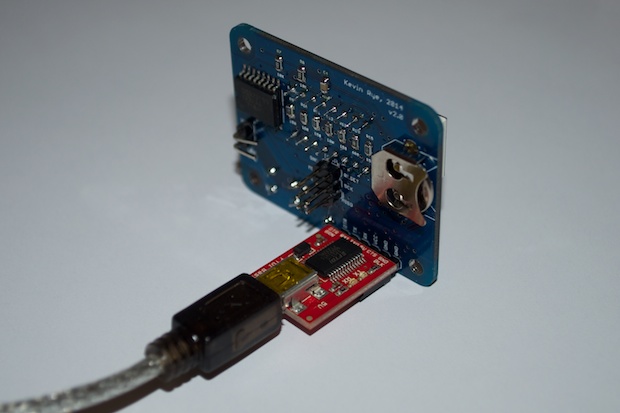
I then used my
SparkFun FTDI Breakout Board to upload my sketch.
With everything working, it was time to button it up.
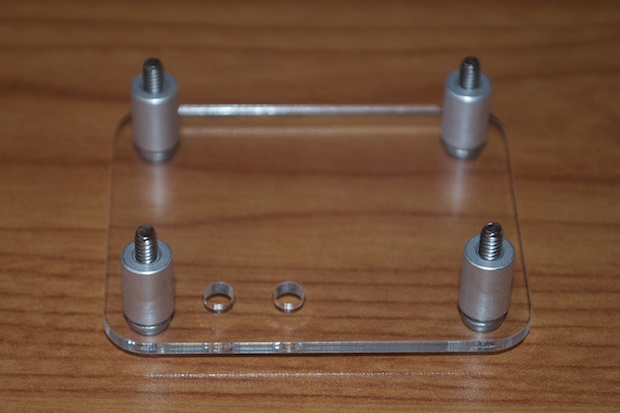
I first started with attaching the 5/8” screws and the 3/8” standoffs to the front panel...
..followed by the PCB and some more 3/8” standoffs.

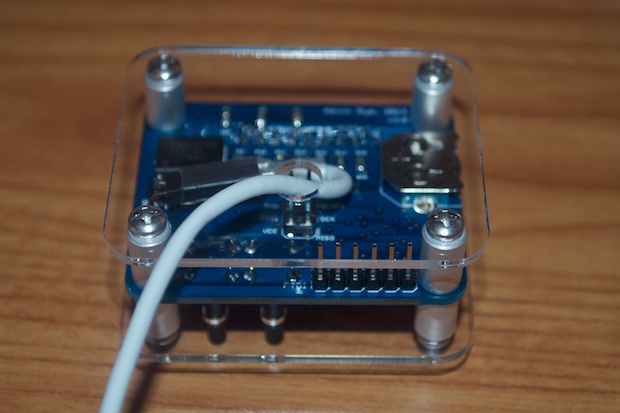
I then attached my home-brew power cable. It’s just a cheap USB cable with one end cut off and soldered to a 2-pin Dupont connector, then secured with some heat shrink tubing.
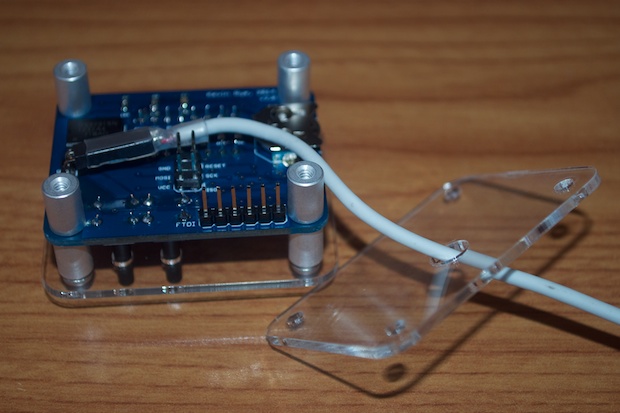
There's not much room to snake the power cord out the back hole with the 6-pin ICSP header in the way. I do admit it is a little tight. Once the bootloader is burned, I suppose I could cut the leads off. If I had some pogo-pins, I probably wouldn't have even soldered in the connector. Ideally, I should move the header a little further away from the center. I'll probably do that on a future revision. In addition, the 2-pin Dupont connector is a little large, and overkill. I could probably just solder the USB cable directly to the PCB. I can't imagine I'd ever have to remove it.
Finally, I screwed the back on with some 1/4” screws.
Voilà! It does look awesome in blue!
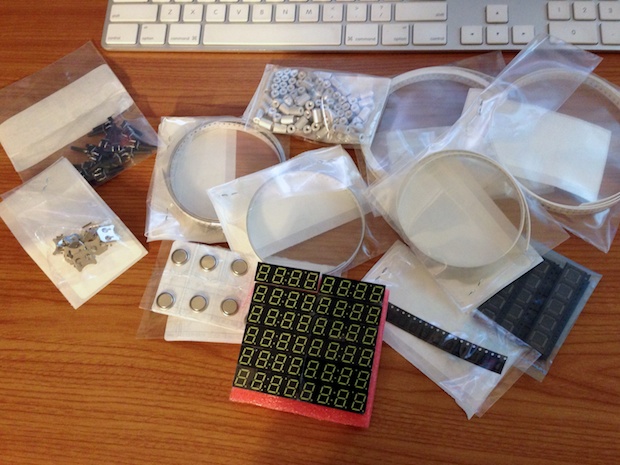
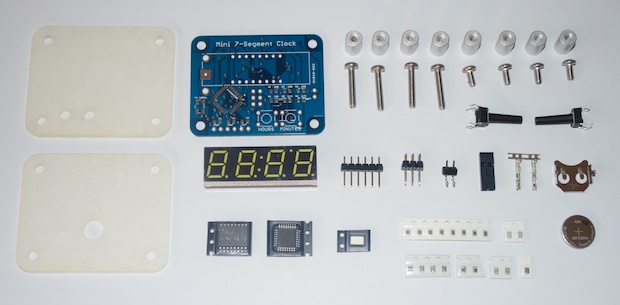
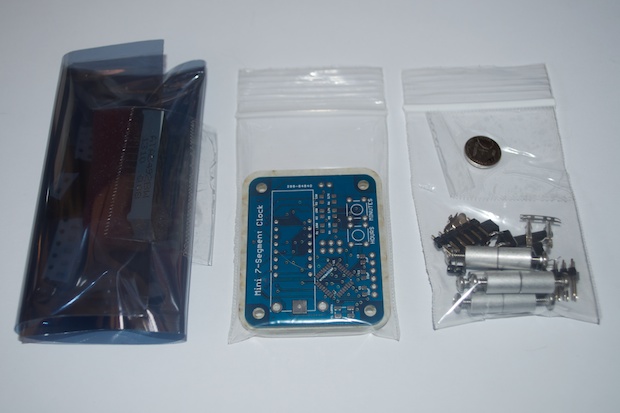
Seeing that everything worked and it all fit together nicely, it was time to put the kits together. Here’s everything that comes in the kit.
In order to keep the cost of the kit down, I’m not supplying a power source. A halfway decent DC adapter runs about $6 bucks. That brings the cost of the kit to over $30. I've seen some cheapie USB adapters around for a few bucks; like the ones you see at gas station checkout counters. However, I'd hate to throw in a cheap $3 USB adapter for it to catch fire. In addition, since these might be sold all around the world, there’s no way I can include a power supply that will fit everyone’s needs.
So for safety, and to keep the cost of the kit down, I'm letting the end user bring their own power.
Who knows, maybe someone will want to modify it and use a battery pack. I like to just cut up a USB cable so I can plug it into the back of my monitor and leave it on my desk. With a USB cable, I can also use a USB charger and plug it anywhere. It’s the best of both worlds. So I’ll leave it up to the end user to decide how they want to power it.
Maybe in the future, I’ll throw in a USB cable if I can find them cheap enough. USB cables can be kind of expensive. I don’t want to add another $5 bucks to the kit just for a cable.
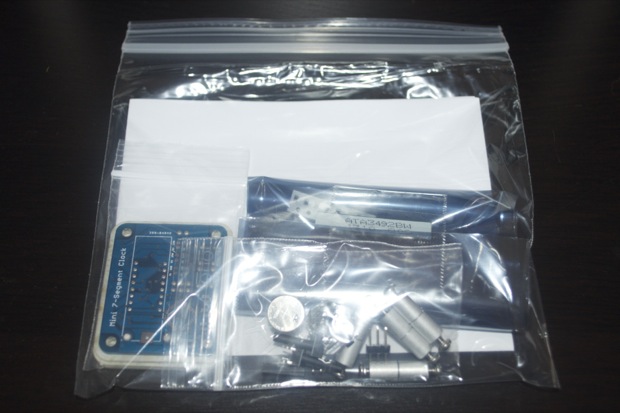
I put the components in an anti-static bag, the hardware in a zip lock bag, and the acrylic and the PCB in another.
I then put all three bags in a larger bag along with a parts list and a link to the source files.
The kits are ready to go, but that’s not the end of it. There was still one more thing to do. I had to upgrade my
Eagle license.
I’ve been using the free version for all my projects. However, the free version is for non-commercial use. You are not allowed to sell anything you create unless you upgrade to a commercial license. It’s only $69 for Eagle CAD Light from
Adafruit. There’s no other benefit to upgrading to a commercial license. Eagle CAD Light is still limited to 2-layers at 100mm x 80mm. If you want to go to 99 layers at 160mm x 100mm, you’ll have to pony up another $500 bucks.
The $69 bucks a small price to pay to cut the red tape. If CadSoft busts you selling something with a non-commercial license, they’ll come after you for the price of the non-limited version of Eagle. I assume they mean the $1200 Pro version.
OK, now the kits are all ready to go and I’m squared away with CadSoft.
I warn you though, it's not for the faint-of-heart! This is no beginner-kit. It's 80% SMD, so ninja skills with a soldering iron are required. You also need to know your way around the Arduino IDE, bootloading, and FTDI.
It's a neat little kit, and a neat little clock. I hope people enjoy putting it together.
UPDATE: All kits are sold out! Thanks everyone!
