With the Victoria 7 model
completely printed, it was time to work on the spear and the shield.
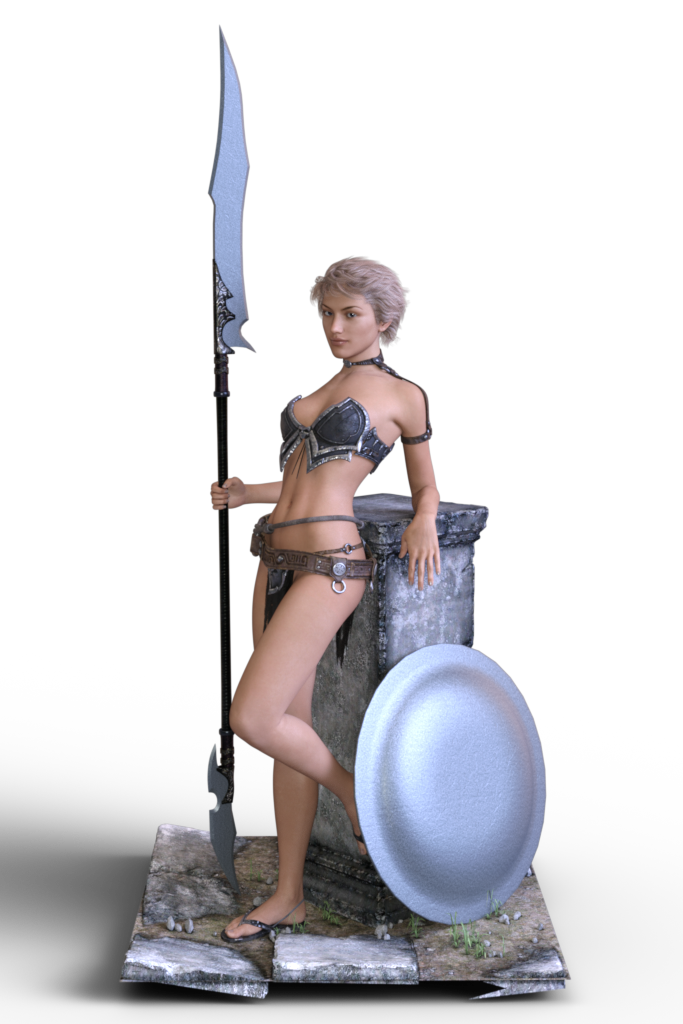
From my render, the spear shown basically a placeholder. There’s no way to print that on an FDM printer without it looking horrible. I’m going to use a wooden dowel and some laser-cut parts. The shield will be 3D-printed.
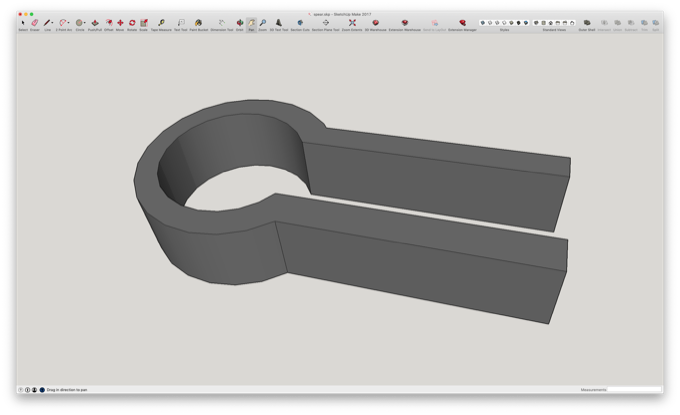
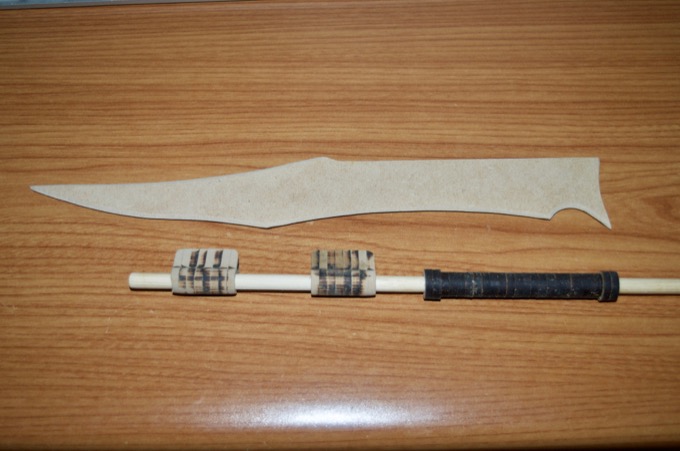
For the spear, I jumped into SketchUp and designed these little parts that I can cut out of Draftboard.
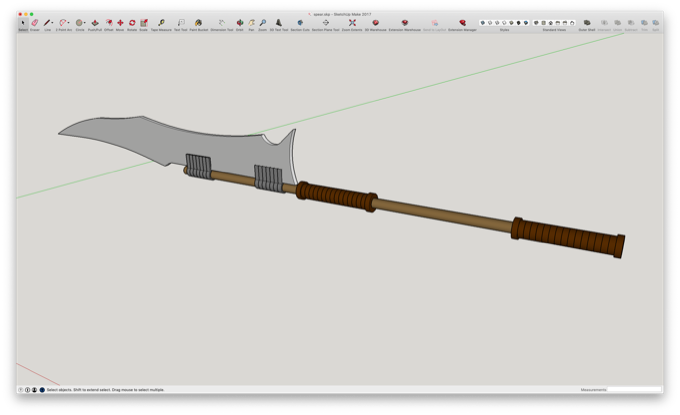
I can then slip those pieces over the dowel and use them to attach the blade to the dowel.

I’ll also cut out some circles that can slide over the dowel to give it some grips.
I then cut out the parts on my Glowforge. I cut a few extras in case I need them.
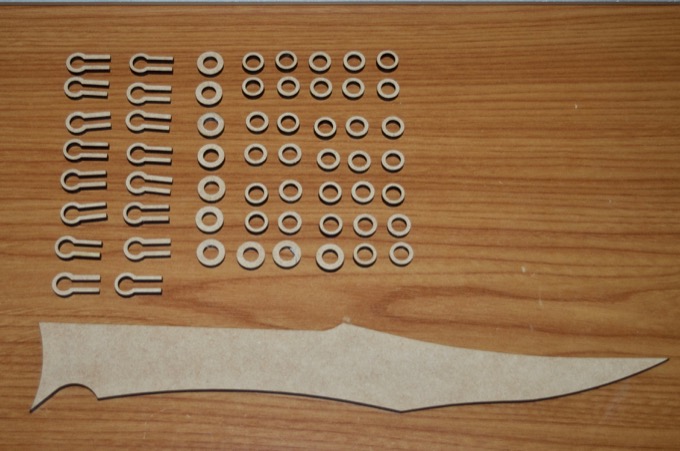
That’s going to look awesome once they are all glued together, sanded smooth, and painted.
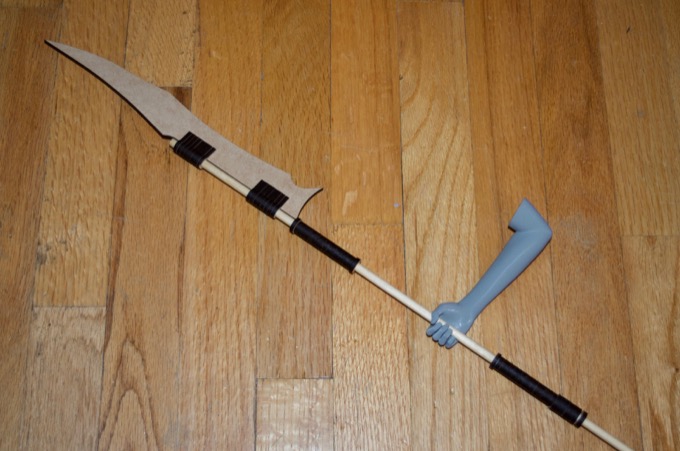
I then sanded the pieces a little to give them the basic shape that I want. I'll probably sand the grips by spinning it in my drill against some sandpaper.
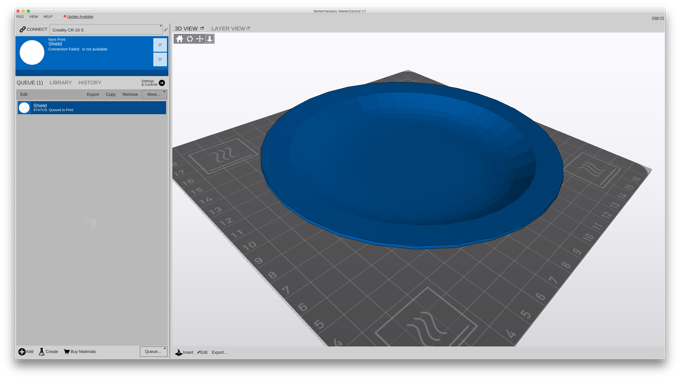
Now for the shield. There’s a lot of little details on the underside of the shield that just don’t need to be there. Painting them is going to be messy. The forearm brace is also just a little too thin for my liking. I don’t think it's going to print.

I decided to remove everything. I just don't think they will survive being printed and sanded. I’m going to laser cut the handles out of wood and glue them on. Or maybe I'll make them out of fabric or leather.
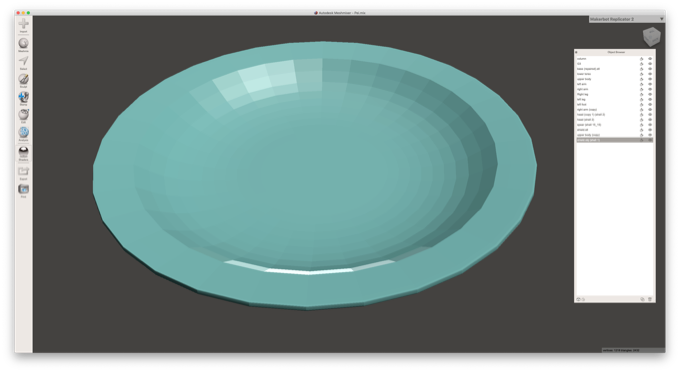
I was going to print it on my Robo3D while the other parts were printing on my CR-10S, but when I placed it on the bed, I was surprised to see that it did not fit. The shield is a little over 9 inches wide. I keep forgetting how big this figurine is going to be!
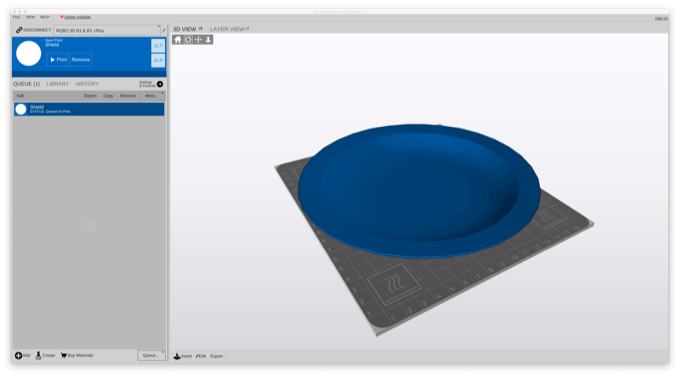
What a difference the CR-10S makes!
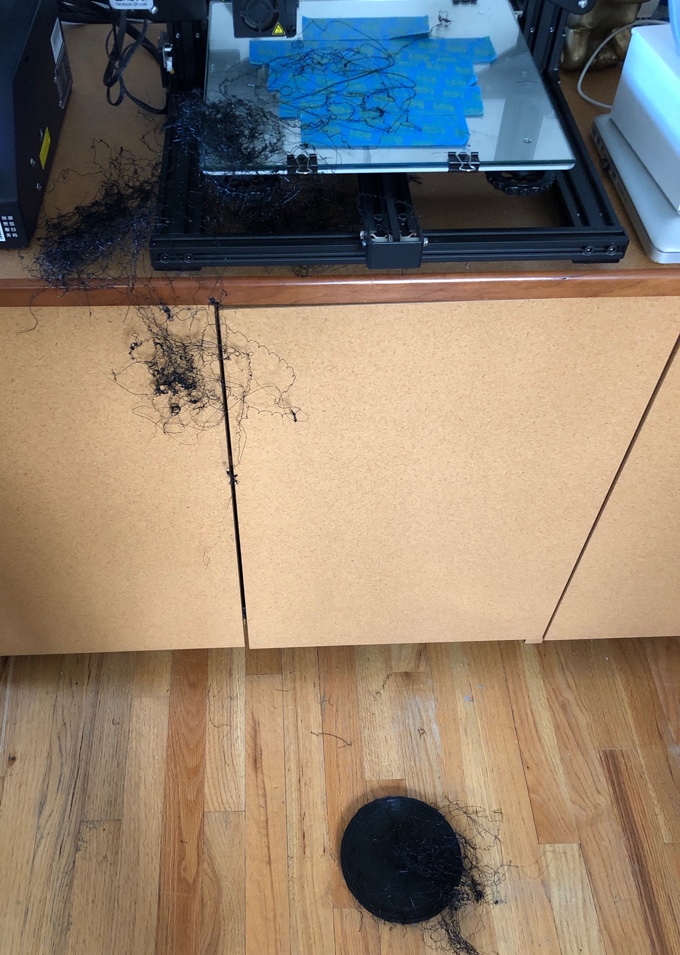
Ugh. This is what I woke up to.
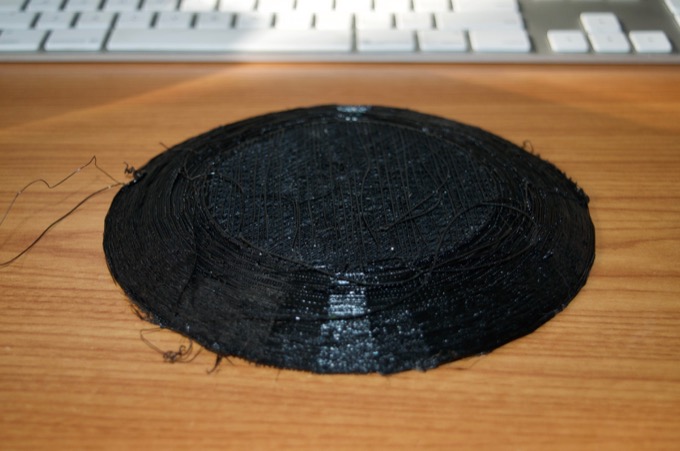
This is not going to work. The model is way too thin and flimsy to print. It looks horrible. There is no way to sand that smooth.
I'm going to just make it out of wood. I jumped into SketchUp and put together a design.
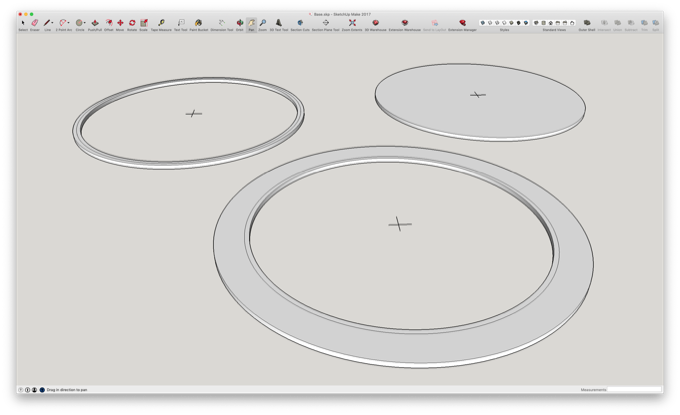
I think this will work.
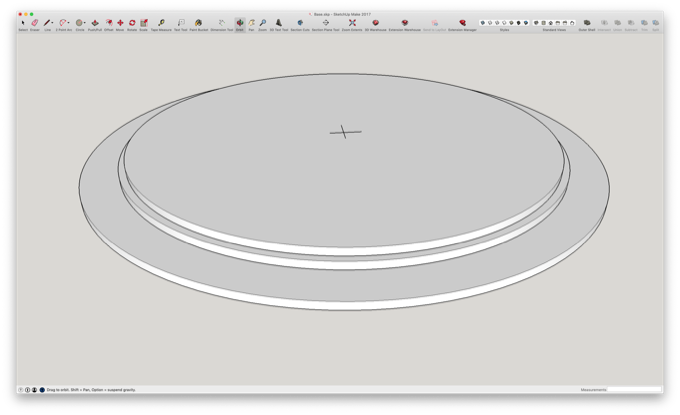
I cut the pieces out of Draftboard. I also scored them so I could use the lines to align all the pieces together for gluing.
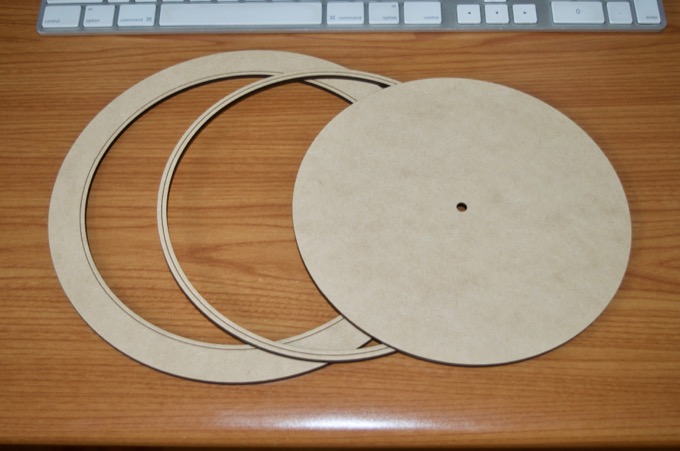
I'll use some Bondo around the edges and spin it on a drill to bevel the edges.
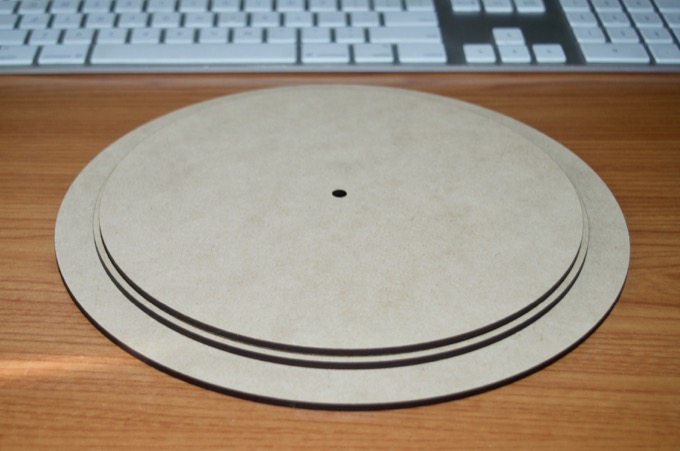
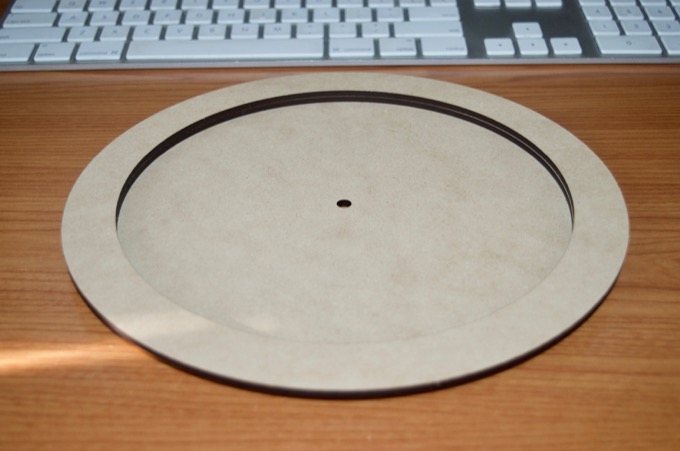
In order to shape the Bondo, I designed this little piece that I can drag around the shield in order to shape the Bondo.
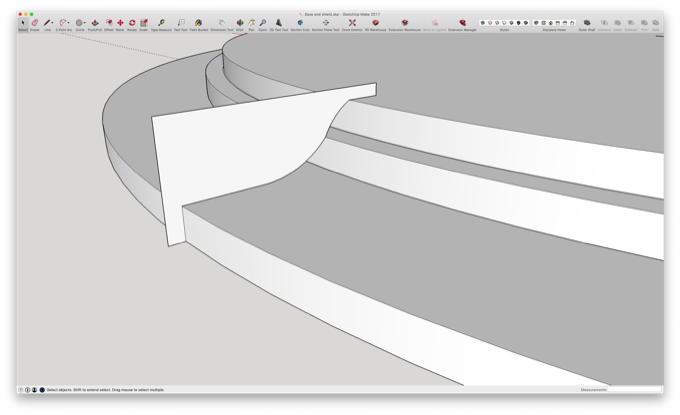
This will do nicely.
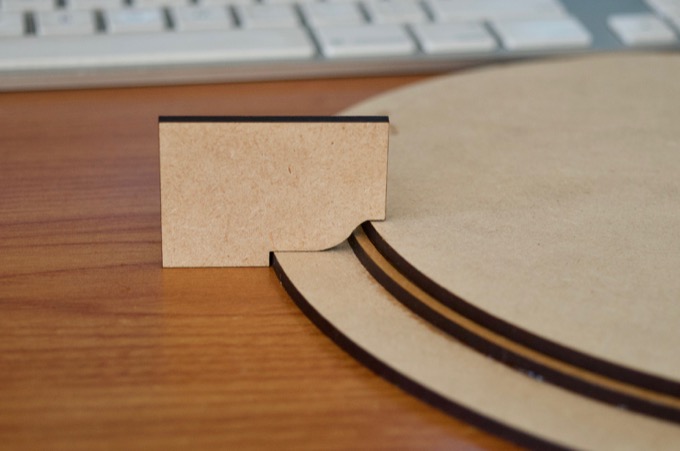
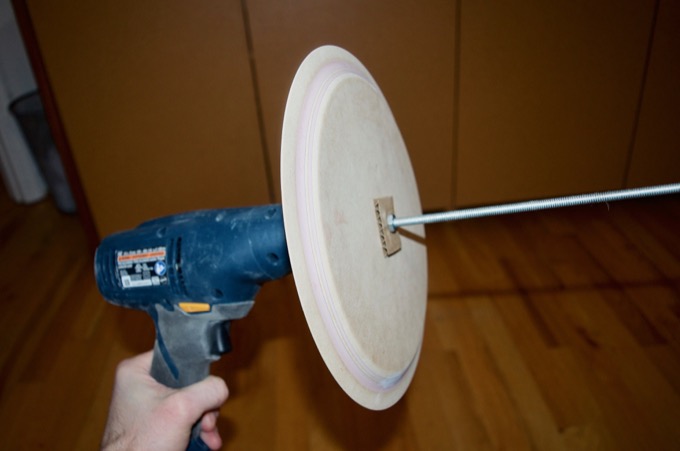
I slapped some Bondo on and wiped it smooth using the piece of wood that I cut out. I let it dry and then I secured it to my drill using a metal rod. I then spun it in the drill and used some sandpaper to sand it nice and smooth.
Check out that profile. That looks awesome.
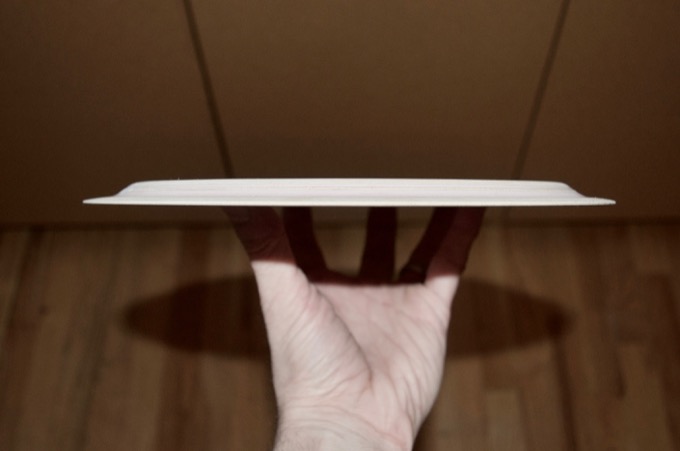
I beveled the edge on the back too. You can't really tell from the picture, but it looks really good
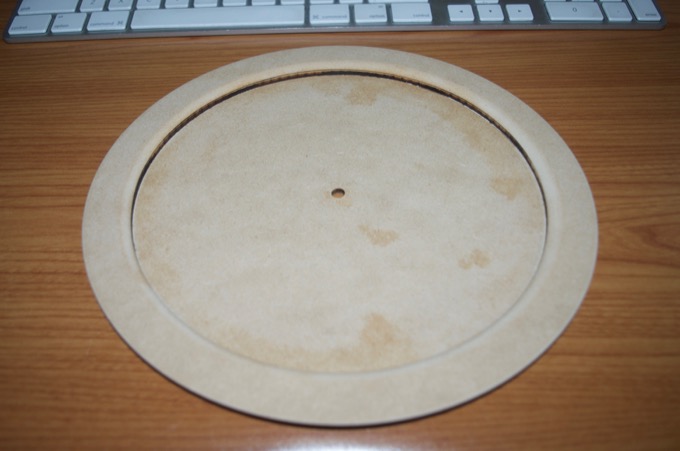
I then used some Bondo to fill in the hole and sanded it smooth.
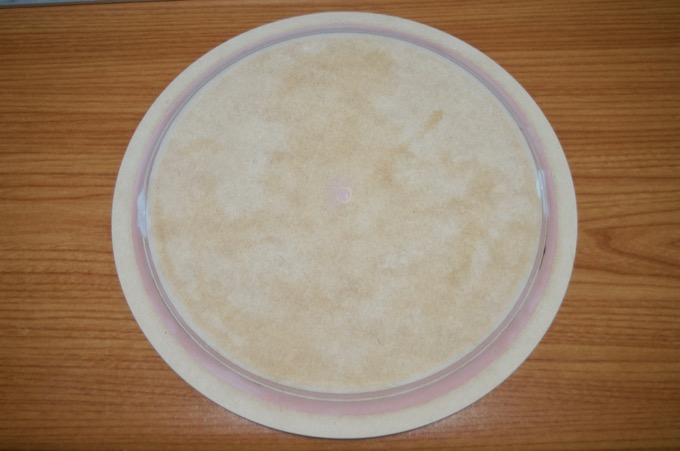
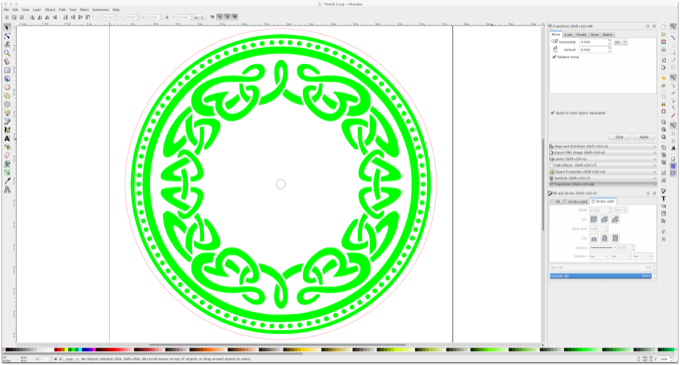
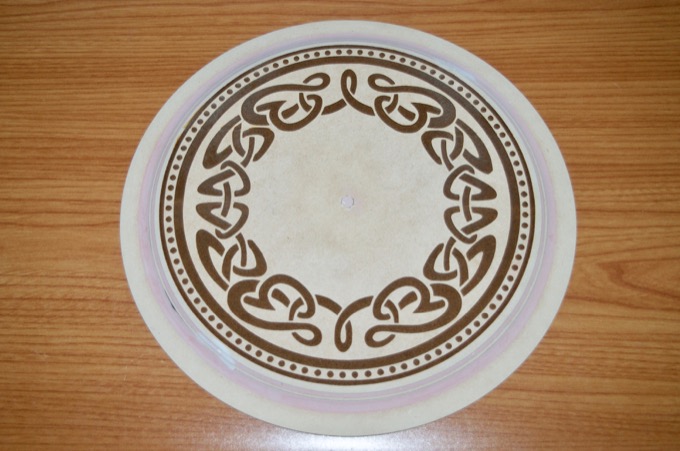
At first I was going to just leave the shield plain and paint it a metallic color, but looking at it now I think it would look a lot better with something cool engraved on it. I found this really nice Celtic pattern online and decided to laser engrave it onto the shield.
It took a little under three hours to engrave. It came out awesome.
The figurine has been printed and the weapons have been made. It's time to print the column and make the base.
See this project from start to finish: 23" 3D-Printed Figurine - Part I 23" 3D-Printed Figurine - Part II
23" 3D-Printed Figurine - Part III 23" 3D-Printed Figurine - Part IV 23" 3D-Printed Figurine - Part V 23" 3D-Printed Figurine - Part VI 23" 3D-Printed Figurine - Part VII 23" 3D-Printed Figurine - Part VIII 23" 3D-Printed Figurine - Part IX 23" 3D-Printed Figurine - Part X 23" 3D-Printed Figurine - Part XI


