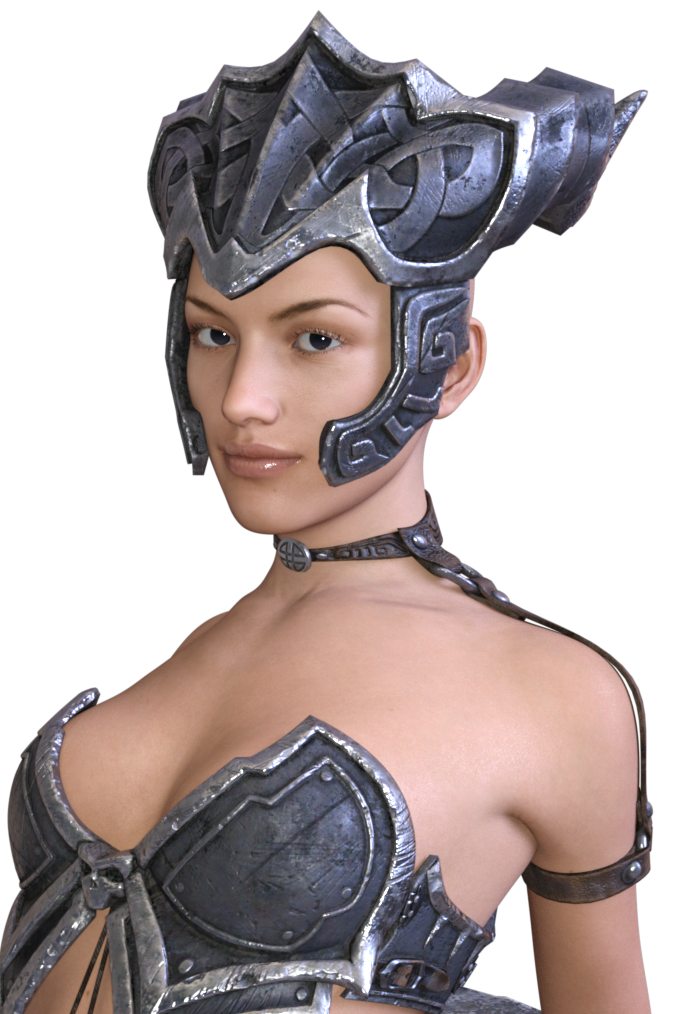
The Daz 3D model that I’m basing my design on included a helmet. I wasn’t originally planning on making one but after seeing how awesome the figurine is coming out I decided to make it. Coating the
spear and the shield with graphite looks awesome so I want to do the same thing with the helmet to tie the look of the outfit together. I think the helmet will look awesome coated in graphite and weathered just like the spear and the shield.
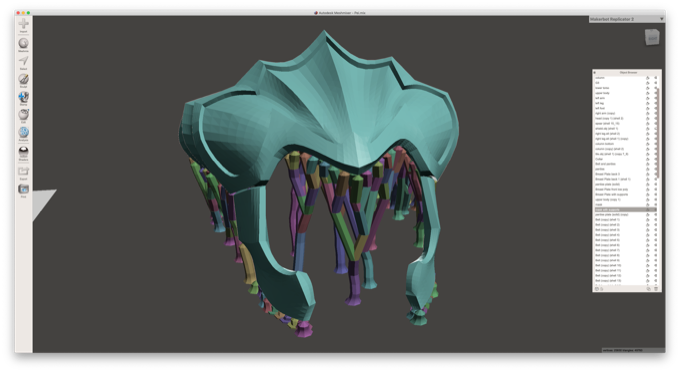
I’m printing the model with a .1mm layer height and 10% infill. I added tree supports using Meshmixer because there’s no way to lay this model flat on the bed.
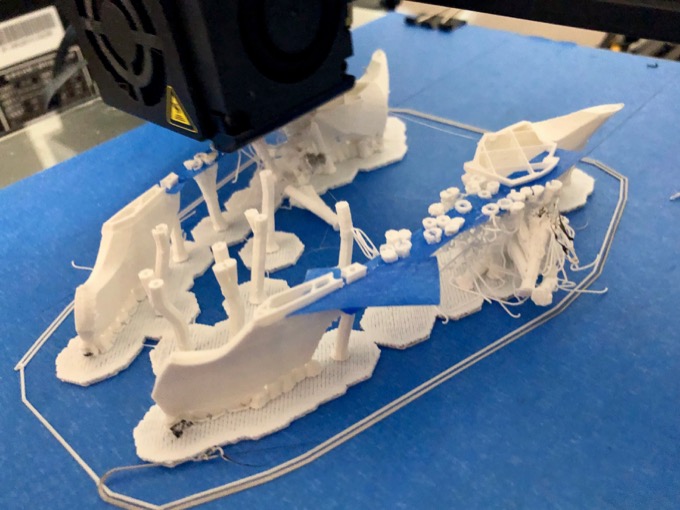
It’s a 30 hour print so by the time I went to bed it was only about 7 hours in. However, problems had already started. Some of the supports started to break free.
I attempted to give the supports something to print on by running some blue tape across the top of the model. It looked like it was going to recover and work out.
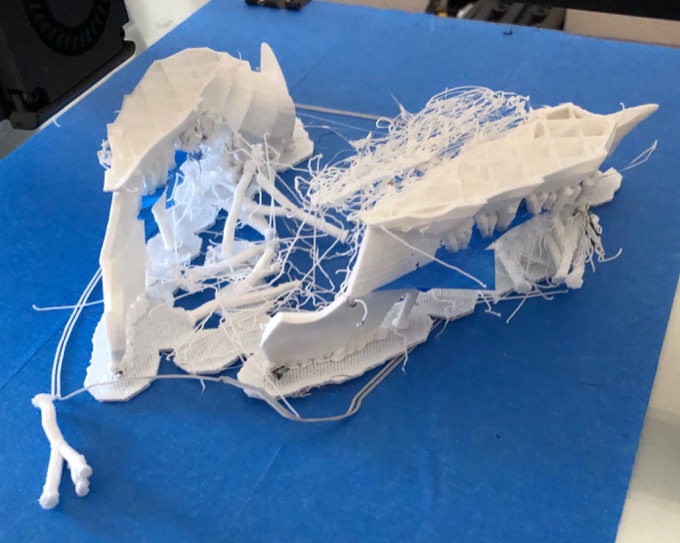
Unfortunately, disaster struck overnight. I woke up to this mess. It looks like more supports broke free. Maybe all the stringy filament got tangled up and yanked the right side of the helmet from the bed.
Attempt #2. Once the supports got tall enough, I squirted hot glue all over the bases of the supports and around the raft to hopefully keep them in place. Before running a second print, I considered redoing the supports by making them thicker at the base, but it’s already a 30 hour print. I didn’t want it to take any longer than it already is.
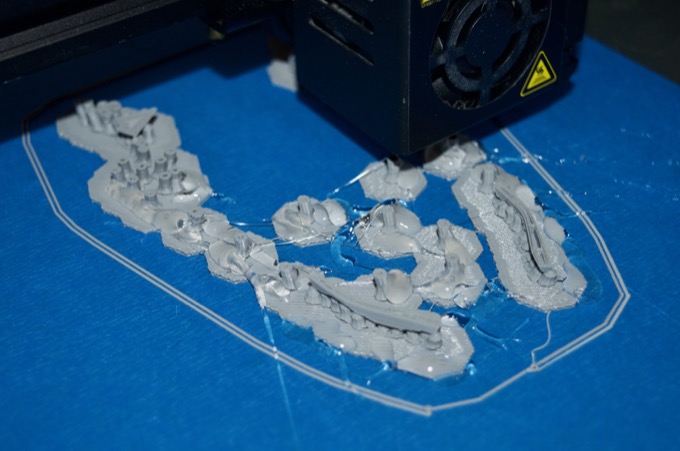
Everything looked like it was going to be OK before I went to bed. In the morning, I found that some supports had broken free again. Thankfully, it looks like it recovered. It’ll need some serious cleanup, but barring any additional issues, it should finish OK.
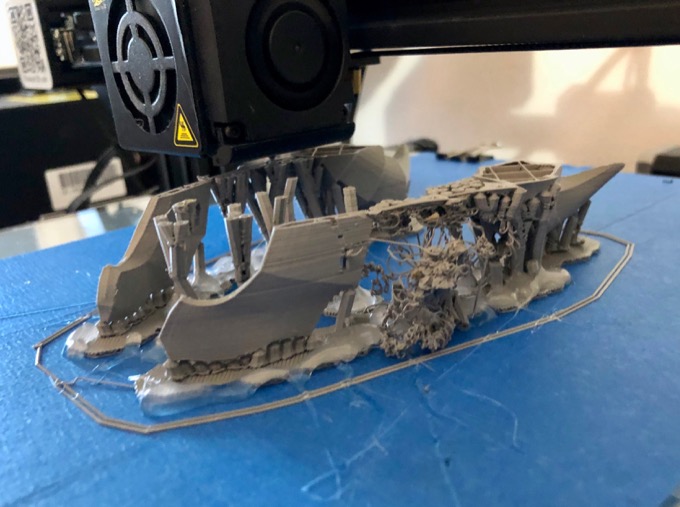
Eight hours later I got home from work. It looks like more supports in the middle are breaking free too. However, there’s so much in there that it’s managing to hold together. It’s making a mess of things, but it’s working.
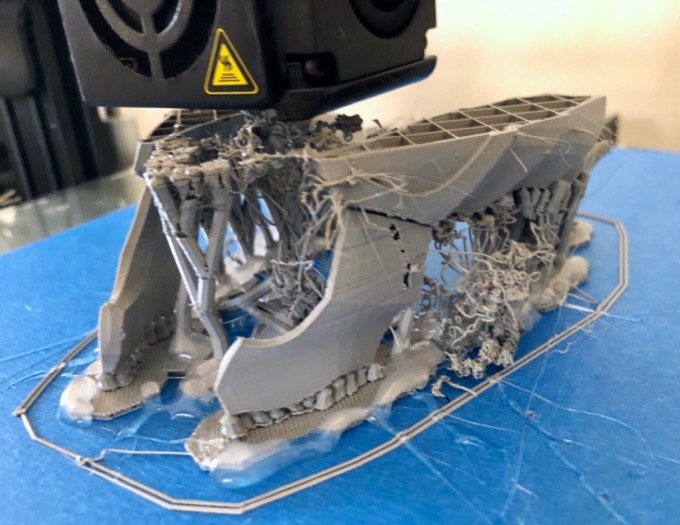
Almost thirty hours to the minute. Success!
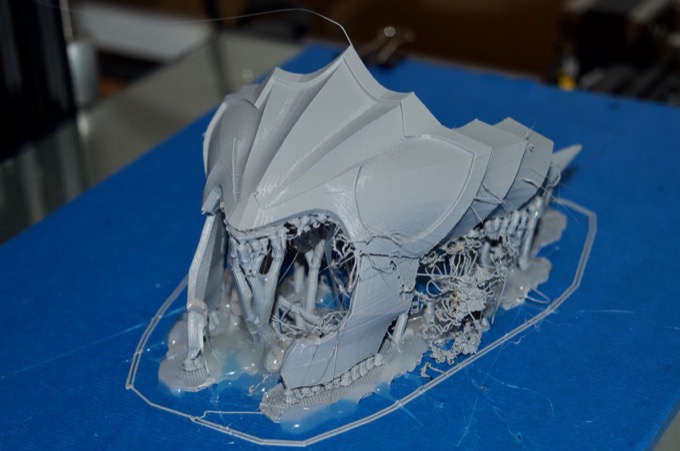
Surprisingly enough, the supports snipped away rather easily with some flush cutters.
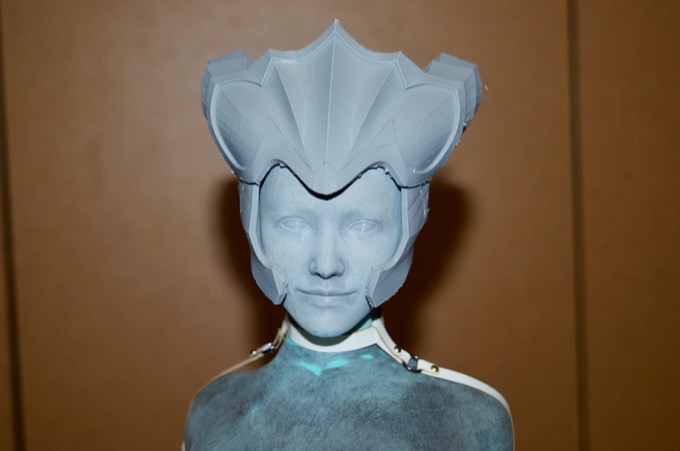
It’s still going to need some serious cleanup, but it’s otherwise a successful print.
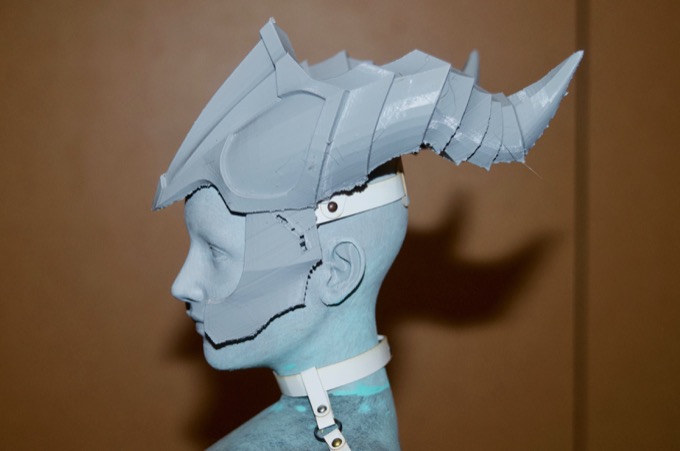
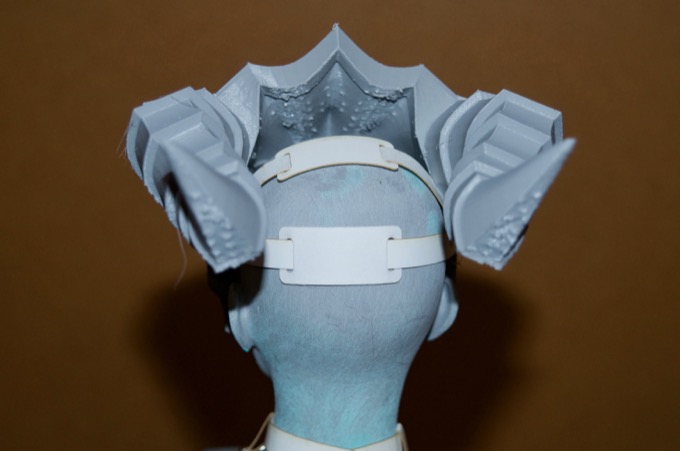
It’s really back-heavy so I designed some straps to keep it attached. I haven't decided what kind of hair I'm going to give the model yet so the straps will probably have to be redone later to accommodate the hair.
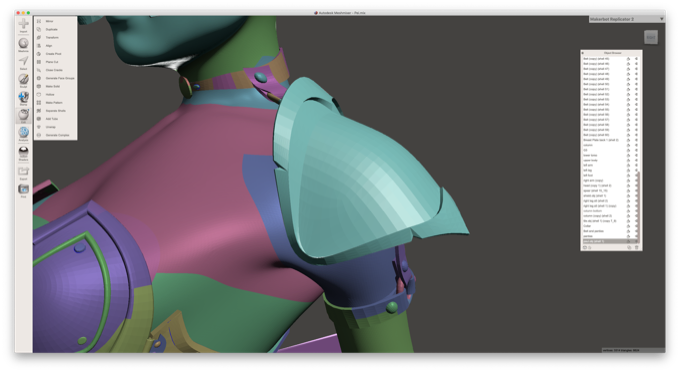
I think the last pieces to print are the pauldrons. The ones in the model are a little too elaborate and are going to be very hard to print as-is.
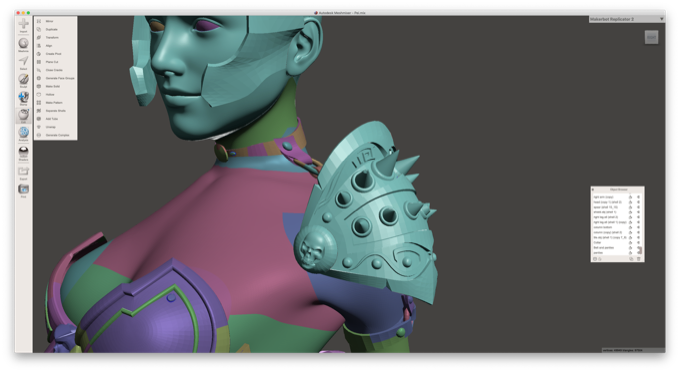
I decided to take the pauldrons and strip them down to make them a little more plain. That should do nicely.
16.5 hours later, I had a nice looking pair of pauldrons. If anything, it's another excuse to graphite something. They are held in place for now with some Fun-Tak until I can make some straps.
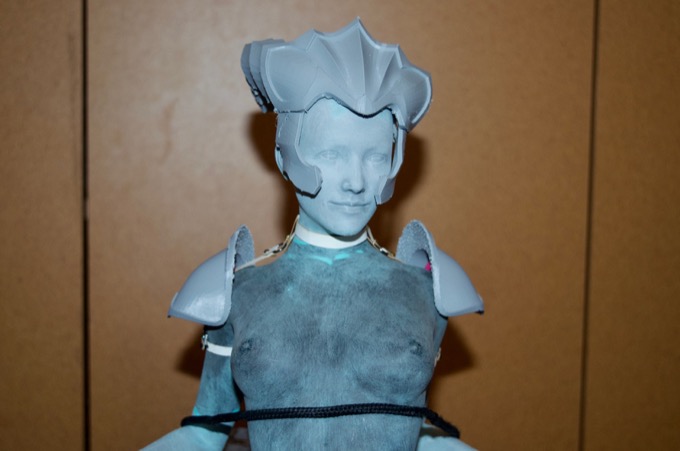
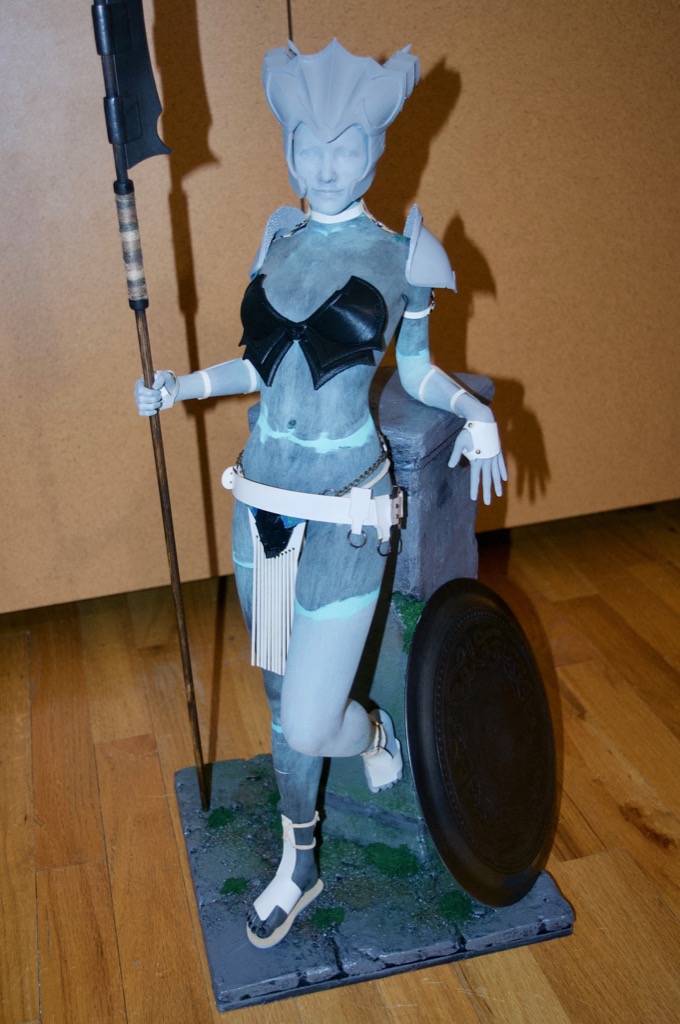
I think that's everything that I need. I can now sand and paint all the 3D-printed parts, laser cut the leather parts, and sand and paint the figurine.
 See this project from start to finish: 23" 3D-Printed Figurine - Part I 23" 3D-Printed Figurine - Part II 23" 3D-Printed Figurine - Part III 23" 3D-Printed Figurine - Part IV 23" 3D-Printed Figurine - Part V 23" 3D-Printed Figurine - Part VI 23" 3D-Printed Figurine - Part VII
 23" 3D-Printed Figurine - Part VIII
23" 3D-Printed Figurine - Part IX 23" 3D-Printed Figurine - Part X 23" 3D-Printed Figurine - Part XI


