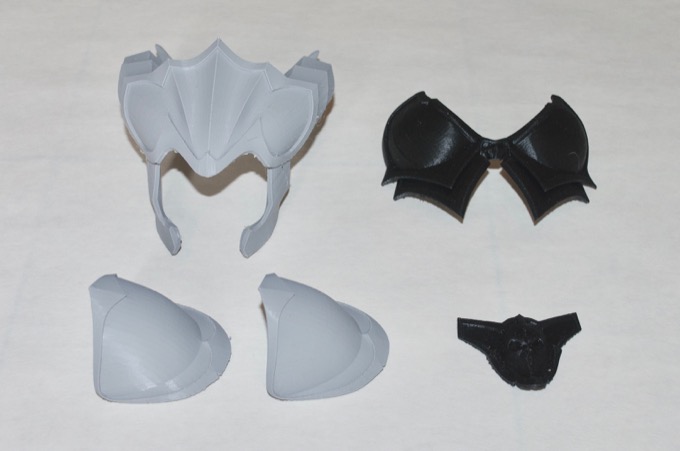
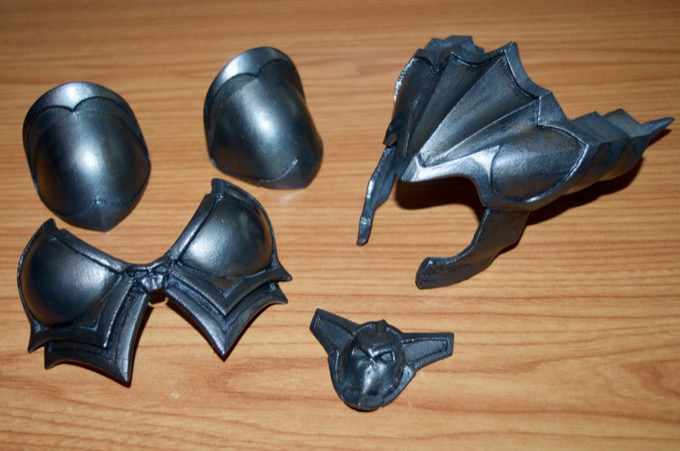
These are all the plastic pieces that need to be sanded, primed, filled, and painted. Let's get to it!
I started with a light sanding with 100 the 150 grit paper. I then filled in the imperfections with 3M Acryl-Green putty.
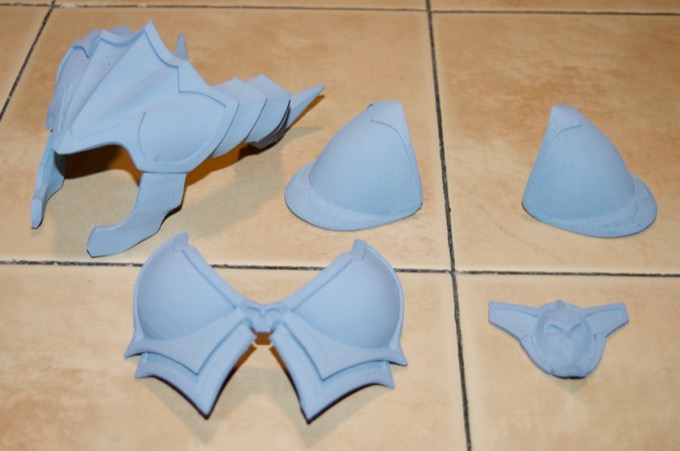
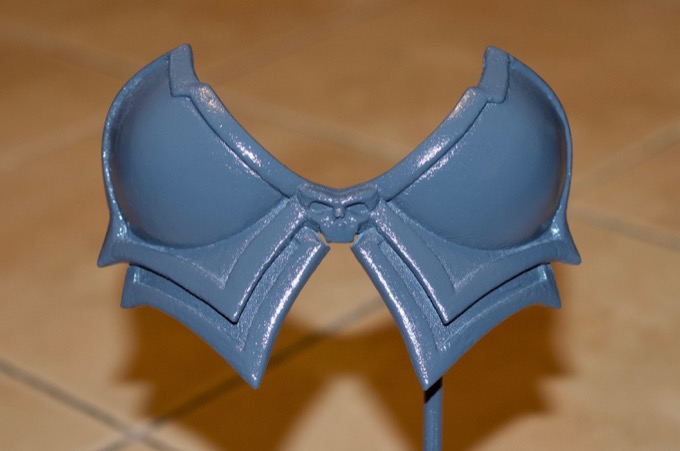
For the breastplate, I started with two thick coats of primer and then covered it in a layer of Vallejo putty to fill in all the print lines.

I then gave everything another good sanding.

I then gave everything another coat of primer.
That's just one pass and everything is already starting to look really good.
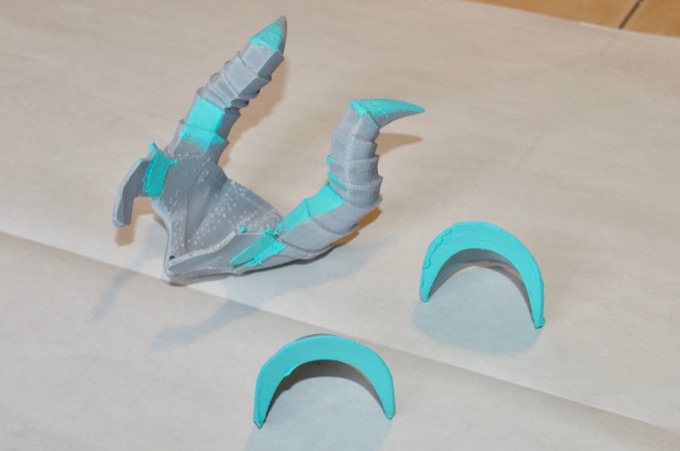
The plate that goes on the loincloth is still really rough looking. I gave it another good coating of Vallejo putty to smooth everything out.
After another few coats of primer and some glossy gray, it was looking pretty good.
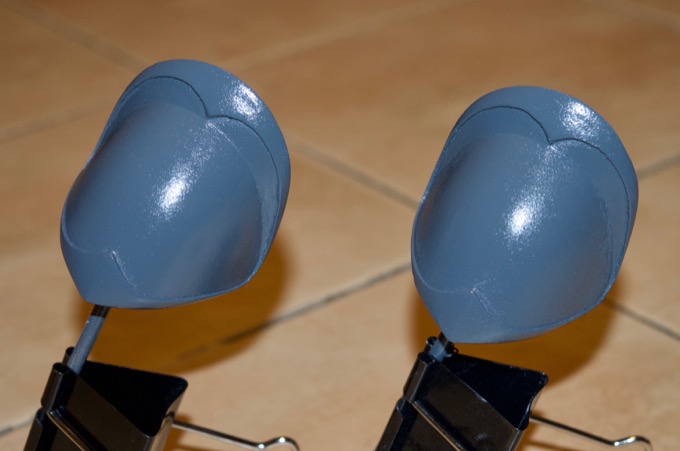
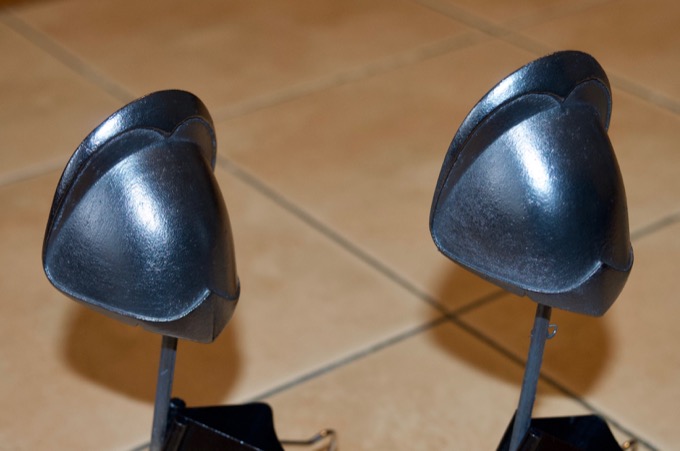
The pauldrons did not need a lot of work. Two coats of primer and a sanding between coats was enough to get them super smooth.
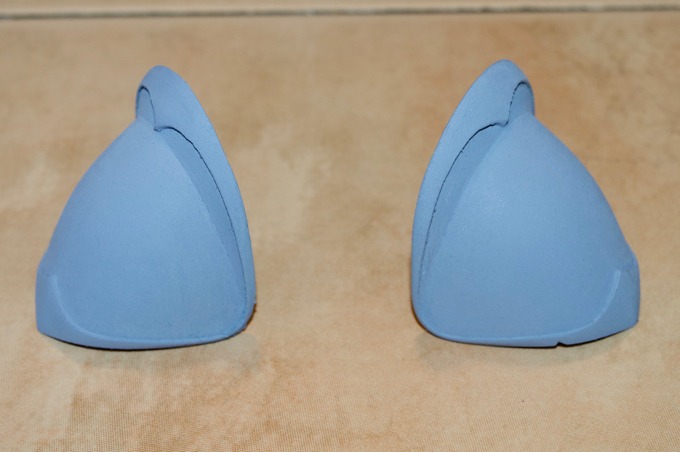
I then gave them two coats of glossy gray.
The breastplate took several passes with the Vallejo putty and the primer to get rid of all the lines.

It came out awesome. So smooth. So shiny.
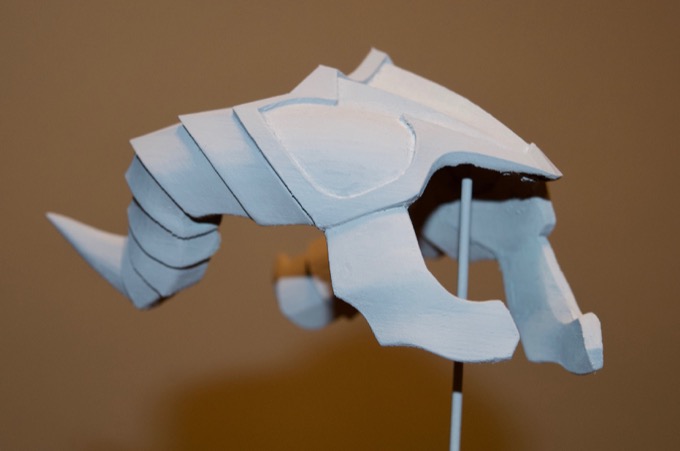
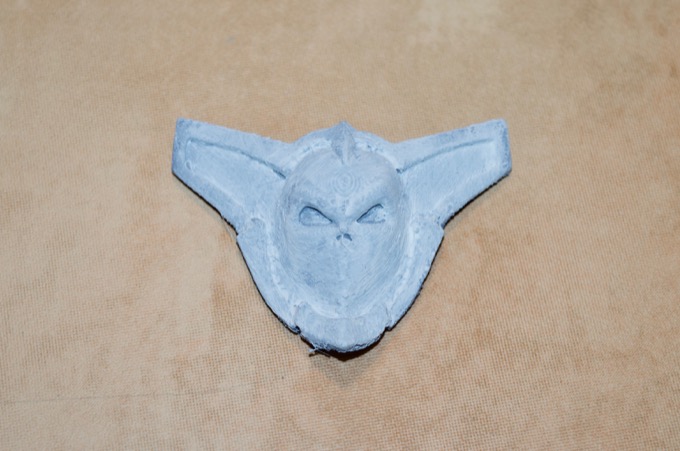
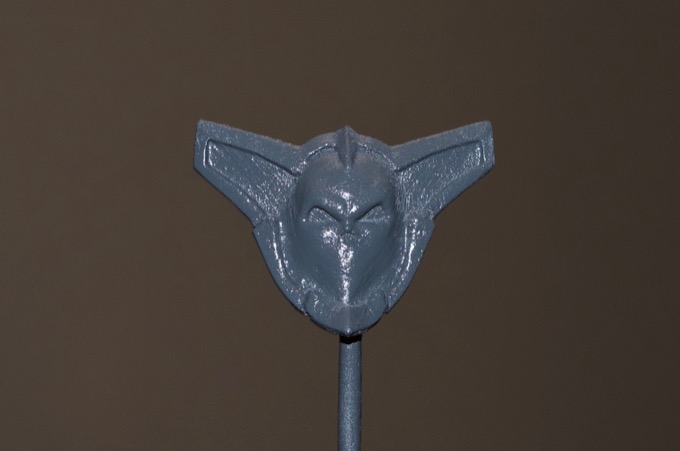
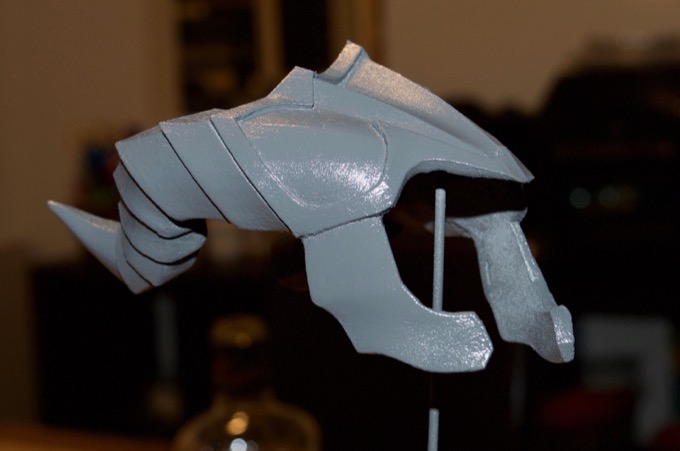
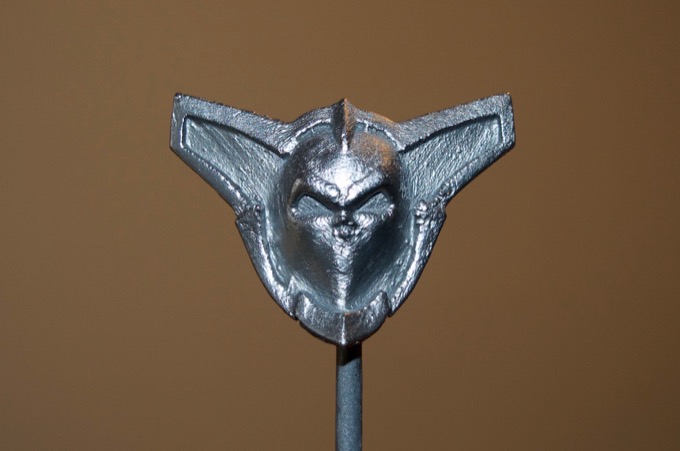
The helmet came out amazing. I really thought it was going to take a lot more work that it did. Just a few rounds with the primer and Vallejo putty and I was happy with the finish. I then gave it two coats of glossy gray.
I then gave everything a coat of graphite powder. They came out amazing. They look like cast pewter.
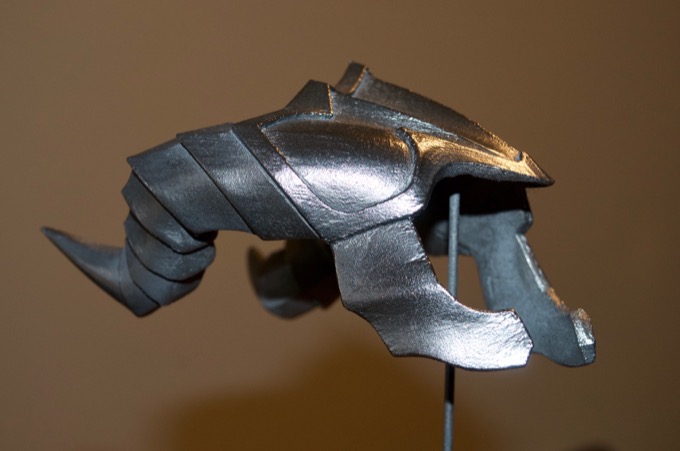

I then gave everything two coats of clear lacquer and some weathering.
They turned out amazing.
 See this project from start to finish: 23" 3D-Printed Figurine - Part I 23" 3D-Printed Figurine - Part II 23" 3D-Printed Figurine - Part III 23" 3D-Printed Figurine - Part IV 23" 3D-Printed Figurine - Part V 23" 3D-Printed Figurine - Part VI 23" 3D-Printed Figurine - Part VII 23" 3D-Printed Figurine - Part VIII
 23" 3D-Printed Figurine - Part IX
23" 3D-Printed Figurine - Part X 23" 3D-Printed Figurine - Part XI
