23" 3D-Printed Figurine - Part VI
With the weapons out of the way, it's time to continue work on the base.
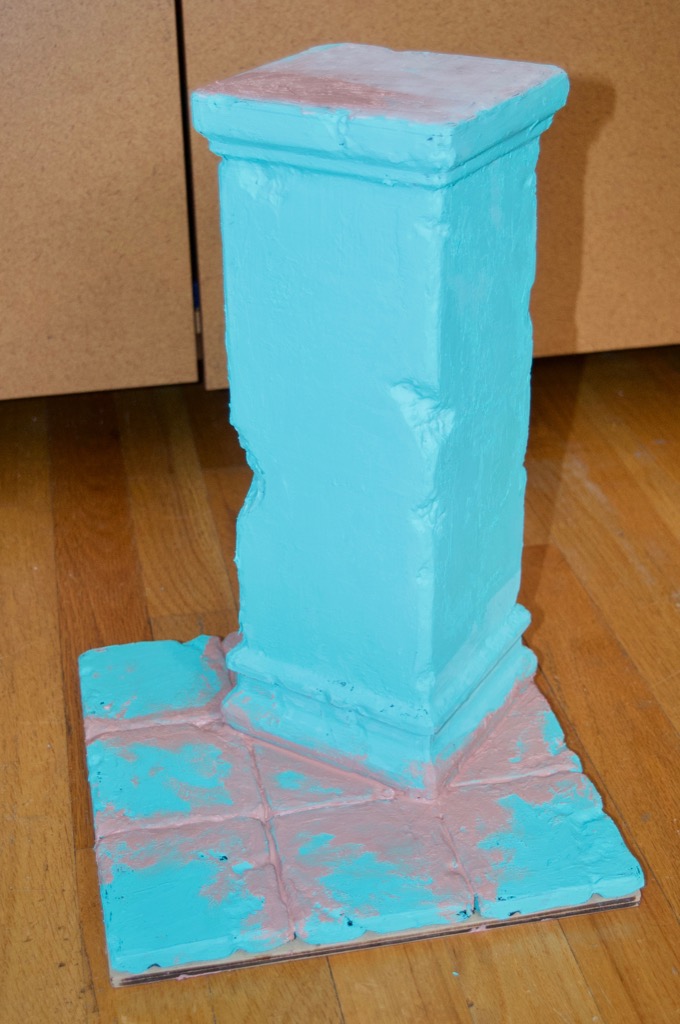
Wow, one coat of primer and it already looks like concrete!
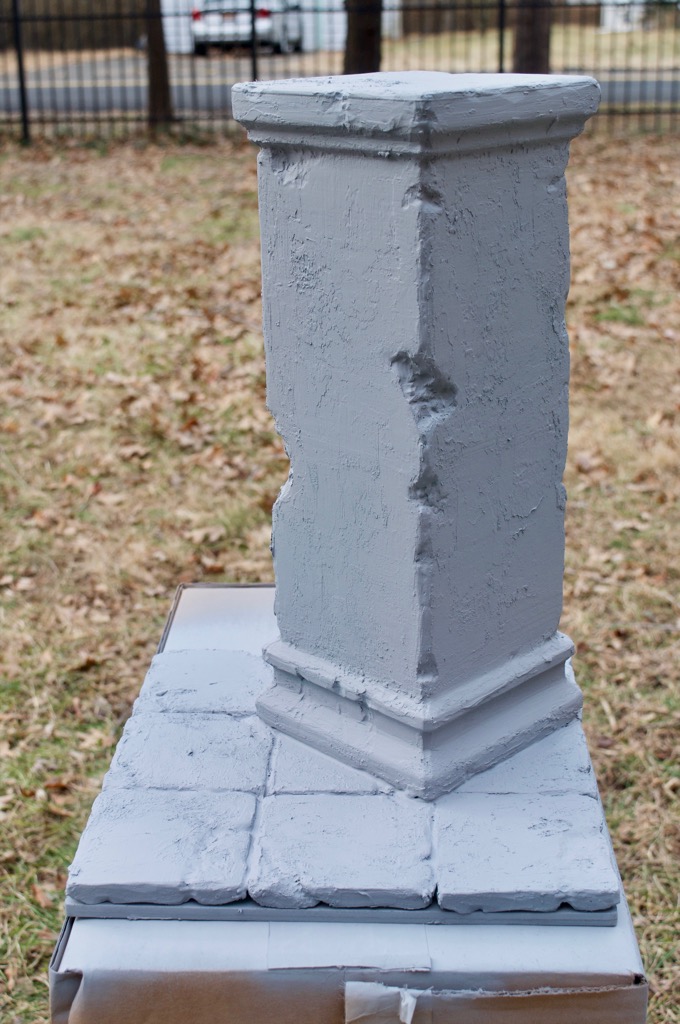
I then brushed on a coat of dark gray acrylic paint.
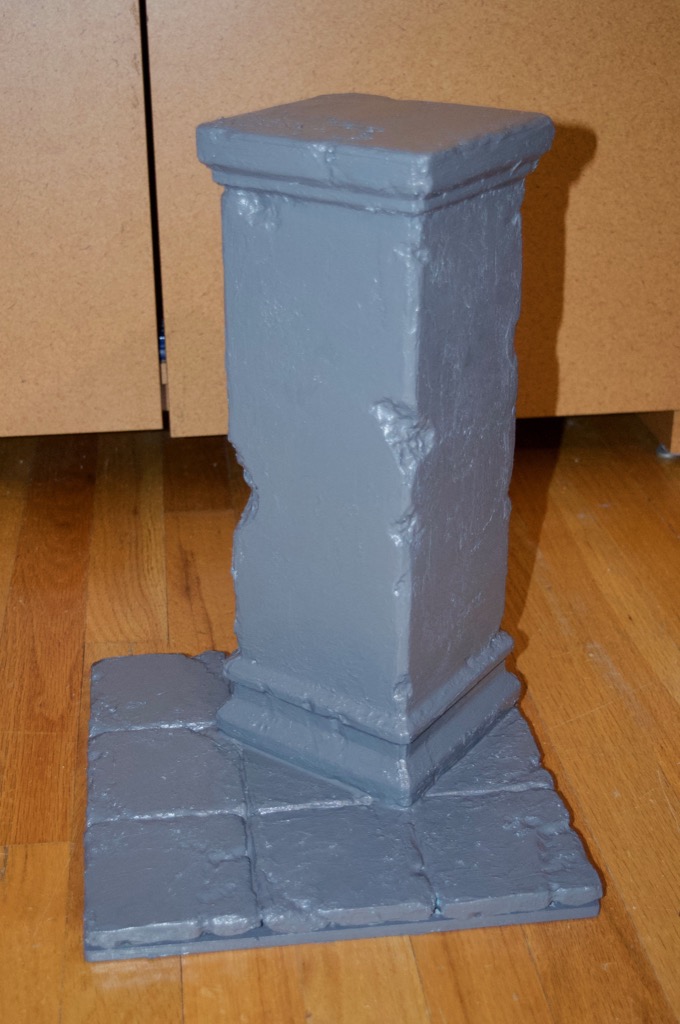
I then started to add some color and detail.
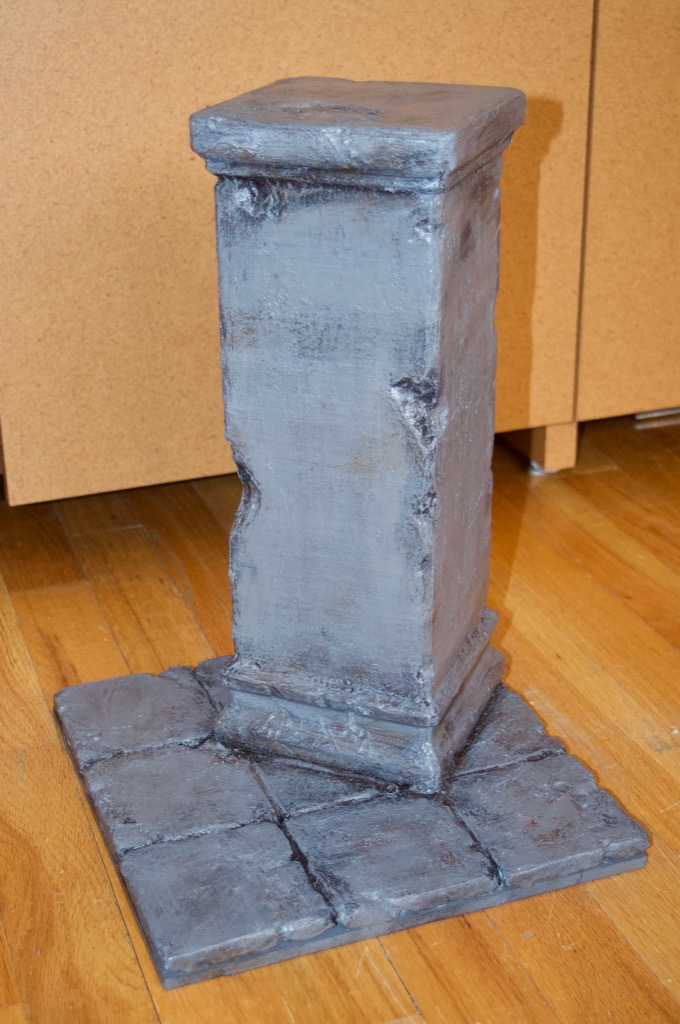
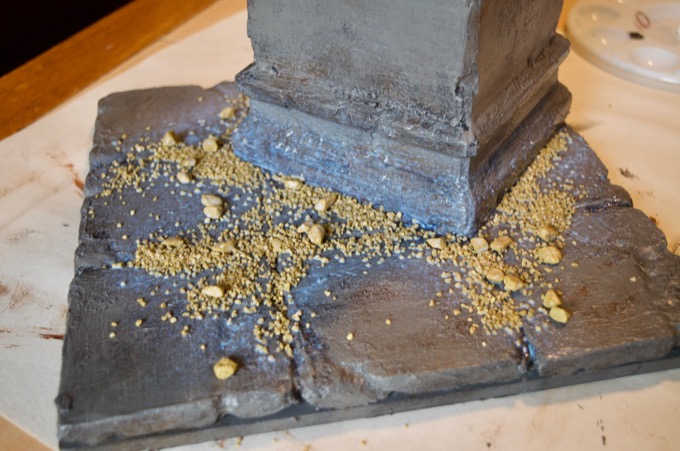
I used some spray glue to glue rocks and pebbles to the base. However, after seeing the rocks on the base it was apparent that I probably should have gone over them with a few cots of primer to help glue them down and to make the color match the pillar. So much for my paint job. I'm going to have to do that over again.
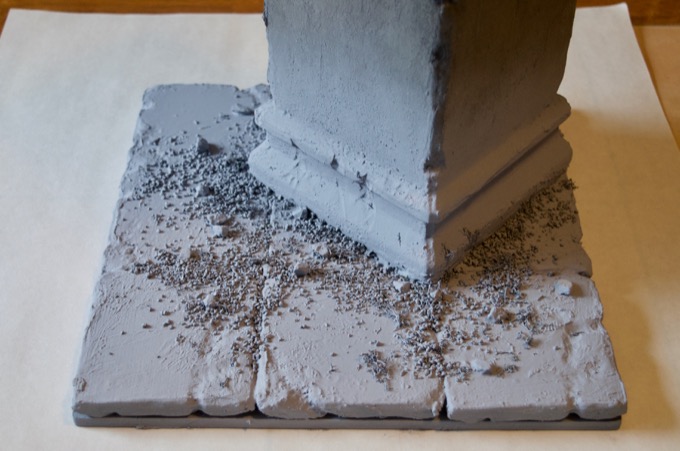
I took the base back outside and gave it a few coats of primer.
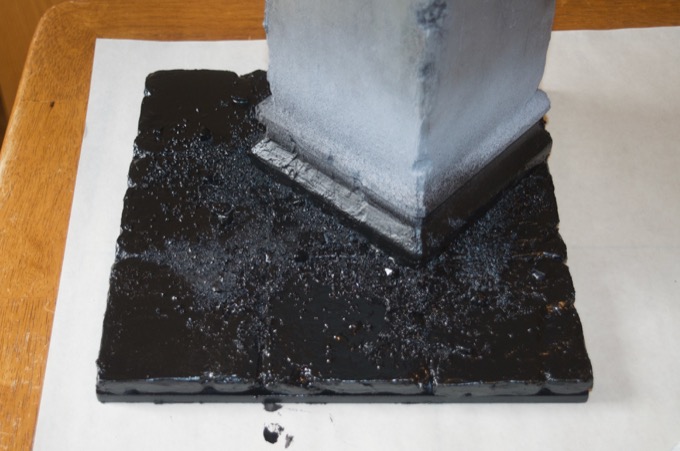
I then gave it a coat of black to fill in all the nooks and crannies.
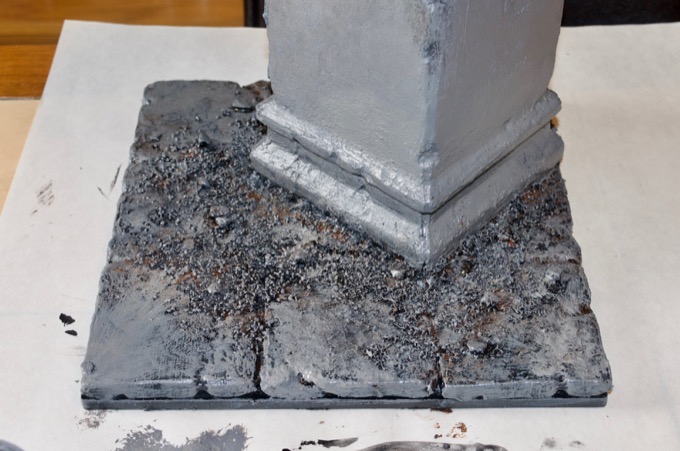
I them started to drop in some color.
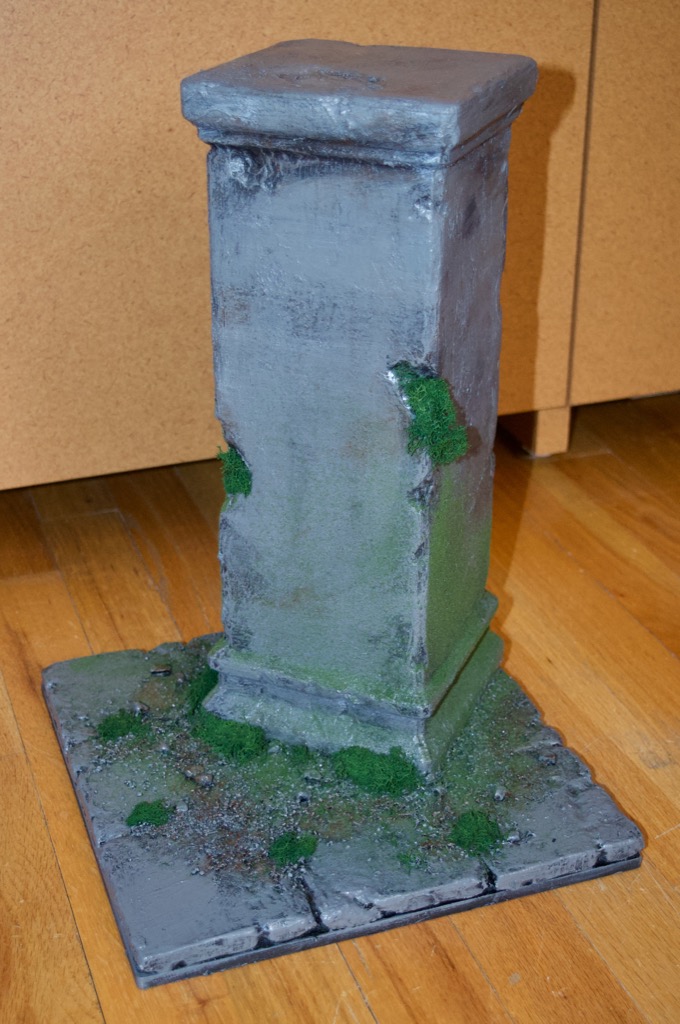
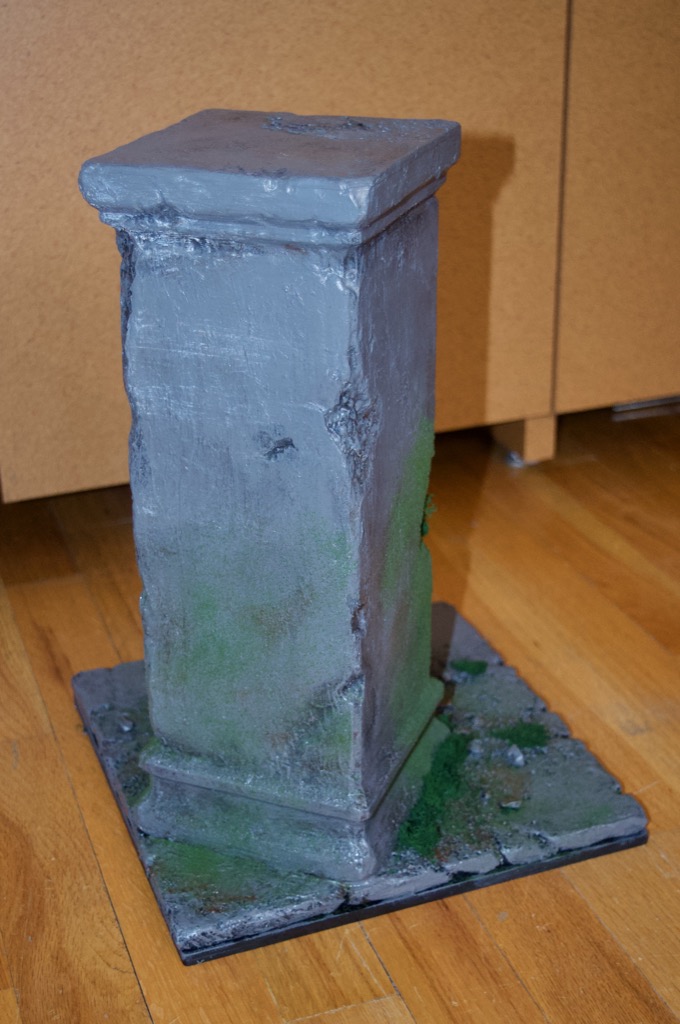
Once I was happy with the results, I hit it with some spray glue and sprinkled on some moss.
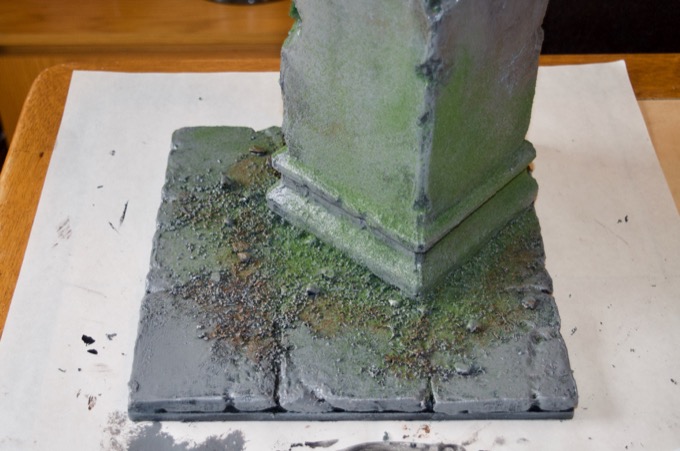
For the finishing touch, I glued on some little weeds. That came out awesome!
 See this project from start to finish: 23" 3D-Printed Figurine - Part I 23" 3D-Printed Figurine - Part II 23" 3D-Printed Figurine - Part III 23" 3D-Printed Figurine - Part IV 23" 3D-Printed Figurine - Part V
 23" 3D-Printed Figurine - Part VI
23" 3D-Printed Figurine - Part VII 23" 3D-Printed Figurine - Part VIII 23" 3D-Printed Figurine - Part IX 23" 3D-Printed Figurine - Part X 23" 3D-Printed Figurine - Part XI


