I left off with my last post having all the electronics pretty much figured out. I could just throw it all in the cube and wrap it up, but that just wouldn't be me. I'm just not happy with the way that the paint came out. It looks really good, but the colors are all wrong.
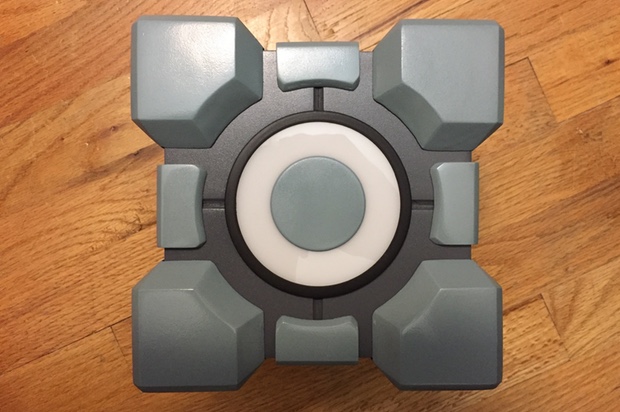
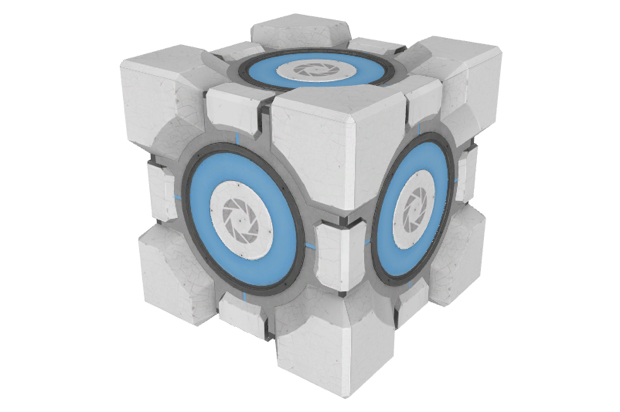
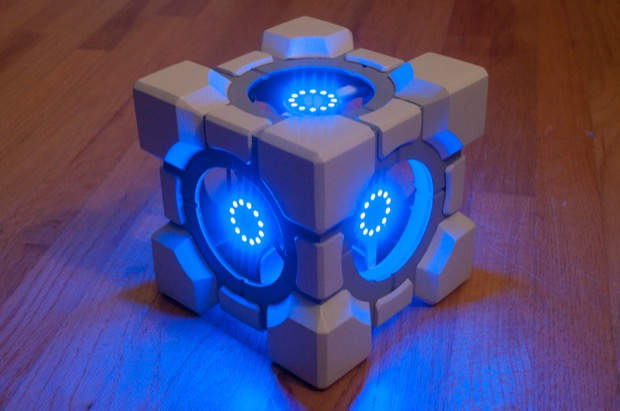
As far as light and dark gray spray paint goes, that was all that I could find at Home Depot. I went with it and crossed my fingers that it would look OK. The colors might be off in the picture, since the corners and edges do look pretty gray, but in reality, they are more of a bluish-gray. The edges and corners on a Portal Cube are very light gray, almost white. The main body is just a little bit darker than the rest.
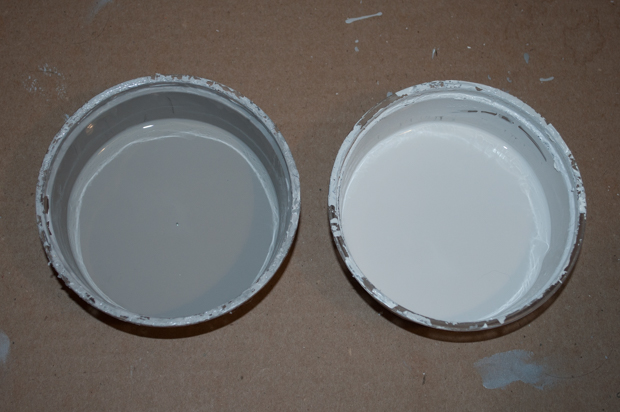
I decided to pick up some acrylic paint at my local craft store and mix a batch of light and dark gray. I did the best I could to get as close to the real thing as possible. I know the one on the right looks like white, but it's not. It's a light gray. If you saw it next to plain white, you'd notice the difference.
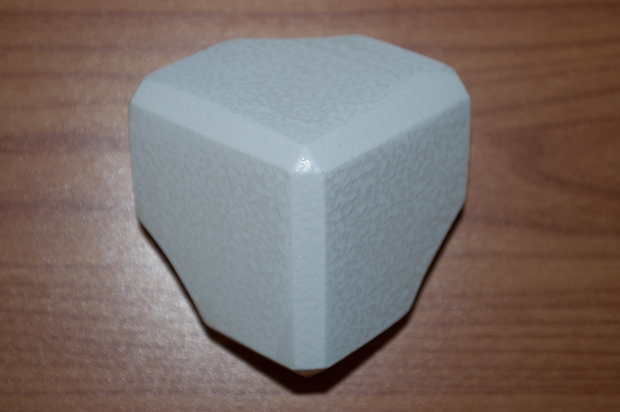
This paint is pretty thick, despite watering it down. In order to eliminate brush strokes, I decided to apply the paint with a roller. It gave it a really nice texture. After a light sanding, it came out with a really cool look. It almost looks like concrete.
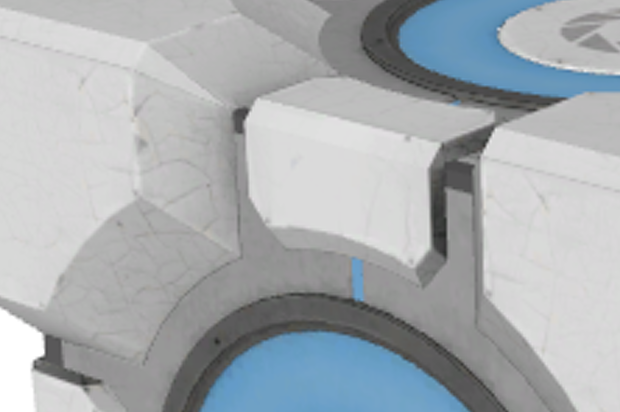
If you look at a Portal Cube close up, it definitely has a texture. It's more of an aged, cracked paint look; but a texture nonetheless. So it makes sense that mine shouldn't be super smooth and shiny.
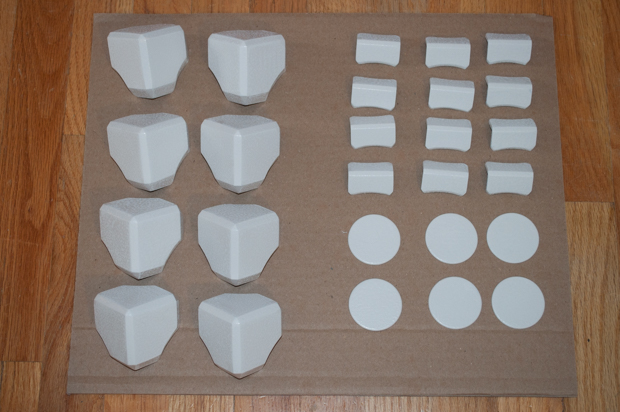
I went ahead and painted all the other parts light gray. You'd never know by looking at these parts that they were 3D printed. They look awesome.
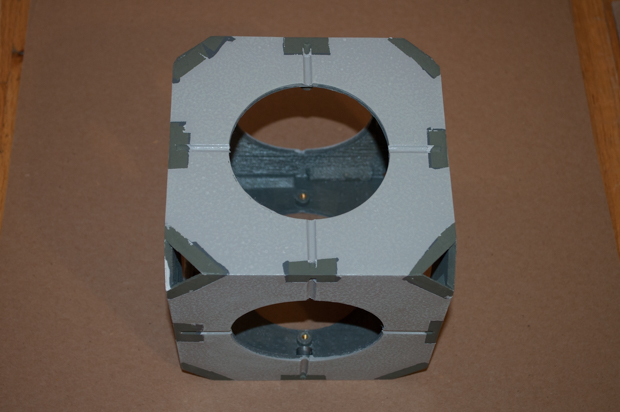
I then went to work on painting the body. I masked off the areas that will be covered with corners and edge pieces. This way the epoxy has something to bond to. I'll still use my corner mounting plates, but a little epoxy will help secure the ones that still have a little big of wiggle to them.
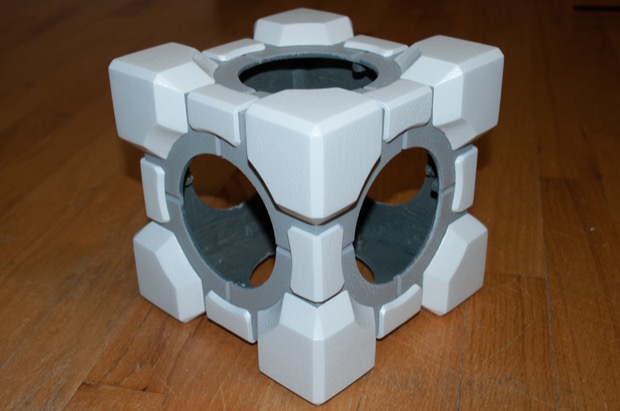
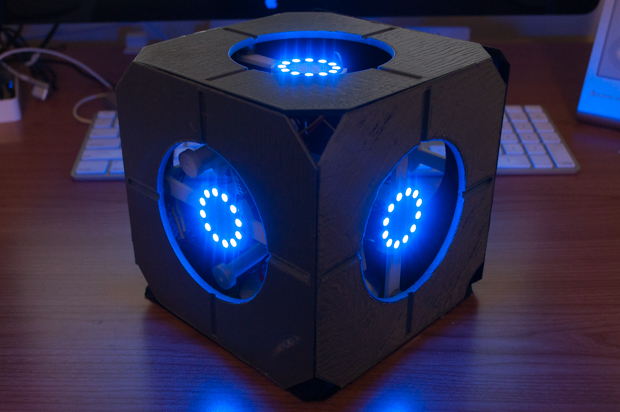
I then glued all the corner and edge pieces into potion. That looks pretty damn awesome. I'm really happy with it. I'm so gad I decided to repaint it.
From my
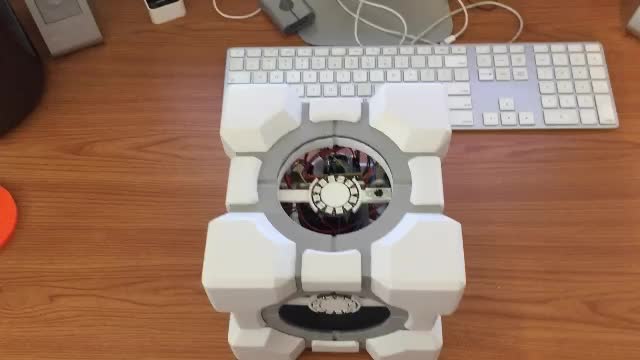
last post, I indicated that I was able to get everything to work inside my test rig. It was a great test, because it allowed me to identify a few things that needed to be improved before the final assembly.
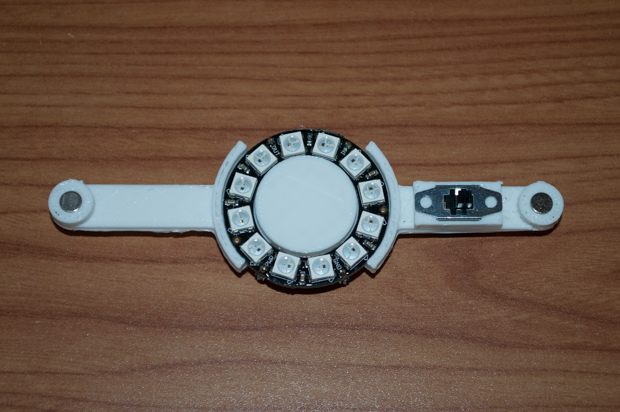
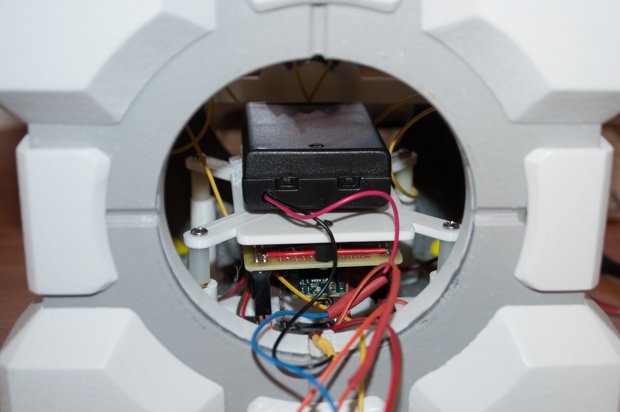
The intent was to use the power switch on the battery pack to turn the cube on and off. However, once the battery pack was installed, reaching the switch was rather cumbersome. I decided to redo my PCB and one of the LED holders to incorporate another power switch. I redesigned the removable LED holder to incorporate a small slide switch.
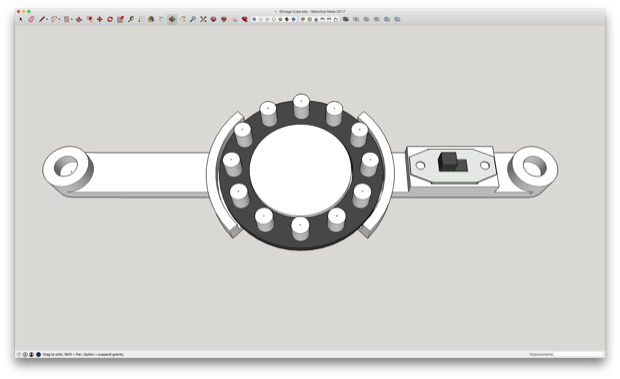
I printed it out and installed the switch, the Neopixel, and the magnets.
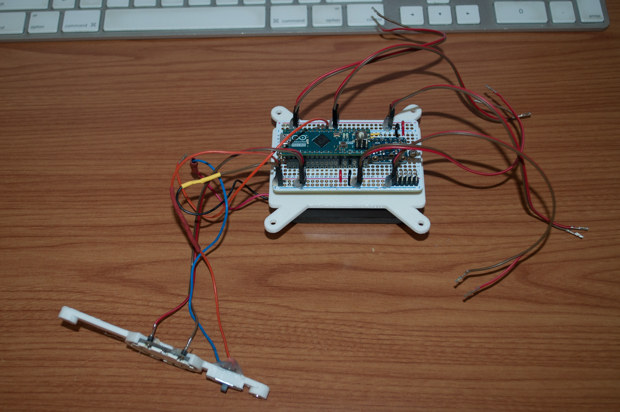
It was also made clear that having all the power and ground leads for the Neopixels all coming from the same header was less than ideal. It made routing the wires difficult. I decided to place three connections on each side of the PCB. This way, all the wires will have about the same reach. I then secured the connectors with a small blob of hot glue to eliminate any intermittent connections. Normally, I'd go with some locking JST connectors, but I don't feel like waiting another week for connectors to arrive in the mail.
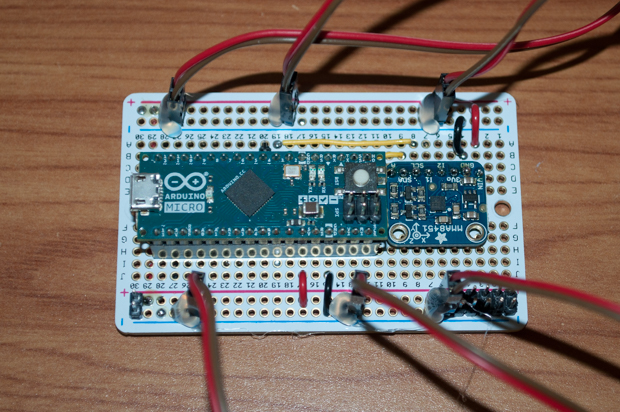
I then wired up the battery pack and the power switch and secured everything to my PCB mount.
I then glued the standoffs to the inside of the Cube.
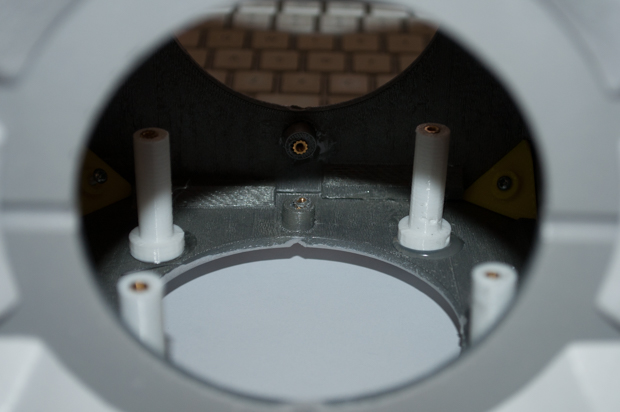
I then screwed in all the LED holders.

I also glued in the removable LED holder retainer.
After routing all the cables, it was made clear that the standoffs that hold up the PCB mount were too short. I could just push the PCB down and screw it in, but the wires looked a little too cramped. I decided to just raise the PCB mount with the addition of some 3/8th standoffs.
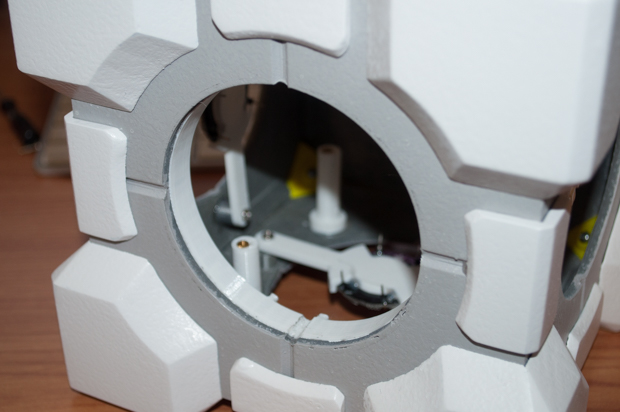
With that, I just had to snap in the removable LED holder and it was good to go. That looks awesome.
The code still isn't final. I'm still not sure how I want to trigger the blue and yellow LEDs, but here it is in action for now with the simple portrait and landscape triggers:
The last thing I need to do is paint the Aperture Science logos onto the centers and then I can install them into the bezels.
See this project from start to finish:
Portal Weighted Storage Cube - Part I Portal Weighted Storage Cube - Part II
Portal Weighted Storage Cube - Part III Portal Weighted Storage Cube - Part IV

