I can't believe it took me so long to get around to playing Portal. I guess it all has to do with time. I never have time for video games. Rather than sit in front of the computer playing games for hours a day, I'd rather sit and make PCBs, write code, and design 3D models.
In any case, I have a really sweet
17" HP Omen laptop, and since Steam was having a sale, I picked up the Portal 1 and 2 bundle for a little under $3 bucks. I really enjoyed playing them. I love puzzle games. I beat them both in just a few days. I finally get the whole Portal cube things now. I've seen them all over the Internet and heard all the pop culture references. (The cake is a lie!) So I'm no stranger to the games, it just took me years to get around to playing them. Now that I've beaten both games, I feel like I can finally make myself a Portal Cube and not feel like a poser.
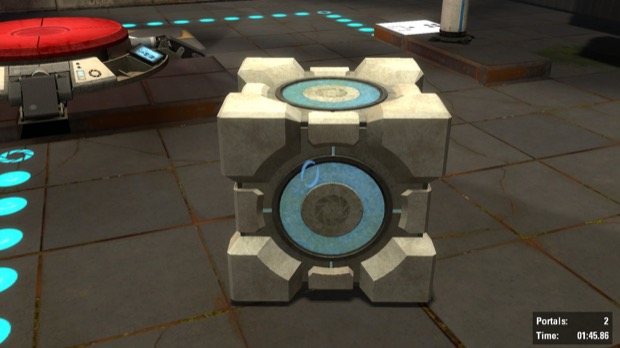
Here's a screenshot from the game showing a Weighted Storage Cube. I like these ones better than the Companion Cubes. The pink heart is a little too much for me. Besides, I think this would look really cool lit up with some blue LEDs!
I decided to make my own 3D-printed Portal Cube. It's going to be awesome!
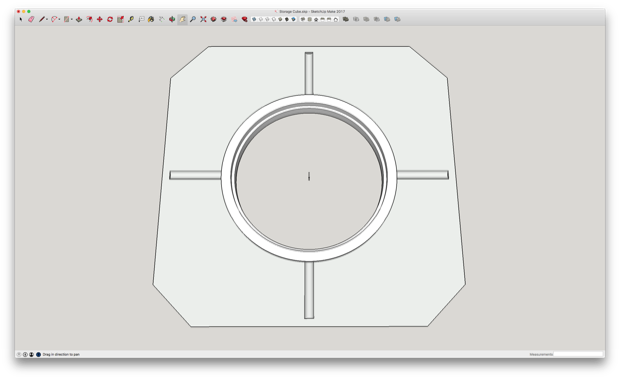
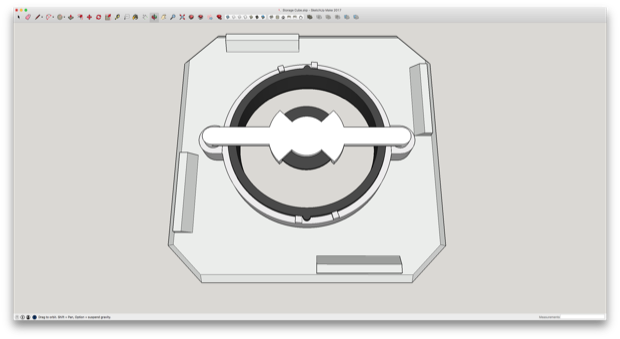
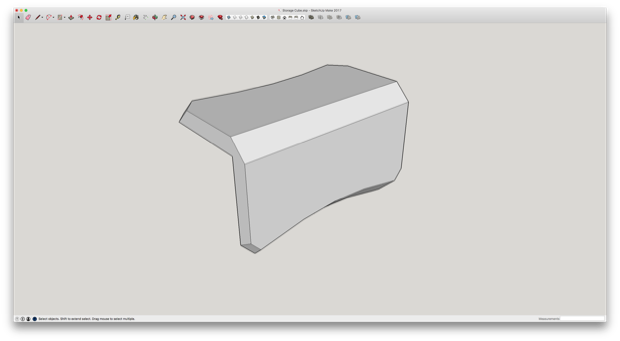
I jumped into SketchUp and started with the sides.
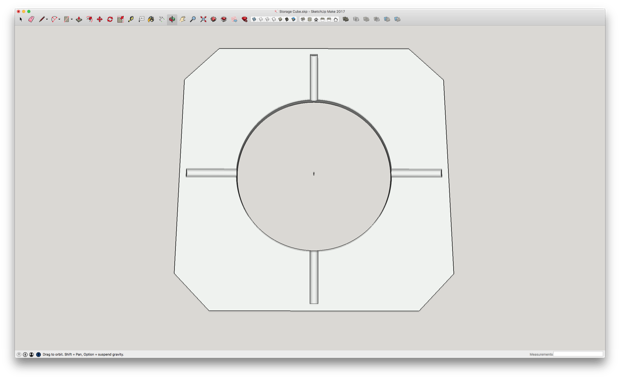
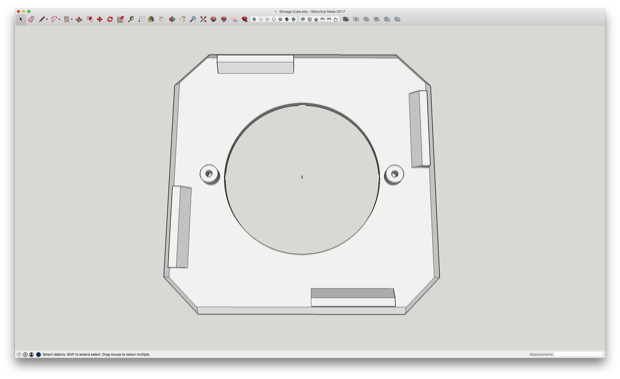
I put some features into the sides so that it'll help square the cube off when I glue it together. In addition, I included some standoffs so I can later attach something that can hold the LEDs.
Next up was the bezel that goes in the hole. This will hold a piece of laser-cut acrylic. I'll go with white and back-light it with some blue LEDs.
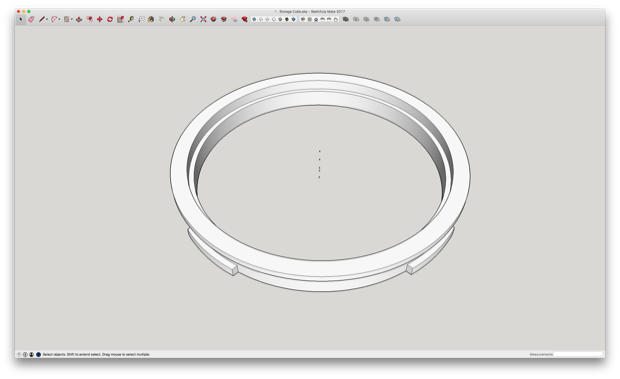
Nice.
I then designed an attachment that I can glue a Neopixel ring to.
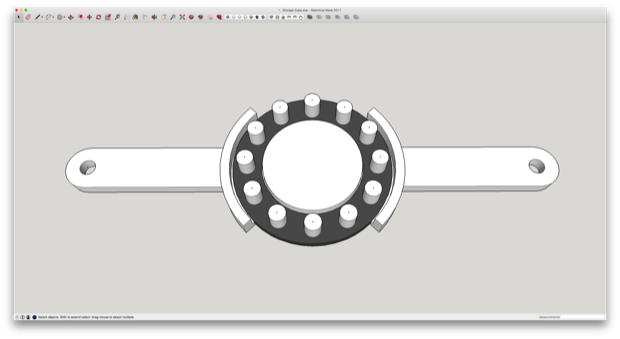
It'll be attached to the standoffs with some 4-40 screws and threaded inserts.
Once these bezels go in, they're not coming out. However, one side needs to remain accessible so I can hide a power switch and a charging port. One of the bezels needs to be a sort of cap that can be easily removed. That side also needs to remain accessible so I can install the electronics. I can't use threaded inserts and screws to secure the last LED holder either. How would I get a screwdriver in there once the other five sides have been sealed up? I'm going to secure the last LED holder with magnetics.
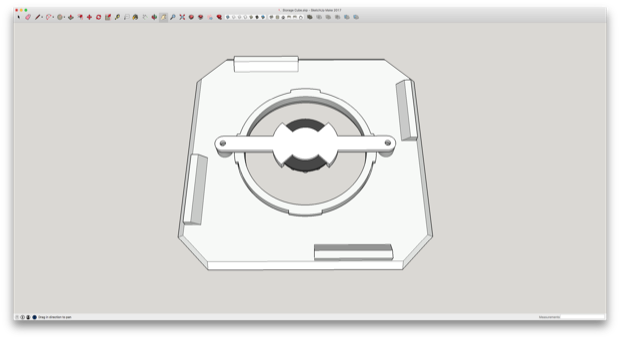
I needed to design a different bezel and LED holder that could fit on the existing design. I don't want to have to print two different kinds of sides.
Instead of holes for screws, there are holes that I can insert magnets.
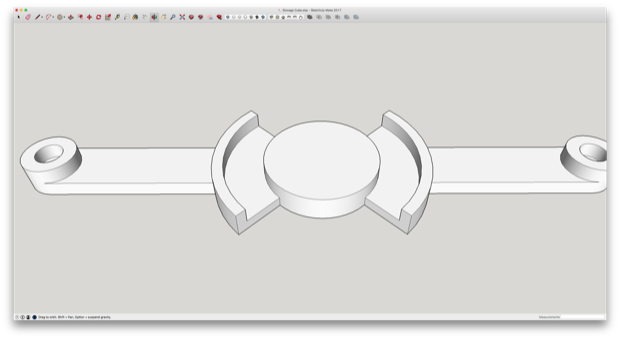
I'll then clip on a retaining ring that will also have magnets installed. The two pieces should just snap together.
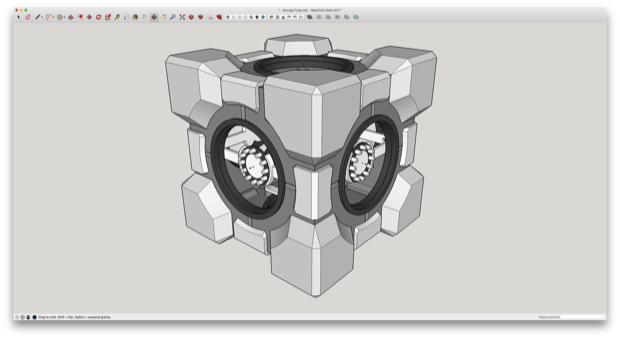
With that looking good, I cut and pasted five more sides to make a cube and added a little color. That looks really cool so far.

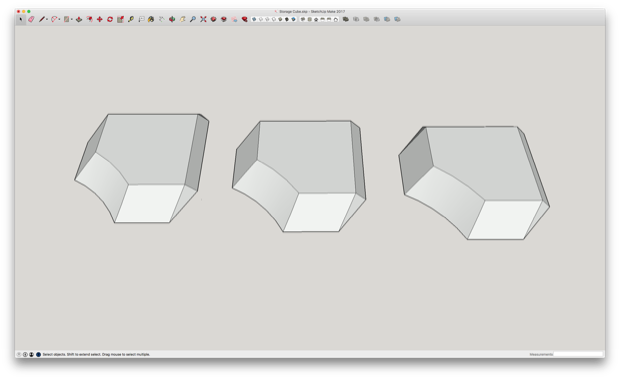
I then started with the corner pieces. I made one side…
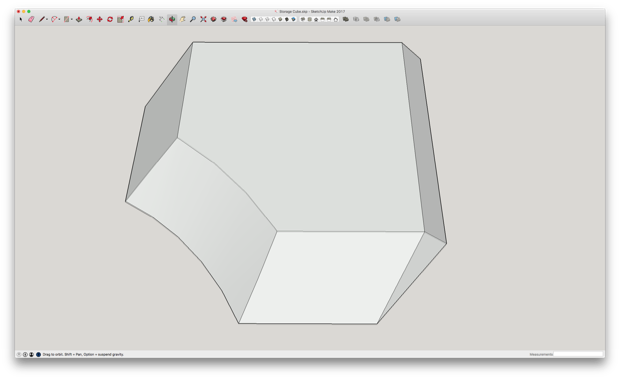
..and then cut and pasted two more.
I then flipped and rotated the sides and matched them up.
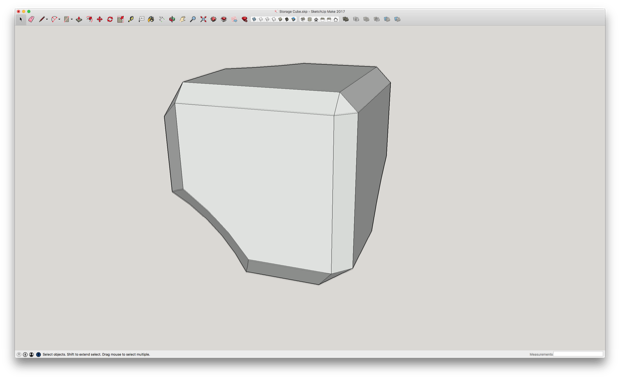
I repeated the same process for the edge pieces.
I put all the corners and edge pieces where they'll go. I might just glue the edge pieces in place, but I think I'll incorporate some 4-40 threaded inserts into the corners so I can screw them into place.
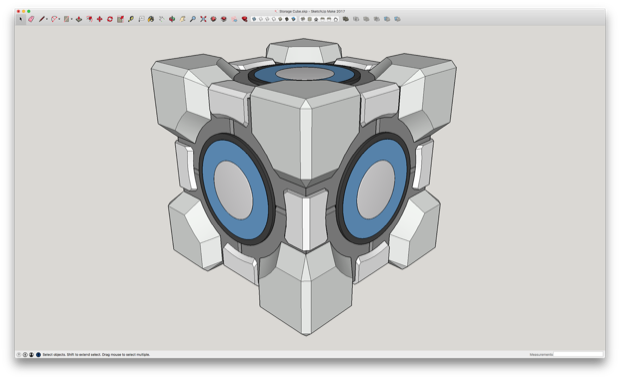
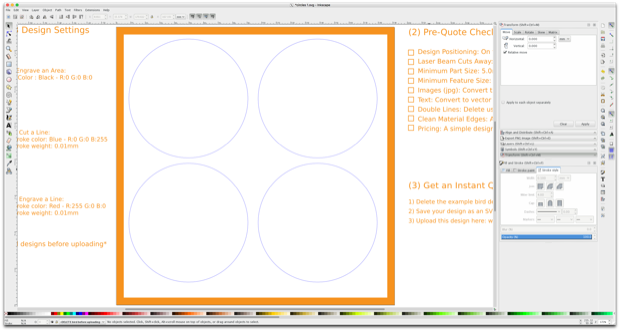
Finally, I filled the bezels with circles. In the real model, those will be 1/8" laser-cut acrylic circles back lit by blue LEDs. I'll print some flat circles to glue into the centers.
That looks awesome!
I was going to make the cube a massive 8" x 8", but in the end I decided to go with 6" x 6". Once I placed the 8" x 8" side on my print bed, I realized how huge it was going to be. It was just a little too big. Shrinking it down to 6" x 6" will save on a ton of material; not to mention the additional time it will take to sand and paint, etc. That, and the circles that go in the bezels will have to be bigger. That'll add a huge expensive since I'd have to go wth a bigger piece of acrylic from Ponoko that can accommodate 8 x 100mm circles. I can fit 4 x 80mm circles on a single P1 Ponoko template and order two for less than the price of one larger P3 piece of acrylic. I usually spare no expense when it comes to my projects, but I don't want this Portal Cube costing me $200 bucks either.
I first tried to print one of the sides face down with a raft. It looked pretty gnarly once I peeled the raft off. I can sand it, but it'll probably take a ton of work. I might even have to fill it with Bondo or something and then sand it.
It would come out so much nicer if I was to print it face up. The problem with that is, the part will be sitting on the standoffs, and that will require a massive amount of support material. The parts will use twice the amount of material, and will take twice as long to print. I guess it is what it is. It's all about getting the nicest looking prints with the least amount of cleanup work afterwards.
Here's what it looks like printed face up with supports. The entire bottom is support material. I was afraid I'd never be able to pull it off.
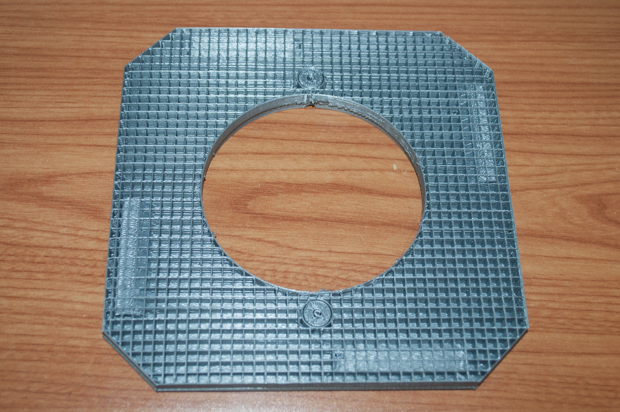
Much to my surprise, the bottom broke off very easily. The good thing too is that the support material will act like a "tray" that the part can sit in while I sand it. This makes it sit nice a flat and not all wobbly on the standoffs. What an unexpected side-benefit.
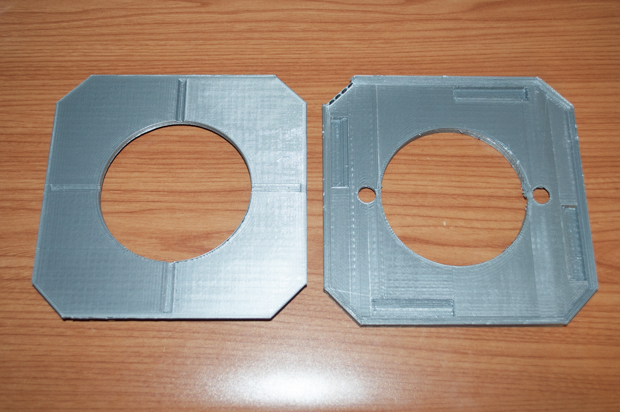
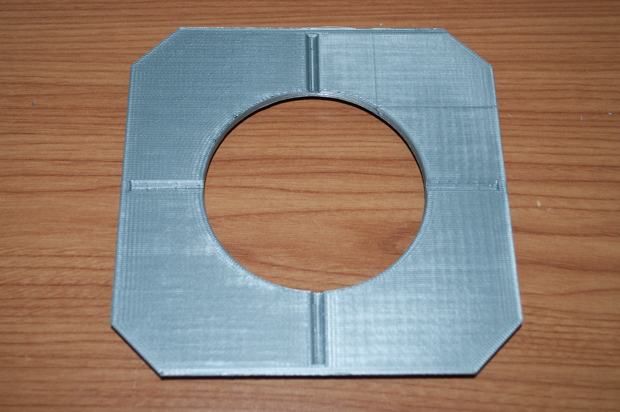
The top is nice and smooth. It'll be a breeze to sand.
Here's the back. It's pretty rough, but I don't care what the inside of the cube looks like.
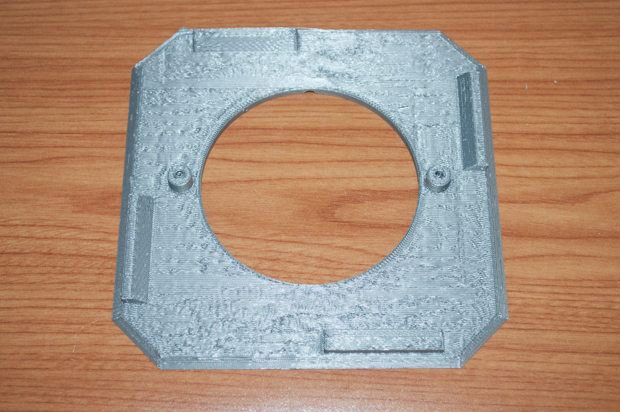
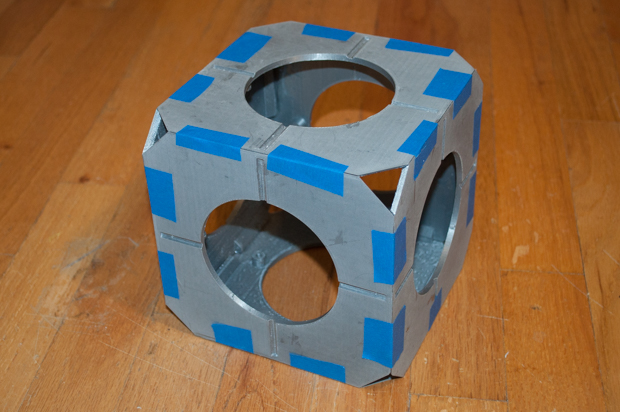
Those little edge connectors that I incorporated along the sides work perfectly to keep the sides all nice and square. I'll glue them together at those points with some epoxy.
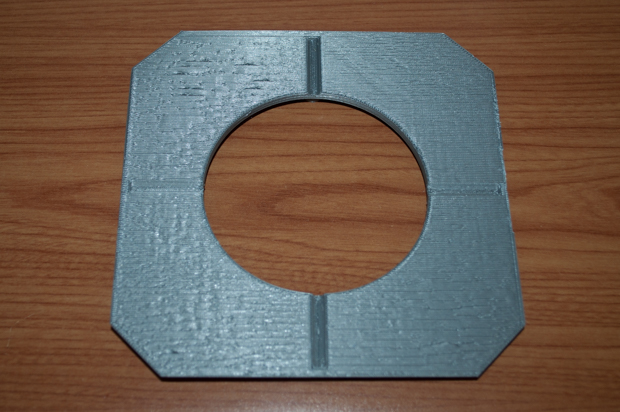
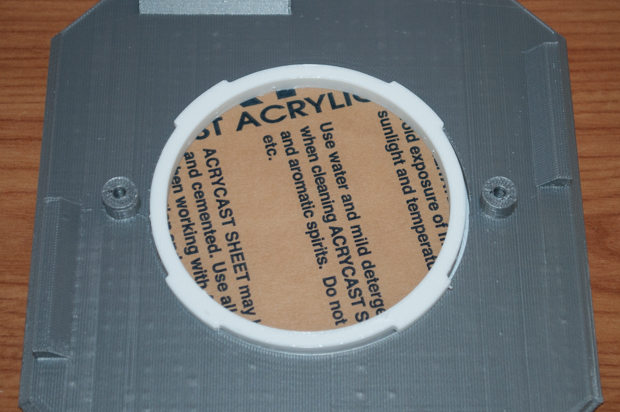
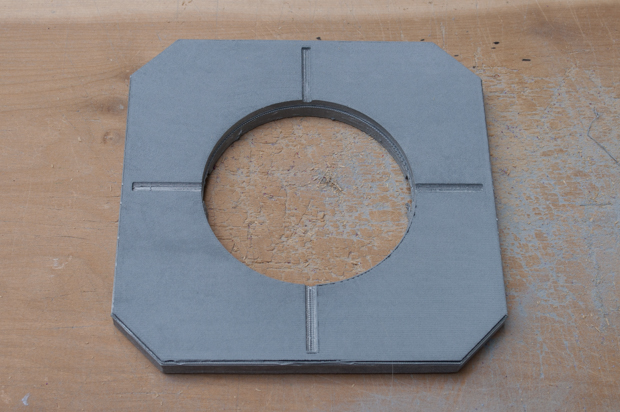
With the sides all printed. I got to work on the bezel.
I had some circles laser-cut from Ponoko. They were on the money this week. I ordered them on Saturday. They made and shipped them on Monday. They were delivered on Wednesday. I think that's the quickest turnaround I've had so far.
Everything fits perfectly.
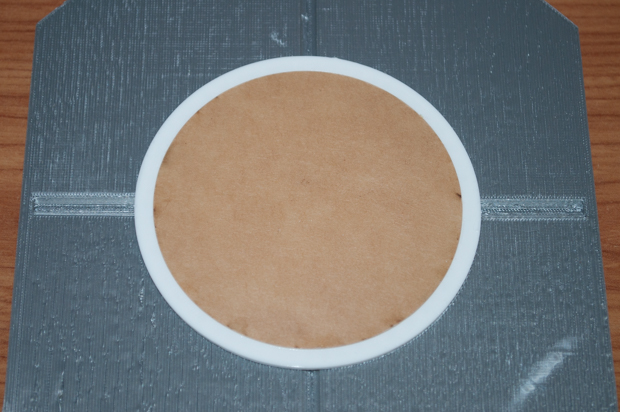
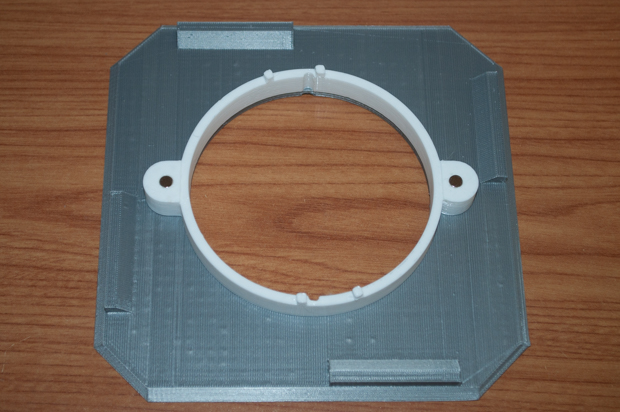
The bezels snap into place and are held by four tabs on the back.
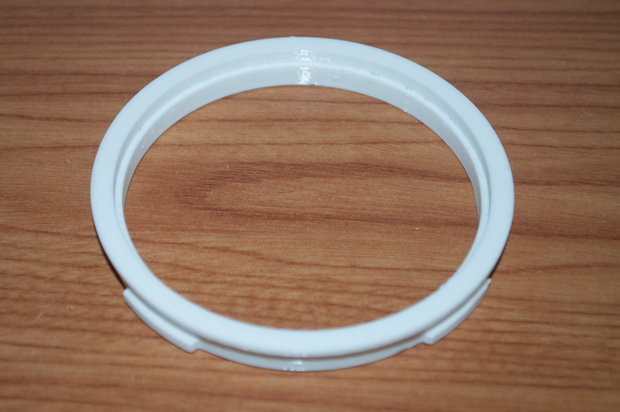
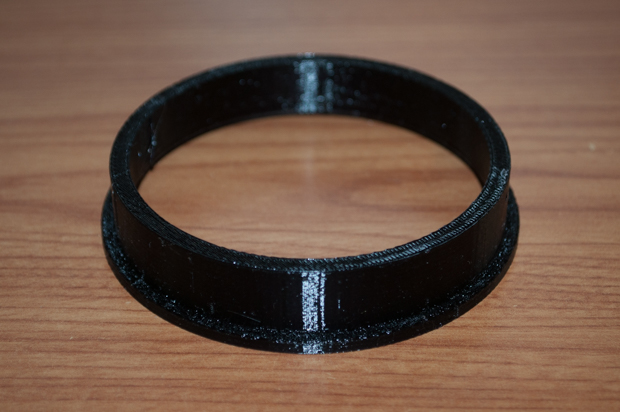
I then printed the retaining ring for the removal bezel. It snaps onto the standoffs with a nice tight fit. I then press fit some tiny neodymium magnets that will secure the LED holder later.
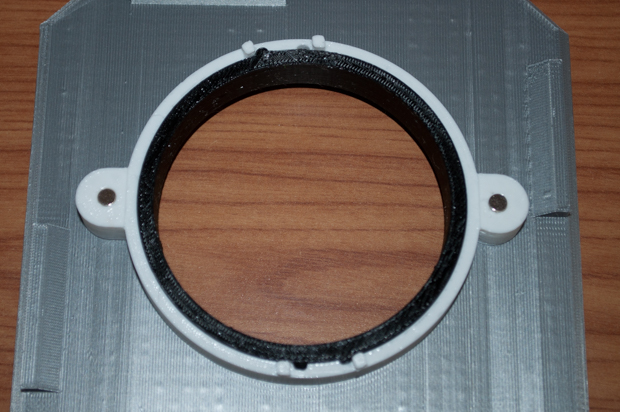
I then printed the removable bezel.
It fits really well. I incorporated some tabs and notches so that I can lock it in place with a slight turn.
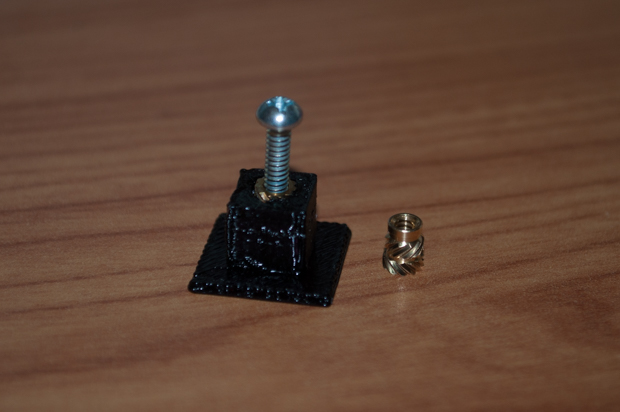
For the corners and the LED holders, I'm going to use some 4-40 threaded inserts. In the past, I've just made the holes in my models small enough that 4-40 screws just thread right into the plastic, but I want to up my game with this model.
This little test print worked perfectly. Just make a hole a little smaller than the insert, heat the insert up with a lighter, and push it into the hole. Solid.
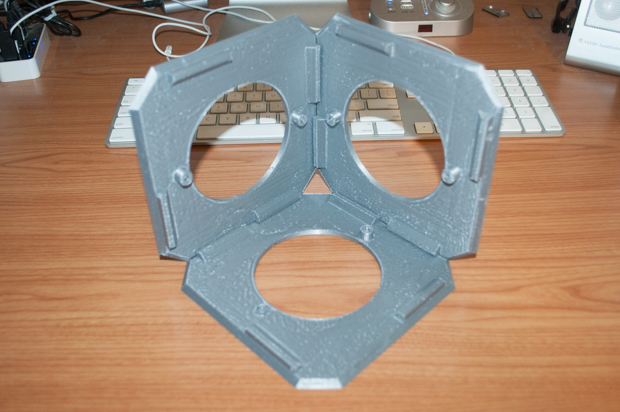
It's going to take a while to print all the corners, edges, and bezels. So I took the time to start the sanding and gluing in order to assemble the main part of the cube.
Just as I'd hoped, the support material acted as a perfect tray for the parts to sit in while sanding them with my palm sander.
After sanding the side pieces with several progressively finer grits, I rinsed them off in the sink and let them dry. You probably can't tell from the image, but it's as smooth as glass. Any minor imperfects in the finish will be taken care off with a few coats of primer.
The epoxy was some messy stuff. Applying it with a toothpick was rather cumbersome. Getting it in all the nooks and crannies made a little bit of a mess. I'm not worried about it, as it'll sand right off.
Once the epoxy cured, I took it outside and applied some Bondo along all the edges.
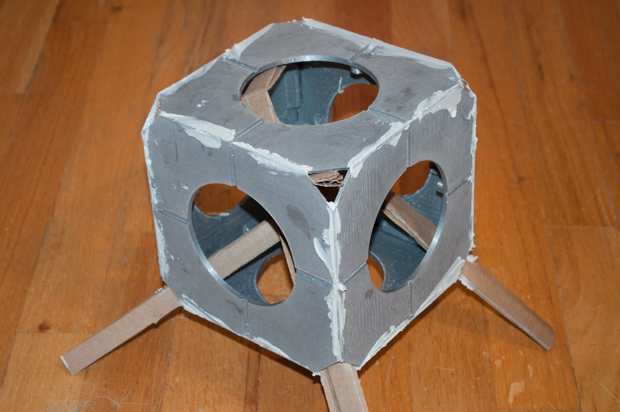
That stuff dries fast. It was ready for sanding in about 20 minutes.

It's looking pretty good. Next up are the corners and the edge pieces.
See this project from start to finish:
Portal Weighted Storage Cube - Part I
Portal Weighted Storage Cube - Part II Portal Weighted Storage Cube - Part III Portal Weighted Storage Cube - Part IV
