When I first designed the
Word Clock 2, the plan was to laser cut the enclosure for it. I hate dealing with Ponoko. Their uploader does nothing but complain about Inkscape files. It's smart enough to detect stray points and flag them as an issue, but not smart enough to just ignore them. The colors, strokes, and paths have to all be perfect or it complains. Every time I've used them it's taken hours trying to tweak the files to get the uploader to accept them. A couple of times I've had to mail them to customer support and have them fix them. I've gotten jobs back from them that had lines cut that were supposed to be engraved. Things that were supposed to be engraved but were cut. Shipping takes forever, and they are really expensive. That was one of the main reasons I opted to just go ahead and 3D-print a case for it. I think they wanted something like $30 bucks for the case. That's a lot of money to spend (plus shipping) with no guarantee that it wasn't going to be screwed up. And what if I didn't nail the hole placement on the back? Too risky.
It came out OK, but I was never really happy with it. Now I have a Glowforge and I can laser cut my own stuff! Awesome!
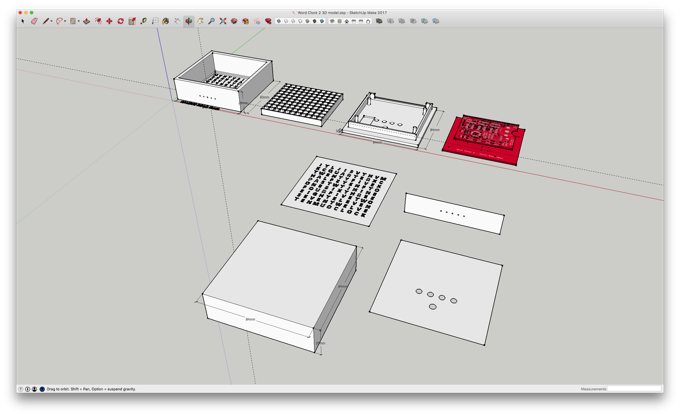
Time for an upgrade. I opened up my original SketchUp file that I used to design the 3D-printed case and cut and pasted the faces. I then exported them as SVG files.
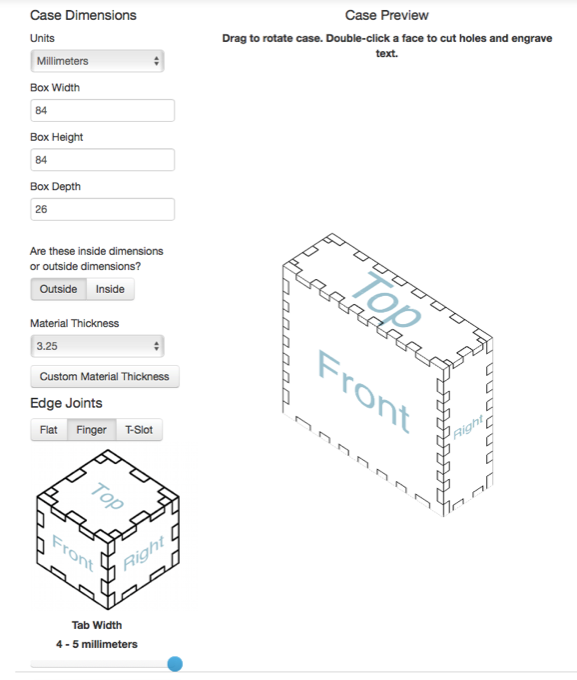
I went to
makercase.com and designed a box that was 84mm x 84mm x 26 mm.
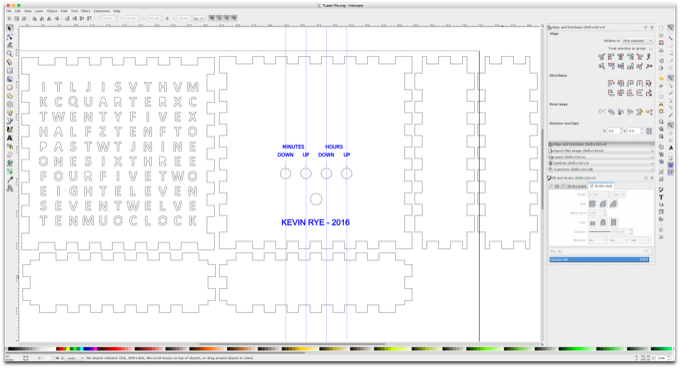
I then downloaded the SVG and opened it in Inkscape. I added some text and imported the faces from SketchUp.
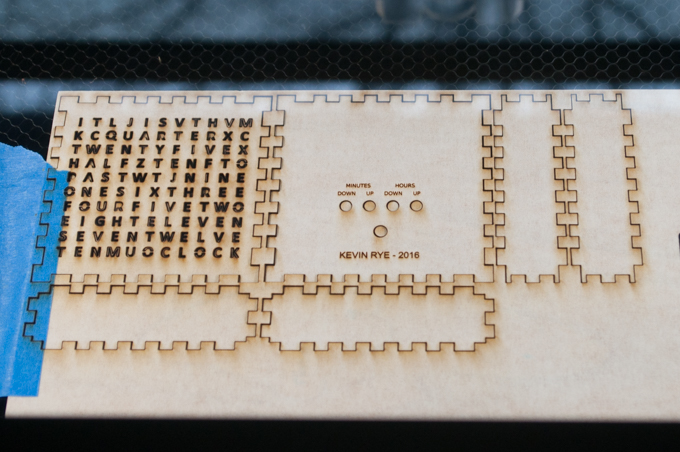
I then took it into the Glowforge UI and let 'er rip. This is pretty much the same file I attempted to upload to Ponoko. No complaints by the Glowforge. It just works.
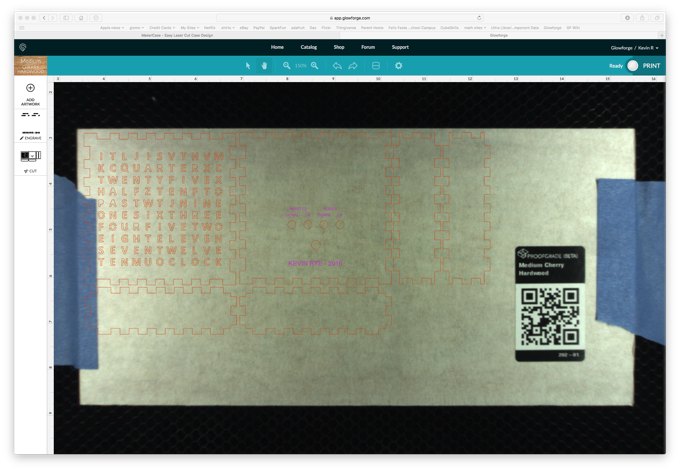
I can't believe how much money Ponoko wanted for this. It's nuts. The wood was $7 bucks, and it only took 5 minutes to cut.
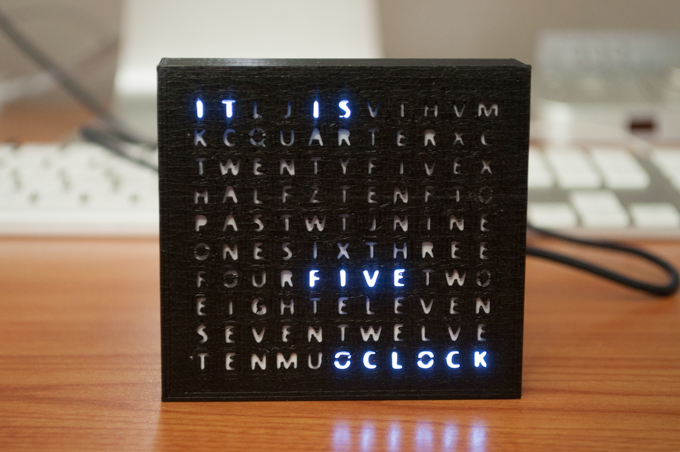
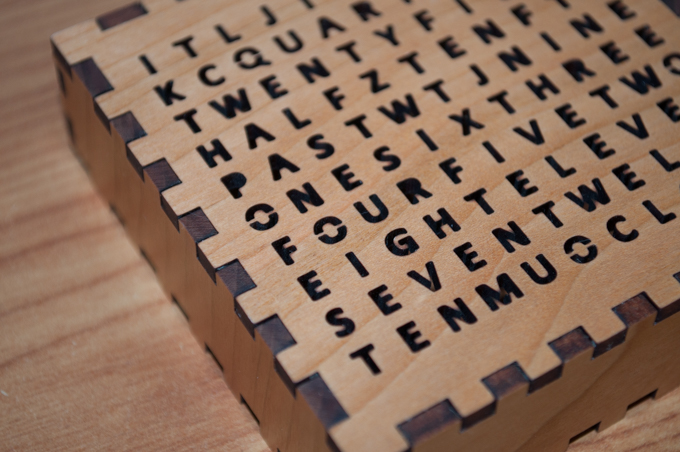
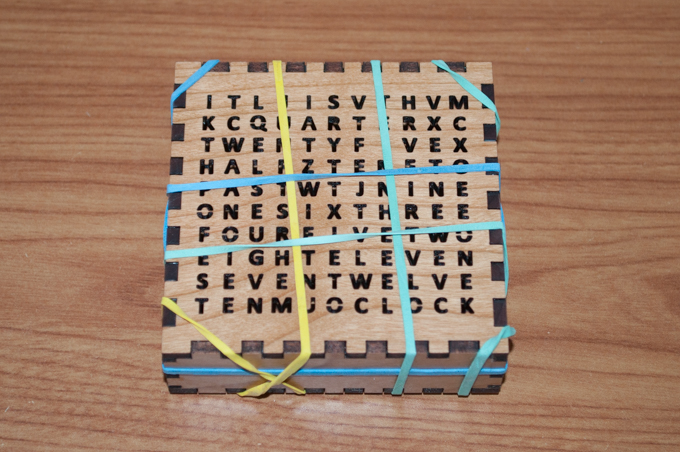
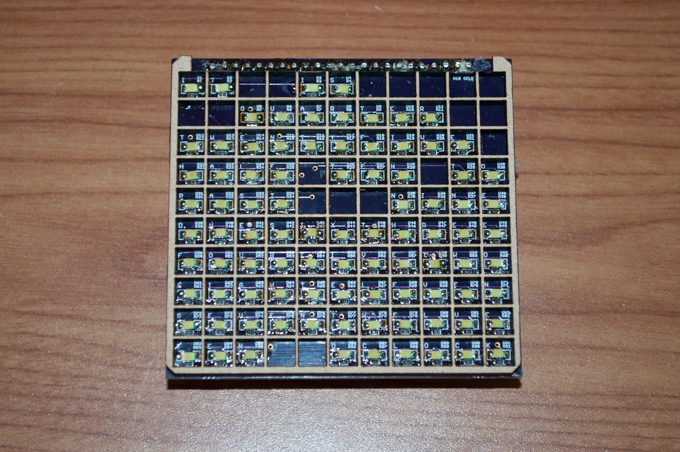
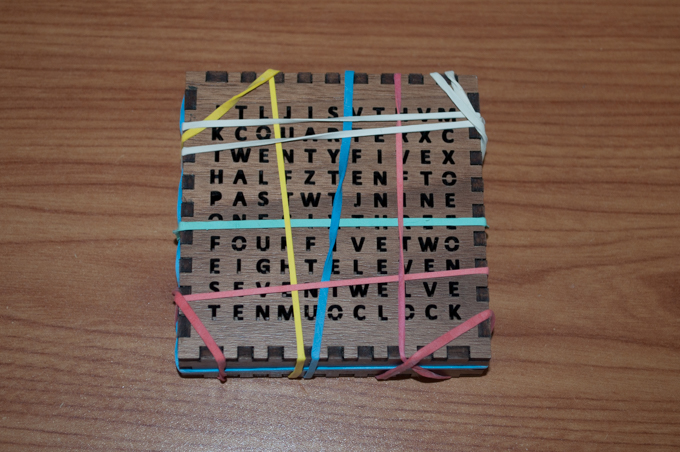
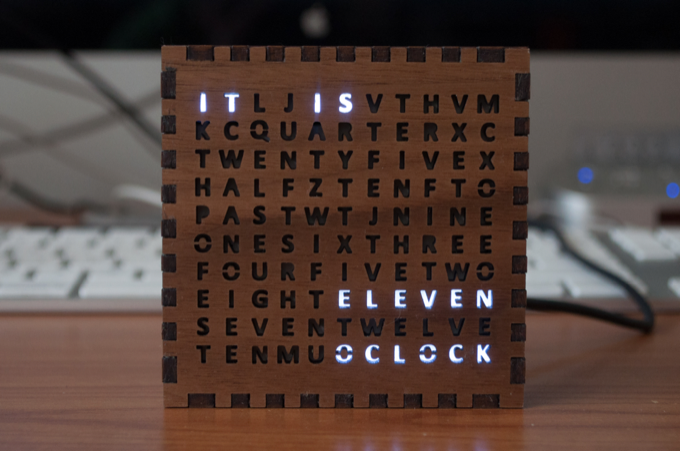
I can't believe the precision of these cuts. Just look at the O's. They're only 4mm wide. Amazing!
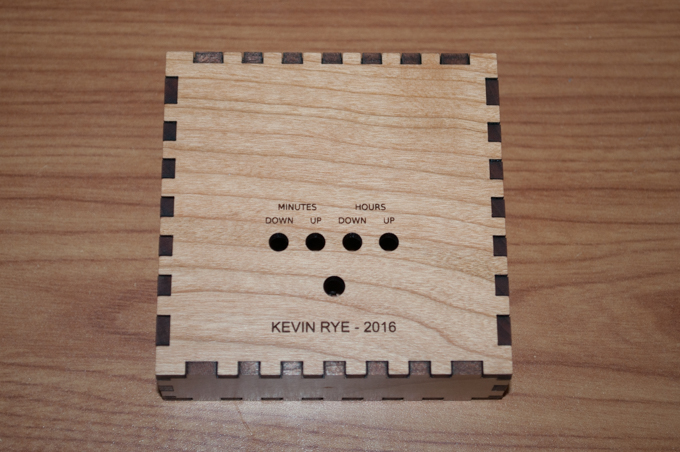
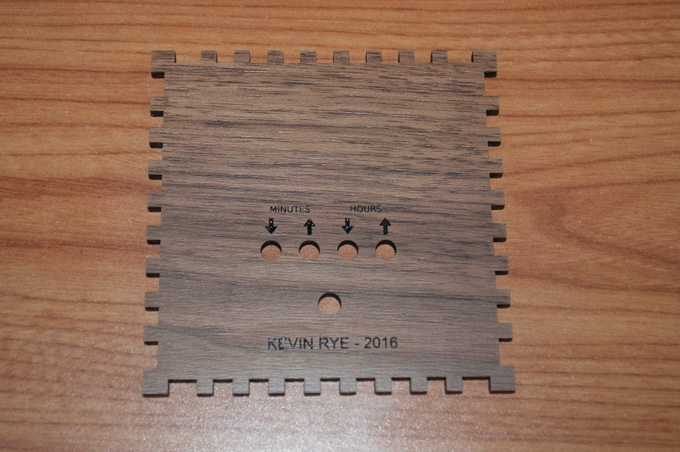
The engraving on the back came out really nice too. These were all default Proofgrade settings on cherry hardwood.
I applied some glue along the edges and held it tightly together with some rubber bands.
It was at this point that I went to hot glue the LED baffles in place when I realized what a piece of garbage it was. Why am I still using this thing? I have a laser cutter now. I can do so much better!
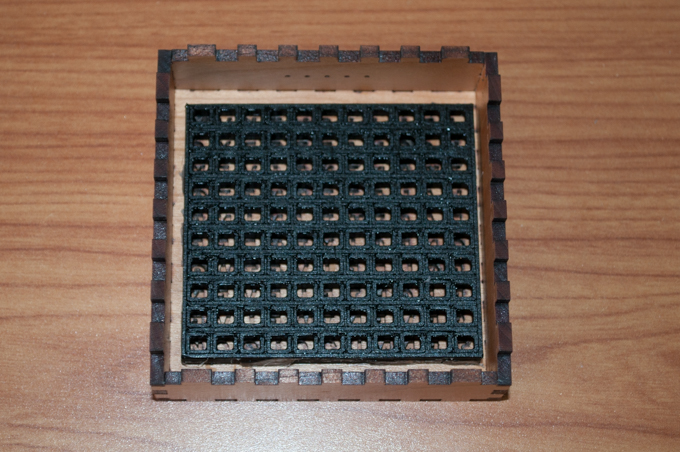
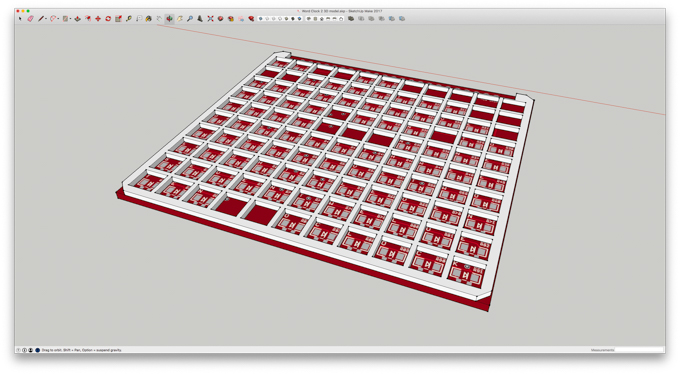
I jumped back into SketchUp and made the baffles for the LEDs. It doesn't have to be made out of nice wood with a fancy finish, so I opted to just cut it out of draftbaord.
Unbelievable. Those center lines are only 1mm thick.
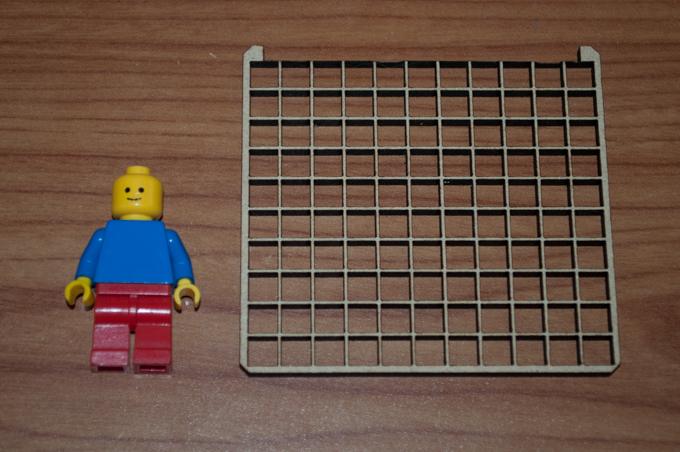
It fits absolutely perfectly! I just need to hold it in place with a few drops of hot glue.
I thought I was done.
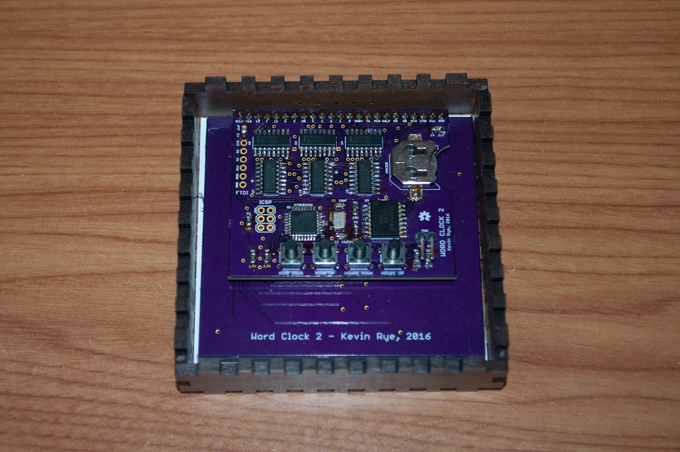
I went to glue the electronics into the enclosure when I realized that going with the 3.2mm thick draftboard for the baffles, I managed to shave 5mm off the width of the enclosure. That means that the buttons on the back of the PCB are not long enough to poke out the back.
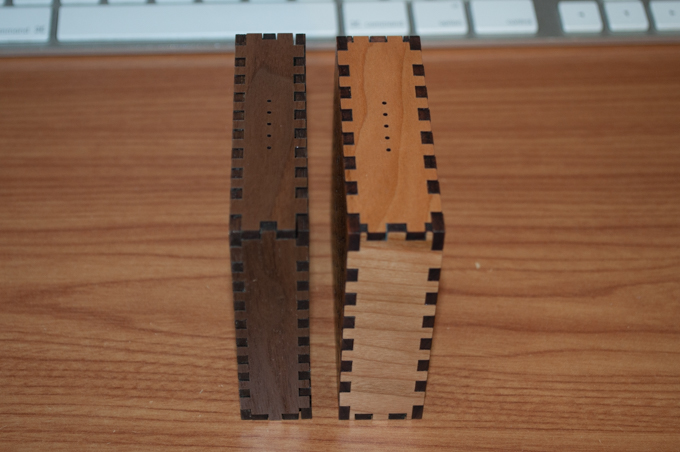
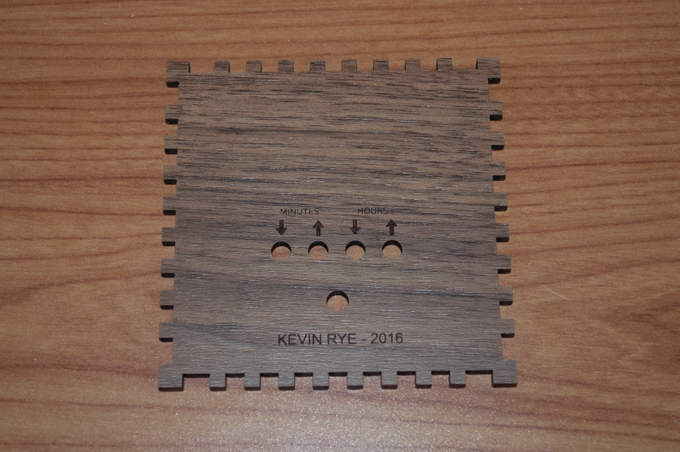
I redesigned the case and made it 5mm thinner. I then cut it out of a darker wood. I think it came out really nice. What a difference in size.
I changed the labels on the buttons to up and down arrows. Although the words before were perfectly centered over the holes, "DOWN" being longer than "UP" seemed to screw up the symmetry. I guess I'm a little OCD, but it just didn't look right.
This wood is darker than the cherry, so the engraving isn't as bold as I thought it would be. I took some acrylic paint and smeared it over the engraving.
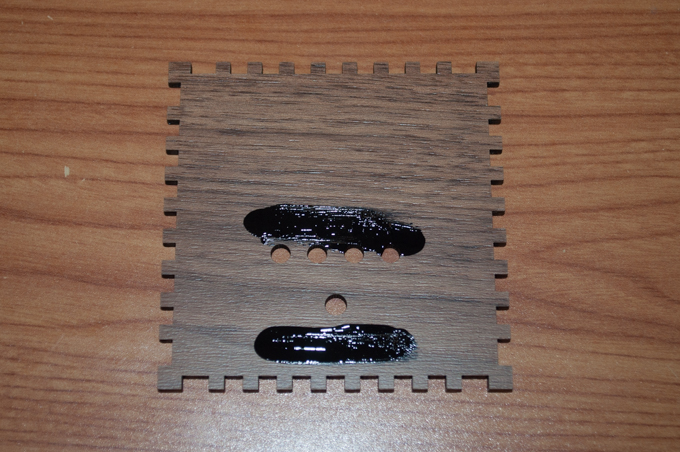
I then wiped off the excess. Not bad.
Rinse and repeat.
It's still a little big. I probably could shave another 3mm of the height and width, but I think I'll call it a day on this one.
I made the connection to the power supply…

…and held everything in place with a few drops of hot glue.
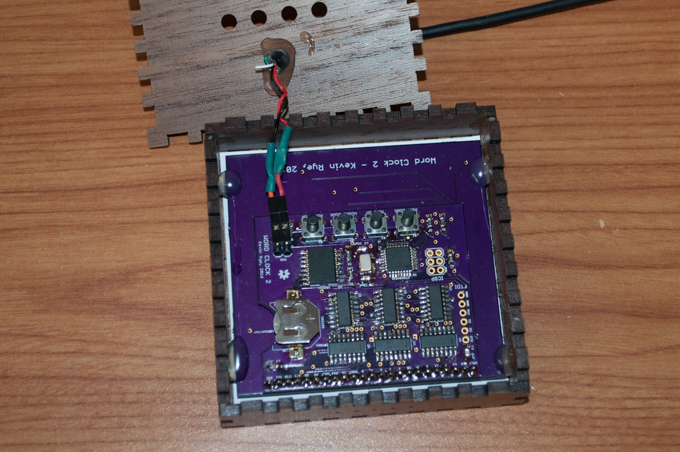
Wow, that came out amazing! I'm so happy with it.
I wonder if there are some other old projects that could benefit from a Glowforge upgrade. Hummmmmm……
See this project from start to finish:
Word Clock 2 - Part I
Word Clock 2 - Part II Word Clock 2 - Part III Word Clock 2 Case Upgrade

