I admit it: I'm a total geek. I love electronics, programming, 3D printing, 3D art, and vintage Apple hardware. I'm always juggling half a dozen projects. I also enjoy documenting it all: my successes, my failures, my experiences... and everything geeky along the way.
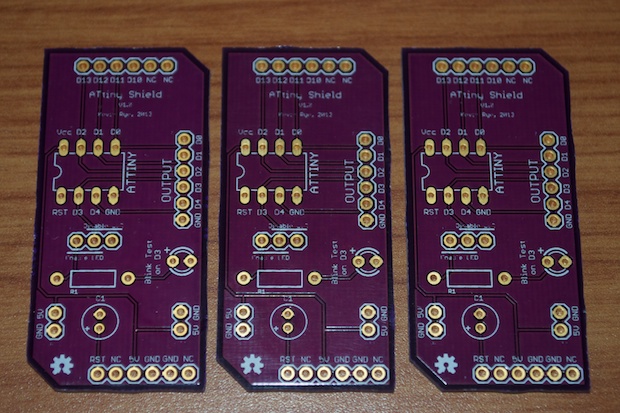
After a few failedattempts at making a home made PCB for my ATtiny Programming shield, I decided to go ahead and upload my Eagle file to OSH Park.
Two weeks later, I had a fresh batch of purple goodness in-hand. They are a little lighter than usual. I emailed OSH Park and they said they were aware of the problem and it’s been fixed forward going. I guess rather than scrapping the boards and making everyone wait another 2 weeks, they opted to just send them out and hope no one cared about the color. I guess it’s no big deal. There’s nothing wrong with the boards, it’s just that they are not “as purple” as usual.
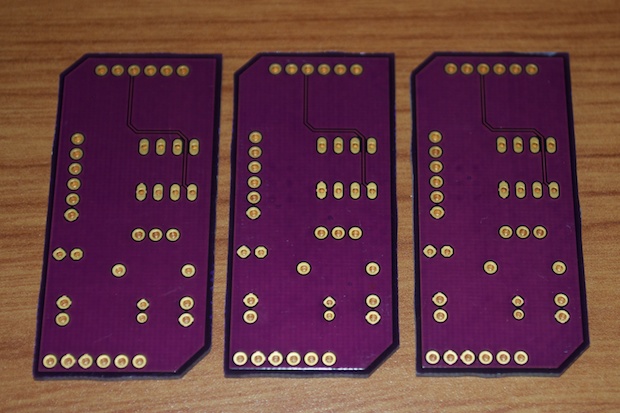
They switched fab houses. The boards are supposed to be of a higher quality. The text is a higher dpi and the through-hole plating definitely looks better.
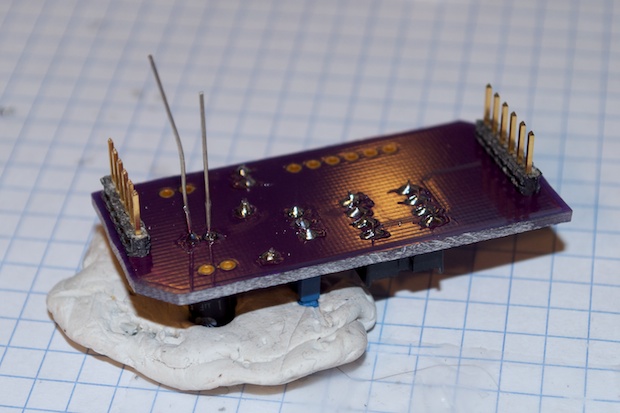
FunTak to the rescue. I have to tell you, this stuff is great for keeping components in place while you solder them.
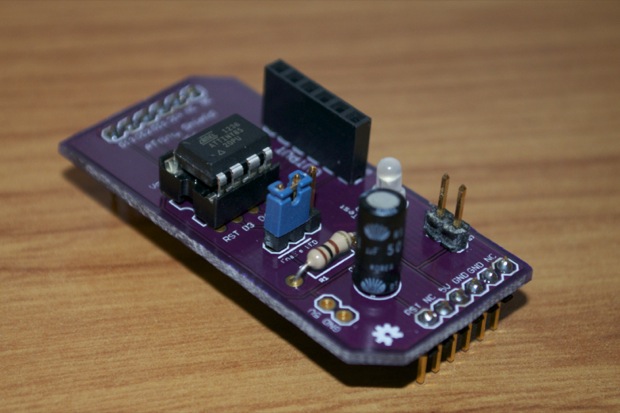
One complete board ready for testing.
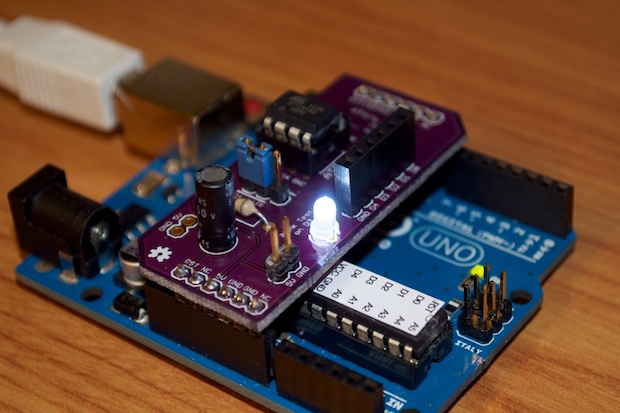
This is why I built in an onboard LED. As soon as I load the Blink sketch, I get immediate feedback that the chip was successfully programmed. It works!
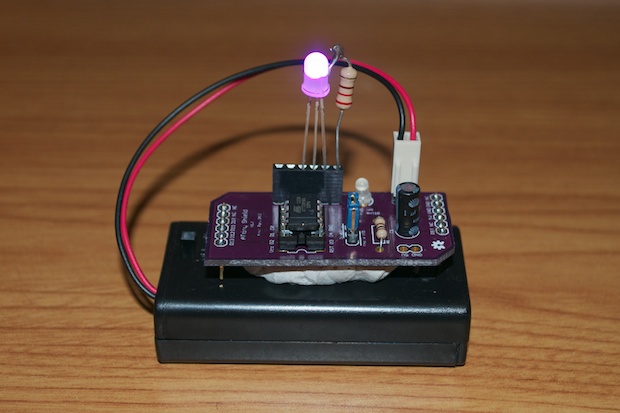
Since the pins are broken out, not only is this a cool shield for programming the ATtiny, but it’s also the board for the finished project, whatever it may be. I can connect whatever I want to the 6-pin header, load the sketch, and it’s good to go.
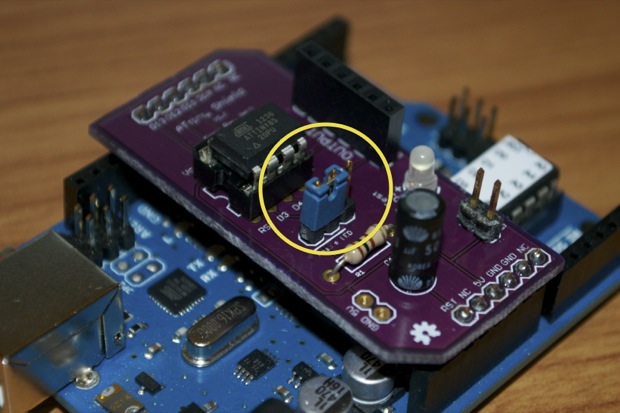
I know what you’re thinking. Since I have that onboard LED connected to a digital pin, isn’t it going to flash like crazy if I assign that pin to another function? Well, you’re absolutely right! That’s why I also included this handy-dandy little jumper:
All I have to do is throw the jumper to disable the onboard LED. Doing so will also save a little juice when I have it connected to a battery pack.
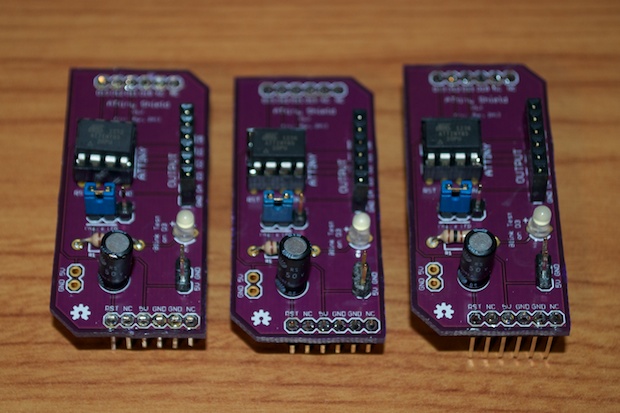
Once the board was verified working, it was safe to go ahead and assemble the other two.
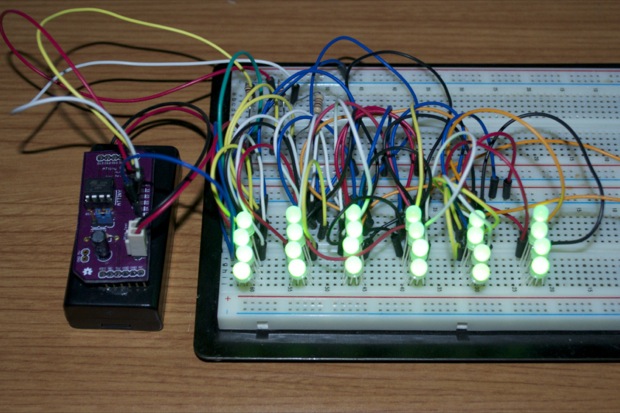
They also have no trouble driving 24 RGB LEDs. Not bad for $10.00. Not bad at all.
The only question now is, do I use my ATtiny shield or my Bare Bones Arduino board for my RGB Night Light? I’m sure the power consumption on the ATtiny is much better and a few AAs will last that much longer. I guess it all depends on whether or not I can get 3 PWM pins on the ATtiny to blend the RGB colors the way I want them to. I played around with a new core, but I only managed to get 3 PWM pins by emulating it in software. I’ll have to play around with it some more.