Large 7-Segment Clock, Part IV
May 26, 2015 Filed in:
Electronics | Clocks | PCBsJust like the
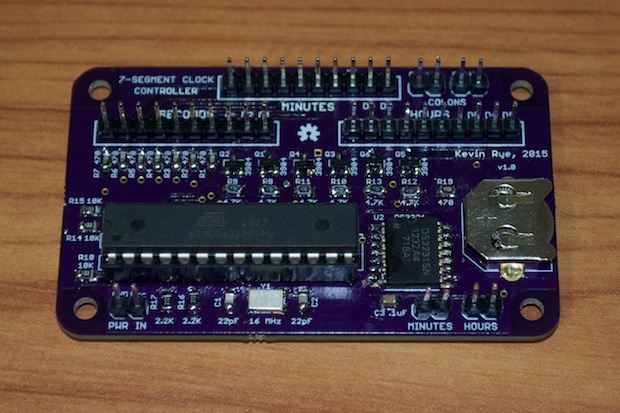
7-segment breakout boards, it took 13 days for the controller board PCBs to arrive. It's a good thing I ordered them 5 days after the breakouts. It was a short time to wait. In any case, it gave me time to assemble the display.
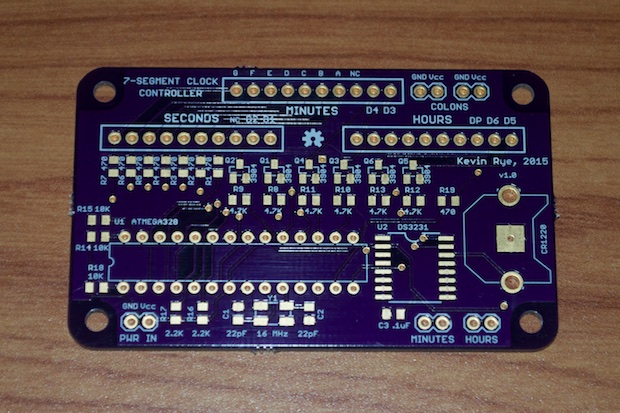
This is the first time that I've soldered transistors in a SOT23 package. They're pretty darn small, but they were pretty easy to solder.
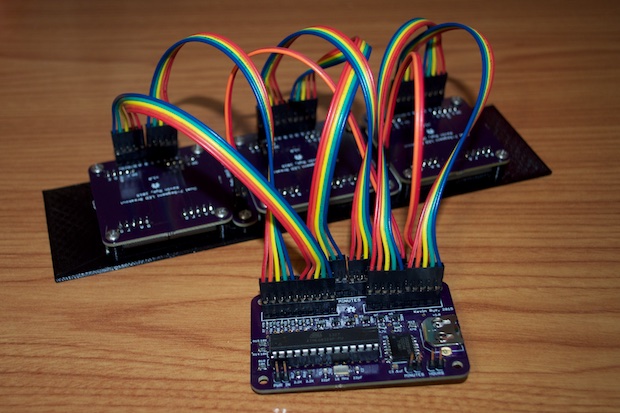
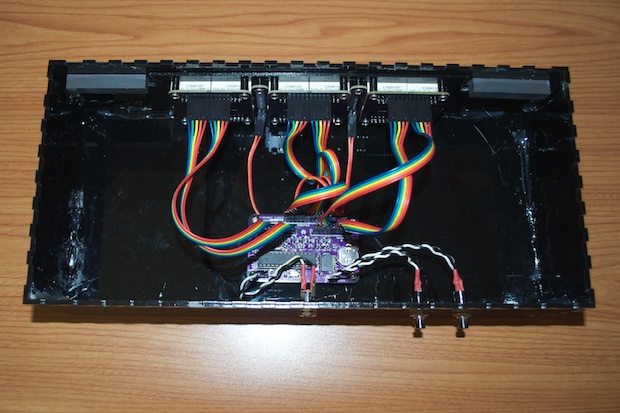
I bought 6” cables thinking that the 4” versions would have been too small. I probably could have gone with 4” after all.
I removed my
old 7490 prototype board from the enclosure and cleaned up some of the extra hot glue that was left behind.
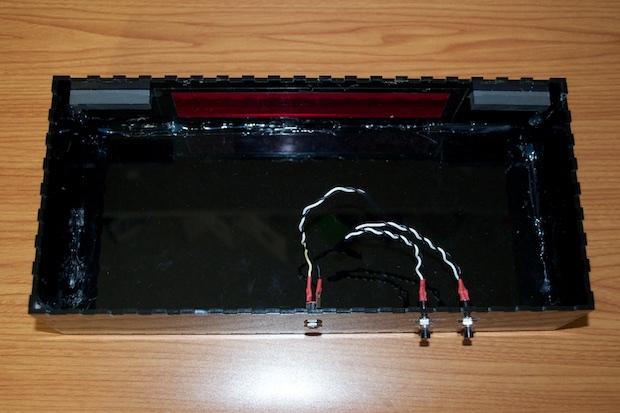
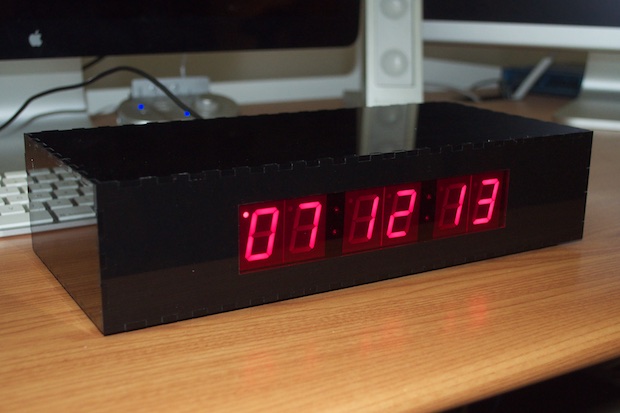
I then glued the display panel into the front of the enclosure. It fits perfectly.

I then mounted the controller board onto some plastic 3/8th board stands and hot-glued them into place. The last thing to do was connect the set buttons and the power jack.
I popped the lid on and it was complete. It came out great. I'm really happy that it all came together so well. I love when I design a board and it just works.
I attacked this project fairly aggressively. It only took me 3 weeks to go from concept to final build. Not to mention, two weeks of that was mostly waiting for PCBs to arrive. I probably saved myself another 2 weeks by already having the enclosure built. The code was relatively straightforward and the PCBs were easy to design since I was able to apply what I've learned from my other clock builds. There wasn't much "R&D" involved at all. I basically just banged this one out.
I already have an idea for
another 7-segment clock based on a really teeny-tiny display that I pulled out of an old blood pressure monitor. It'll basically be a super-small version of this clock. I imagine the whole thing from PCB to code will pretty much be one giant cut-and-paste. So it should be another slam-dunk of a project. I can't wait!
See this project from start to finish:
Large 7-Segment Clock, Part I Large 7-Segment Clock, Part II Large 7-Segment Clock, Part III Large 7-Segment Clock, Part IV

