I’ve been meaning to make an OLED clock for a while, I just haven’t gotten around to it. I managed to score these super tiny 64x48 OLED displays from eBay for $10 bucks each. I paid a little more than you’d expect since you can usually get 128x64 displays for about $5 bucks, but I guess there’s a premium to be paid for the weird, uncommon size.
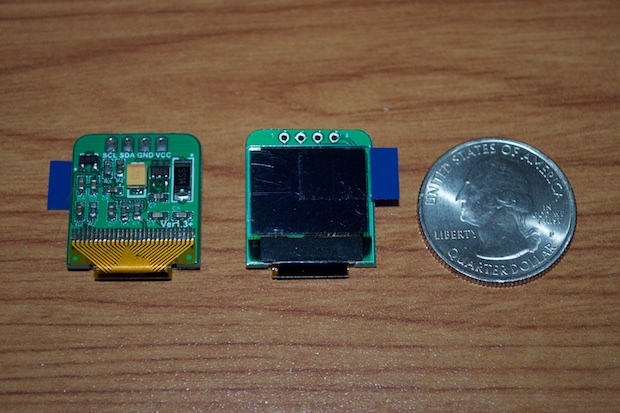
Since this is the same size as the display used in SparkFun’s
MicroView, I figured their library would work out-of-the-box. I was right. In no time, I figured out how to push text to the display.
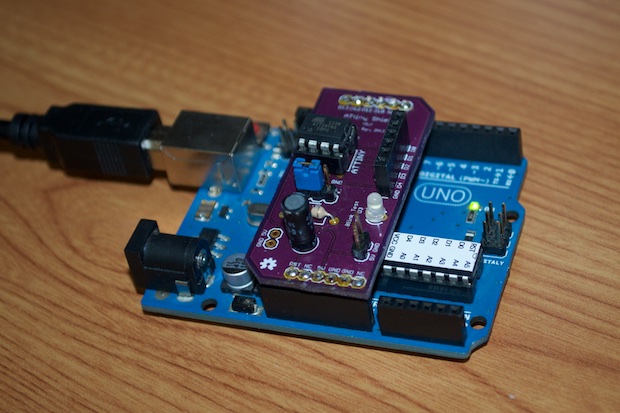
I really wanted to make this clock super tiny, so I decided to see if I could shoehorn SparkFun’s library onto an ATtiny85. I pulled out my ATtiny Programming Shield and got to it.
I didn’t have much luck getting the library to play nice with the ATtiny, but I did manage to find some SSD1306 libraries that were compatible. I also found a user on
Instructables who also had a go at making an ATtiny OLED-based clock. I got his code to run on my ATtiny, but I wasn’t happy wth the way that it worked. I figured I’d use it as a base, and hack the hell out of it to suit my needs.
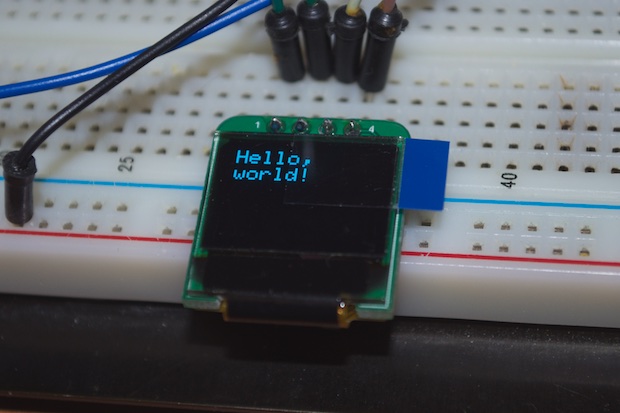
The problem with this display, although it’s rated for 3.3-5 volts, is that it is really dim when powered from a 3.7V LiPo. The image looks deceiving; it’s not that bright. I also wasn’t very happy with the limitations imposed by using an ATtiny with such limited I/O. I wanted to make this a full-featured clock with an alarm. Getting it to run on a battery-powered ATtiny is a nice proof-of-concept, but it’s another project for another day.
Time to start from scratch.
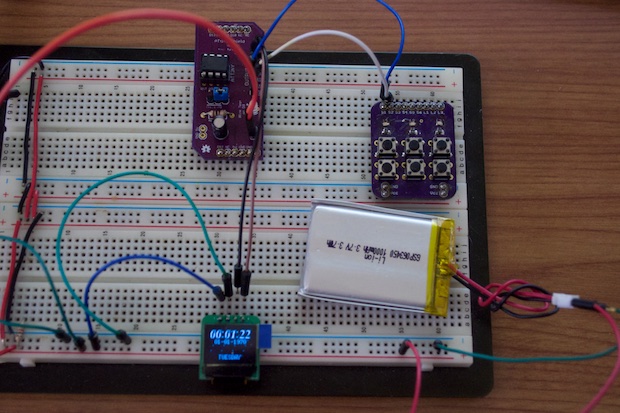
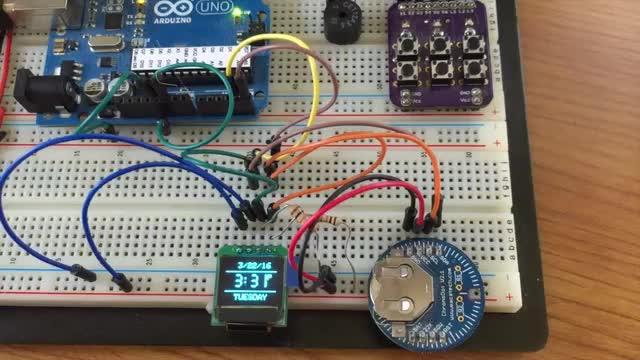
I broke out the hardware and added my Arduino UNO, my button breakout, and my DS3231 breakout board. Oooh! This just might be the first thing I’ve made with two I2C devices. Achievement unlocked!
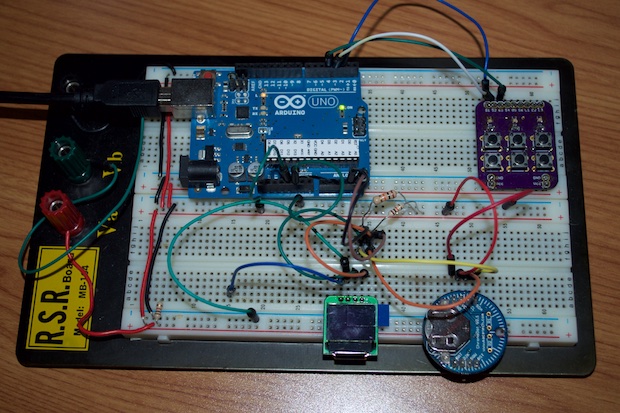
I quickly got to work on hashing out the clock’s main display.
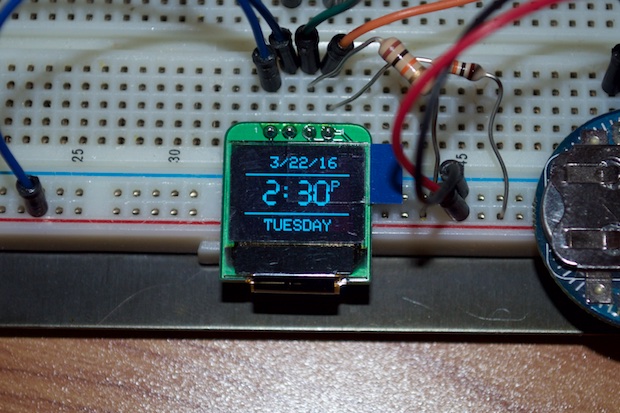
In order to set the clock, I added some code to allow the user to step through each settable field with one button, and use the up/down buttons to make the necessary adjustments. The day of week is automatically calculated based on the entered date.
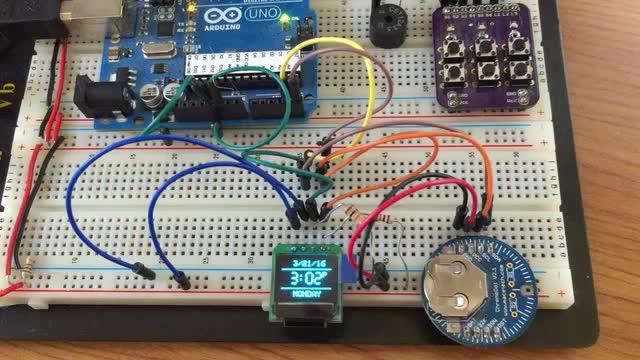
Here it is in action…
For the alarm, I added a tiny little buzzer and got to work on the alarm and chime-on-the-hour features. This proved to be the trickiest part of the code. It took me a few days before I was happy with the results and had all the bugs and weird use case scenarios worked out.
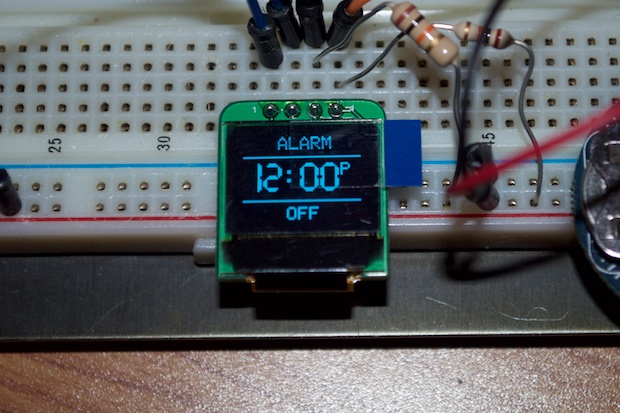
Here it is in action…
Chime on the Hour: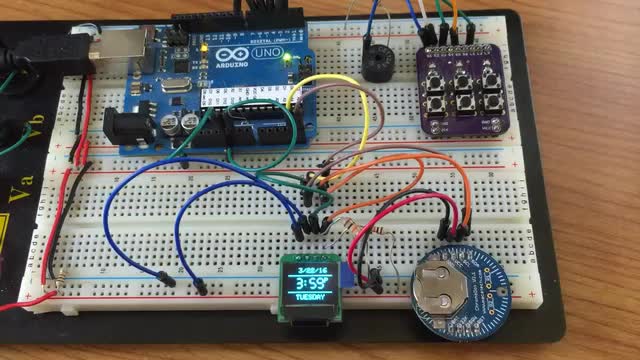 Alarm:
I trimmed the video to keep it short, but the alarm sounds for 20 seconds.
Next up, the PCB…
See this project from start to finish:
Mini OLED Clock - Part I
Mini OLED Clock - Part II Mini OLED Clock - Part III Mini OLED Clock - Part IV Mini OLED Clock - Part V Mini OLED Clock - Part VI
