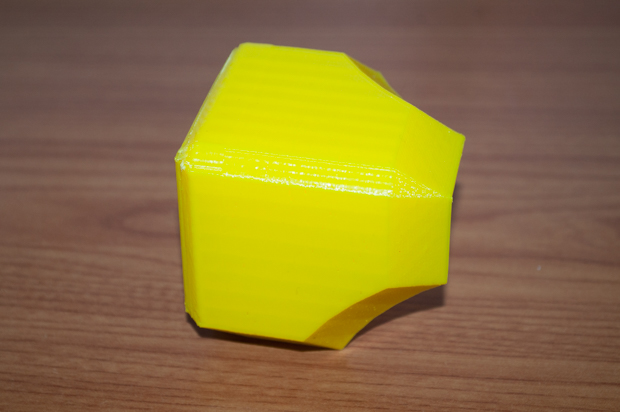
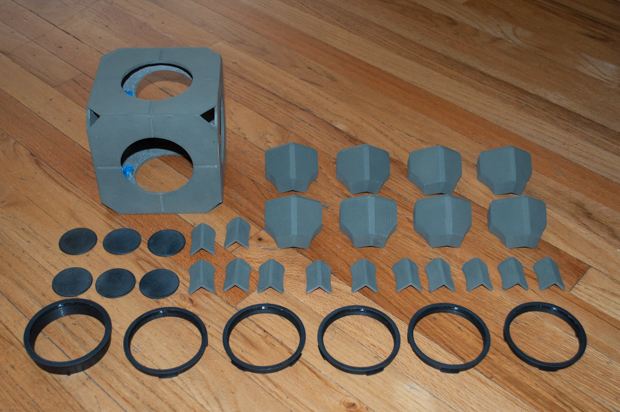
With the main body pretty much finished, it was time to print the corners and edges.
I held the inserts over the stove for about 20 seconds and then pressed them into the holes with a pair of pliers. It worked perfectly.
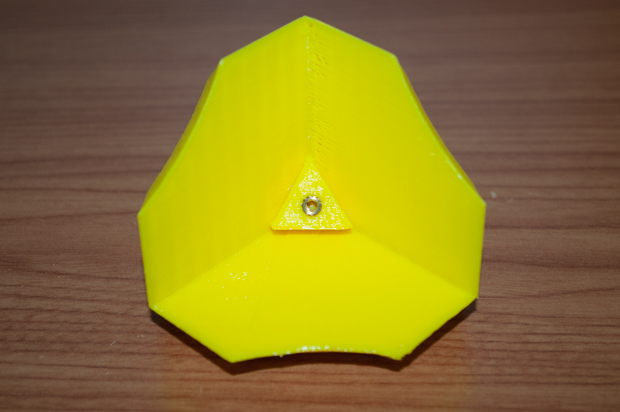
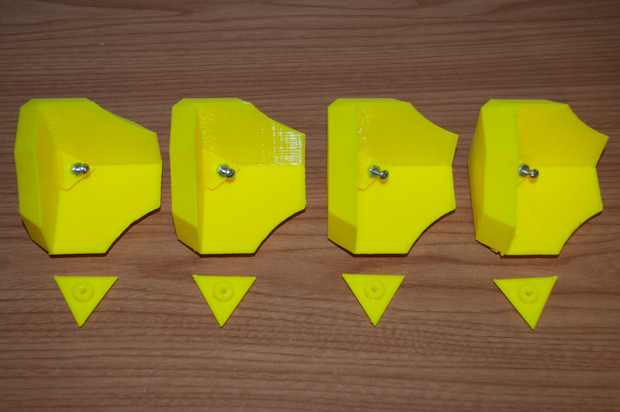
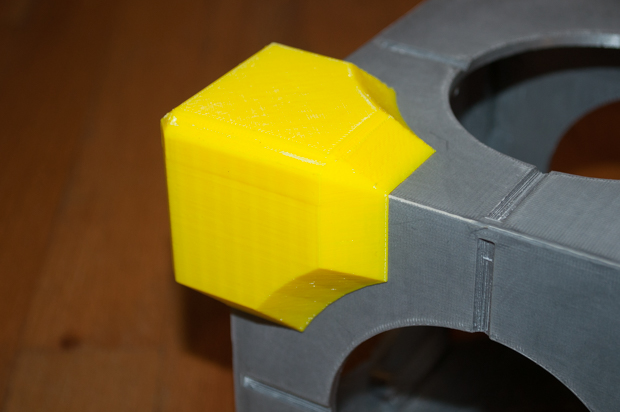
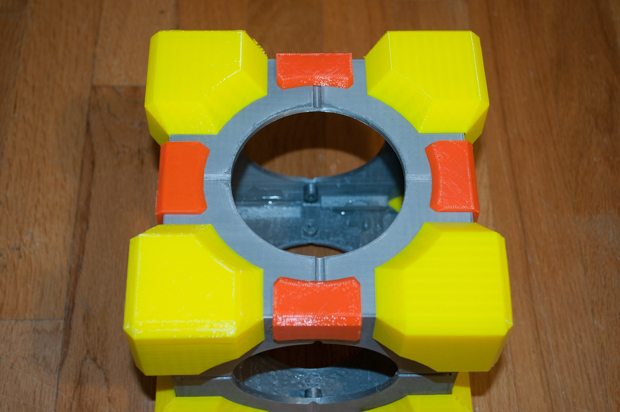
I started off with four corners, and four of the mounts.
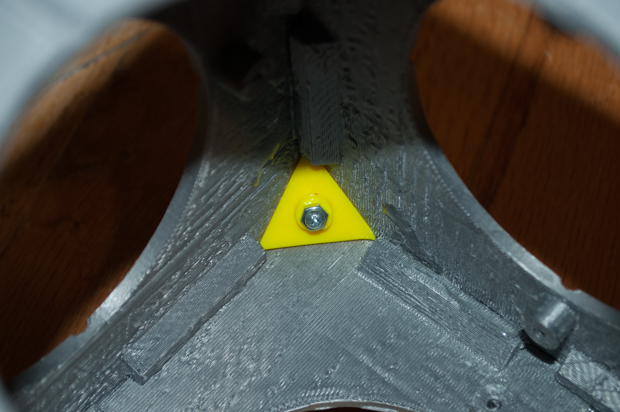
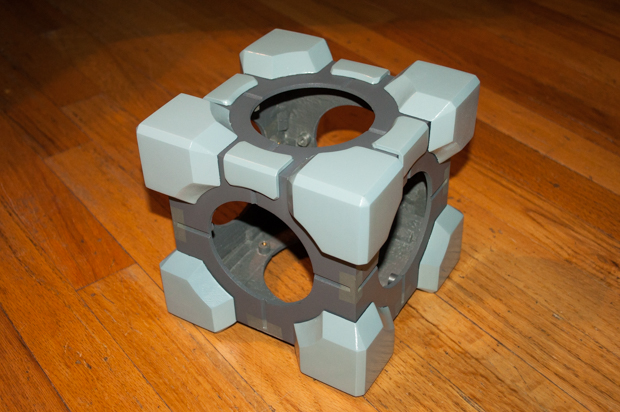
With a corner in place, I just have to pop the mount in the corner and thread the screw right in.
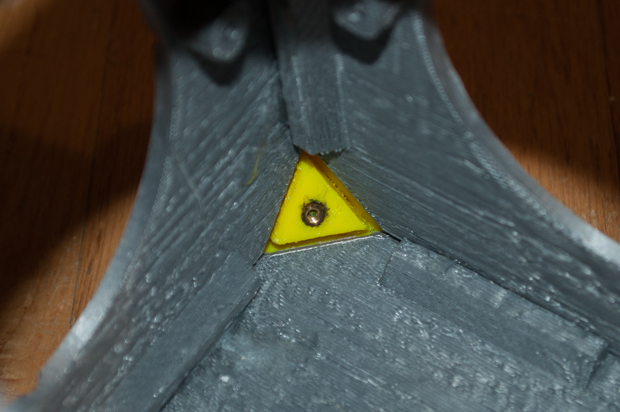
Everything lines up perfectly. There's no way those corners are coming off.
Everything sits nice and flush.
I then went ahead and tried the remaining three just to make sure that everything fit OK.
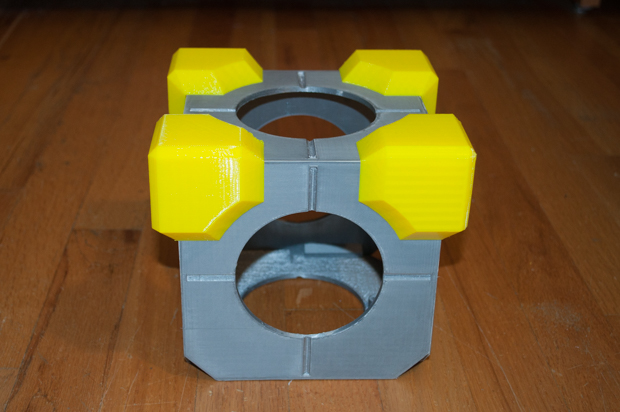
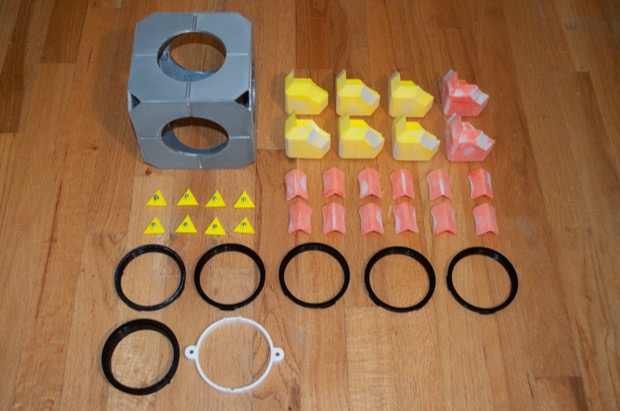
Looks like everything is perfect, so I went ahead and printed four more corners. They're good to go, and ready for sanding.
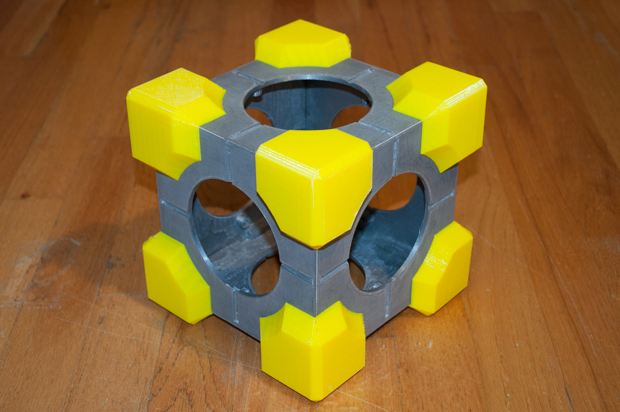
I then printed the edges. I ran out of yellow, so on with the orange. I put little indents on the inside so the glue has somewhere to go.
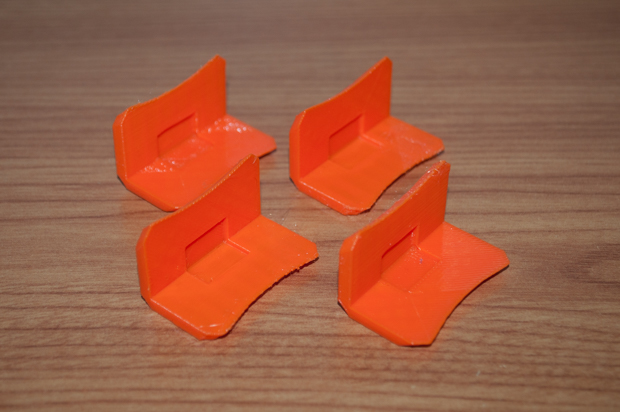
They fit really well and look great. With that, I printed another eight edges.
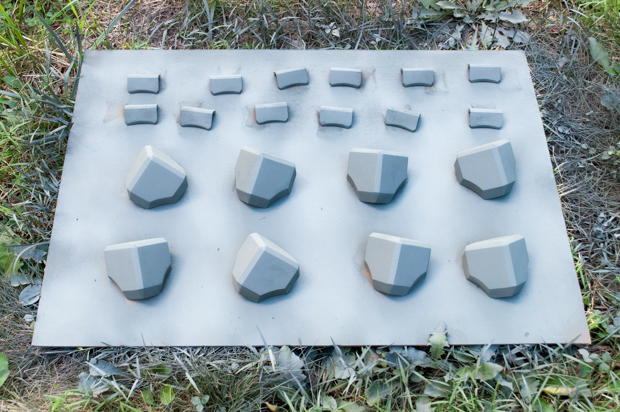
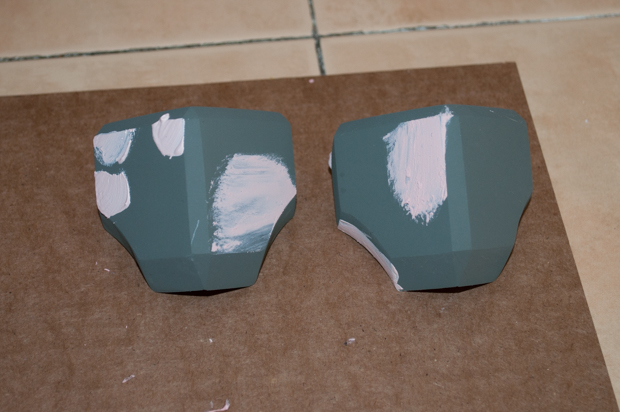
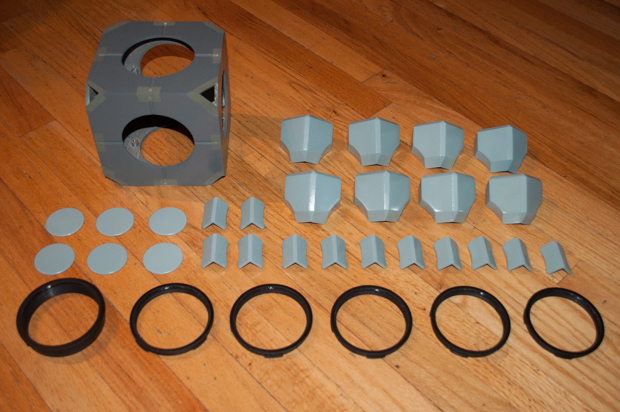
With all the parts printed, it was time for more Bondo and sanding. One of the yellow corners had a wonky looking edge. I got a little over-zealous with the sander and sort of melted a spot. Another, well that insert didn't go in properly. It was a little off-center. I tried to heat it back up with a lighter, but I made a mess of it. It wasn't worth the time it would take to repair them; not when I can just print new ones. I'm so glad I'm painting this, it's starting to look like fruit salad.
With all the pieces sanded and Bondo'd, it was time for some primer. I suspect after the first coat of primer goes on, a whole slew of imperfections will be made evident. I'll most likely have to go back and do some spot repairs and sanding.

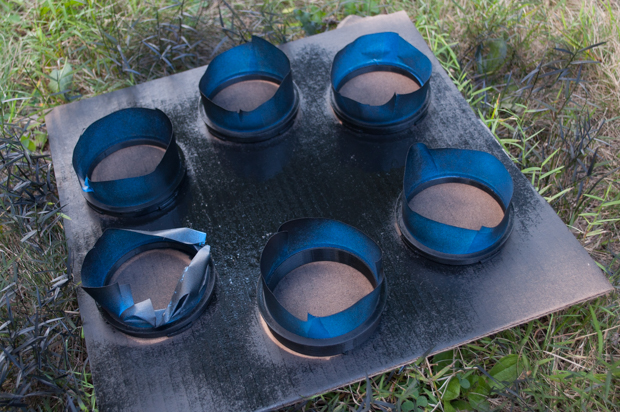
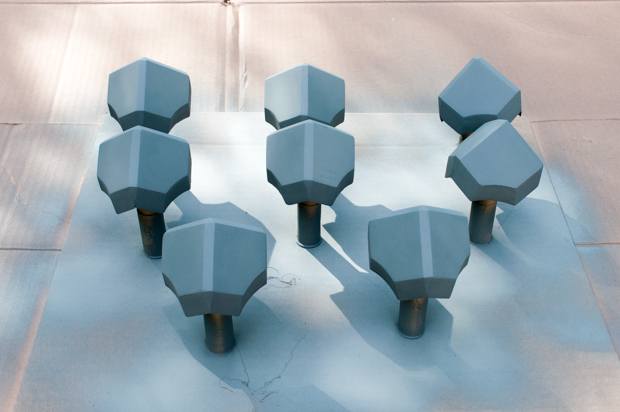
As suspected, there's a few imperfections that need to be cleaned up. There's some pitting here and there on the corners. The edge pieces look pretty good. They just need a light sanding and a second coat. The bezels came out awesome.
I picked up some Bondo spot putty to fill in some of the small holes and minor imperfections.
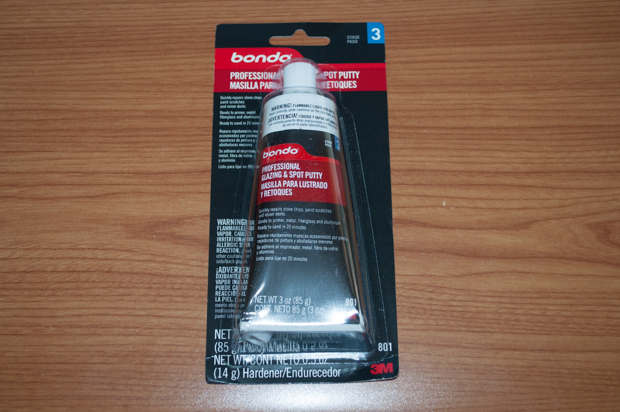
This stuff works great to help smooth out little imperfections. It dries quickly, so you can get right back into sanding.
I cleaned up all the pieces, and gave them another coat of primer. This time, I made a more elaborate painting rig so the parts weren't sitting on the cardboard.
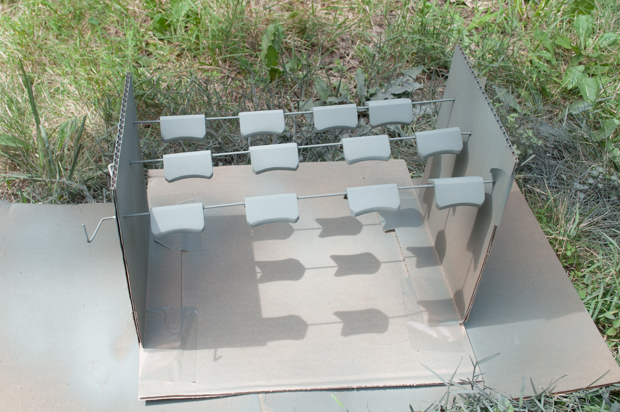
Wine corks and a hot glue gun to the rescue.
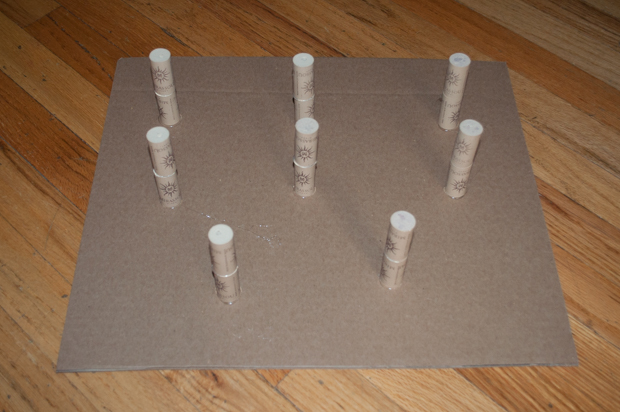
That worked perfectly.
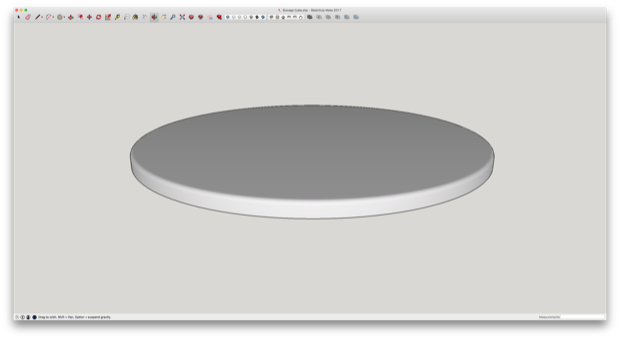
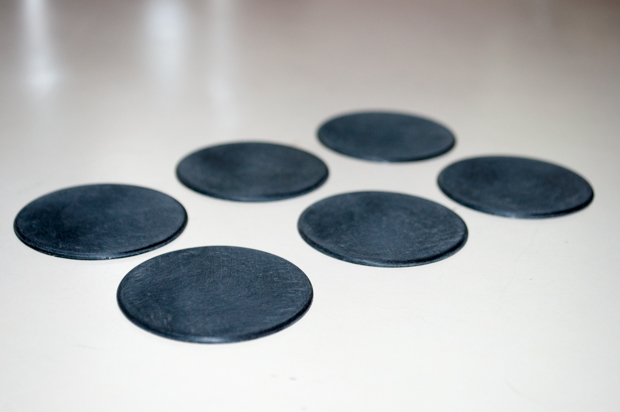
While the paint dries, I got to work on printing the center circles that I'll glue to the center of the acrylic.

They're just 2mm tall circles with a beveled edge.
Although, after they were printed, the beveled edges were hardly noticeable.
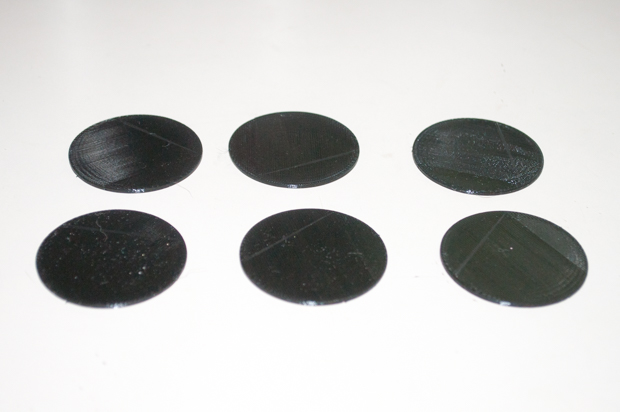
I had to sand the edges down. I'll give them one final wet-sanding with some 800 grit paper before painting them.
That just about does it. Time for a top coat.
A few coats later, everything was looking pretty good.
The main body is a little darker than I'd like it, but these are the only two tones of gray I could find at Home Depot.
I laid a few of the pieces on the top just to get a better sense of what it'll look like when it's all put together. It looks really cool, but I think the colors are all wrong.
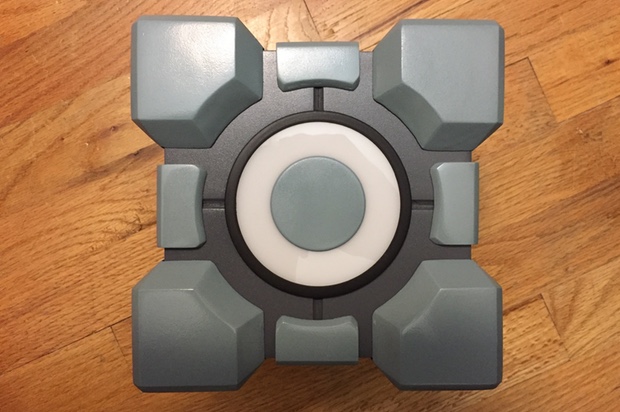
I think I'm going to have to mix my own shades of gray and paint it by hand.
See this project from start to finish:
Portal Weighted Storage Cube - Part I Portal Weighted Storage Cube - Part II
Portal Weighted Storage Cube - Part III Portal Weighted Storage Cube - Part IV
