It's not the main reason I wanted to get a 3D printer, but a big one. I wanted to get a 3D printer in order to print large models of my
3D art creations. I've seen a few people do it online with mixed results. The how-to isn't widely documented and it's not a feature built into DAZ Studio by default. You'd think that a 3D model is a 3D model. Printing a simple cube from one app shouldn't be any less difficult than printing a human-shaped figure from another. Unfortunately, it's easier said than done.
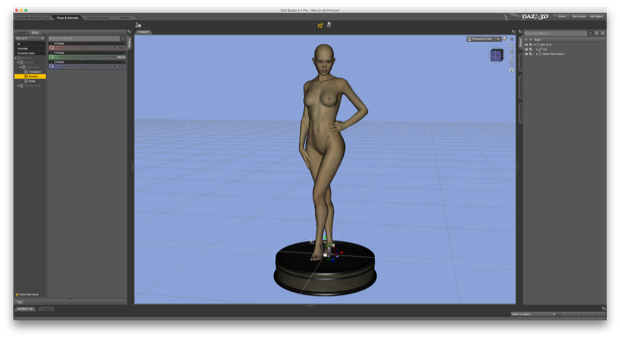
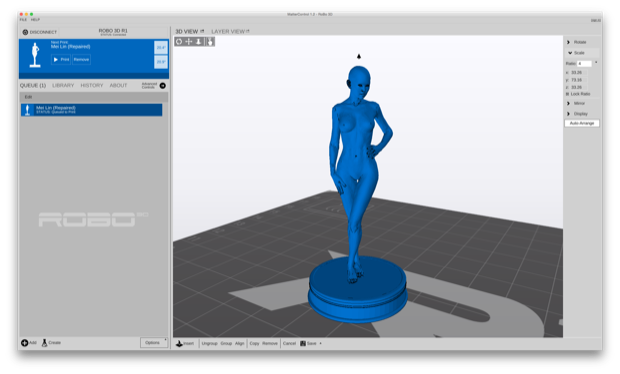
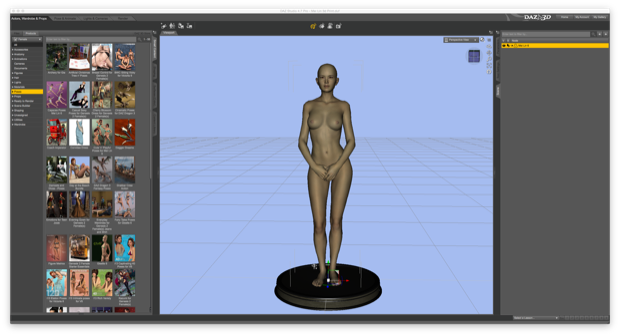
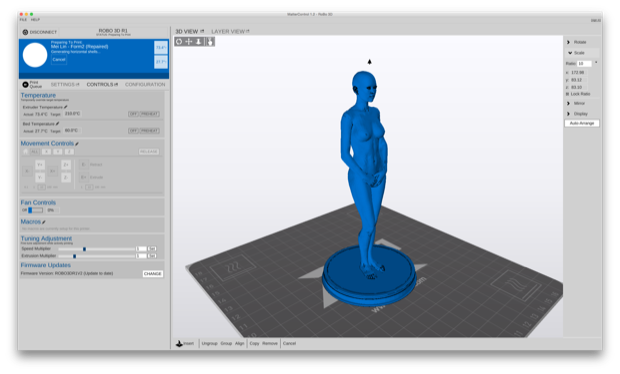
As a proof of concept, I started by dropping
Mei Lin into DAZ Studio and placed her on a simple base. For simplicity's sake, I skipped clothes and hair for now. Multiple objects in the scene just add to the complexity of the print. For now, my aim is to keep this simple and just see if it works.
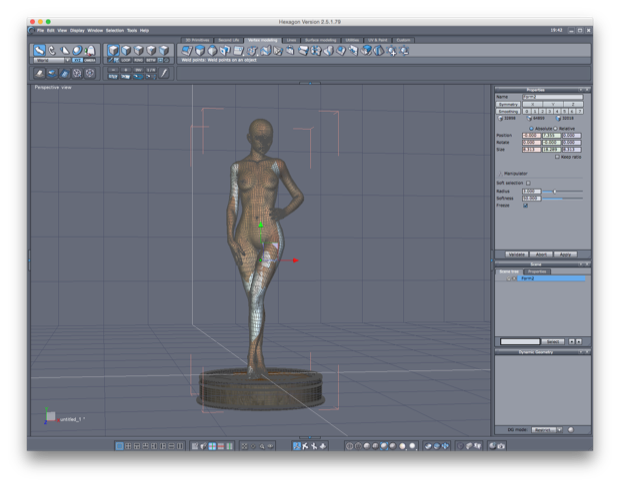
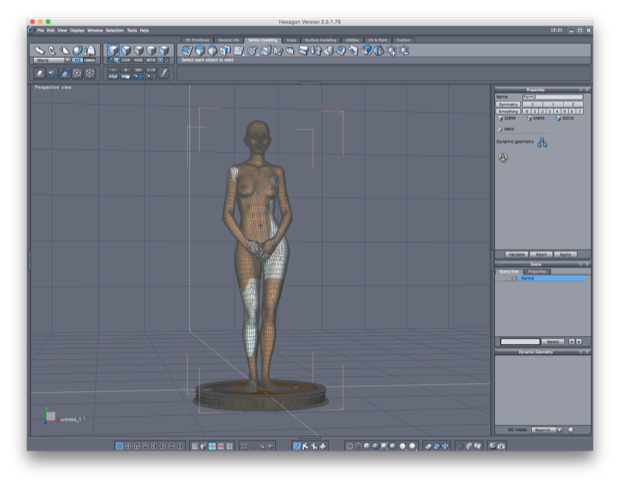
I then used the built-in "Send to Hexagon" command from within DAZ Studio. Once Hexagon had launched, I welded the two objects together. Hexagon has the ability to export models as .obj files. MatterControl, the app that I use to 3D print, accepts .obj files. However, it's not that simple. In order for the slicer engine to generate successful Gcode for the print, the model has to be what they call "water-tight". i.e., no holes.
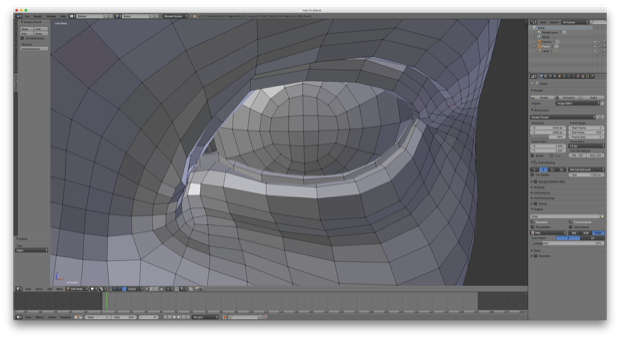
While I was at it, I deleted portions of the model that I knew for a fact wouldn't print even at a 0.1mm layer height; probably resulting in a messy blob of plastic. Eyelashes for instance. I imported the .obj file into Blender and deleted the eyelashes.
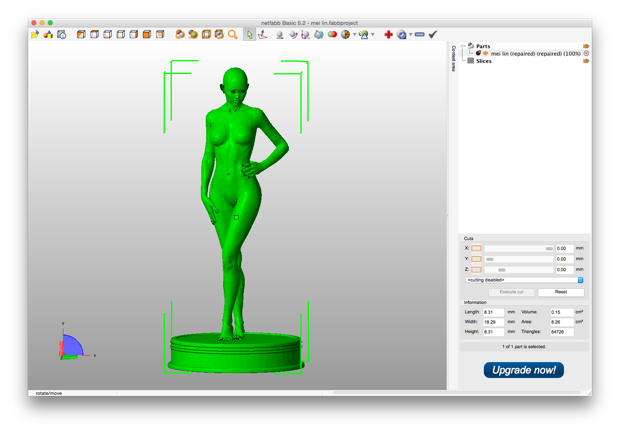
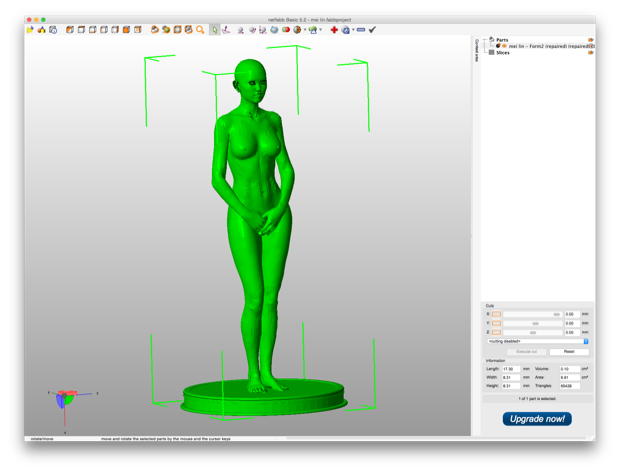
I then exported the .obj file as an .stl file. I then took the .stl file into the slimmed-down free version of Netfabb. Netfabb has a handy repair feature that'll close the holes in a model, effectively making it water-tight.
With a cleaned-up, water-tight .stl file, I dropped it into MatterControl. It was pretty small, so I up-scaled it to 4X and let 'er rip.
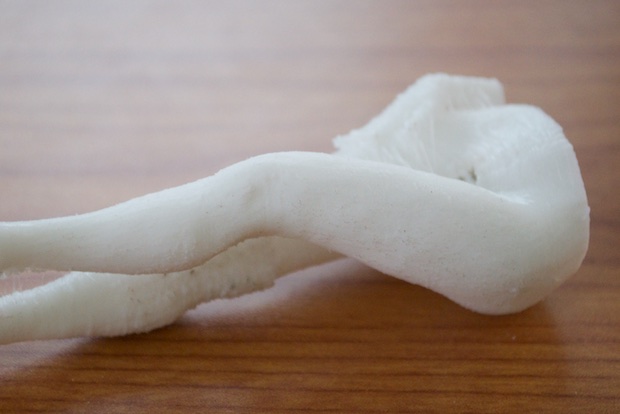
I forgot how long it took to print, but at 2.5" high, it wasn't long. The results definitely left much to be desired, but it's a result nonetheless!
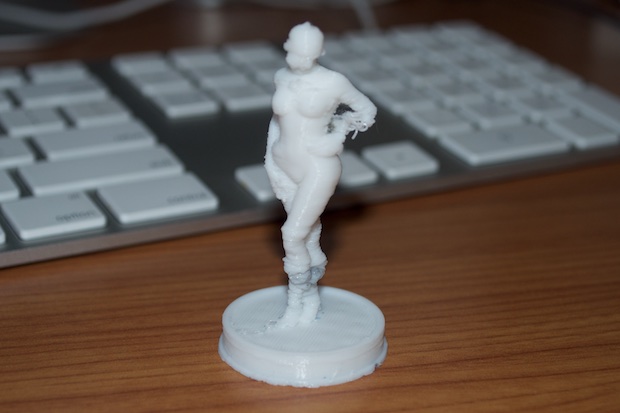
I attributed the sub-par results to the small scale at which I printed the model. As the print head reached the top of the model, the jarring back and forth of the extruder caused the tiny model to sway back and forth. Still, I'm happy that I was even able to slice the model and print "something".
I decided to try again with a bigger model. I up-scaled it to 10X, which took the size up to 6".
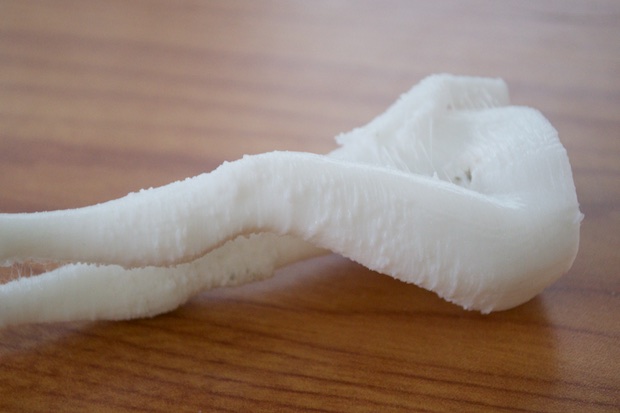
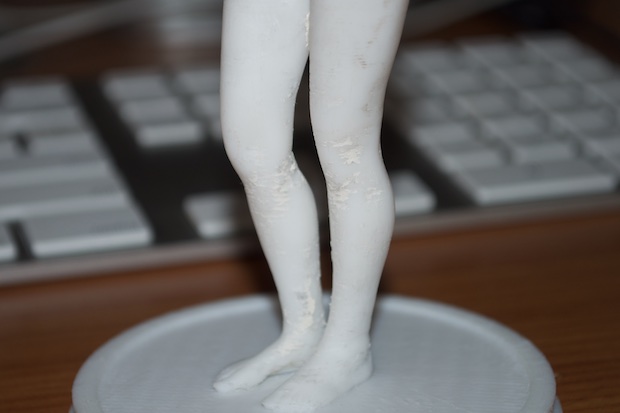
Unfortunately, a few hours in, MatterControl dumped out. However, not all was lost. I could immediately see a huge improvement in the print quality. There's no doubt, it'll need a little post-work with a Dremel and sandpaper, but it looks promising.

One flaw in the design was the fact that her feet were barely touching the platform. She broke off with the slightest touch. Again, not a total loss. This afforded me the opportunity to test my theory with my Dremel. I put on a sanding wheel and tried it.
Before:
After literary 2 minutes with the Dremel:
What a huge difference. I bet with some time, patience, and some fine-grit sandpaper, I could make this look like porcelain. A lot was leaned from this failed print.
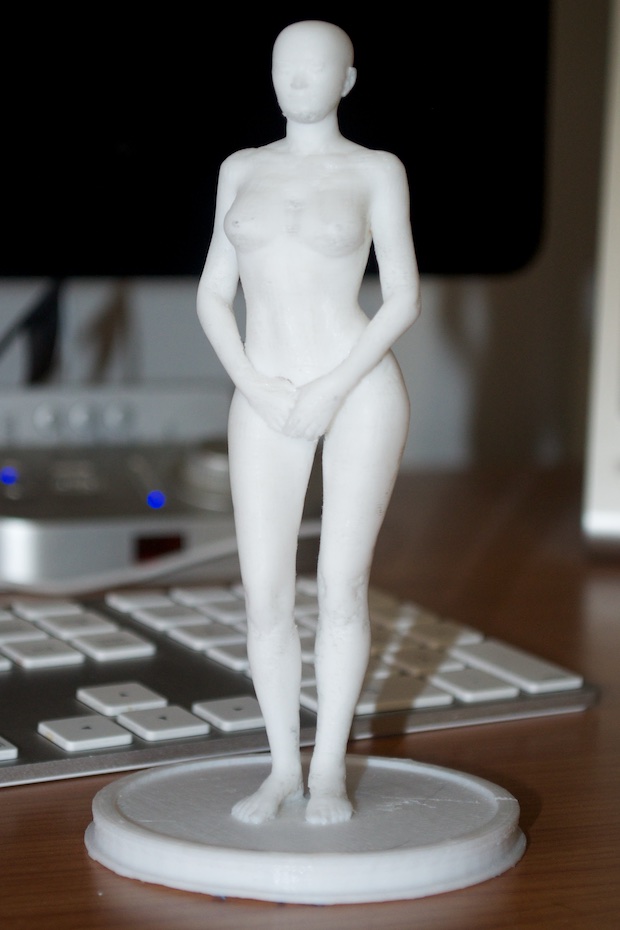
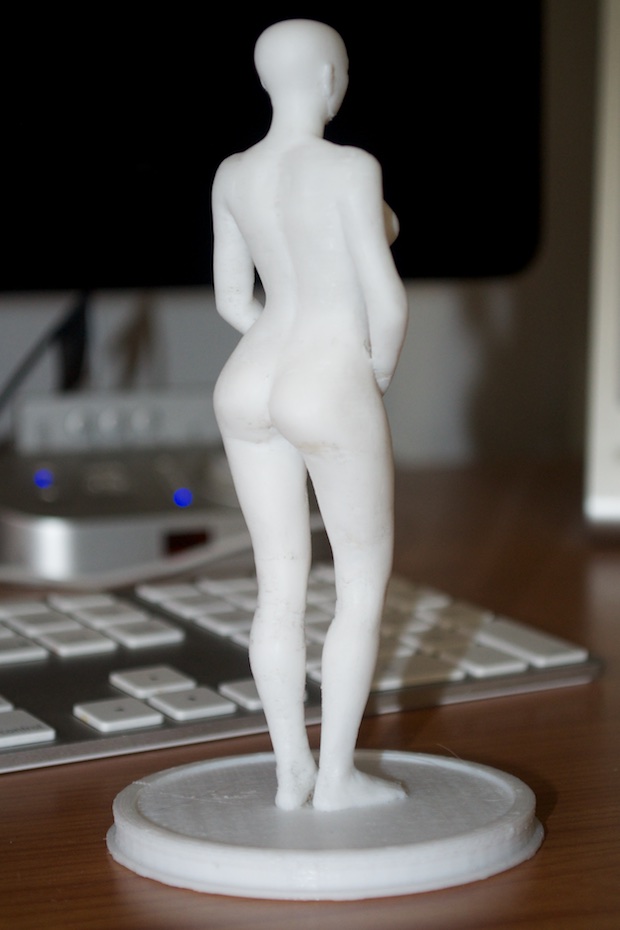
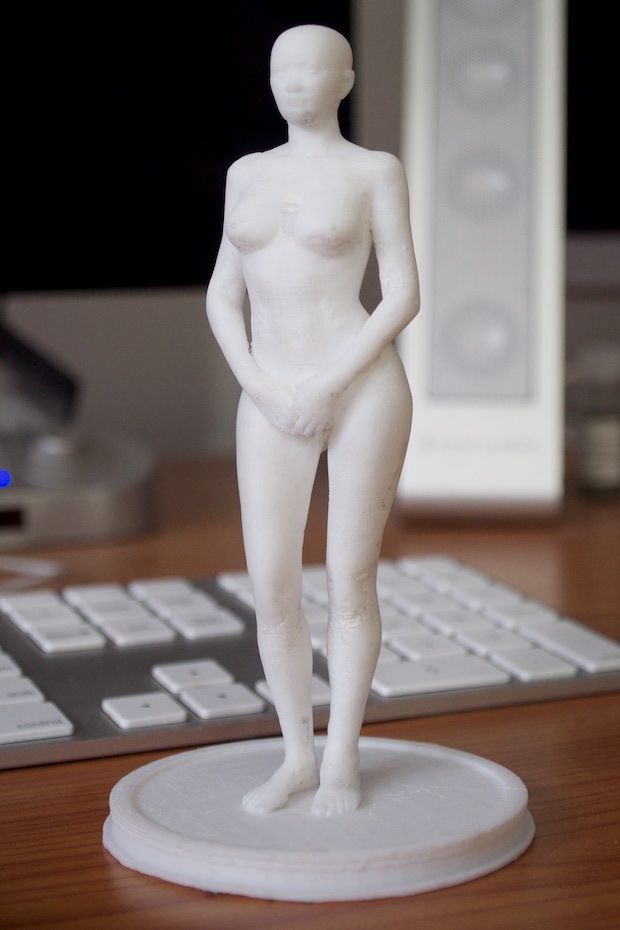
I decided to redo the pose so that the feet were more securely planted on the base. I also repositioned the arms in an attempt to help the print along without the need for additional support material.
Again, I exported to Hexagon and welded everything together.
I then repaired the mesh in Netfabb. I skipped the edits within Blender this time, assuming that the eyelashes are so small and insignificant they're be virtually nonexistent in the final print.
Finally, I imported the model into MatterControl and upscaled it to 10X.
The thinner base, and a slight tweak to the speed settings shaved 2 hours off the print time. After about 5 hours, I had a successful 6" tall print.
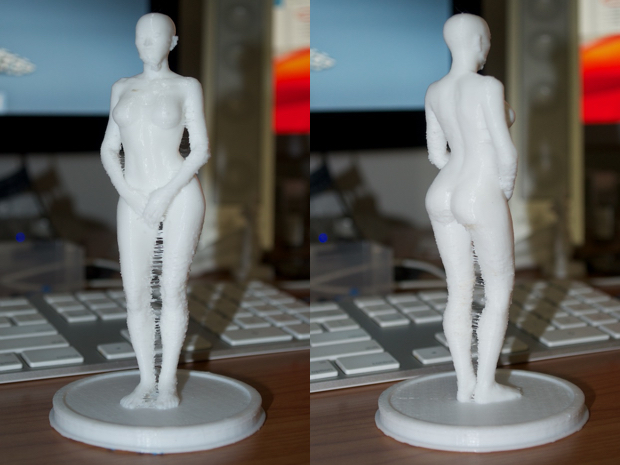
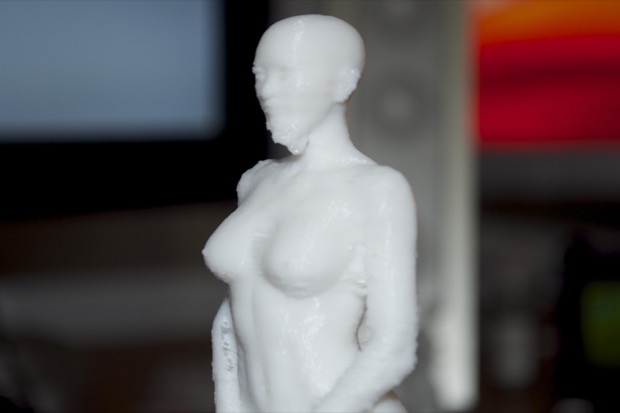
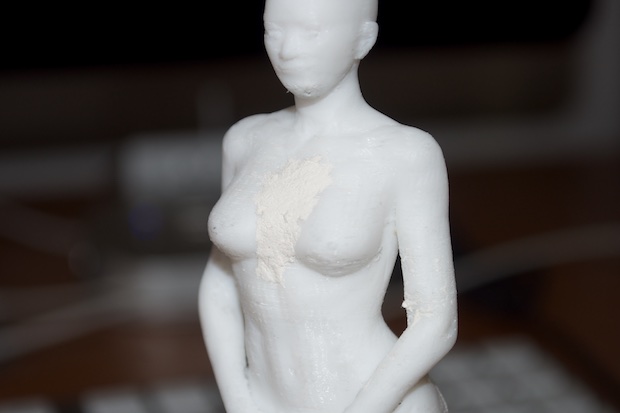
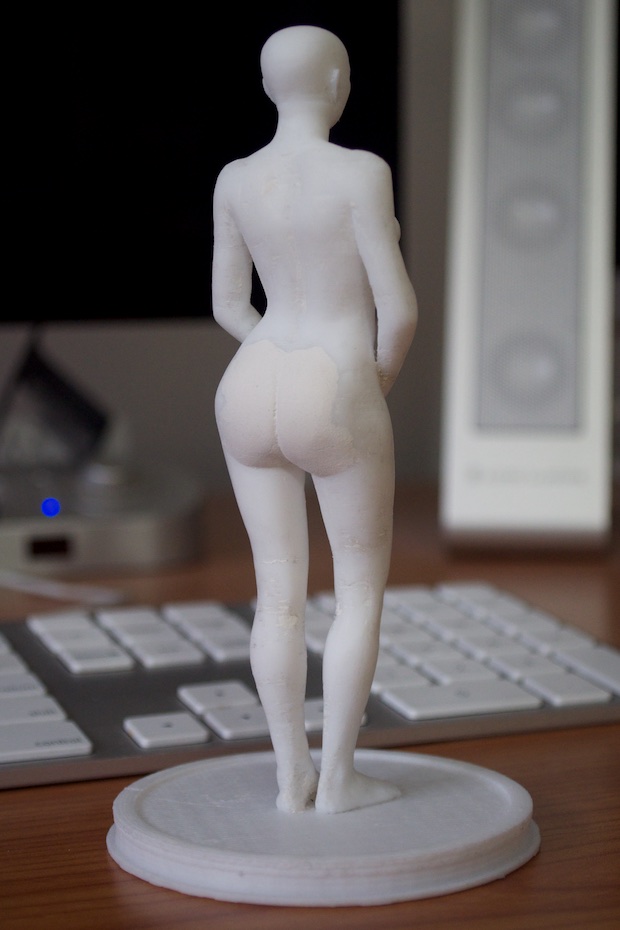
The detail looks surprisingly good, right down to the nipples. Not to mention, the eyelashes! Who would have known?
This was a total success. Another 20 minutes with the Dremel and it was already looking better.
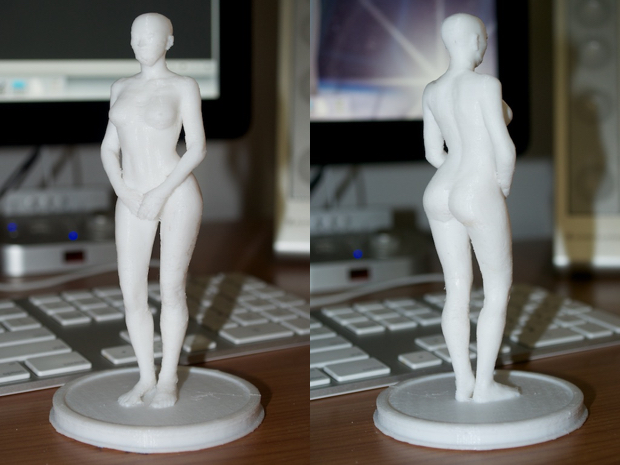
I then switched over to a small metal file and some sandpaper for a few hours to get to the hard parts that were out of the reach of my Dremel's sanding wheel.
After another hour or two of sanding, there were still some imperfections that I couldn't get out. If I sanded any more, I would have started to lose some contours and features. I decided to fill the cracks and blemishes with some clay.
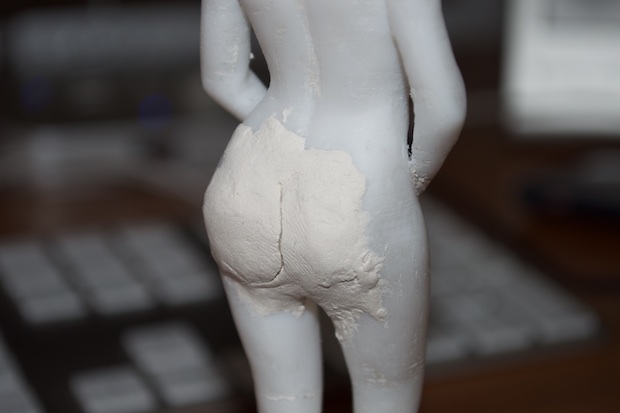
Once the clay hardened, I sanded it to bring the shape back.
It was then ready for a few coats of primer.
I thought a few coats of primer would help even out some of the rough spots, but I think I'm going to have to go back and do a little more smoothing, and maybe a little more clay-work. There are some small patches that I'm just not happy with. I suppose I could try and paint them out, but better to do it right.
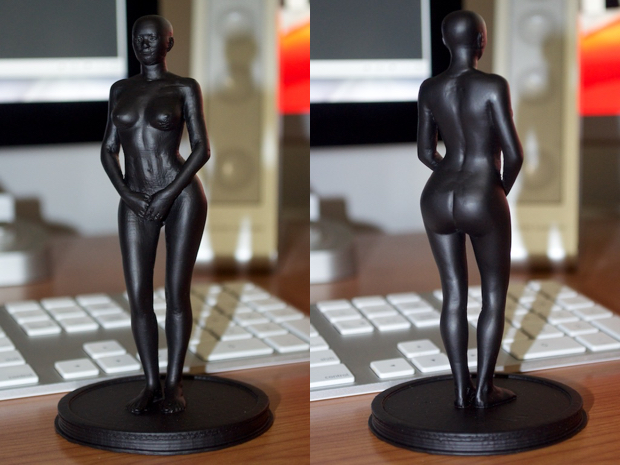
My next move will then be to figure out how to paint this with a nice flesh-tone. Maybe a base coat and a wash. While I figure that out and research some paints…I think I'll get to work on another model. Something a little more complex… something bigger!
See this project from start to finish:
Printing DAZ 3D Models
Printing DAZ 3D Models, Part II Printing DAZ 3D Models, Part III
