Continuing with my experiments in printing DAZ 3D models with my 3D printer, I figured I’d up-the-ante with my next print. Seeing as my
last attempt was a total success, I wanted to see if I could print a model with clothes…. and twice as large!
Printing a model larger than my printer can handle presents a few more challenges. Not to mention, a model with multiple meshes is enough to throw any slicer engine for a loop. It's not a matter of the print failing or coming out crummy, it's that it probably won't slice at all.
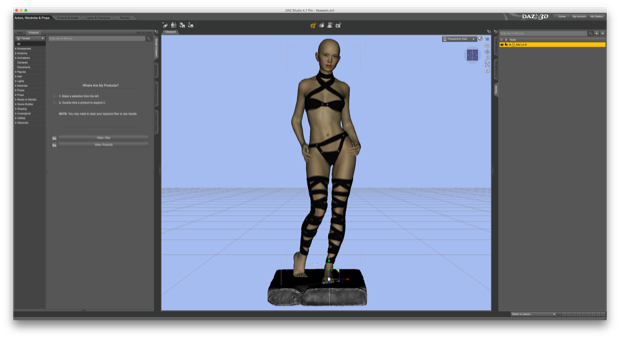
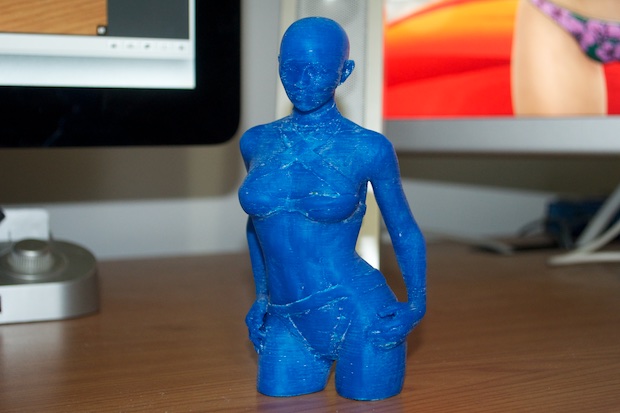
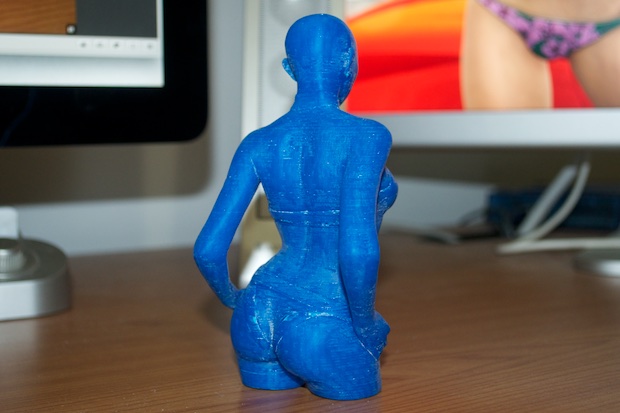
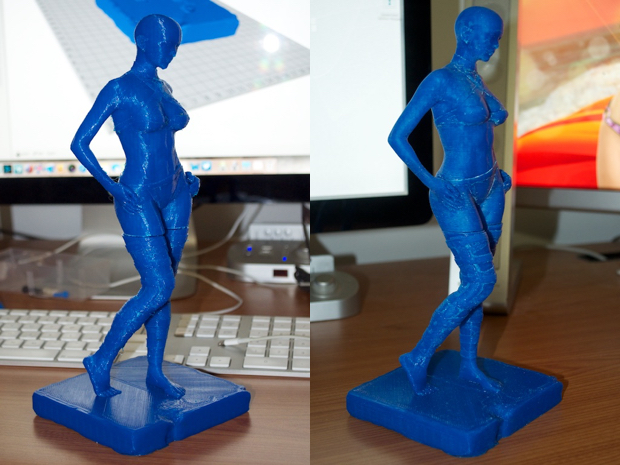
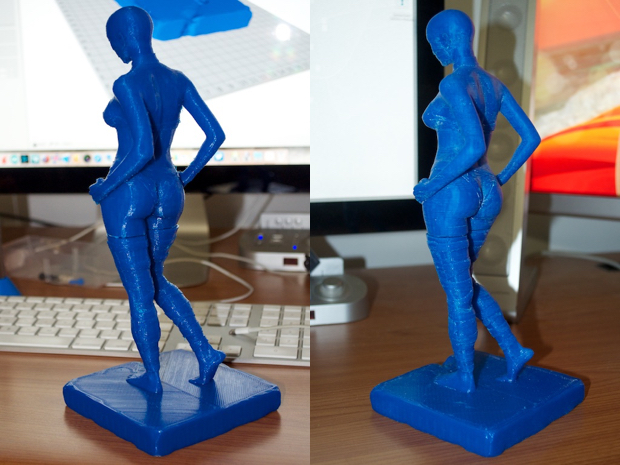
Again, I started with
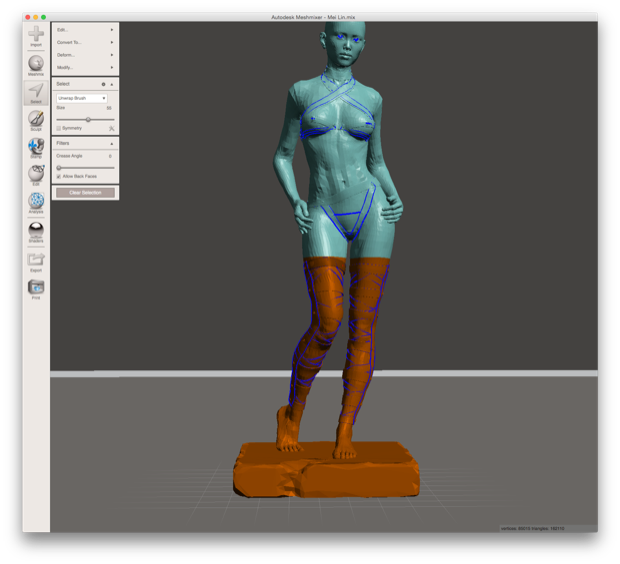
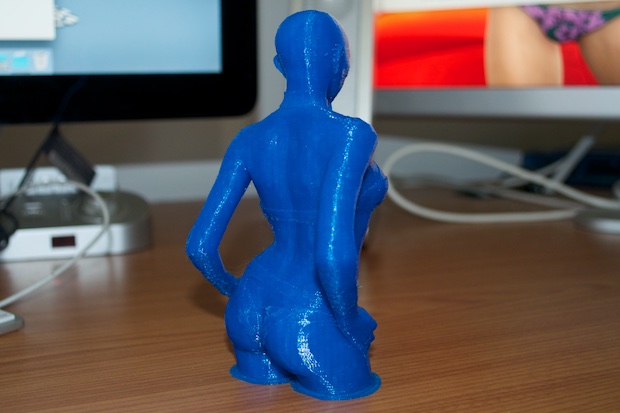
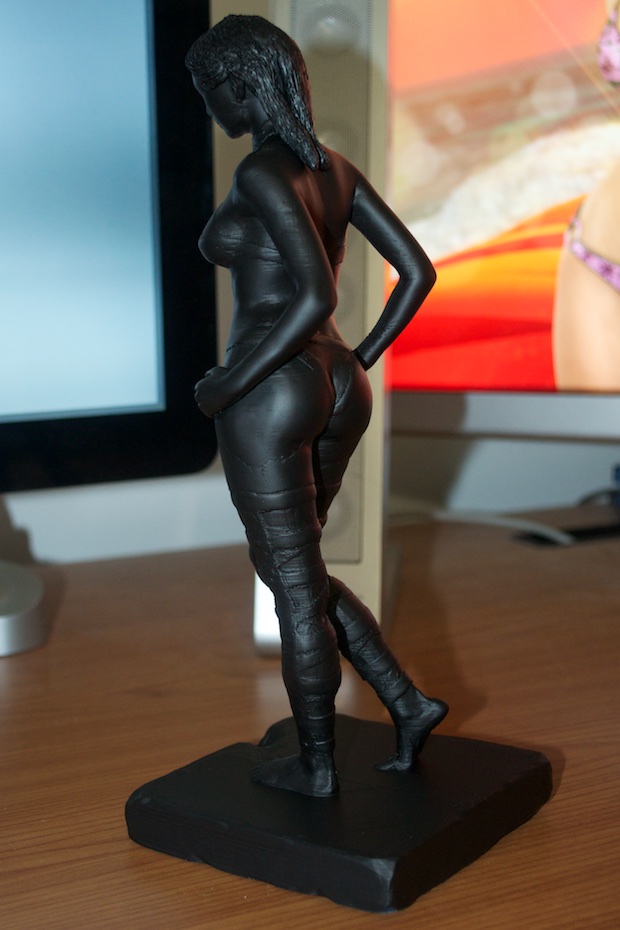
Mei Lin. I gave her some
sexy clothes and stood her on a stone slab. The base is a little more elaborate than my last model, and will look that much nicer once painted and detailed.
I really wanted to pose her with some swords, but I'm not there yet. Having arms out to the sides, along with swords, will require that much more in the way of support material. For now, I was content with keeping the pose in a way that everything (for the most part) supports itself.
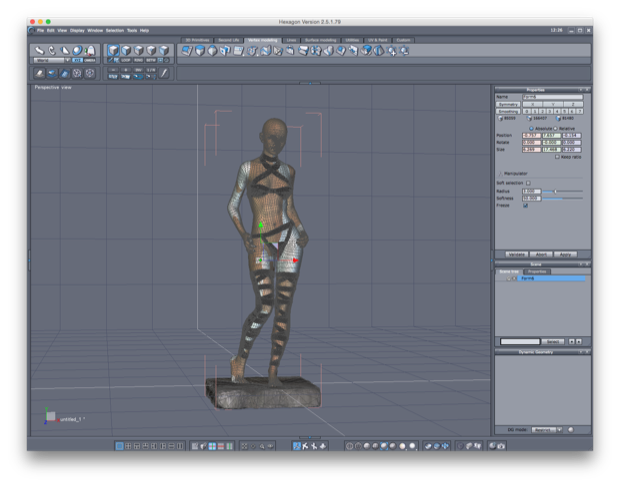
After I was happy with the pose, I exported the model to Hexagon to weld everything together.
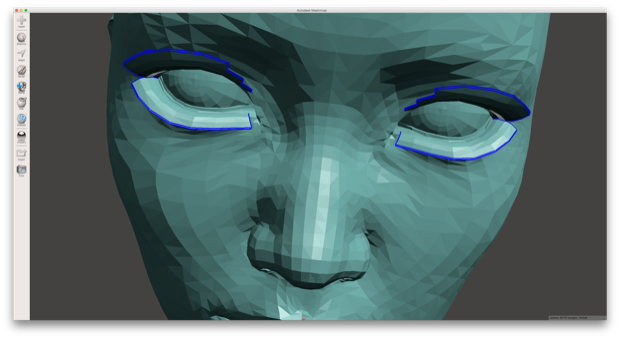
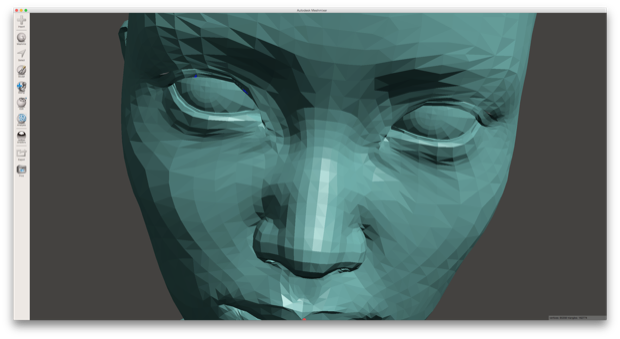
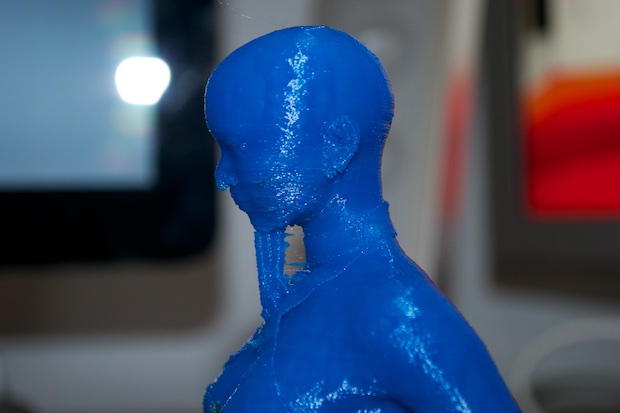
Instead of tweaking the model in Blender, I used Meshmixer. It’s also free, and will spare you the steep learning curve that Blender has. It allows you to edit your model, cut it into parts, add supports, etc. (Pretty much anything you'd need to do to a mesh.) I started out with deleting the eyelashes, knowing that they'd never print.
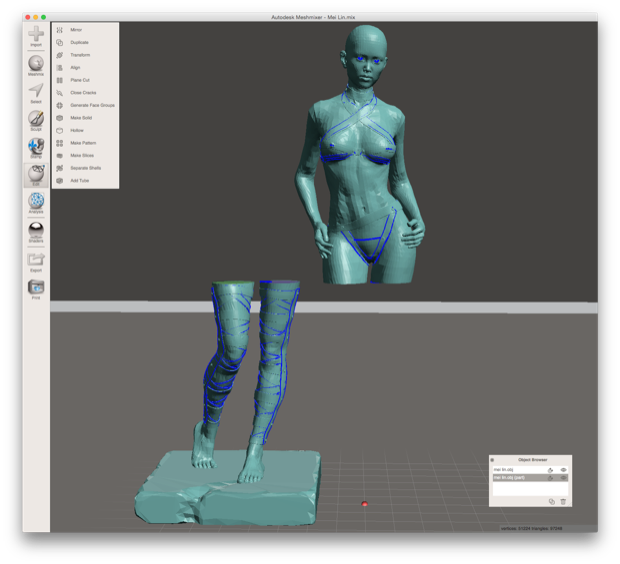
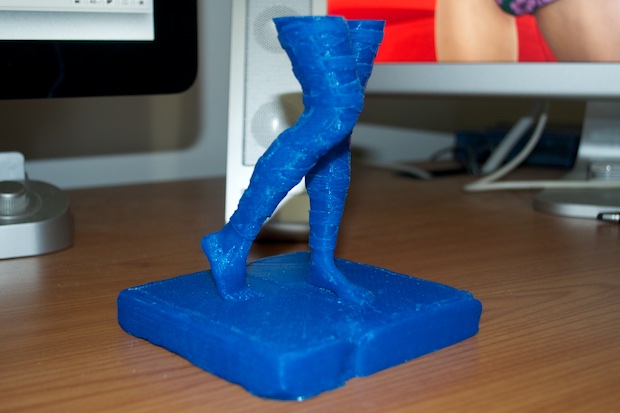
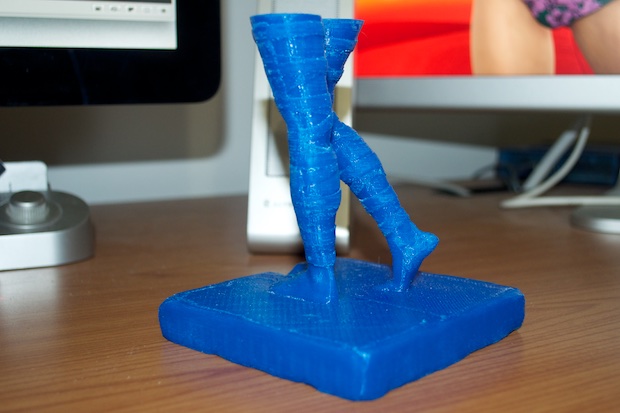
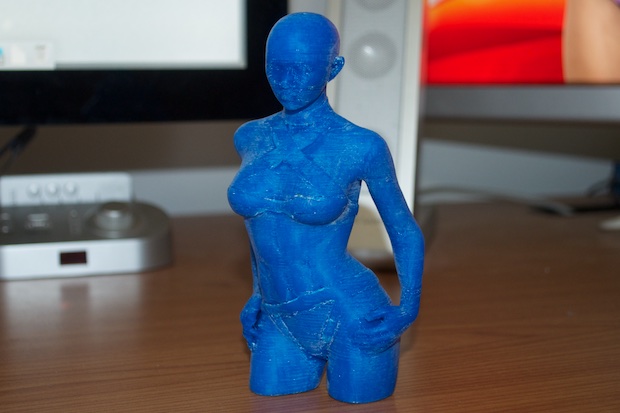
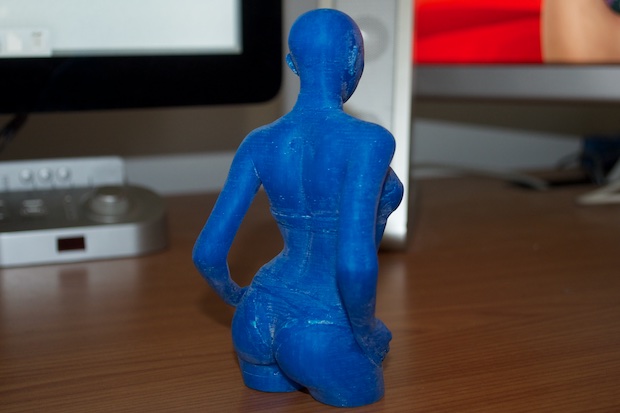
I cut the model in half…
…then separated the two parts.
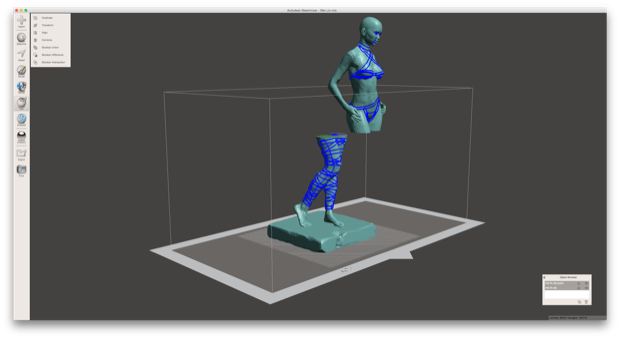
The default bed layout for Meshmixer is that of a MakerBot. I didn't bother figuring out how to get it to match the dimensions of my ROBO 3D. I just scaled the model up to an arbitrary height that looked bigger than that of my printer. Nothing too scientific, I basically just eye-balled a foot.
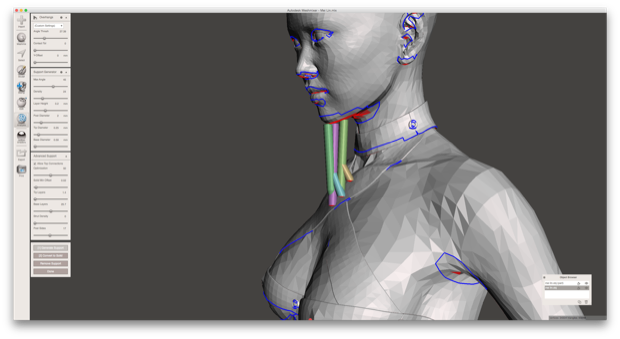
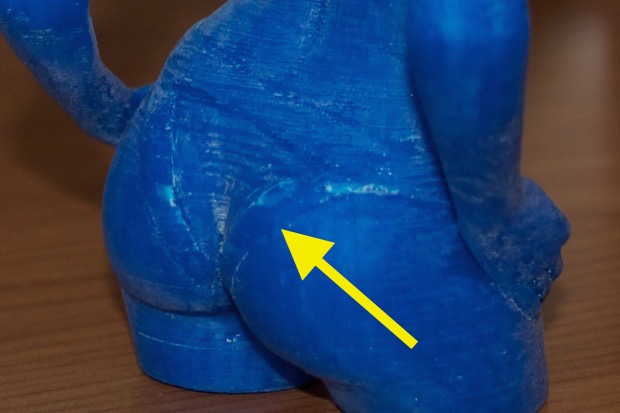
I then figured out how to add supports. The only part that looked like it needed additional support was the chin.
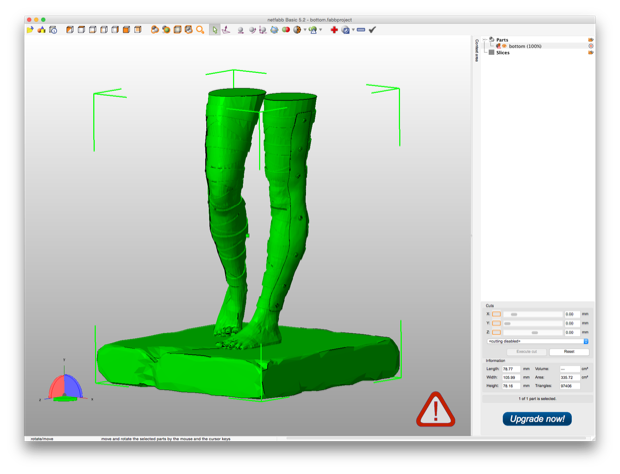
I then exported the two halves as separate .stl files and imported them into Netfabb. I auto-repaired the meshes to fill the holes to make them water-tight.

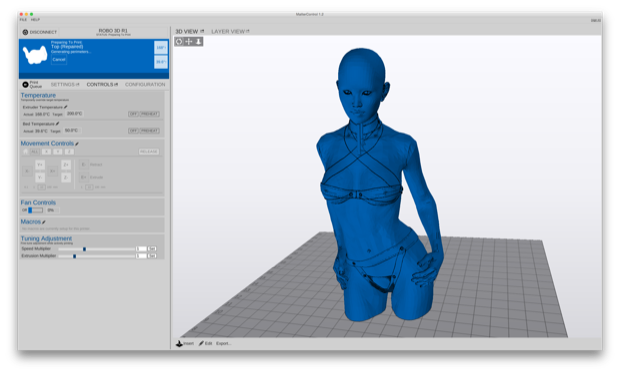
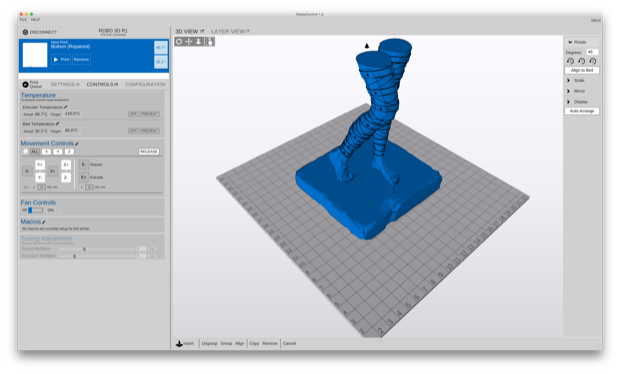
I then exported the models again and dropped them into MatterControl. It looked like a pretty good height to me, so I didn't bother scaling them up. It should be about a foot tall when complete.
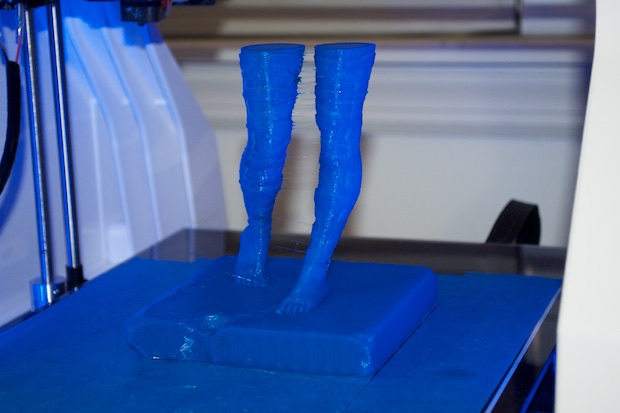
A little over 9 hours later, the top portion was complete.
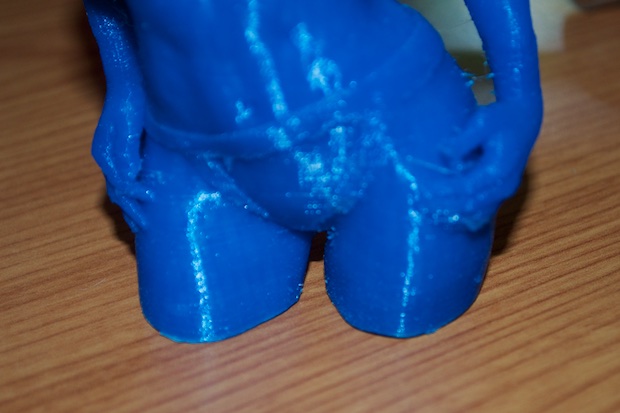
The chin supports worked great, and should remove easily with a pair of cutters.
As far as the raft I printed, that looks like it's on there pretty good.
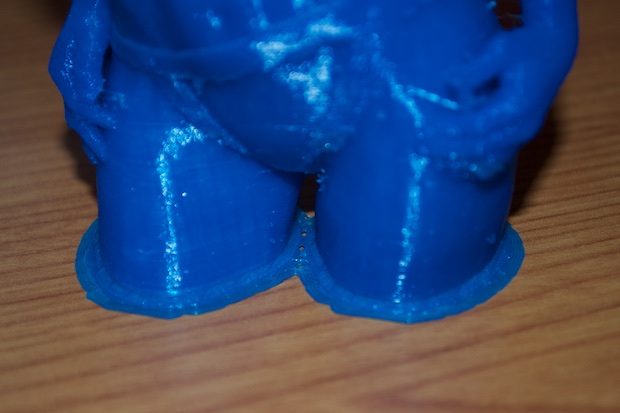
It'll also need some major clean-up work too. There's a lot of stringy bits and a few blobs.
I cut the trim off with some cutters, but will need to remove the rest with my Dremel.
The bottom took a little longer because of the massive base it's on. It took a little over 10 hours to complete.
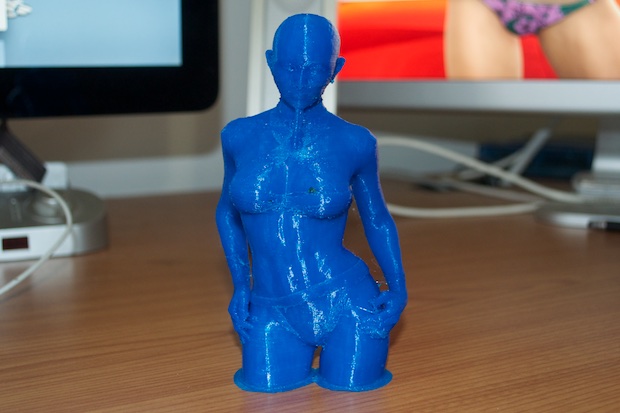
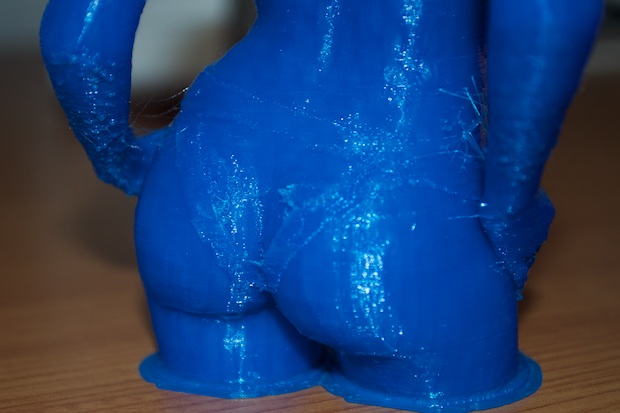
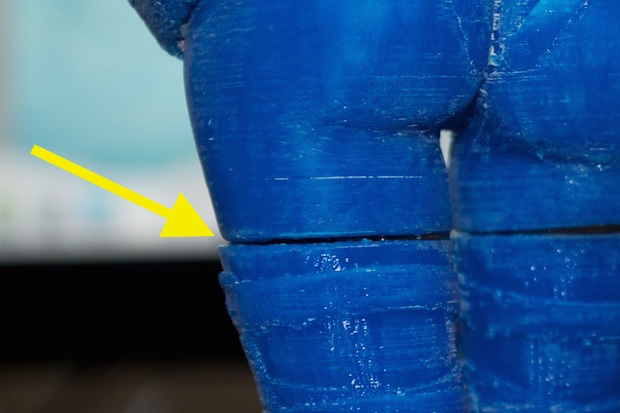
The top portion doesn't sit perfectly flush since I still have a little bit of raft to trim off, but it looks pretty good. I’ll glue the two halves together with epoxy and clean up the seam with some clay. The assembled height is 11 inches. I was close to a foot. I guess that's what I get for eye-balling the height.
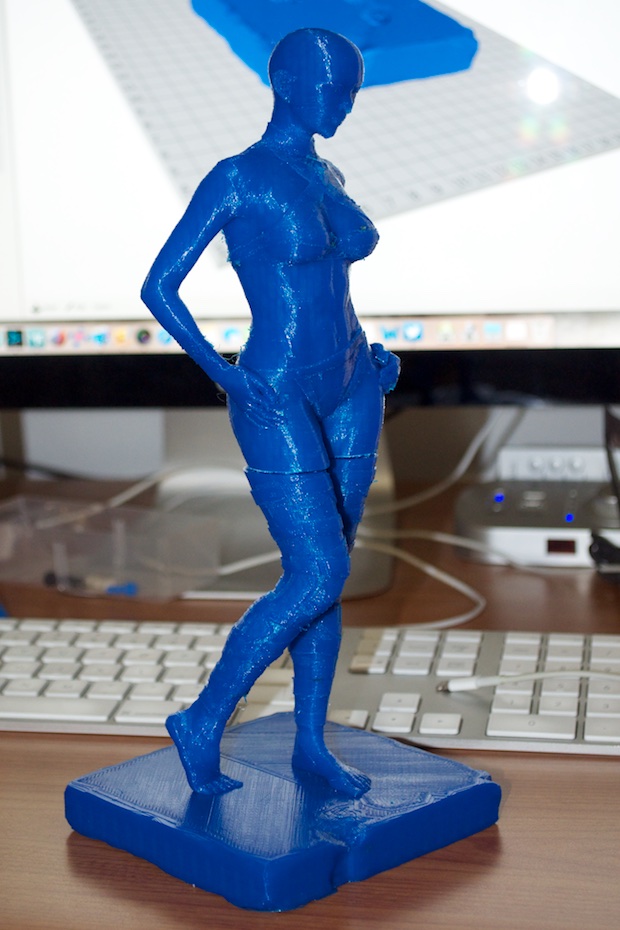
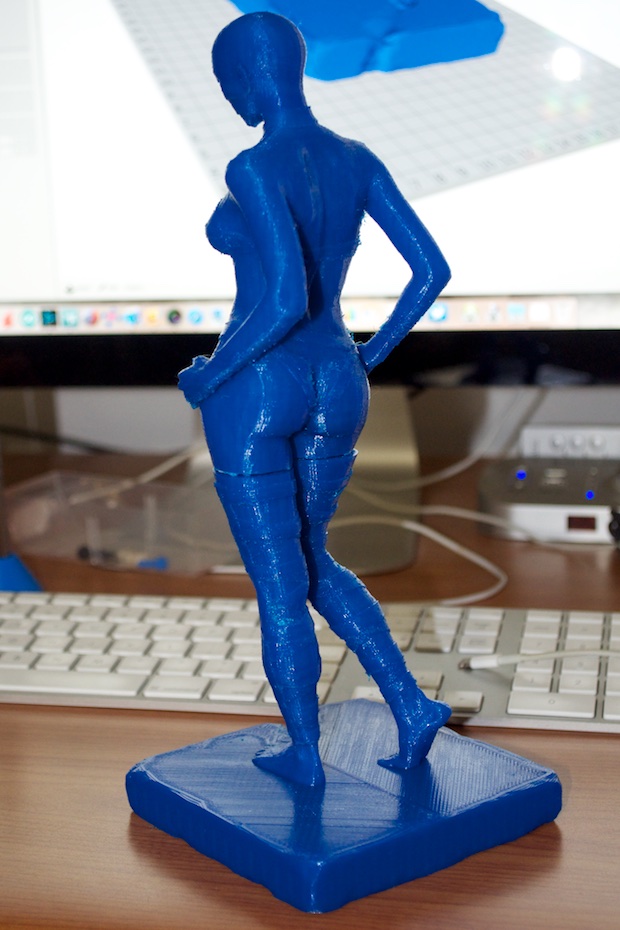
It'll need some serious sanding too if I'm to smooth out all the layers. All in all, I think it came out pretty good.
One cool thing I like about MatterControl is that once you've sliced your model, it gives you all kinds of cool information. It'll tell you exactly how much material it uses, as well as the length of filament required. The bottom and top models combined used 25,580.3 mm of filament. That's 84 feet!
It'll even tell you how much it thinks it'll weight. However, I found that calculation to be a way off the mark. MatterControl reported an overall weight of just under 3 ounces. I weighed it on my scale and it was 8.5 ounces. That's about 240 grams. Based on how much I paid for the roll of filament, that's about $6.00. A total steal.
Just for fun, I uploaded the model to Ponoko to see how much it would cost to have it “professionally” printed. They wanted $1,309.86 to have it printed in "durable plastic"! I kid you not. The insanity.
Moving right along…
I picked up some of these foamy sanding blocks. They are fantastic. You can sand the hell out of stuff and these things never die. You can even rinse them out and start over. They keep on going.

I started out by standing the top half of the model with 120 grit. I spent a few hours on it and then moved up to 180 grit. It still needs a few more hours of work to smooth out all the layers, but so far it’s coming out pretty nice. It feels pretty smooth.
I didn't spend nearly as much time on the bottom half as the top. I had to get in there with a blade and do some trimming of the excess material. Again, it’s coming along and should look just as good as the top once complete.
A quick before and after side-by-side comparison shows the striking results that can be achieved with just a few hours of sanding.
I put in a few more hours of sanding and I think it's as good as it's going to get. Any more sanding, and I'm going to start to rub away the clothes.
There's already some edges that I've worn flat, so I'm going to have to work them back in with my Dremel. I just hope that any other imperfections can be painted out.
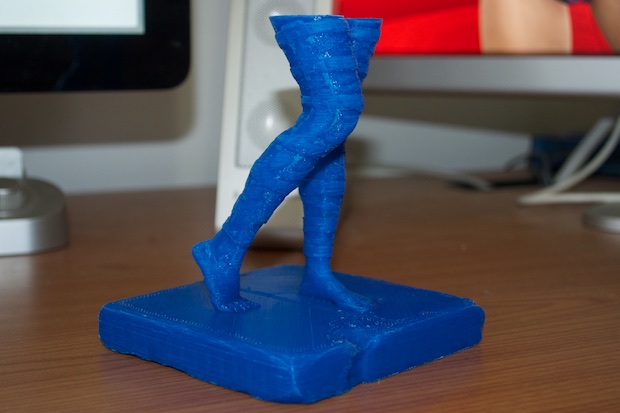
The legs came out pretty good. Again, any more sanding and I'm going to start to lose detail.
All that's left for now is to mix up some 2-part epoxy and bond the two halves together.

I first started out by roughing up the ends with my Dremel so that the epoxy would have an easier time bonding the two halves together.
This is some serious glue. You'd need a sledgehammer to separate them.
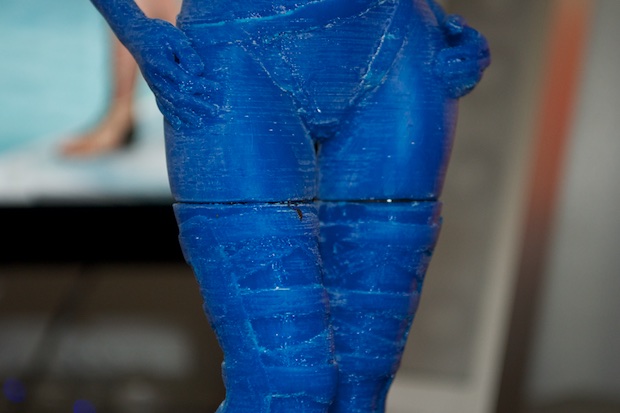
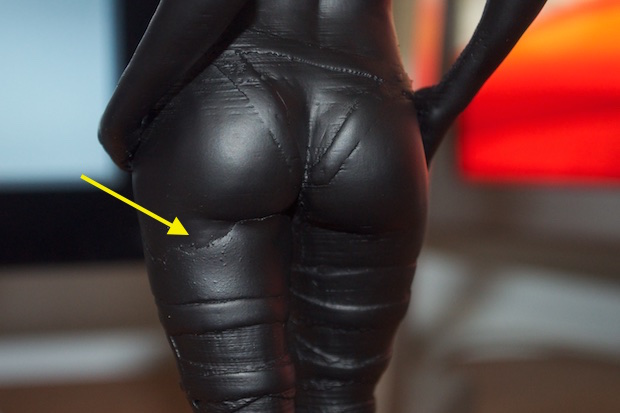
Sanding the thighs on the top half made them just a tad thinner than the portion on the bottom. The edges are a little rounded off too. Needless to say, they don't line up perfectly any more. I just hope with some clay that I'll be able to fix that.
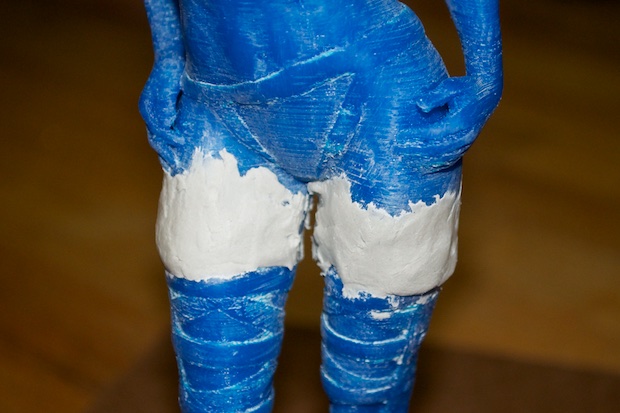
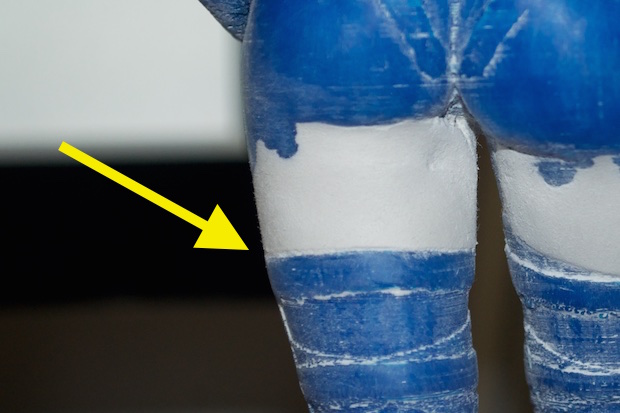
I filled in the seams with some air-dry clay and left plenty of excess in an attempt to blend the two halves together.
I then sanded off the excess until things were nice and smooth and well rounded.
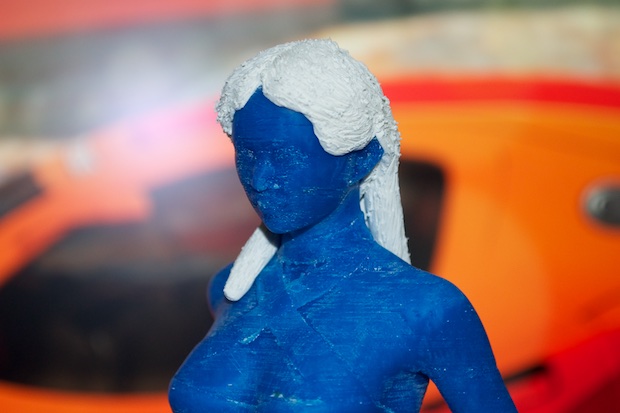
I then started to sculpt some hair using some Sculpey over-bake clay.
I'm not about to put this in the oven until I can test a small sample to make sure that the clay cures before the plastic melts. The clay cures at 130 °C while the plastic melts at 175 °C, so I should be OK. Still it doesn't hurt to try a small sample first. I printed out a LEGO brick, covered it with some clay, and gave it a slight texture.
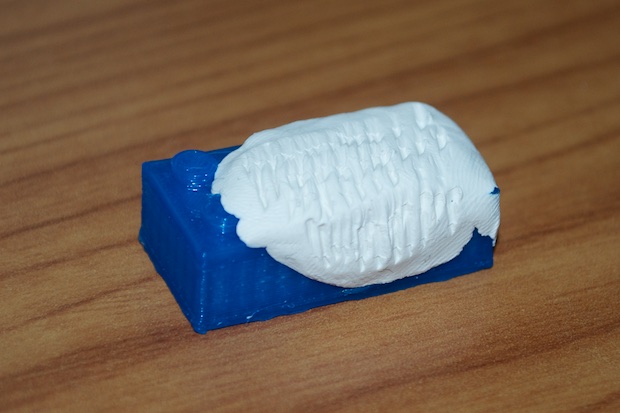
I then baked it in the oven for 15 minutes. There was no change in the PLA and the clay was nice and hard. Test confirmed.
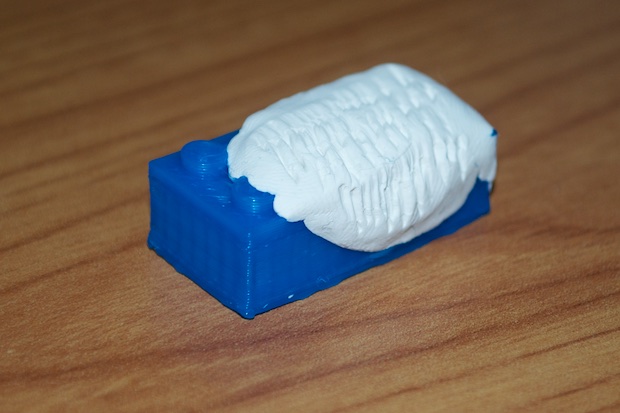
Fifteen minutes in the oven and the clay was cured, without any damage done to the model.
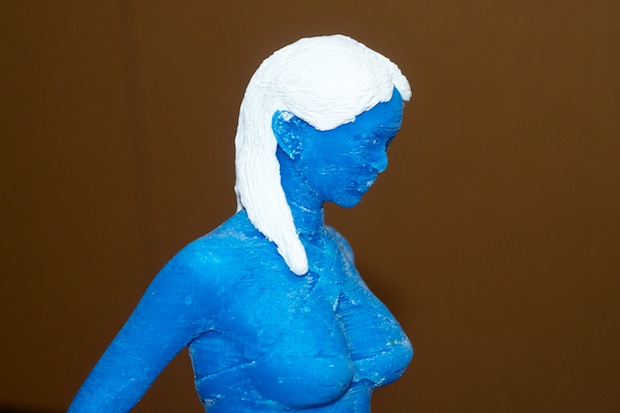
I then applied about 4 coats of primer.
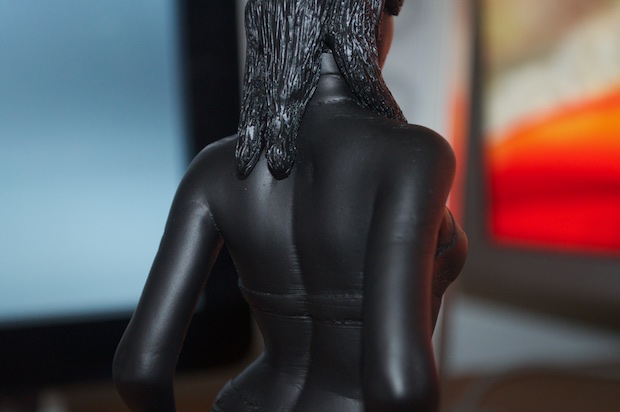
Overall, it came out pretty good. Most of the skin is nice and smooth, and looks exactly how I wanted it.
However, there's still plenty of spots that the primer just won't cover. I'd probably have to give it another 10 coats. Not to mention, the air-dry clay that I used on the legs looks horriblet. Some of it even fell off during sanding because it didn't properly adhere to the PLA. Despite feathering the edge, it's still pretty obvious that there's clay there.
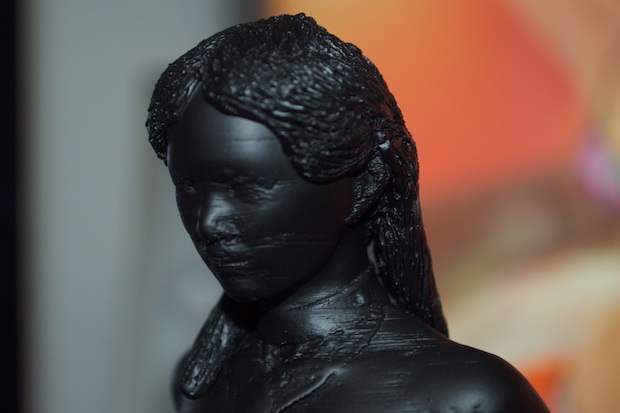
I should have done a better job of sanding the face. I really thought that the imperfections were smooth enough that the primer would do the rest.
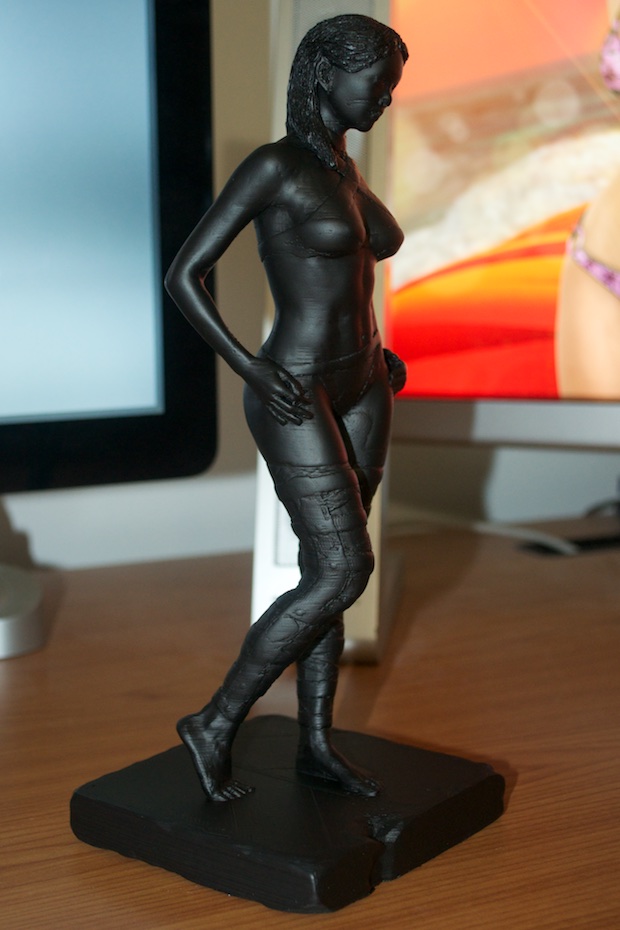
I think I'm going to quit while I'm ahead. There's no point in painting it any further. There's just too many imperfections. This has been a great test run and has allowed me to expand on what I learned from
my first print, as well as explore several new techniques and materials. I learned a lot from this model.
Lessons learned:
Print models at highest resolution to minimize the amount of sanding needed.
Cut models where the seams will not be obvious.
2-part epoxy works great at bonding PLA.
Sculpey oven bake clay adheres to PLA and cures in the oven without damage to the PLA.
Air-dry clay does not adhere well to PLA and does not blend well.
It's time to apply what I've learned from this experiment to what will be (hopefully) a final result.
See this project from start to finish:
Printing DAZ 3D Models Printing DAZ 3D Models, Part II
Printing DAZ 3D Models, Part III
