23" 3D Printed Victoria 8 Figurine - Part II
With all the parts to the new model printed, it was time to start gluing. I first started by giving the parts a preliminary sanding with 100 grit just to get rid of some of the really rough spots left behind from the rafts.

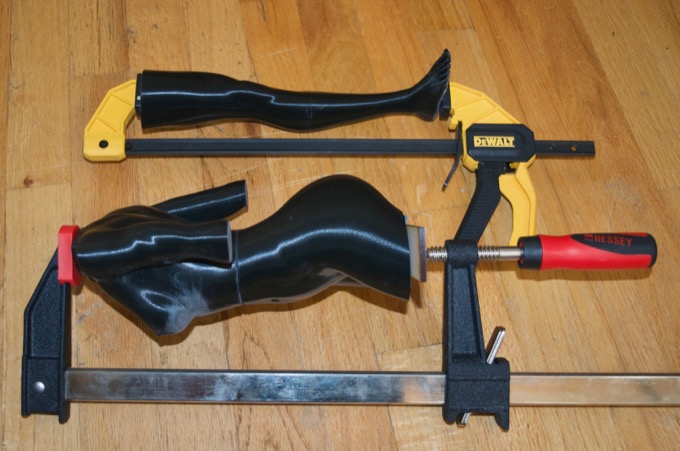
I then started to glue and clamp the parts together, keeping them perfectly aligned with the square pegs.
After everything was glued together I applied some 3M Acryl-Green to the seams and sanded it with 100 grit, then 150 grit paper.
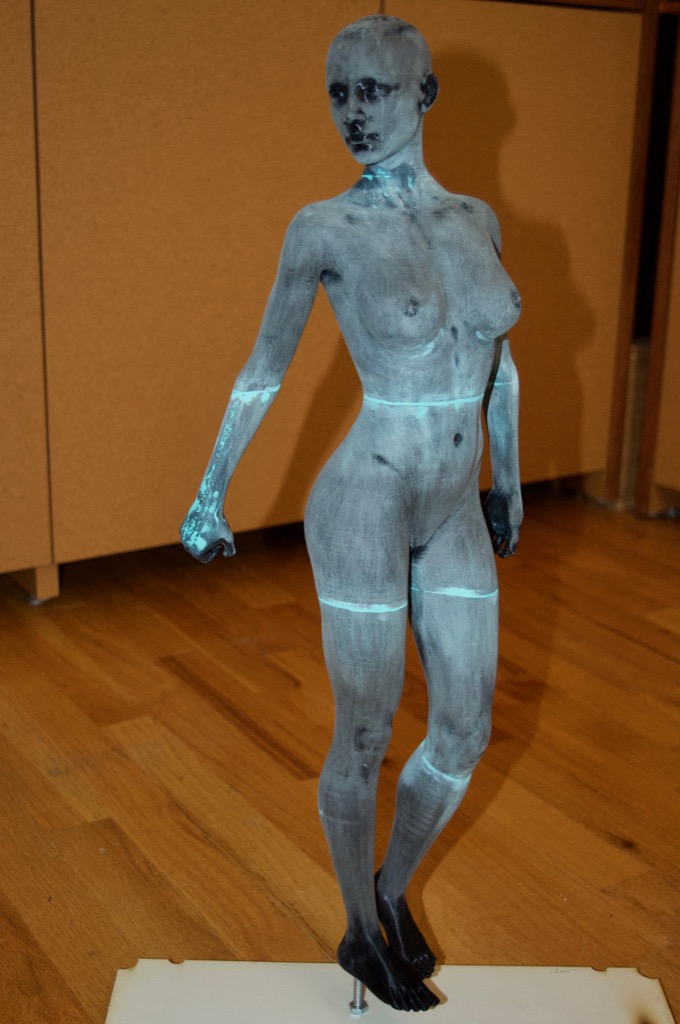
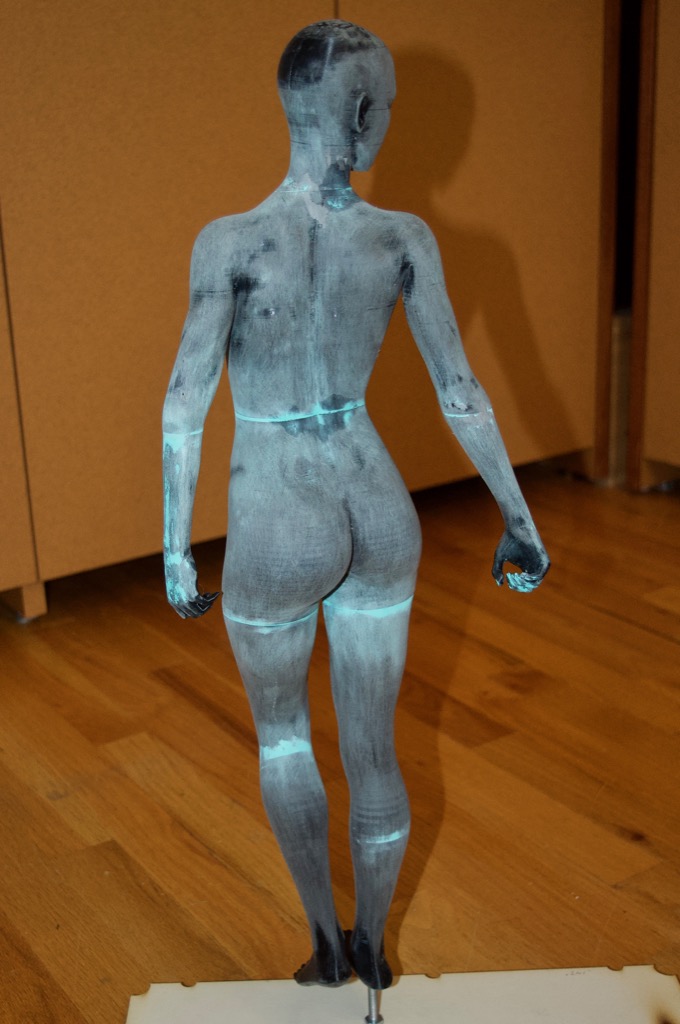
I then gave it a coat of primer just to see how much more work it needed.
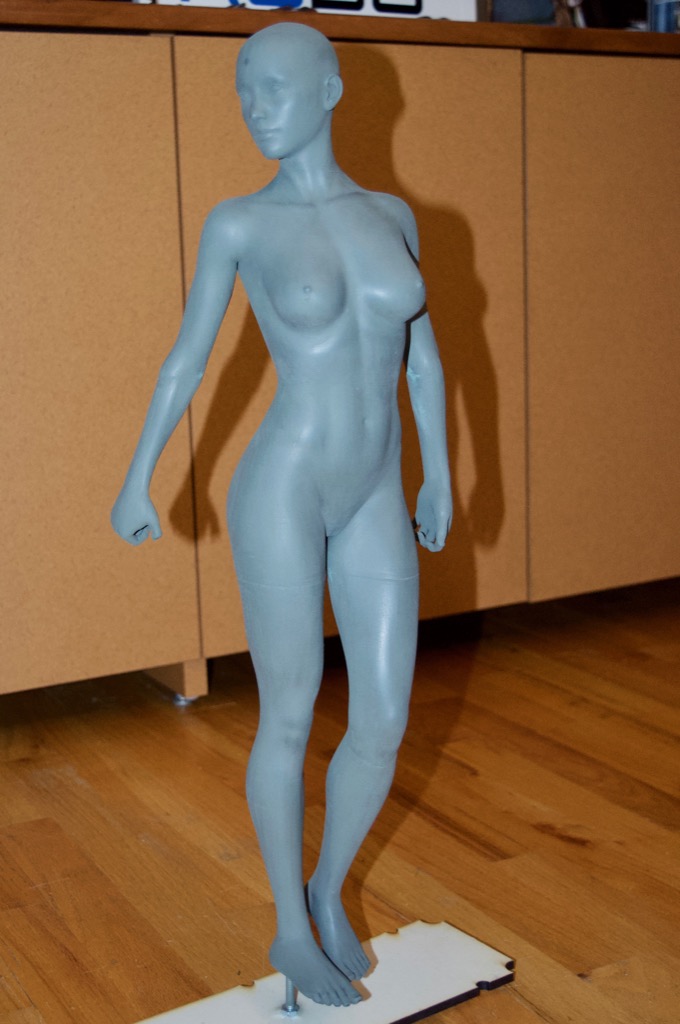
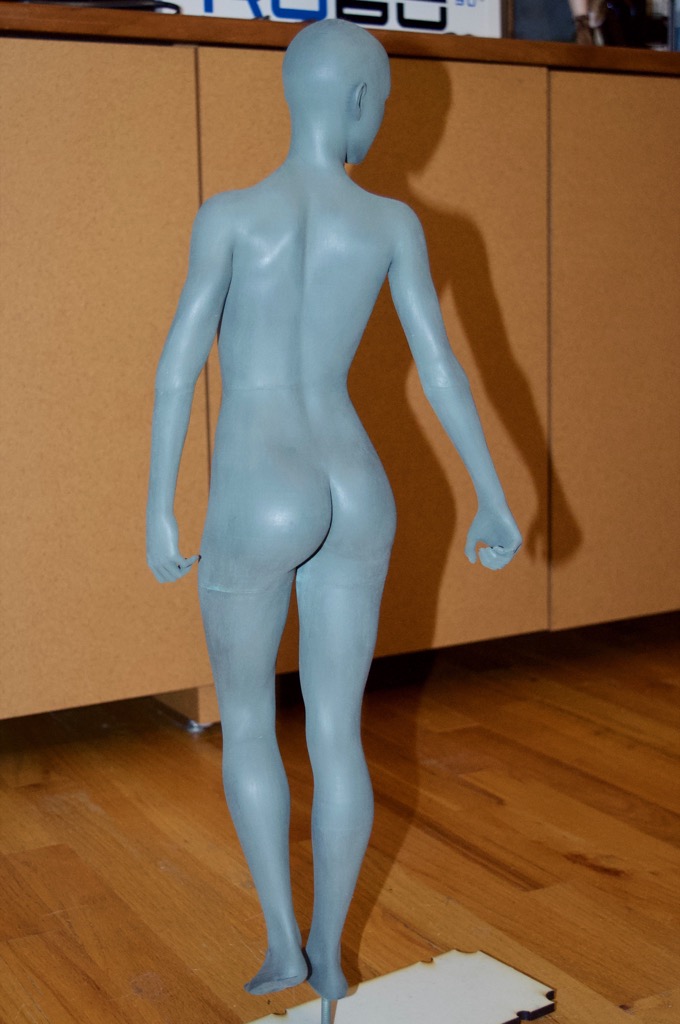
Not a bad first pass, but it does need a little more work to remove the seams.
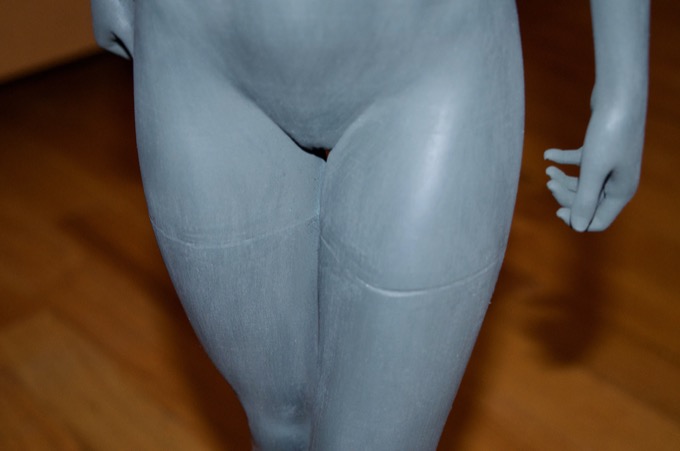
Round two: more Acryli-Green, more sanding.
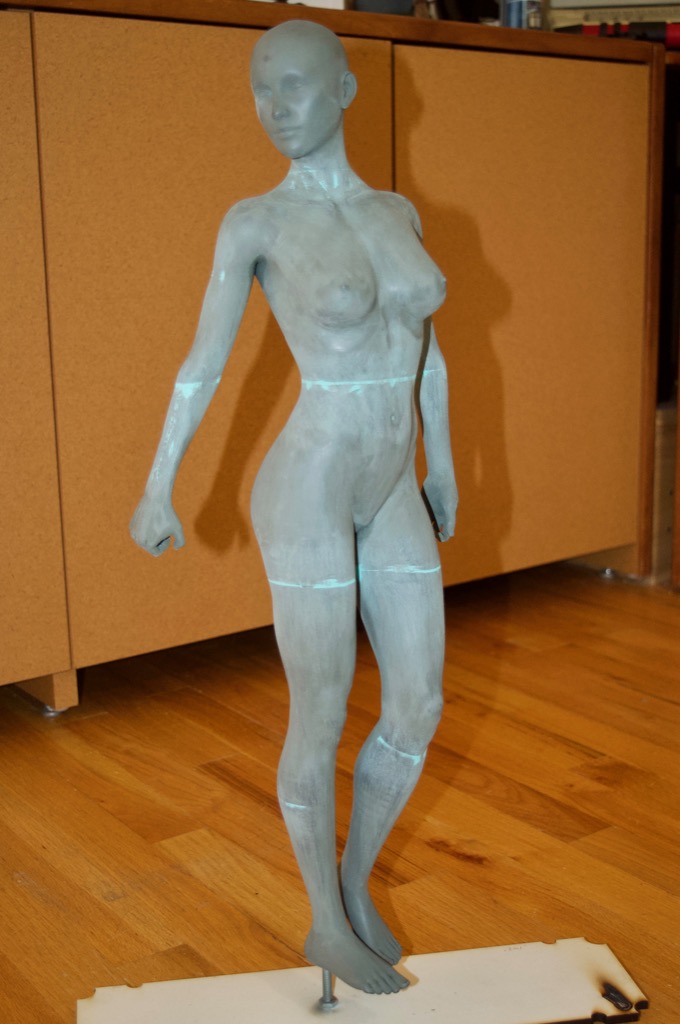
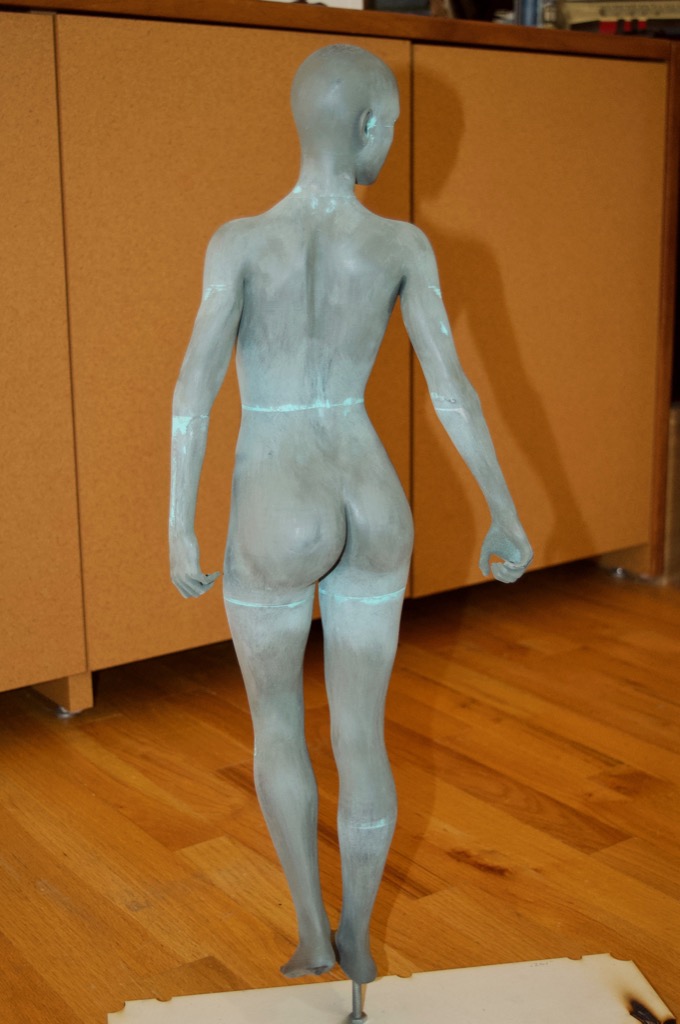
One more coat of primer.
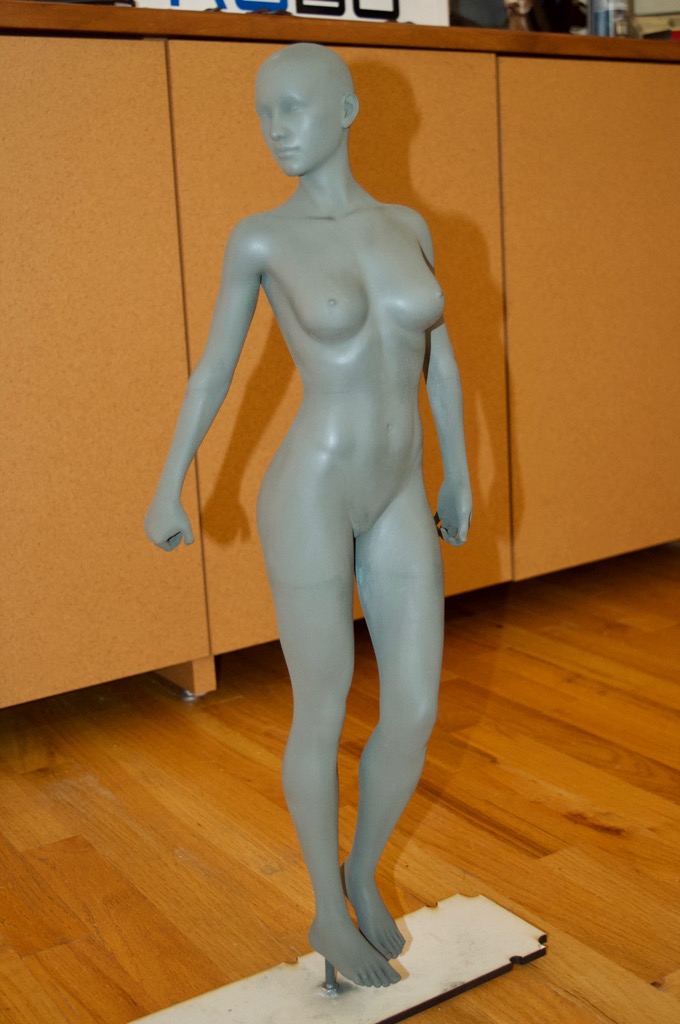
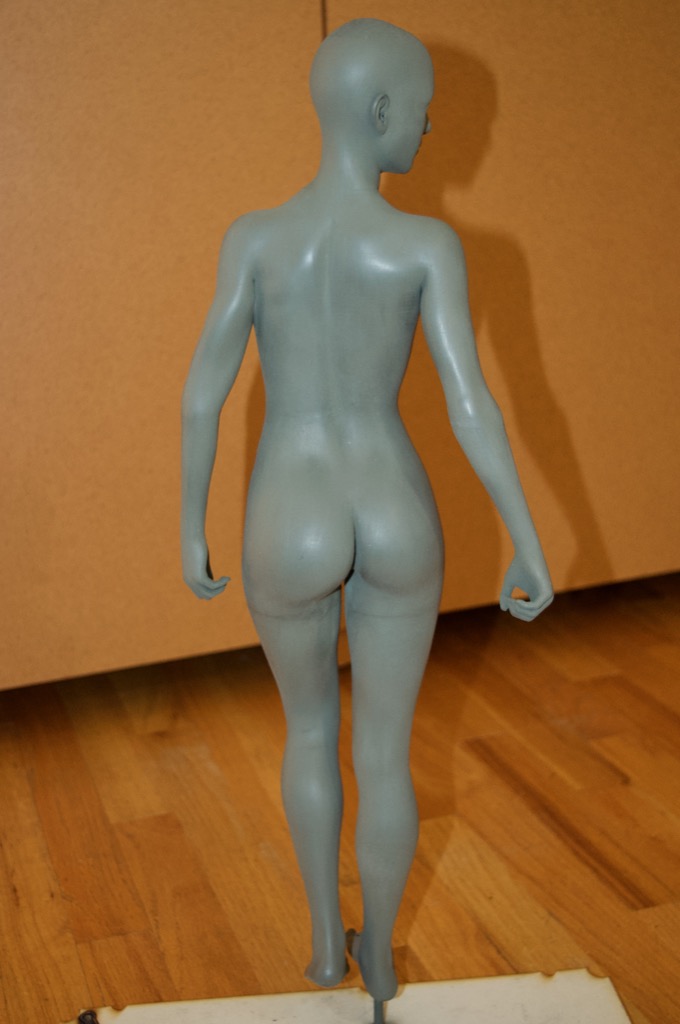
It's looking much better but it needs one more pass. After I buffed the primer with some steel wool, I gave it a rinse to wash off all the dust. I then put it outside to dry for a few minutes. I got distracted and didn't know that the sun had moved. The model was outside for a bit baking in the sun and I ended up with a crack right where I glued the head on. I'll have to mend that.
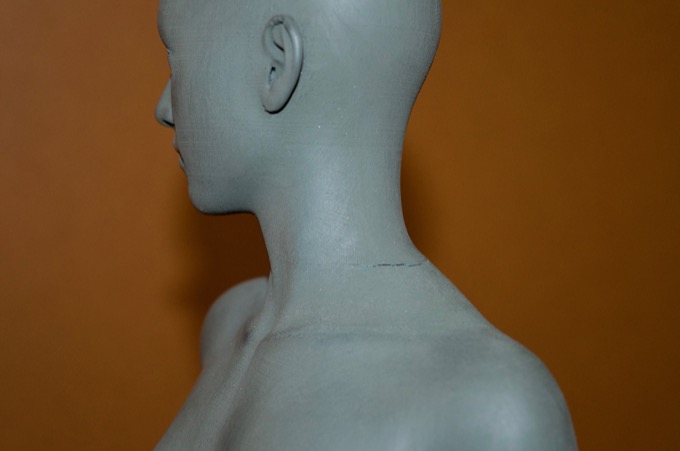
Round three: I think that'll do it. Everything looks great. I can't see any seam lines. I think it's ready for the top-coat.
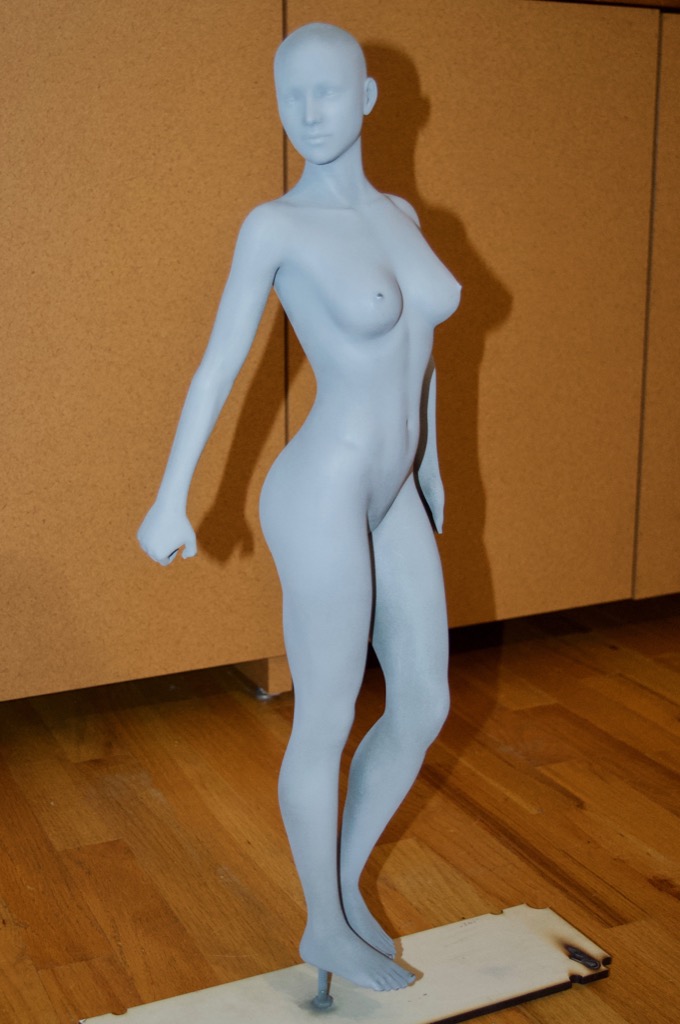
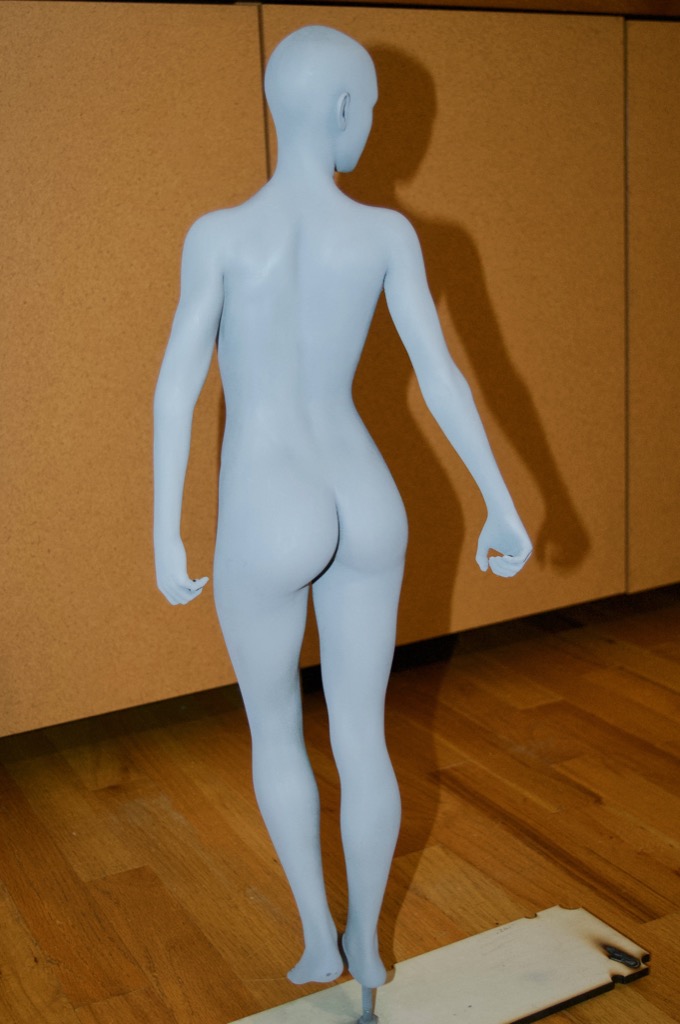
I then did a few more touch ups with some Vallejo putty and then gave it a coat of white acrylic.
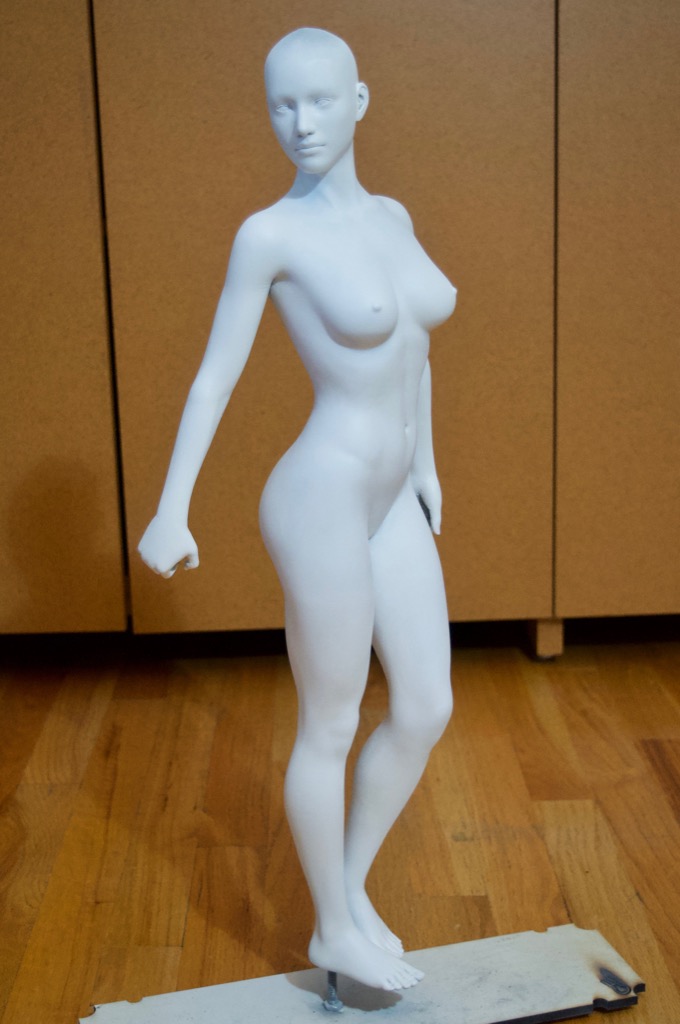
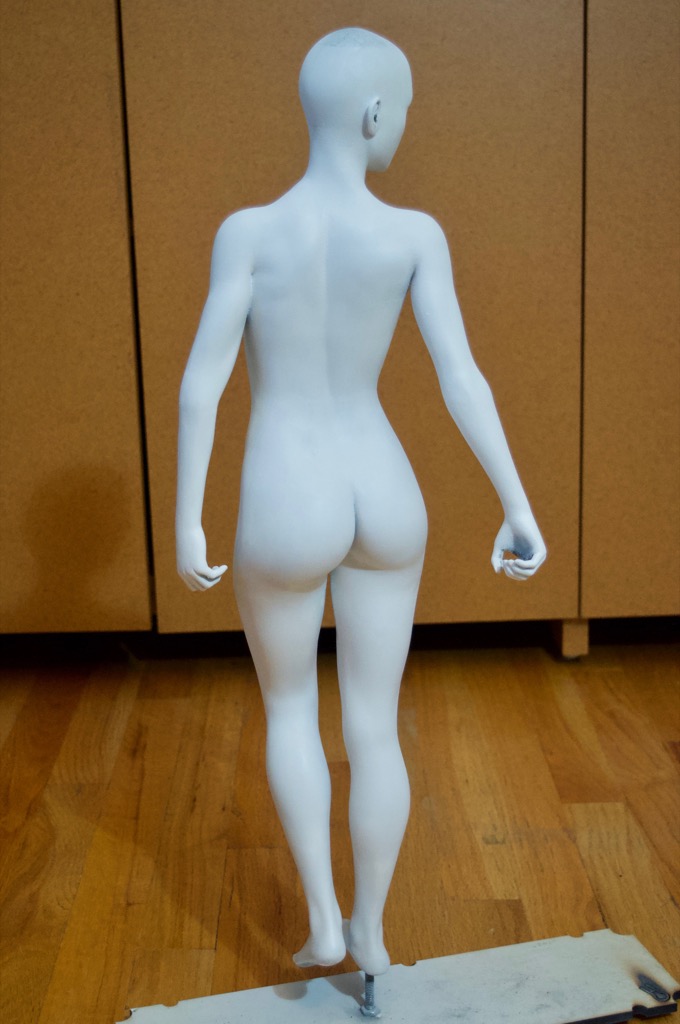
That's as far as I'm going to go with the painting for now. I need to design the clothes before I can give it the final paint job. That way I do not damage the paint job while I test fit everything.
Next up…weapons!
See this project from start to finish:
23" 3D Printed Victoria 8 Figurine - Part I 23" 3D Printed Victoria 8 Figurine - Part II
23" 3D Printed Victoria 8 Figurine - Part III 23" 3D Printed Victoria 8 Figurine - Part IV 23" 3D Printed Victoria 8 Figurine - Part V 23" 3D Printed Victoria 8 Figurine - Part VI 23" 3D Printed Victoria 8 Figurine - Part VII 23" 3D Printed Victoria 8 Figurine - Part VIII 23" 3D Printed Victoria 8 Figurine - Part IX 23" 3D Printed Victoria 8 Figurine - Part X


