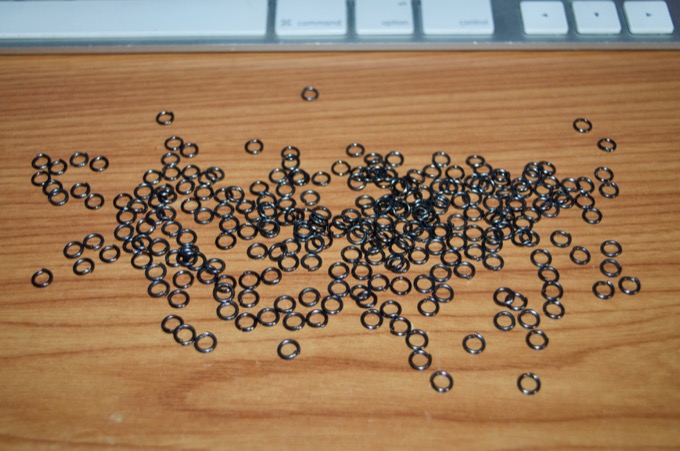
The next piece of the clothing to make is the loin cloth. I want to try my hand at making some chain mail. I've never done this before. It looks like it'll be a pretty good challenge. I started by picking up a few hundred 5mm jewelry jump rings.
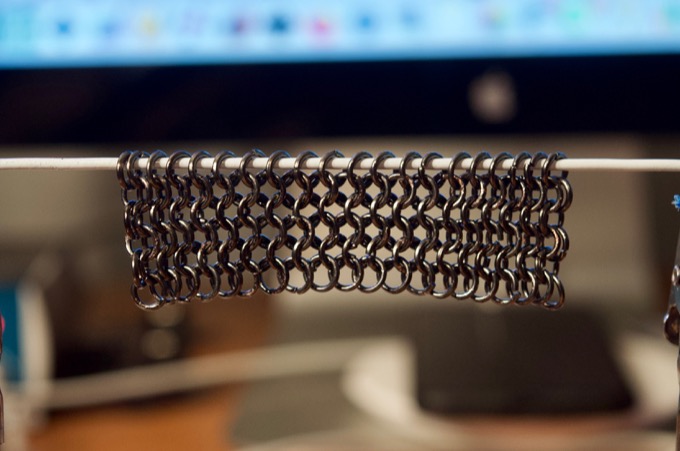
With the aid of some helping hands and a length of wire hanger, I made a jig to hold the rings in place while I linked them together with some pliers. It took a few attempts to get it right but after a few hours I was off to the races. It is very tedious and time-consuming work. I grabbed a cup of coffee, put on some music, and got to it. After an hour, I had 6 rows of 20 complete.
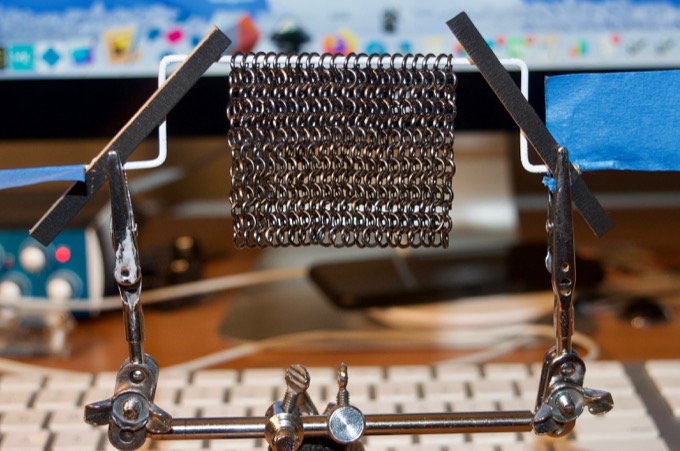
It put in a few more hours and by the end of day two I had completed 13 rows. It looks really cool. It's starting to get long enough to get in the way of the bottom of the stand, so I bent the hanger in order to raise it up. However, it's getting heavy so I had to brace the hanger with some wooden strips in order to stop it from swinging forward. At this point I think this jig has exceeded its usefulness.
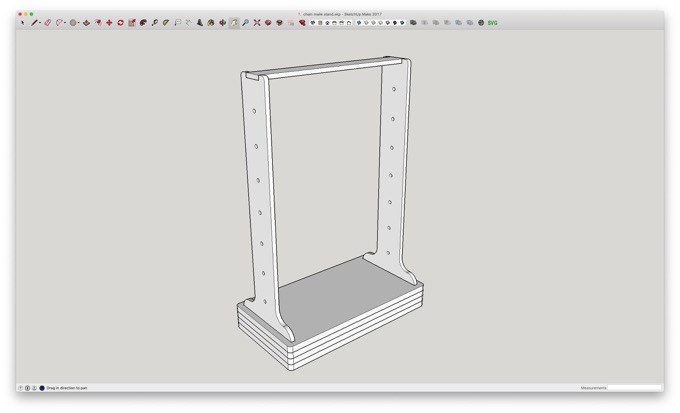
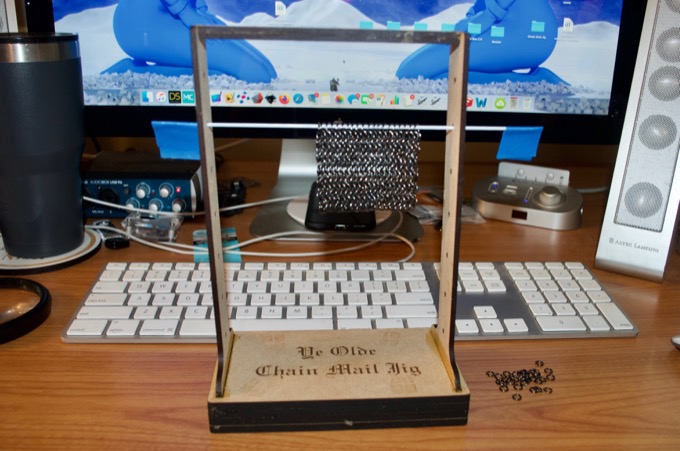
I jumped into SketchUp and designed a new one. Nothing fancy. I banged this out in under half and hour so I could laser cut it and glue it together right away.
I was going to super glue the whole thing together so that I could get right back to it, but it was getting late. I decided to glue it with wood glue and clamp it overnight.
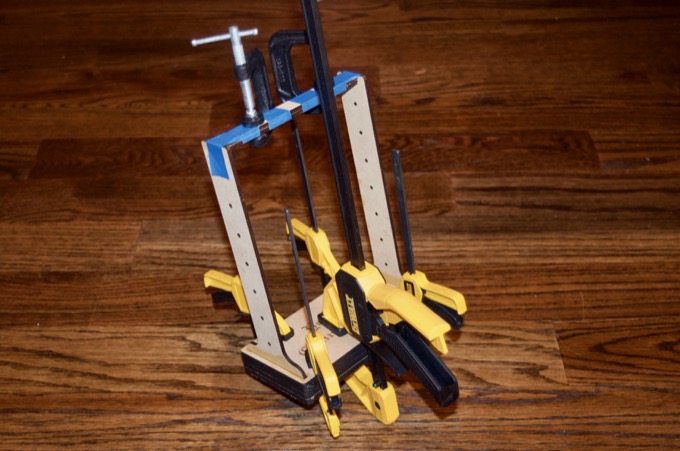
Crude but effective. This is going to work nicely.
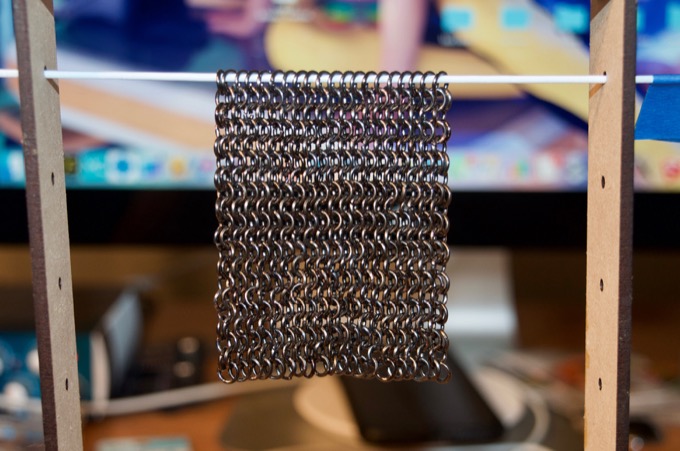
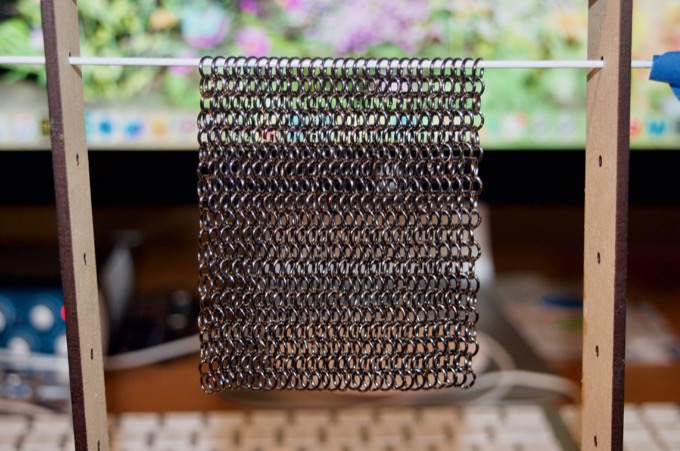
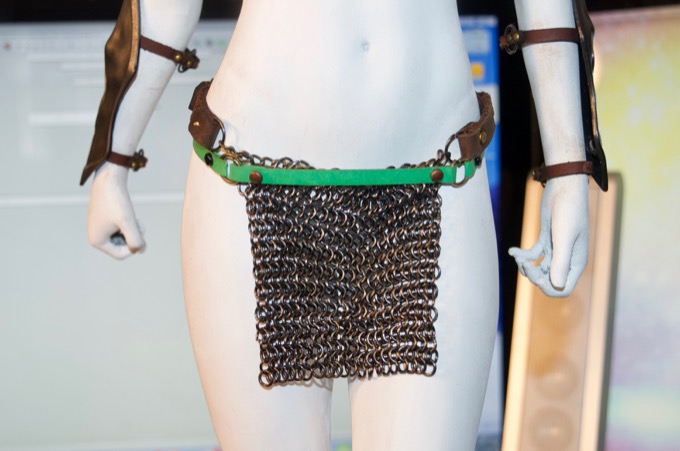
Another three or four hours later I had completed all 20 rows. That was a lot of work.
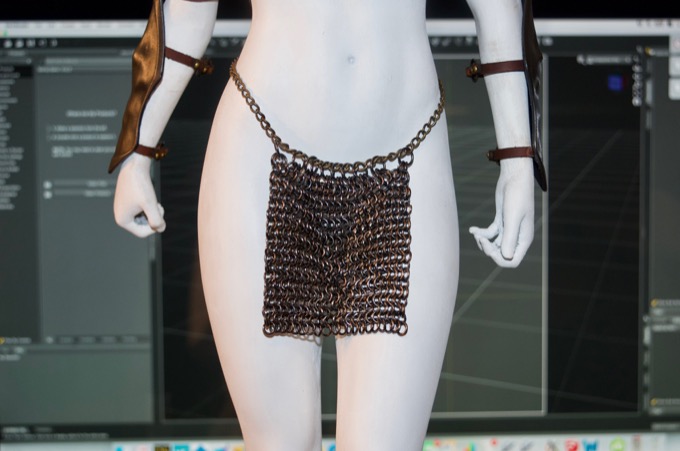
I then temporarily linked it to a chain just to try it out. It looks really good. I'll have to play around a bit more with how I want to connect it to the chain, but for now this will work.
I ran out of 5mm rings so I needed to order some more to make the back chain mail. The ones I used for the front were sourced from small multi packs that I got at the local craft store. At $3 a pack, it's not very cost effective to buy them and pick out all the 5mm rings. I jumped on Amazon to see if I could buy them in bulk. I was not able to find 1mm thick 5mm rings, but I was able to find 0.7mm thick ones in a 1600 pack for a fraction of the price. Although they are supposed to have the same gun-metal finish, they are a lot shiny looking. I think I prefer them over the older ones. I'm not sure if you'll notice a difference between the chain mail on the front and the one on the back. I'll have to see how they look. If the back turns out better, I might have to remake the front chain mail with the new rings.
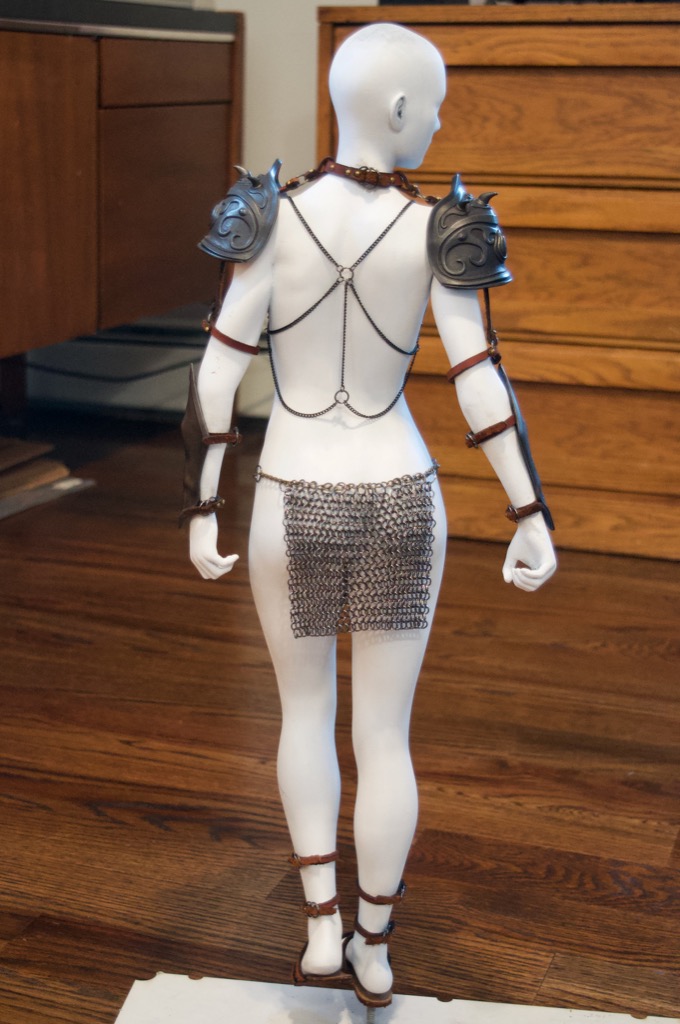
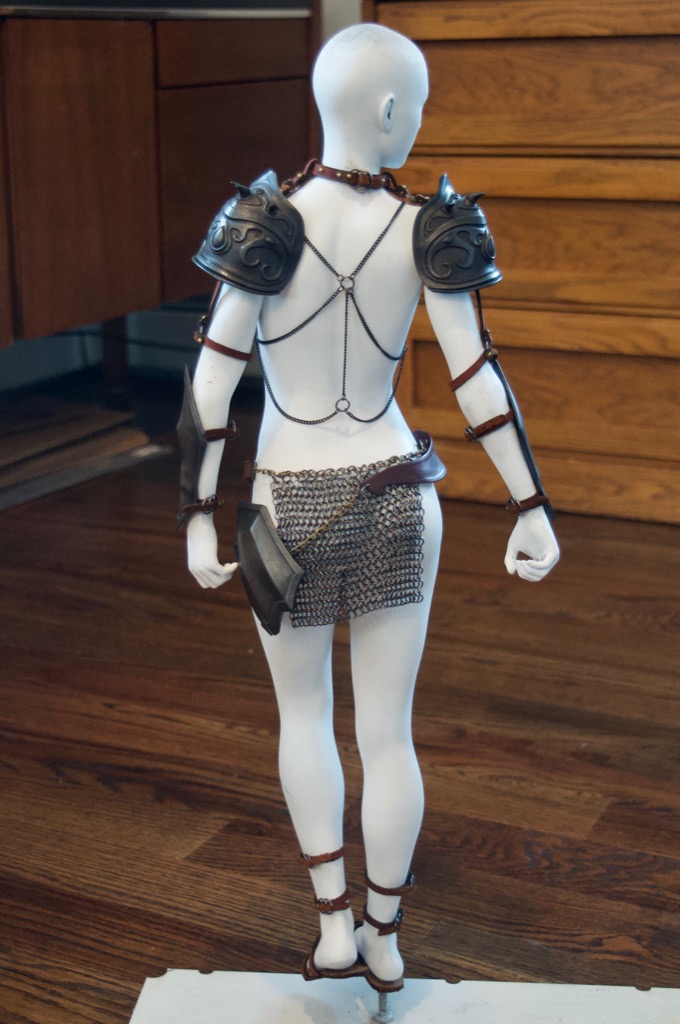
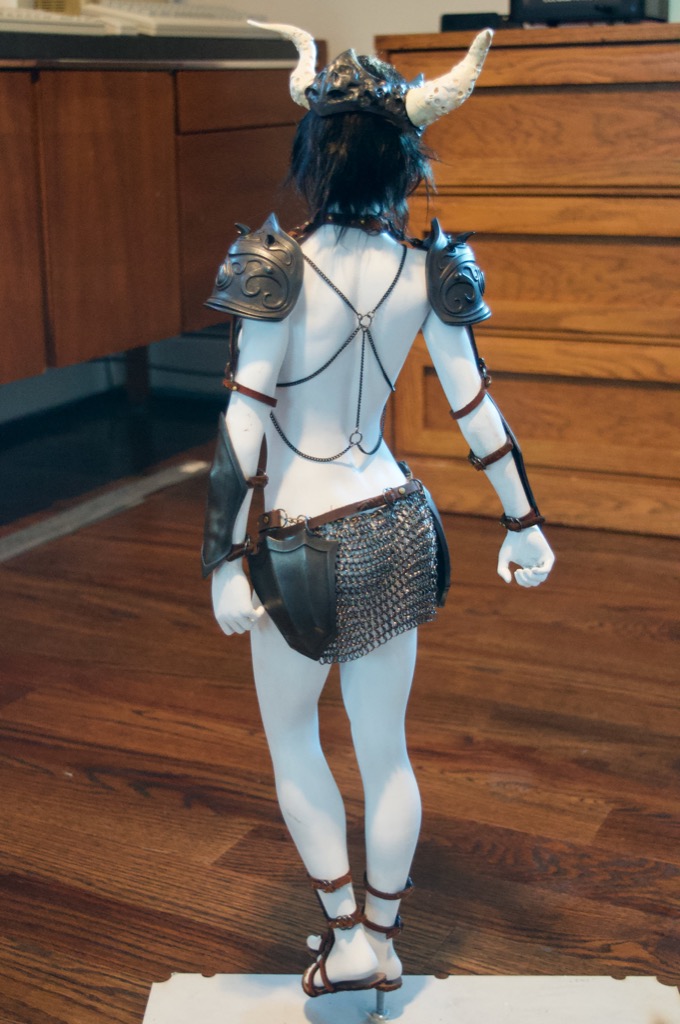
I then spent another few hours making the back. It came out really nice. The back is made of 20 rows of 26 so it's a little wider than the front.
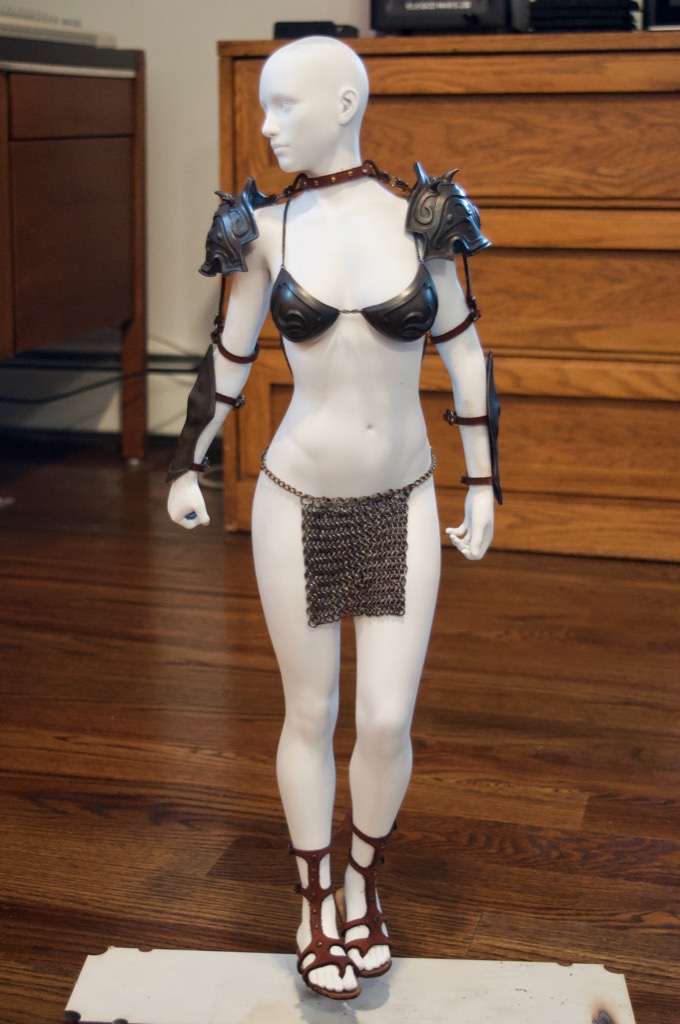
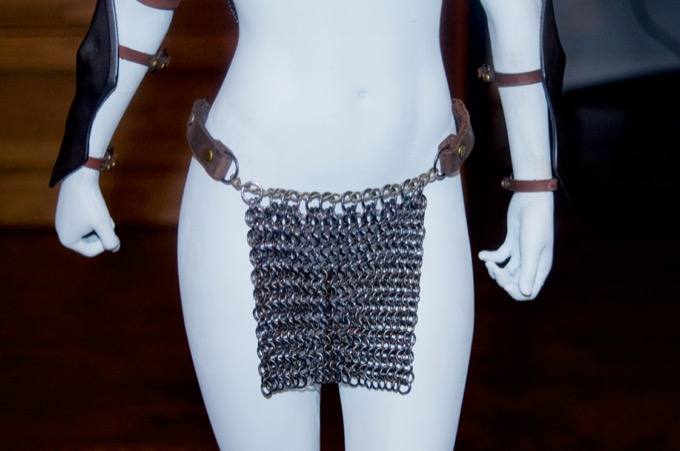
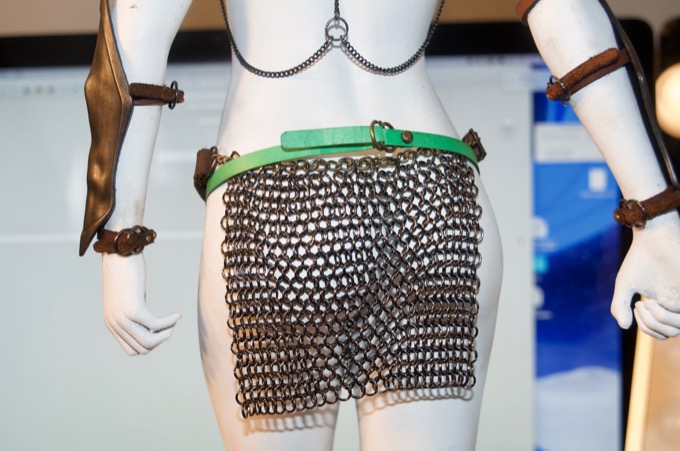
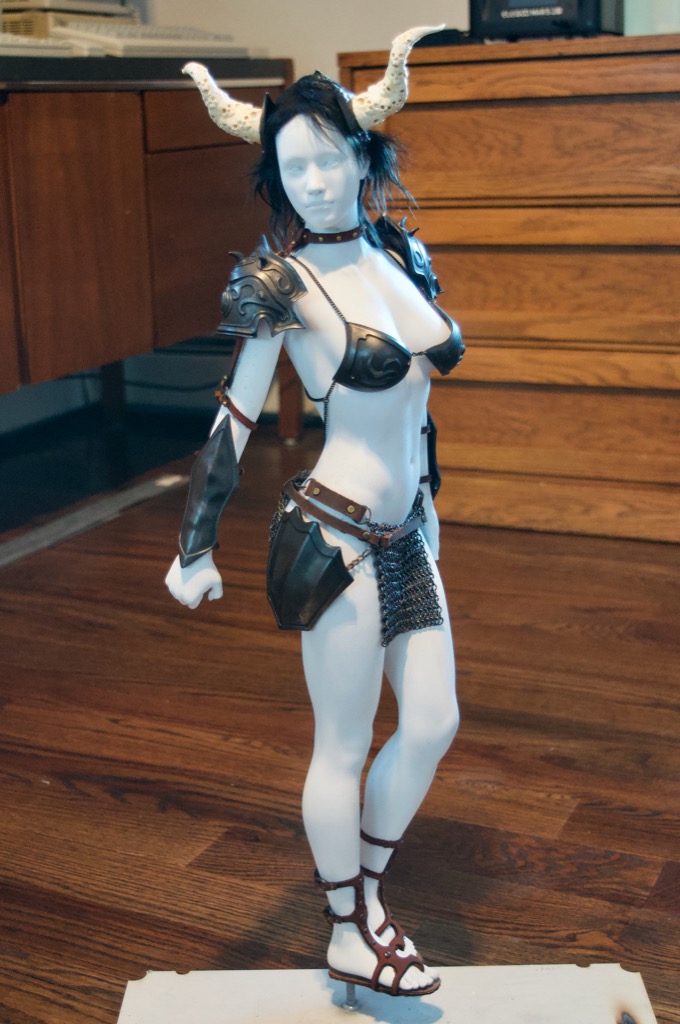
I then linked the front and the back to some chains.

I'll have to play around with the chain length to get it to hang just right but this looks really good for now.
Since the back rings are 0.3mm thinner than the ones on the front, it is a little bit more "sheer".
I then made some leather straps for the sides.
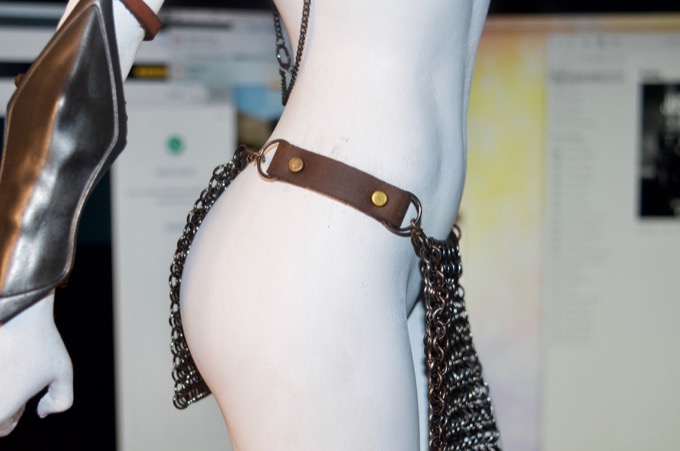
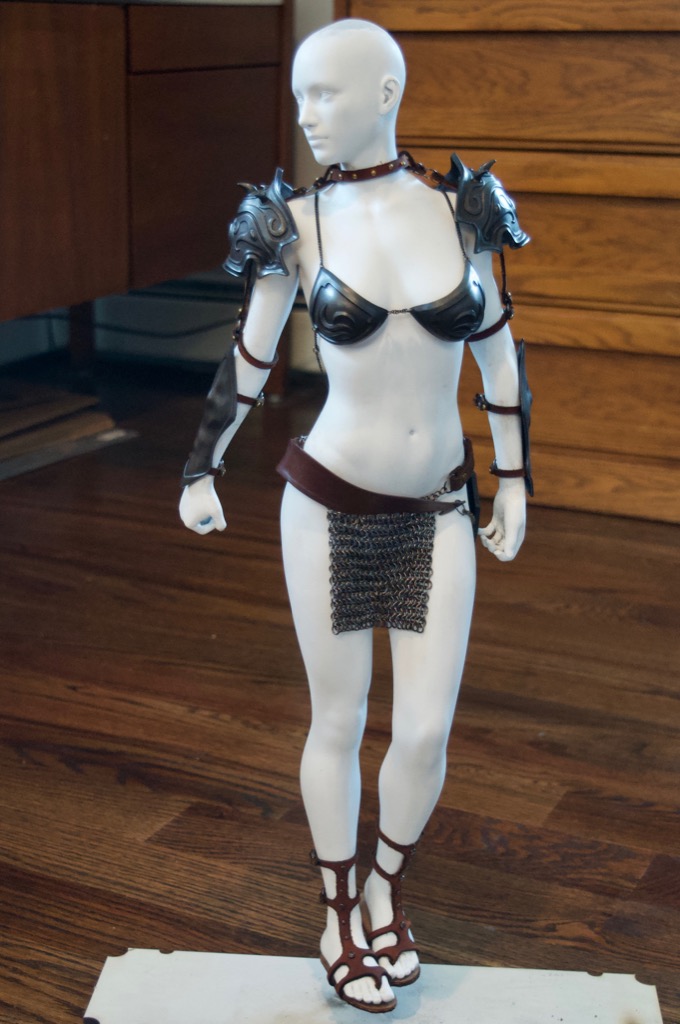
That looks pretty good, but I'm afraid the belt won't sit properly on the hips now with the straps in the way.
I had to lengthen the chain on the belt in order for it to fit. As I suspected, the belt has to sit on top of the leather strap on the right and there's just something about it now that just doesn't look right.
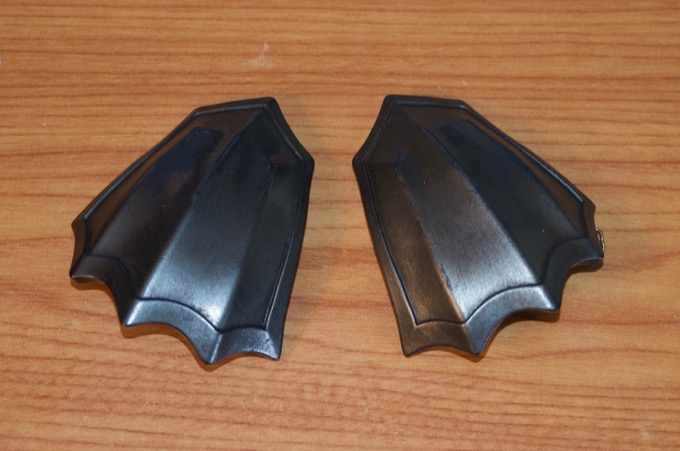
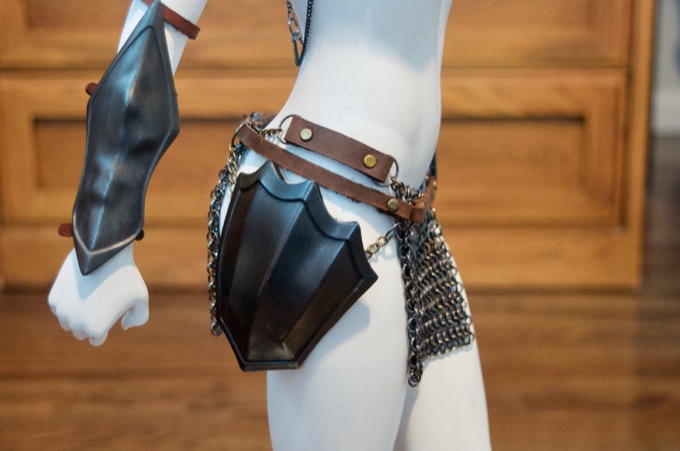
I think I might ditch the belt and make another hip guard for the right and connect the two with a leather belt.
I printed another hip guard and then pained it.
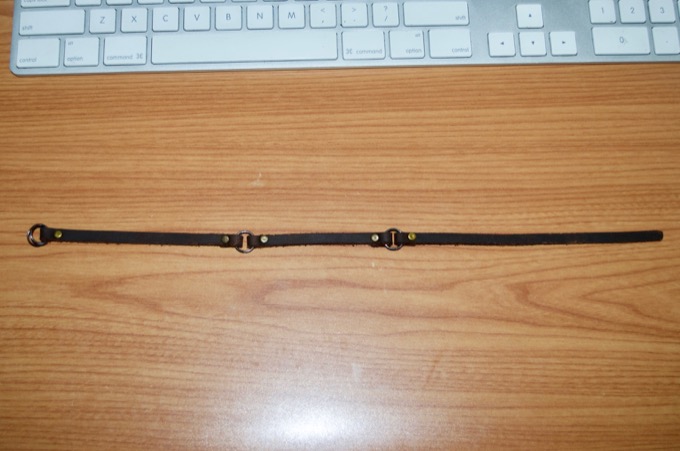
I then prototyped a new belt to connect them both.
That should do the trick.
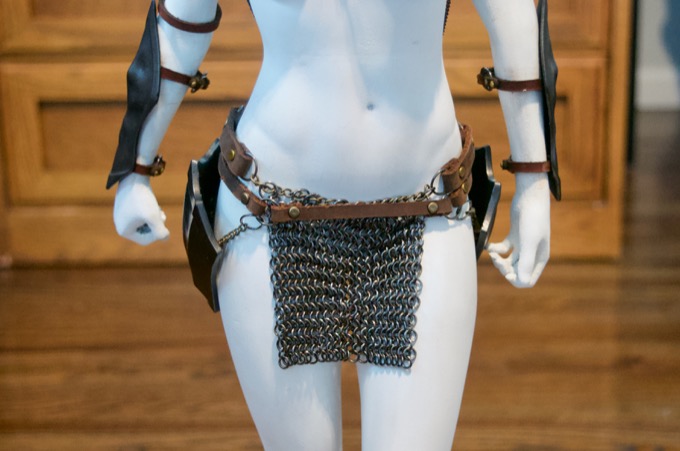
Since I don't have a 16" length of leather, I used the same trick I did on the last figurine and used smaller pieces connected with rings.
That looks great, and hangs off the waist way better than the resin printed belt.
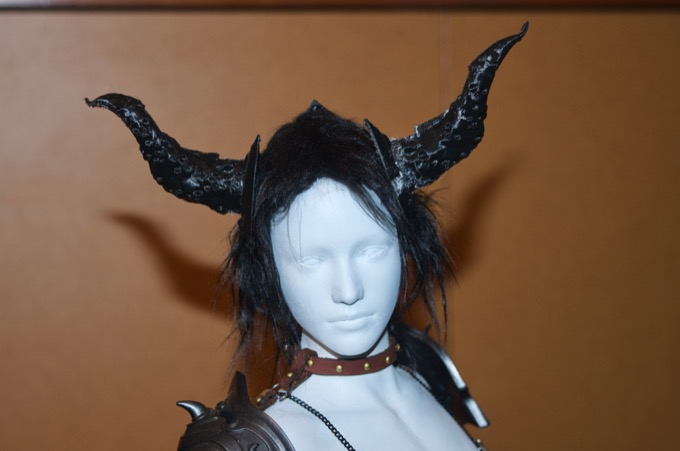
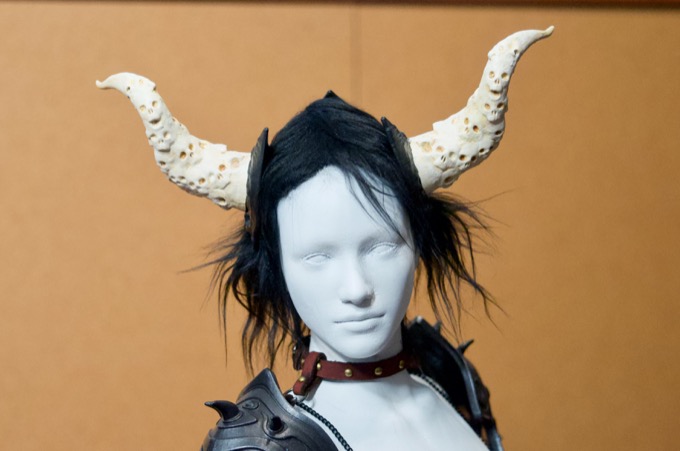
Finally! The wig arrived from China. It took a few weeks to arrive so I was unable to reprint the headdress in resin until I could confirm that the headdress would fit on top of the wig. It looks really good so I can proceed with the print.
It took about 11 hours to print all the parts. They came out amazing.
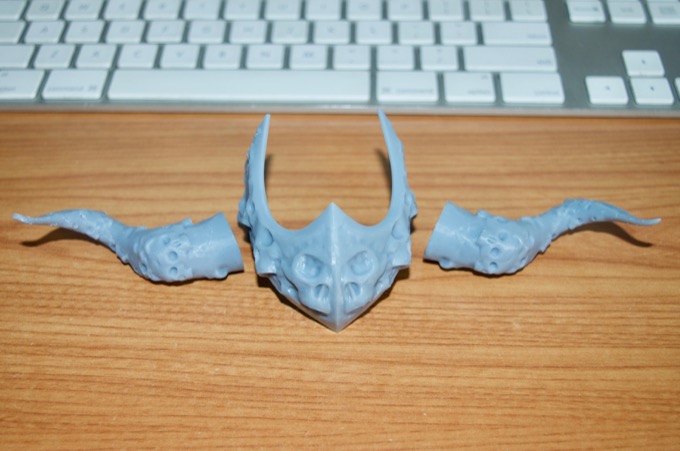
I then primed the pieces and gave the horns a coat of white. For the main piece, I gave it a few coats of black, followed by some gloss, followed by some graphite and some weathering.
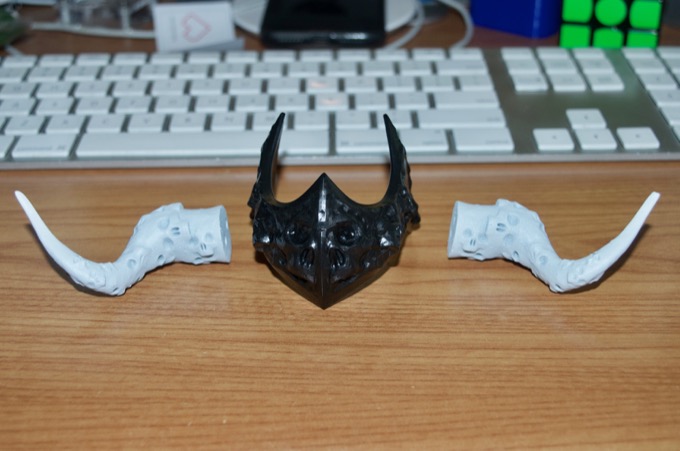
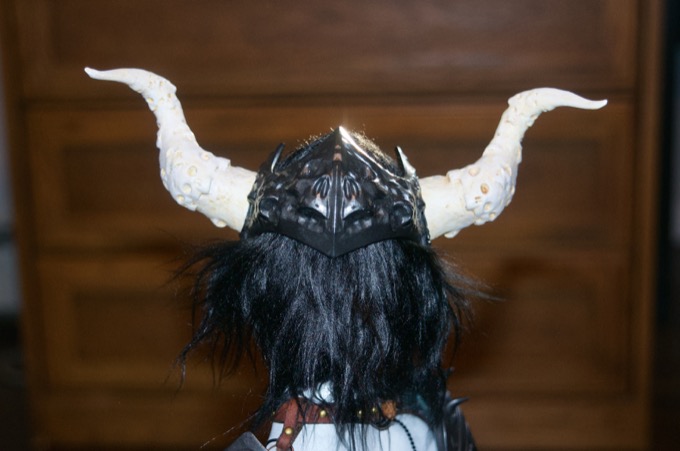
I then painted the horns with some acrylics to give them a bone look and epoxied the parts together.

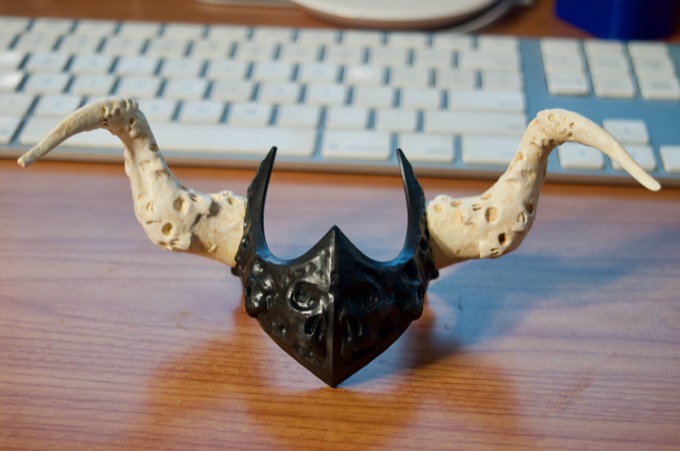
It looks great.
The figurine is almost ready for painting. I need to add straps to the shield and make a scabbard for the sword.
 See this project from start to finish:
23" 3D Printed Victoria 8 Figurine - Part I 23" 3D Printed Victoria 8 Figurine - Part II 23" 3D Printed Victoria 8 Figurine - Part III 23" 3D Printed Victoria 8 Figurine - Part IV 23" 3D Printed Victoria 8 Figurine - Part V 23" 3D Printed Victoria 8 Figurine - Part VI 23" 3D Printed Victoria 8 Figurine - Part VII
23" 3D Printed Victoria 8 Figurine - Part VIII 23" 3D Printed Victoria 8 Figurine - Part IX 23" 3D Printed Victoria 8 Figurine - Part X
