23" 3D Printed Victoria 8 Figurine - Part IX
May 21, 2021 Filed in:
3D Modeling | 3D PrintingFor the base, I started with some 3D models of stones and arranged them in a circular pattern.
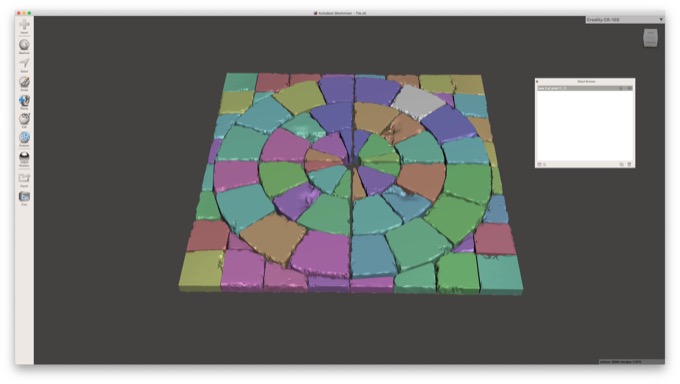
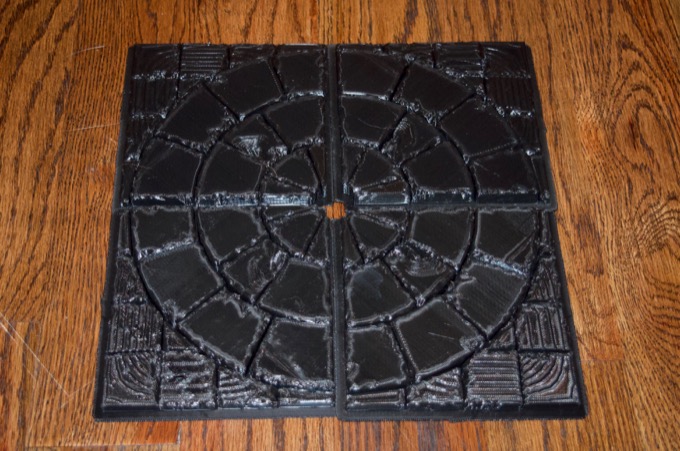
I printed it in four sections.
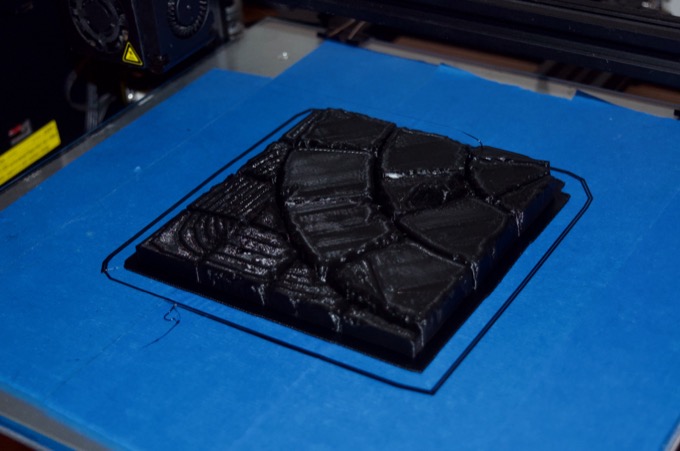
They came out really rough looking. I knew I was going the cover them in a laser of 3M Acryl-Green putty, so the quality of the print was not important. I contemplated printing all the bricks on my resin printer, but it seemed like way more trouble than it was worth.
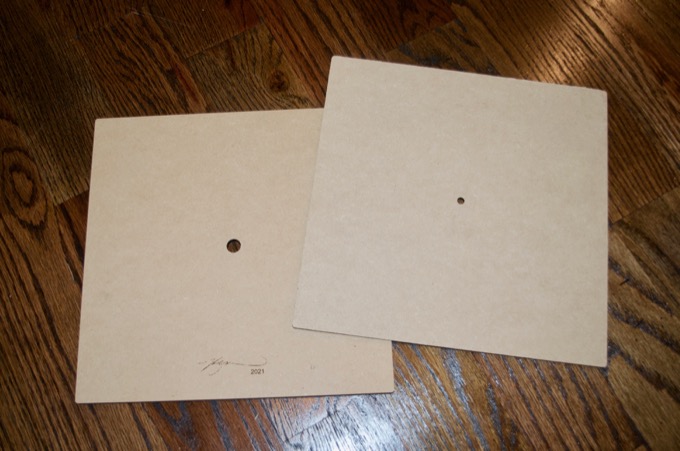
I then cut two layers of draftboard to glue the bricks too. The hole will accommodate the threaded rod as well as some nuts to hold the figurine in place.
I then smeared a layer of 3M Acryl-Green putty all over the bricks to remove all the print lines and to make them look more like stone.
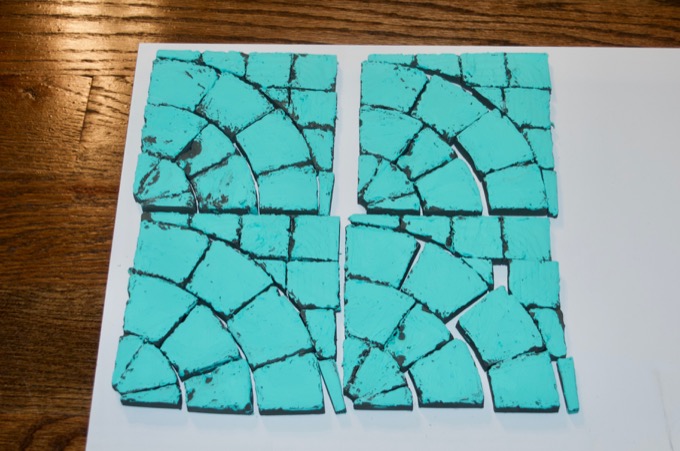
I then gave them two thick coats of primer and glued them to the base.
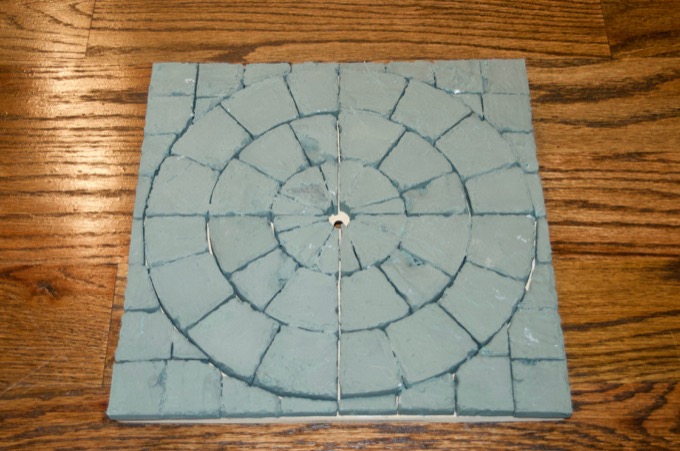
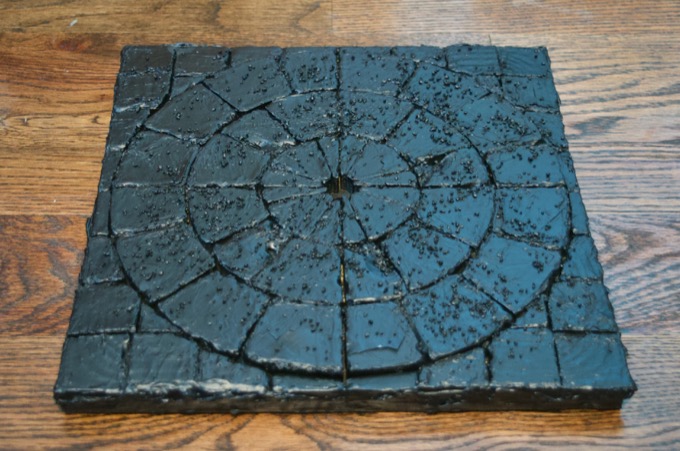
I then decided to apply some more 3M Acryl-Green to the sides to blend the bricks into the wood. Now it looks like one solid object and not bricks glued to a piece of wood. I then sprinkled some pebbles all over the base and sealed them in place with a few coats of black.
I then painted it with some acrylics and glued in some fake moss.
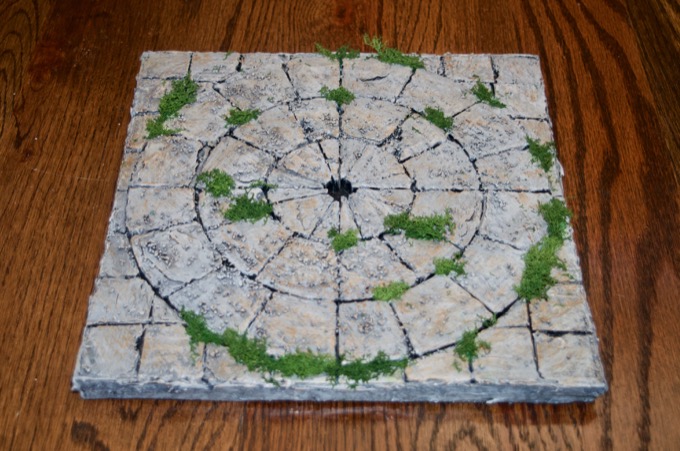
I just need to paint the figurine and this project will be complete!
See this project from start to finish:
23" 3D Printed Victoria 8 Figurine - Part I 23" 3D Printed Victoria 8 Figurine - Part II 23" 3D Printed Victoria 8 Figurine - Part III 23" 3D Printed Victoria 8 Figurine - Part IV 23" 3D Printed Victoria 8 Figurine - Part V 23" 3D Printed Victoria 8 Figurine - Part VI 23" 3D Printed Victoria 8 Figurine - Part VII 23" 3D Printed Victoria 8 Figurine - Part VIII 23" 3D Printed Victoria 8 Figurine - Part IX
23" 3D Printed Victoria 8 Figurine - Part X


