I was so impressed with the way that my last 3D-printed figurine turned out that I just had to make another one. I jumped into DAZ Studio and got to work on modeling a Victoria 8 character.
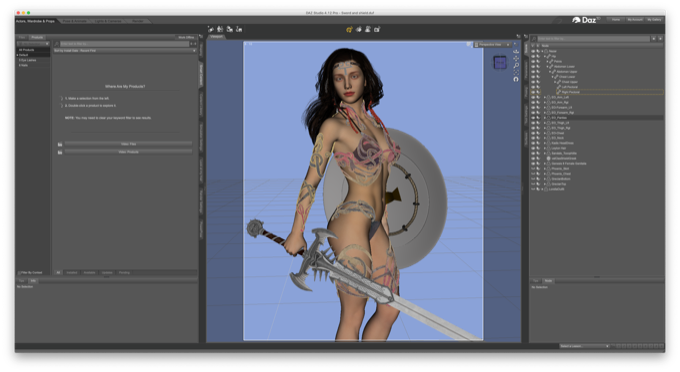
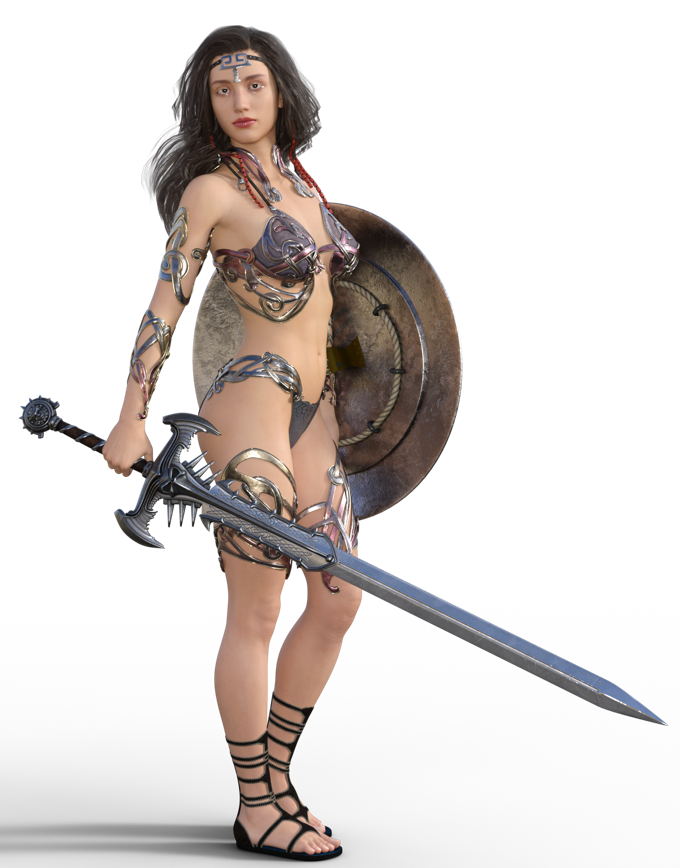
This is the character and pose that I settled on. The clothes are just a placeholder for now. I'm not yet sure of the look that I'm going for.
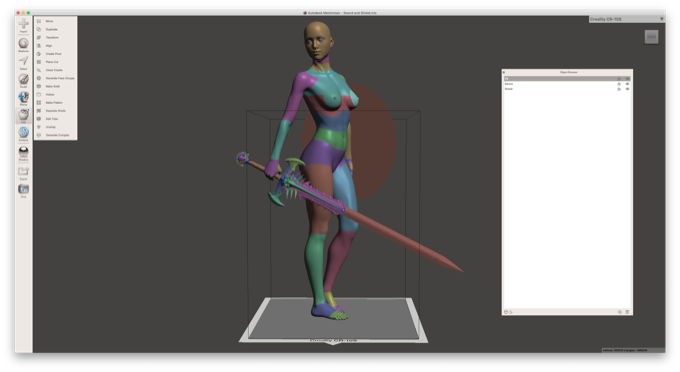
I took the model into Meshmixer so that I could break it into smaller pieces and key them.
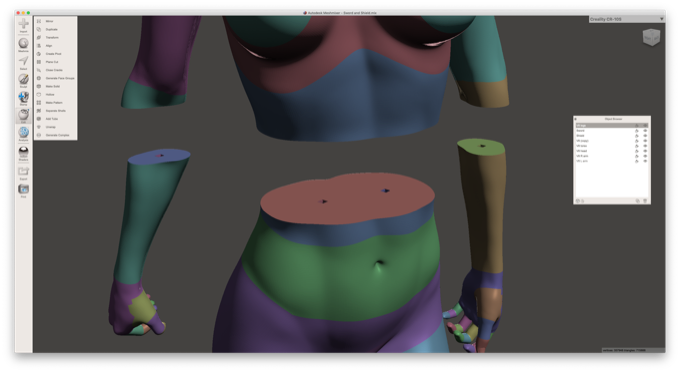
Las time I keyed the model with 3mm holes so that I could use small wooden dowels to glue the pieces together. The problem with using round wooden dowels was that the parts could easily rotate. It was a little tricky getting them to align perfectly. This time I made the holes square so that I could laser cut strips out of 1/8" Draftboard and they would help stop the pieces from rotating. On the torso, I put in two holes to further aid in aligning the parts.
I put a hole through the right leg so that i could mount the entire model onto a metal rod for support.
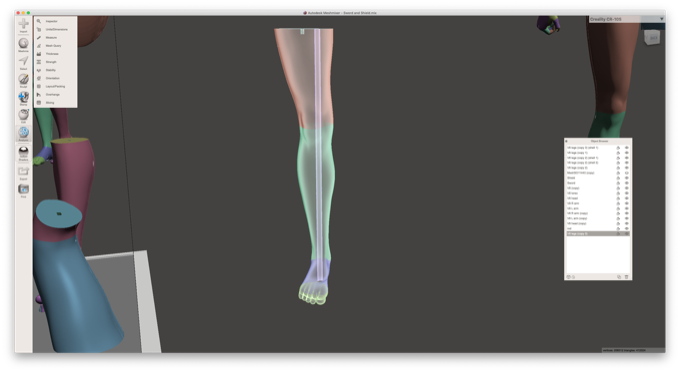
I rotated all the pieces to a good orientation for printing and added supports to the pieces that needed them.
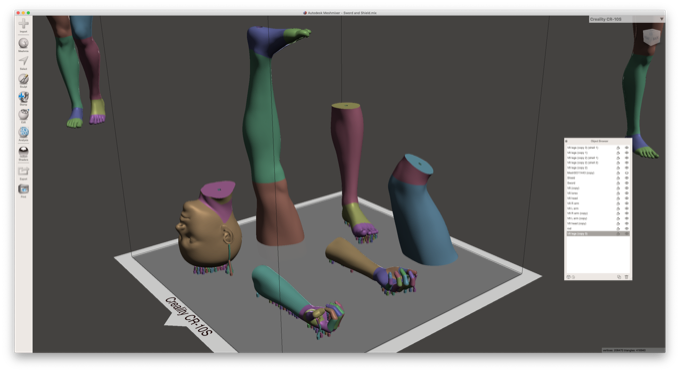
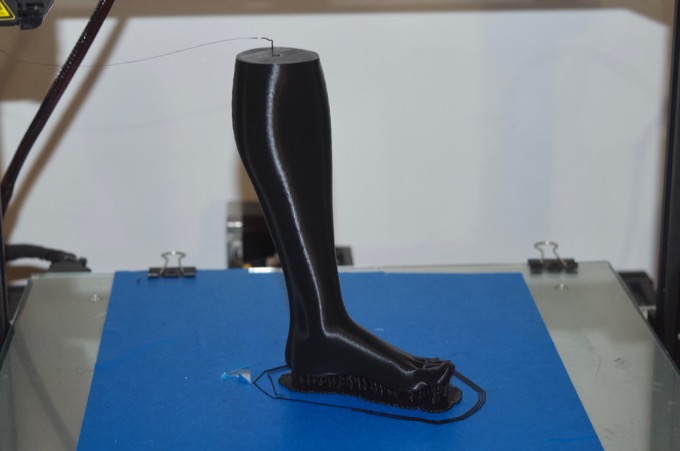
I printed all the pieces at .1mm layer height on my Reality CR-10S. The lower left leg took 13:15 hours.
The right arm took 6:30 hours.
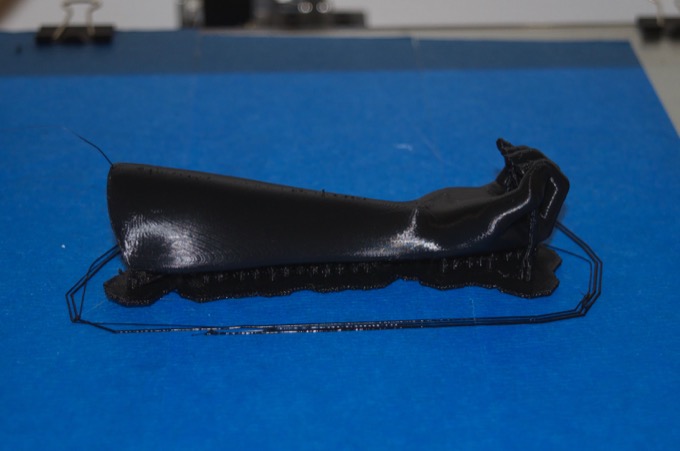
The left arm took 6:00 hours.
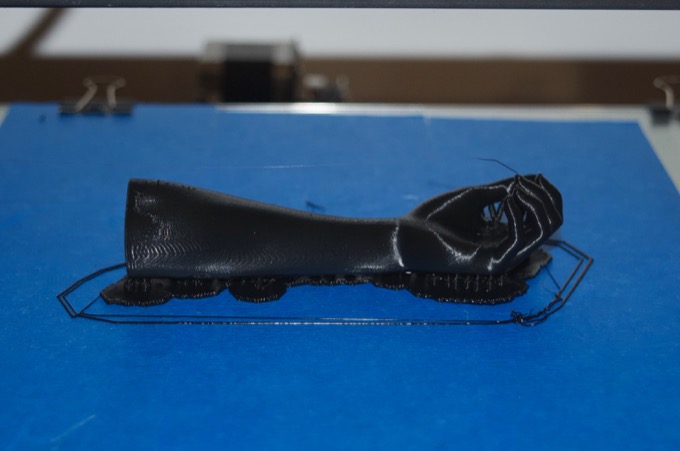
The left thigh took 12:30 hours.
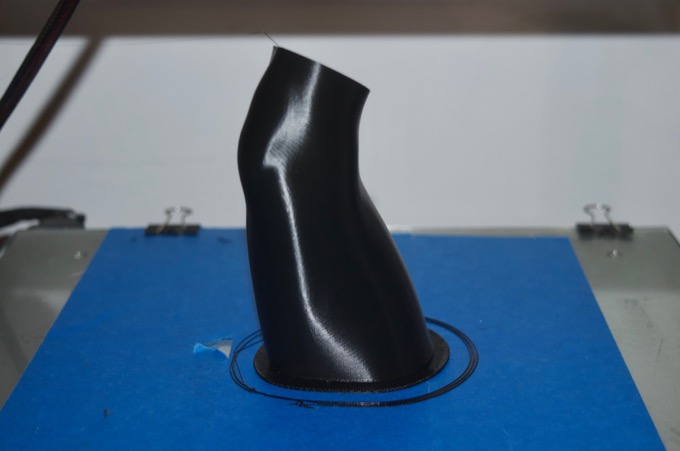
I had the upper torso printing overnight since it was going to take over 20 hours. When I checked it the next day I was disappointed to see that the filament jammed. The extruder was about an 1/8" above the part printing in mid-air. What a waste of PLA.
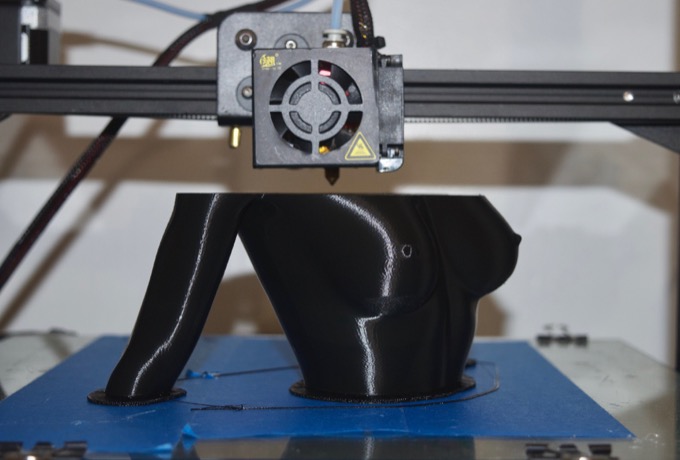
I promptly started it over. 21:45 hours later the print was complete.
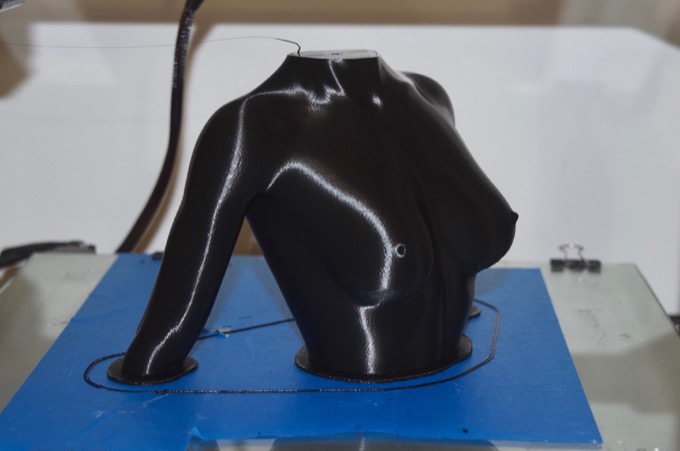
The lower torso took 18:07 hours.
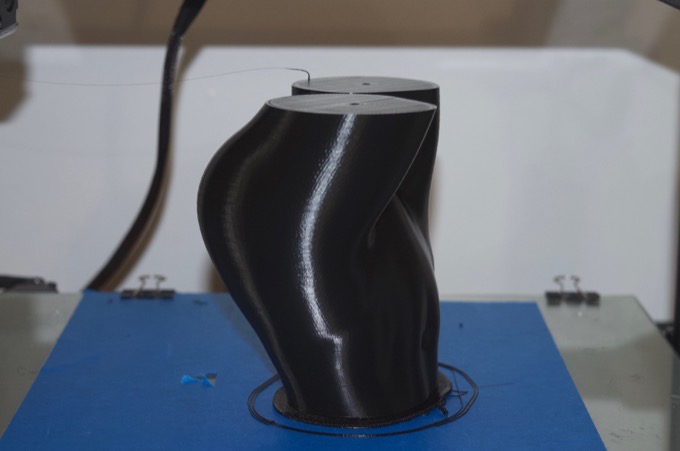
Another failed print. The head took 14:11 hours to print. It was on the top layers when it broke away from the bed. It was so close!
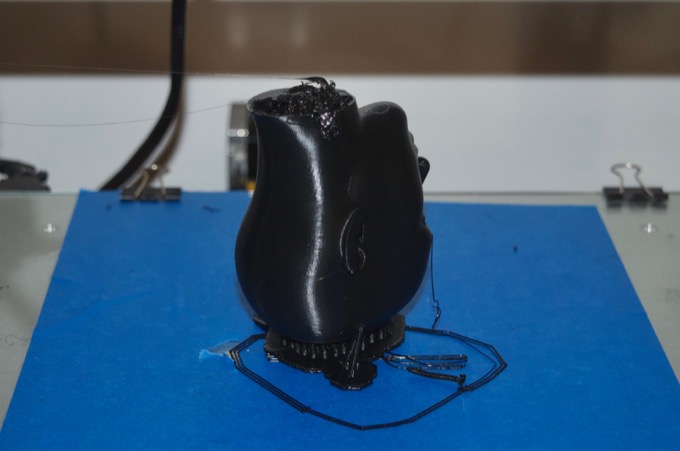
Maybe I can use the failed head for painting practice. Another 14 hours later, I had a good print.
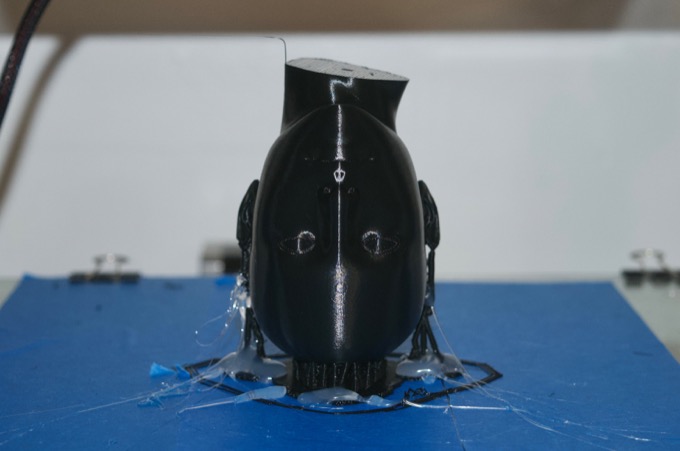
Another failed print. I had my fingers crossed on this one but really thought it would make it. The blue tape has been on the bed forever and it's getting harder and harder to get parts to stick. I should have known better after the head failed and changed the tape. Another 25:30 hours down the toilet.
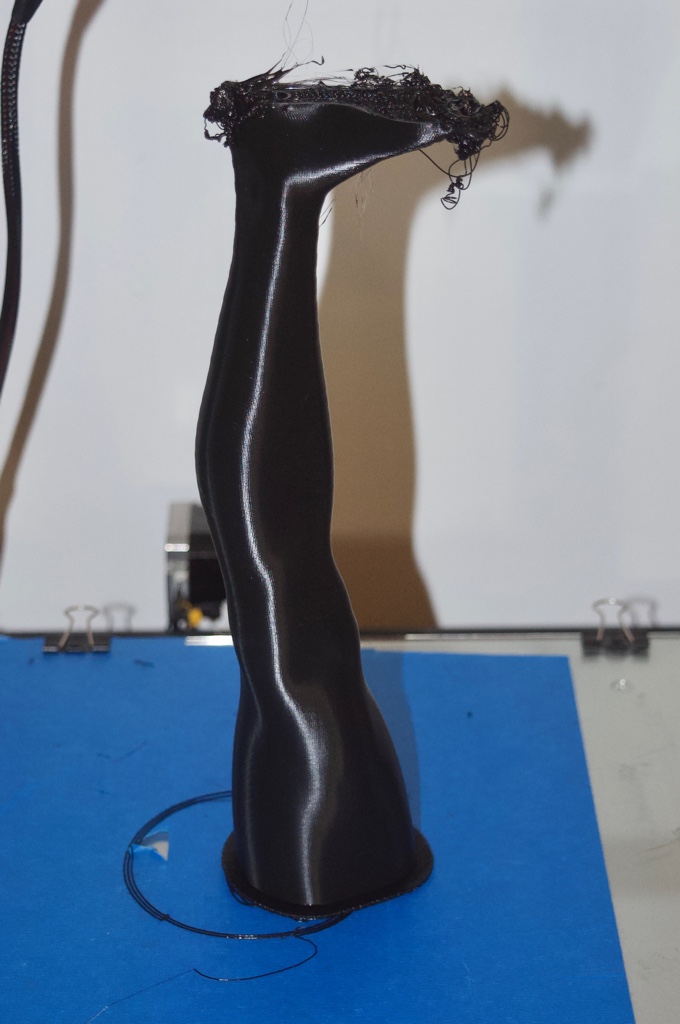
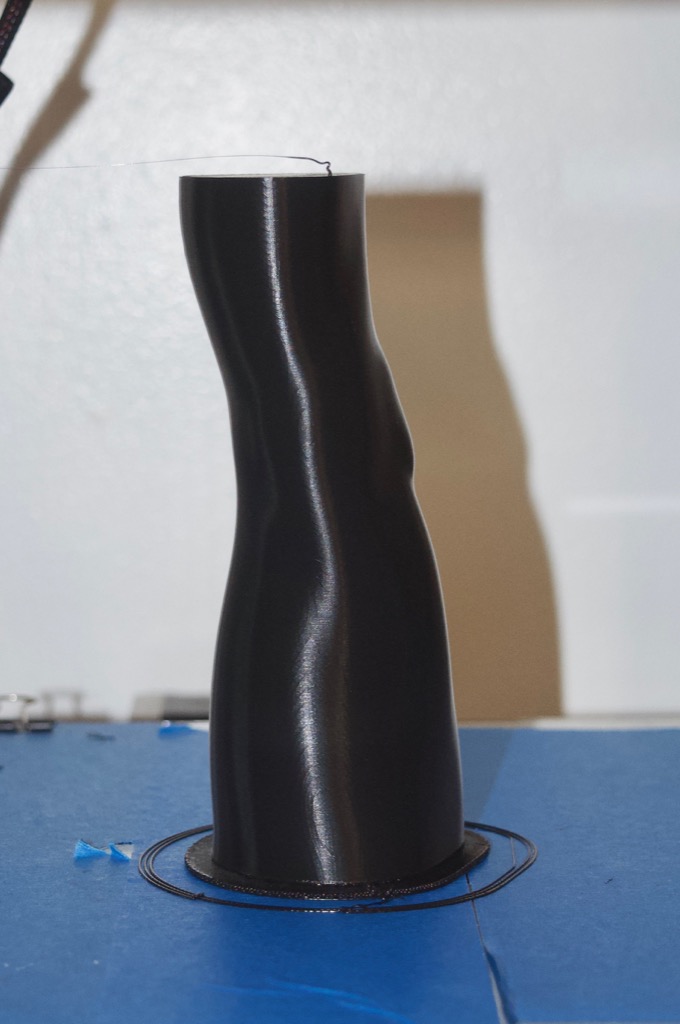
I decided to not temp fate again and broke the leg into two parts. The lower part took 10:58 hours.
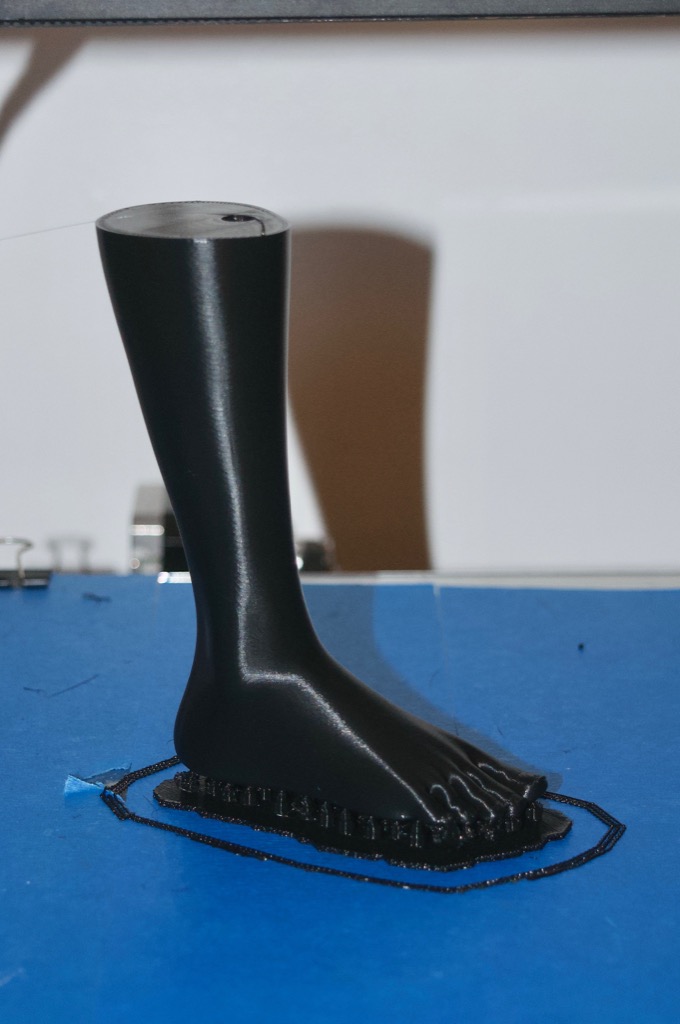
The top part took 15:20 hours.
Once all the parts were printed, I laser cut some wooden pegs out of Draftboard. The fact that they are square will help keep the parts from rotating and keep them perfectly aligned when glueing.
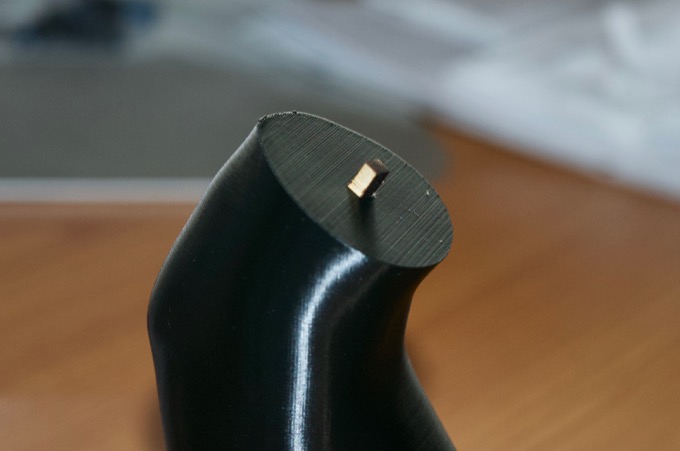
The parts fit together really well when the mating faces are the ones that were on the top when printed.
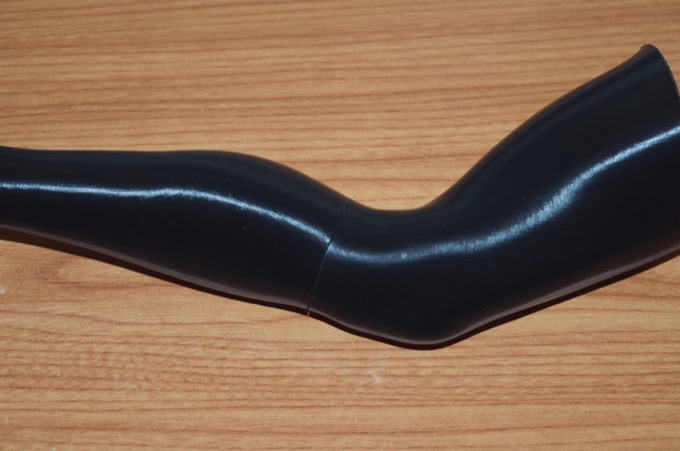
The two mating faces for the upper and lower torso pieces are another story. They were printed face down on a raft. Removing the raft usually leaves a surface with much to be desired. As a result, there is a very large and unsightly seam that will need a lot of work to hide.
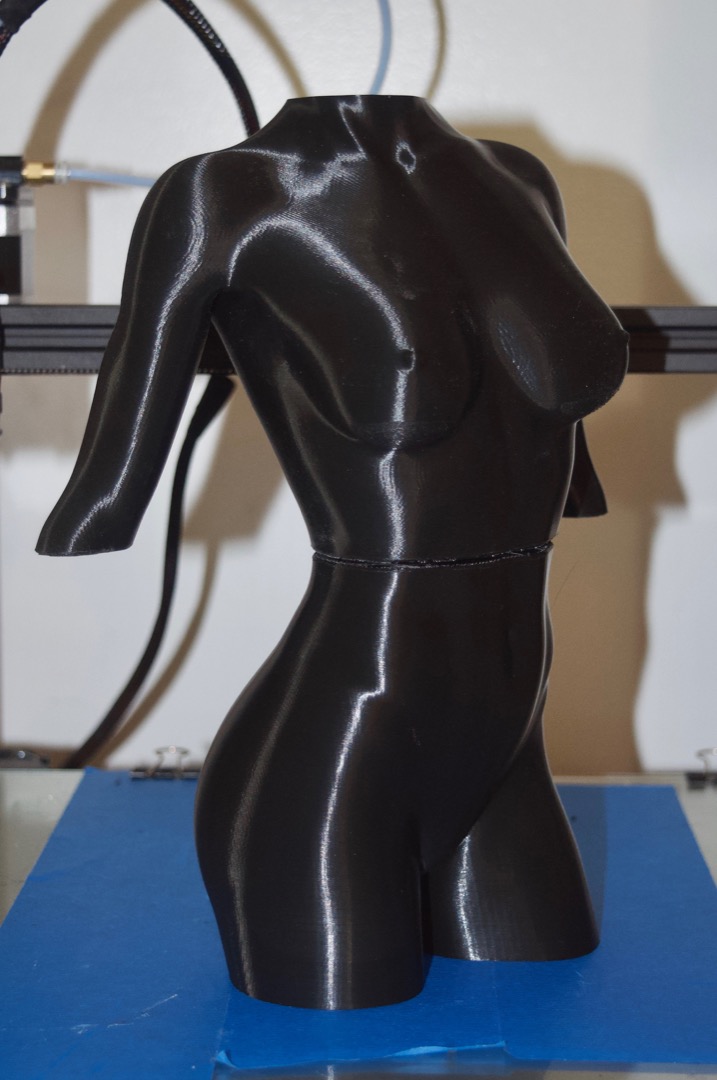
The total print time for this model was 148 hours and 46 minutes. That is not counting the failed prints.
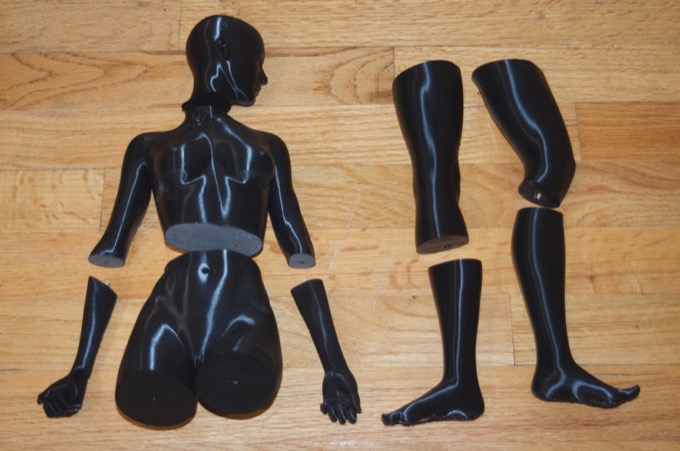
OK, it's time to start gluing!
See this project from start to finish:
23" 3D Printed Victoria 8 Figurine - Part I
23" 3D Printed Victoria 8 Figurine - Part II 23" 3D Printed Victoria 8 Figurine - Part III 23" 3D Printed Victoria 8 Figurine - Part IV 23" 3D Printed Victoria 8 Figurine - Part V 23" 3D Printed Victoria 8 Figurine - Part VI 23" 3D Printed Victoria 8 Figurine - Part VII 23" 3D Printed Victoria 8 Figurine - Part VIII 23" 3D Printed Victoria 8 Figurine - Part IX 23" 3D Printed Victoria 8 Figurine - Part X 


