I have so much work ahead of me. Never underestimate the power….I mean never underestimate how much work is involved in sanding and painting 3D-printed parts. The legs and feet are probably going to take as much work as the body!
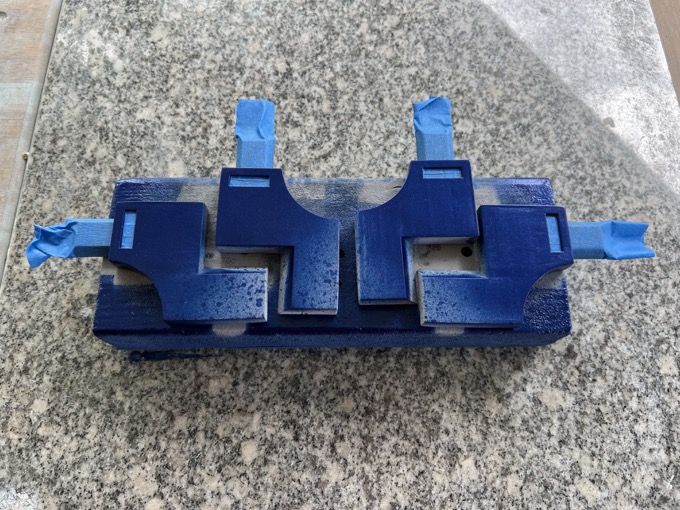
I started with a generous coating of wood filler on the sides that had a raft. Removing them left behind a messy surface on all of the parts.
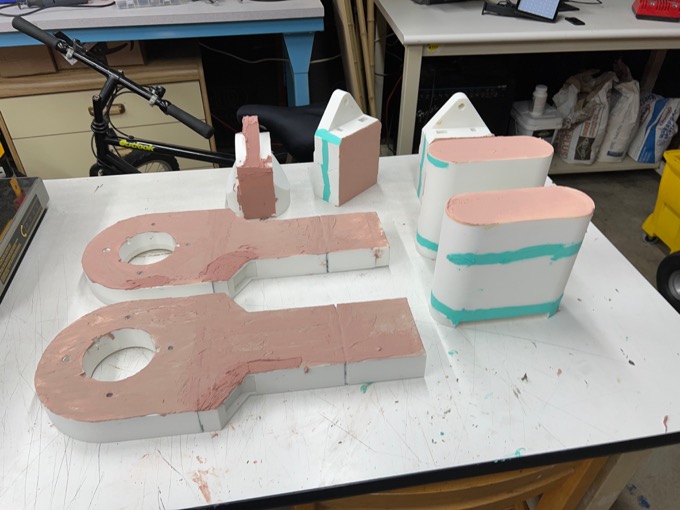
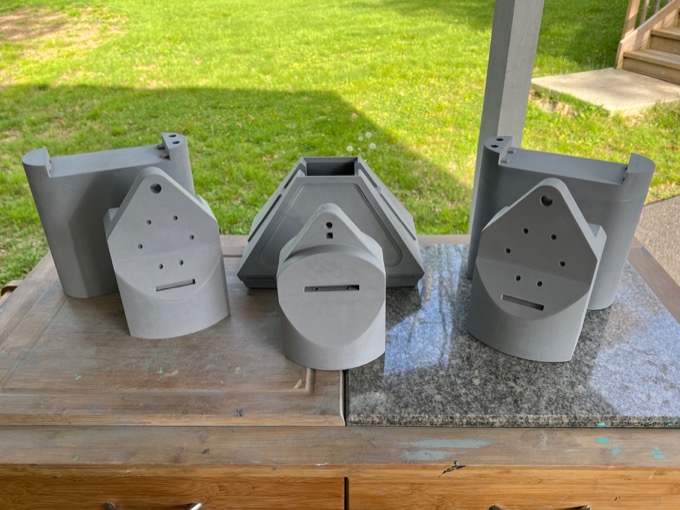
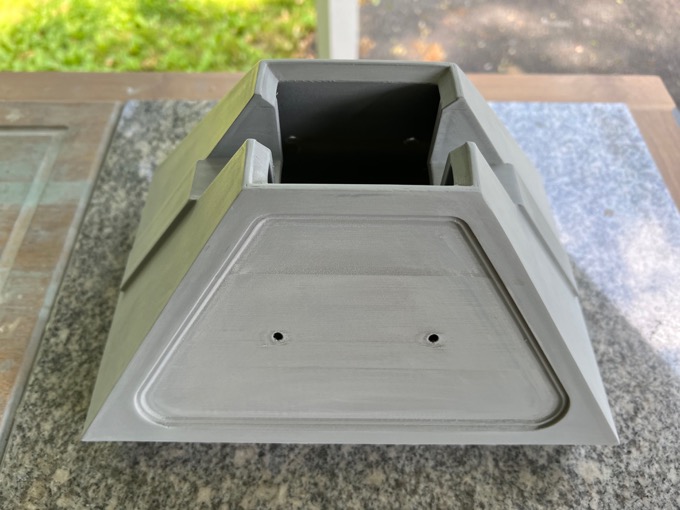
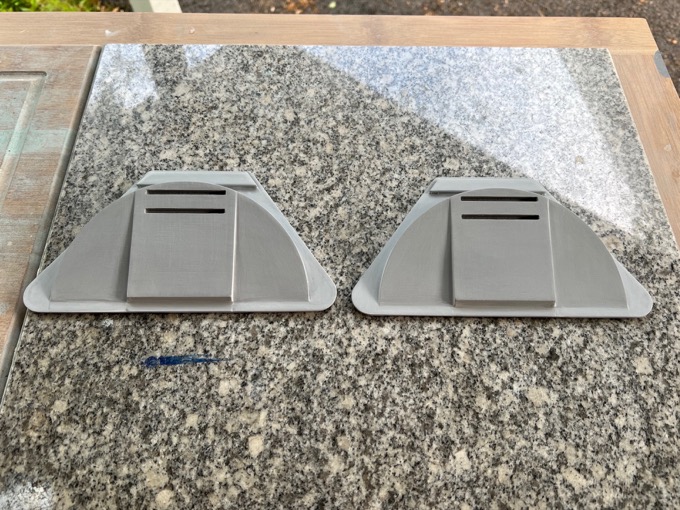
I then sanded and primed all the parts.
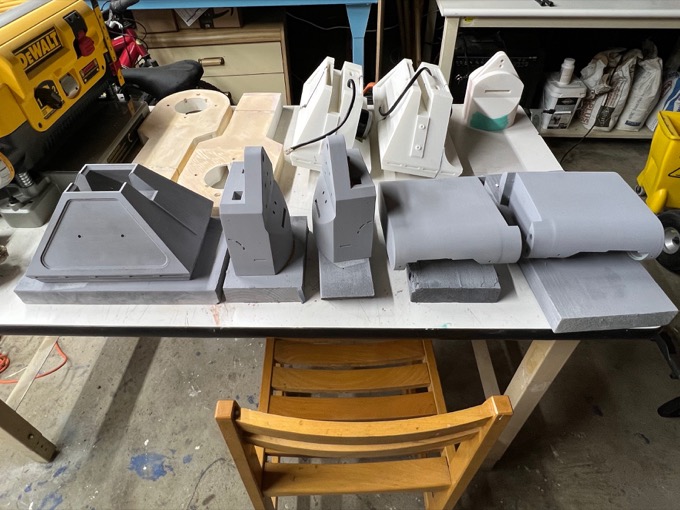
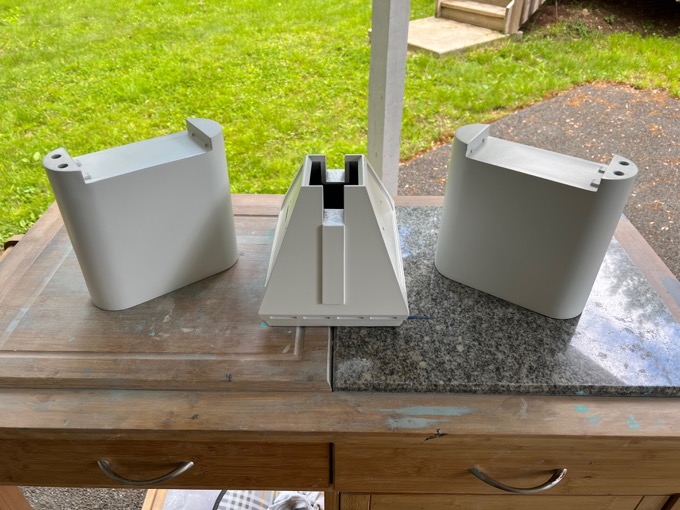
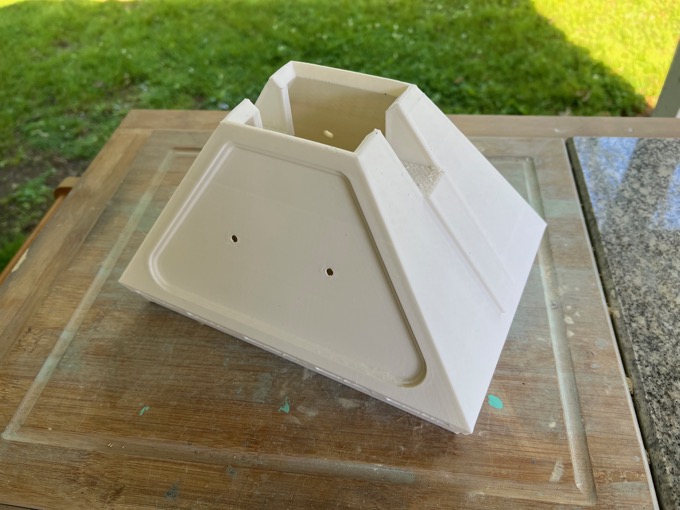
They came out really nice. I dare you to find a print line!
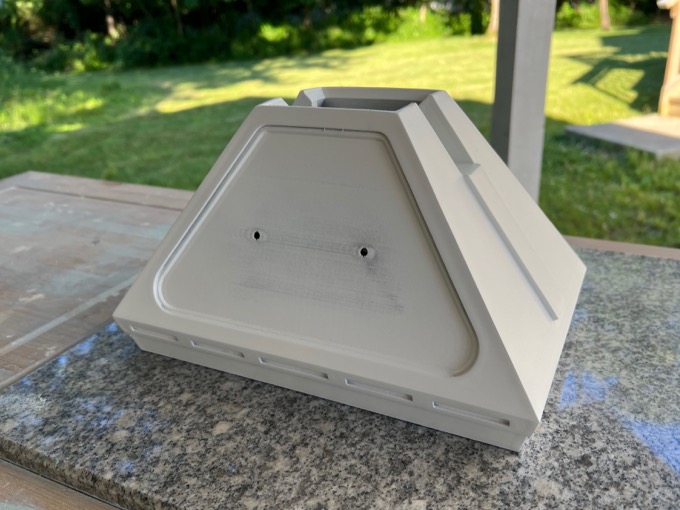
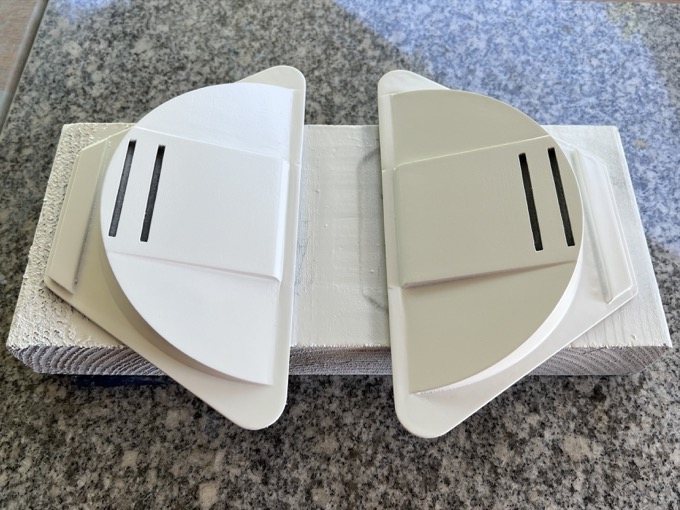
I then painted them white.
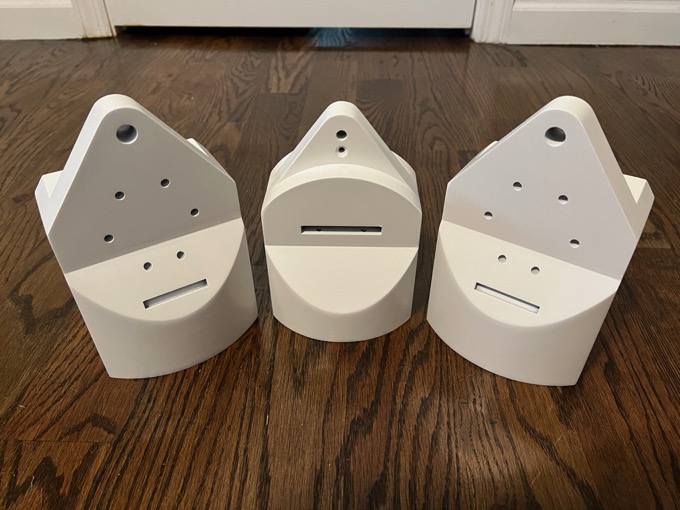
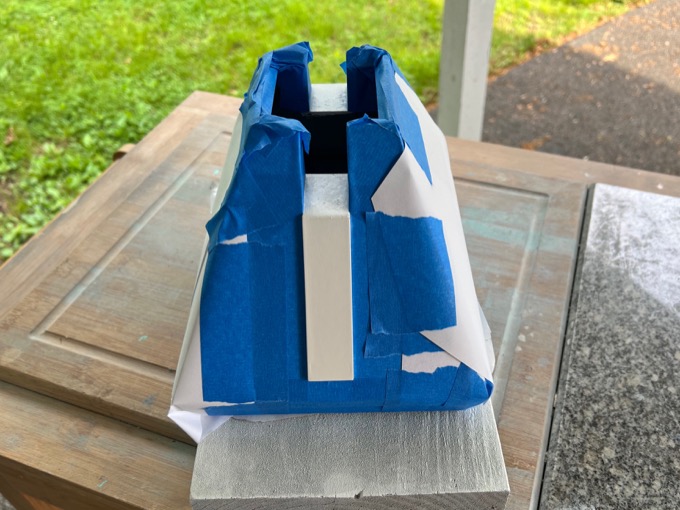
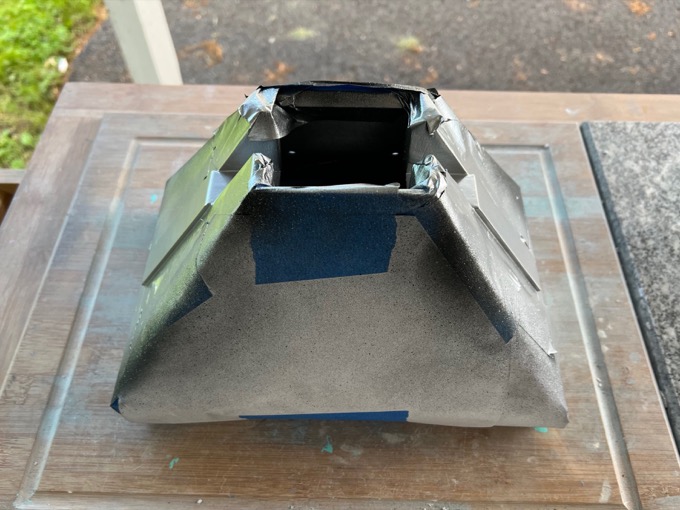
If I knew what a pain it was going to be to mask off the foot, I would have painted the silver part first, masked that off, and then painted the whole thing white.
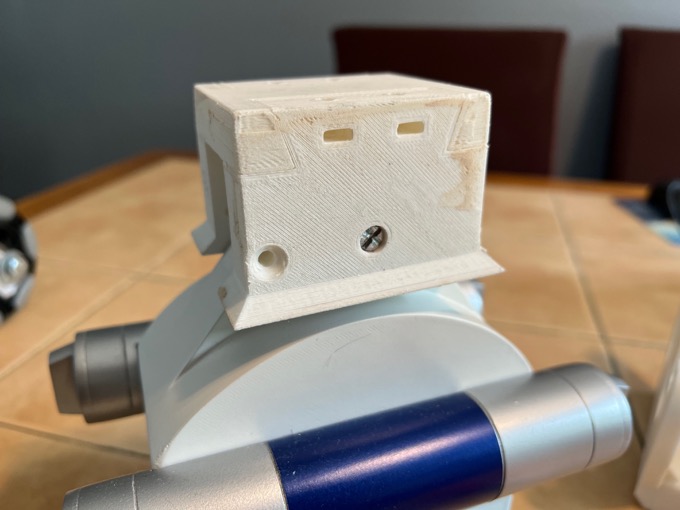
Some of the paint managed to get under the mask. What a mess. And the part actually cracked here. I wasn't very happy with the print to begin with, but I figured since it was so close to the ground and under R2, that it didn't have to be perfect. It was the last print I did before I had a nozzle clog, so it came out kind of crappy. The walls were thin and if you gave the part a good squeeze, you could hear it kind of crackle on the inside.
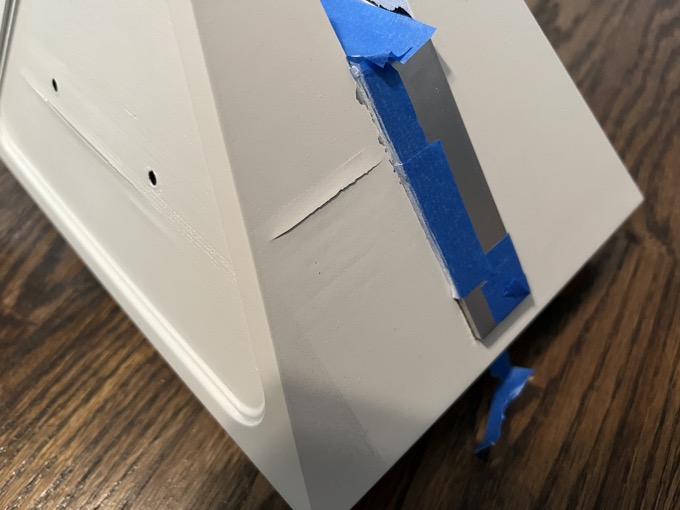
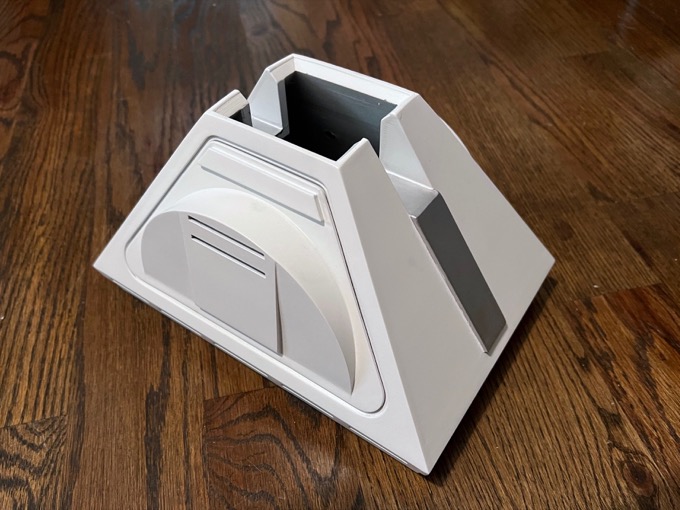
I decided to just scrap it and print a new one. This one came out an order of magnitude better. It is rock-solid!
I sanded and primed it.
Then painted it white. (Still didn't learn my lesson.)
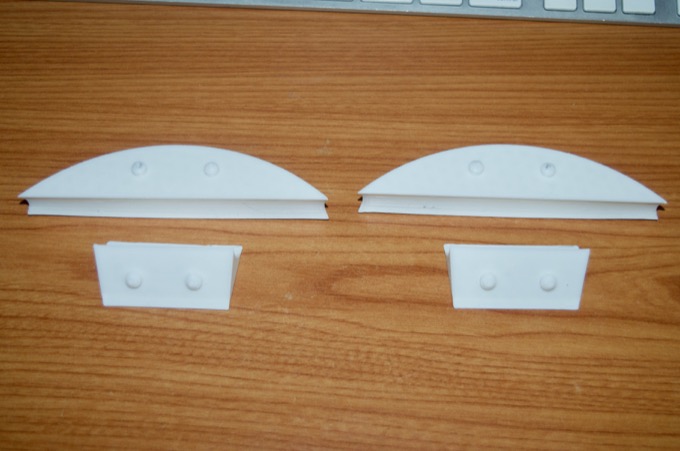
I then filled, sanded, and primed the foot skin sides.
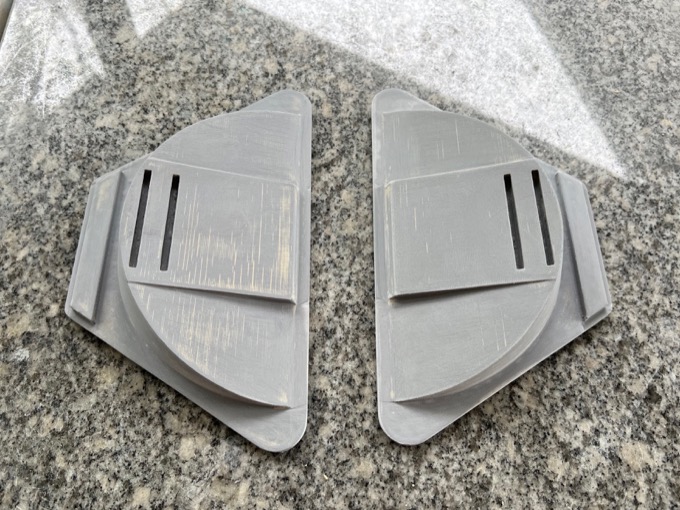
These took a lot of work to get smooth because the layer stepping was insane.
I then painted them white.
I then painted the silver bit and attached the sides. After the paint got under the mask again, I had to do some touchups to get it perfect.
I then cut down a 5/16" threaded rod and cut an X into the end so that I could screw it in with a screwdriver to attach the ankle.
I then installed the wheels. Pretty sweet.
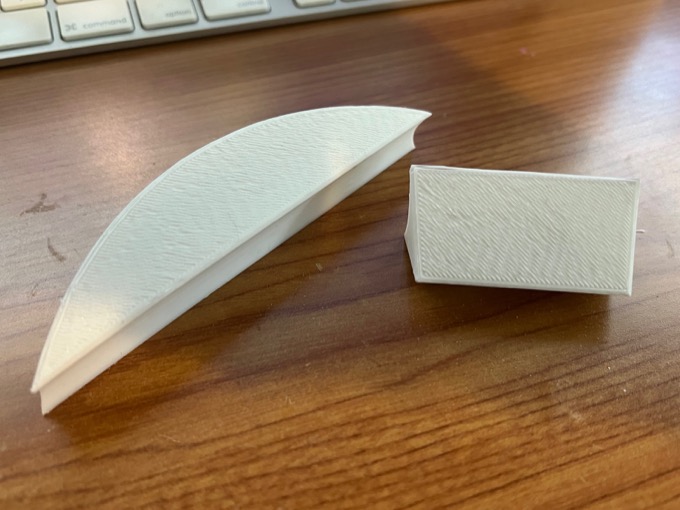
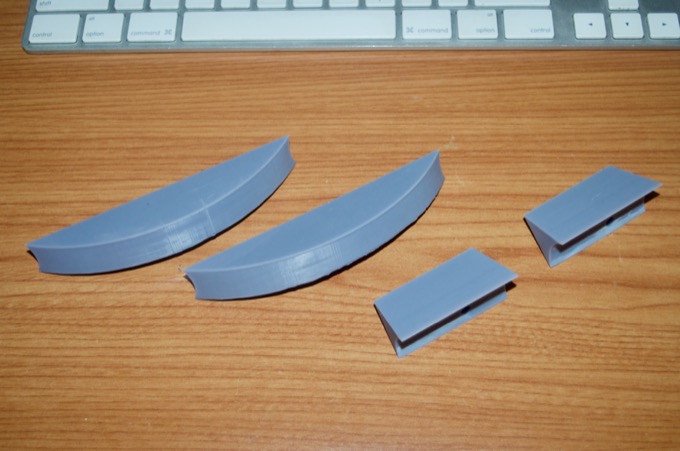
On to the other two ankles…. These parts did not print very well in PLA. There was some edge warping on them.
The bottoms looked terrible after removing the rafts. It's not worth the time spent fixing them when I can just reprint them in resin.
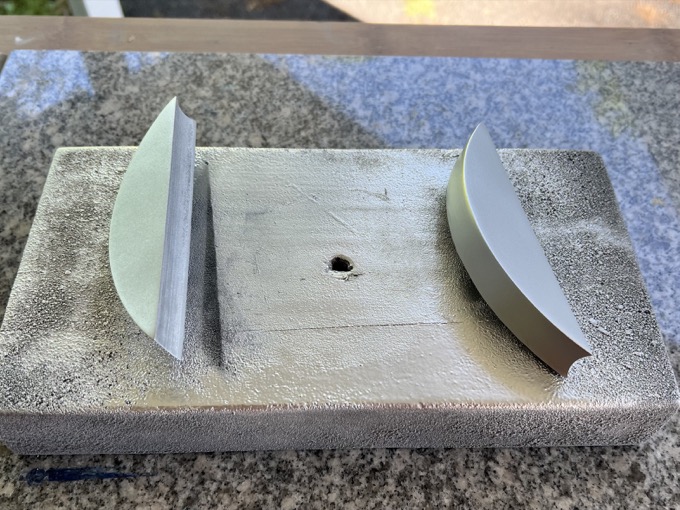
Much better!
I then primed them…
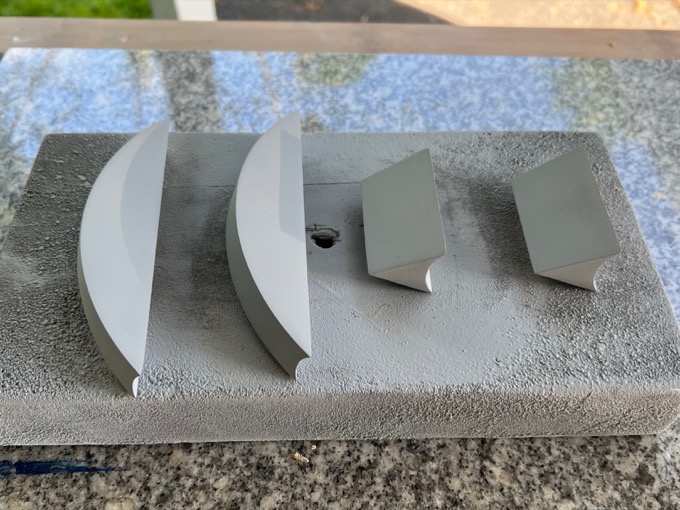
…and painted them silver.
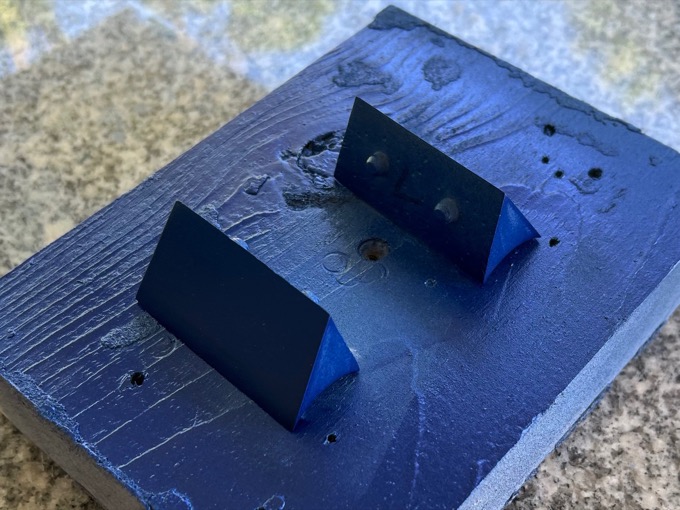
These little bits got the blue treatment.
The ankle cylinders came out terrible too. I'm noticing a trend here. These parts were all printed right before my nozzle clogged and I had to replace it. A lot of the parts printed leading up to that suffered in quality.
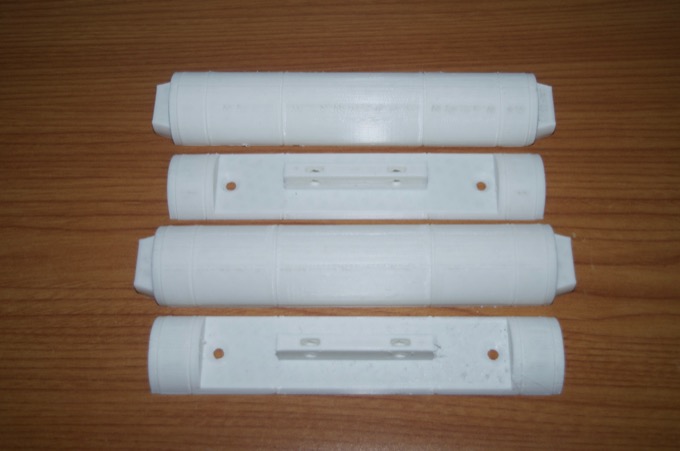
I took the two halves into SketchUp and stitched them together so that they could be printed in one piece. They did not come out perfect, but they are better than the PLA ones and I can work with them.
After some sanding, I painted the blue areas first.
I then masked off the blue and painted the silver.
Very nice! So shiny. So chrome.
These little ankle details were a pain to paint. I had to paint them blue first.
I then had to mask off the blue…
…paint them black and give them some gloss…
…and then paint them silver.
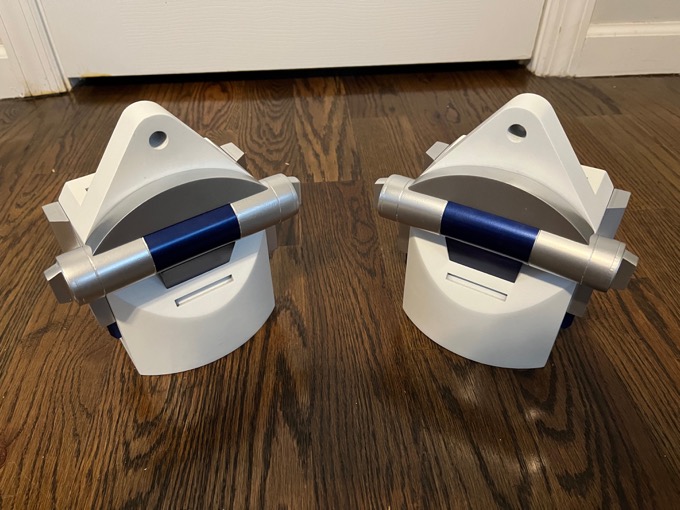
It was worth it to take the time and paint them right, They came out very nice.

I then glued all the greeblies to the ankles. I'm very happy with how they turned out.
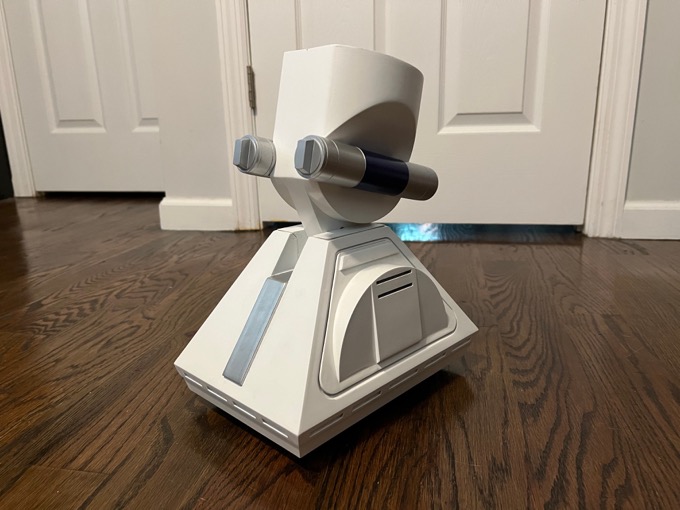
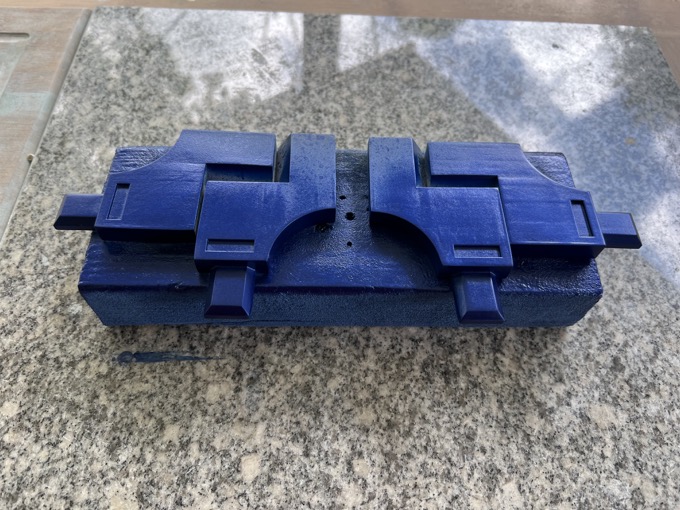
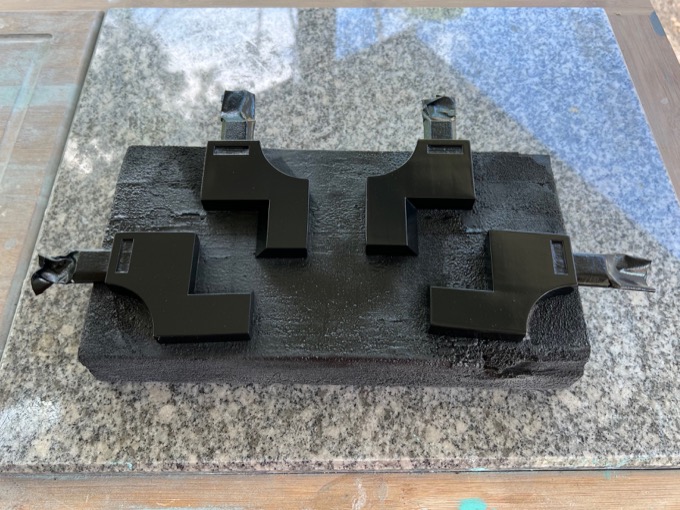
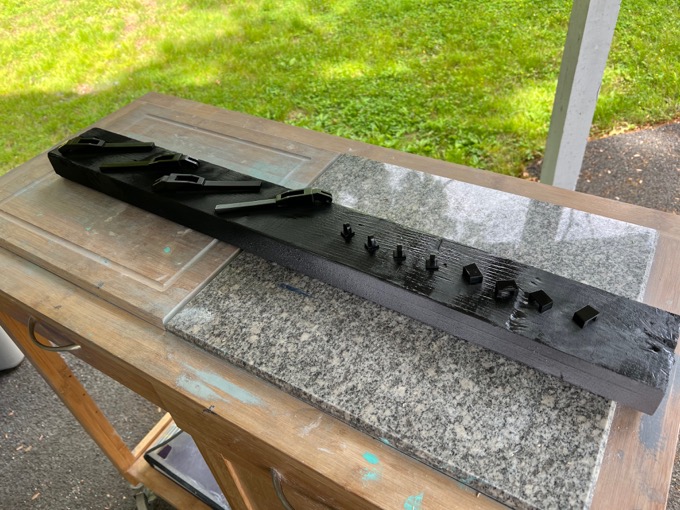
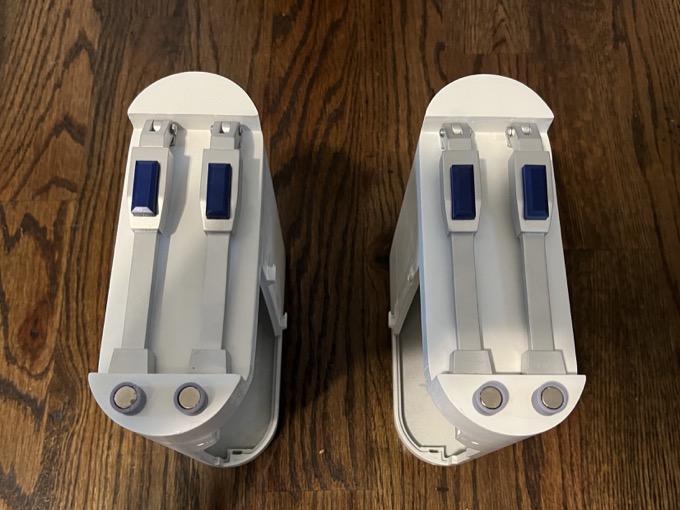
Next up are the battery boxes. More greeblies! I primed them all, painted them black, and gave them some gloss.
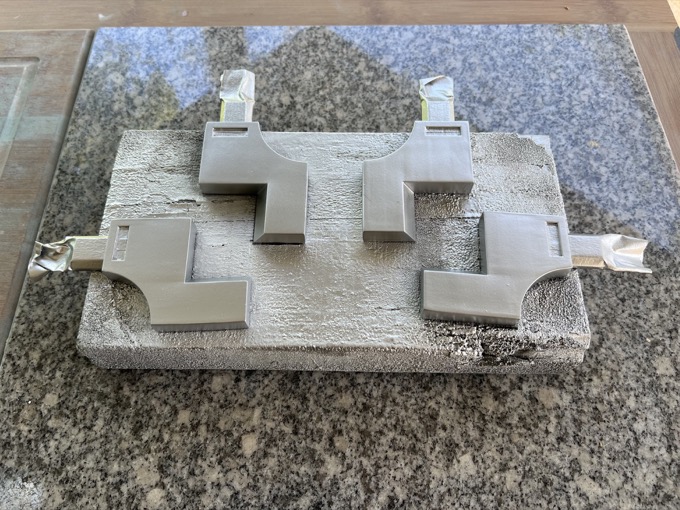
I then painted them silver.
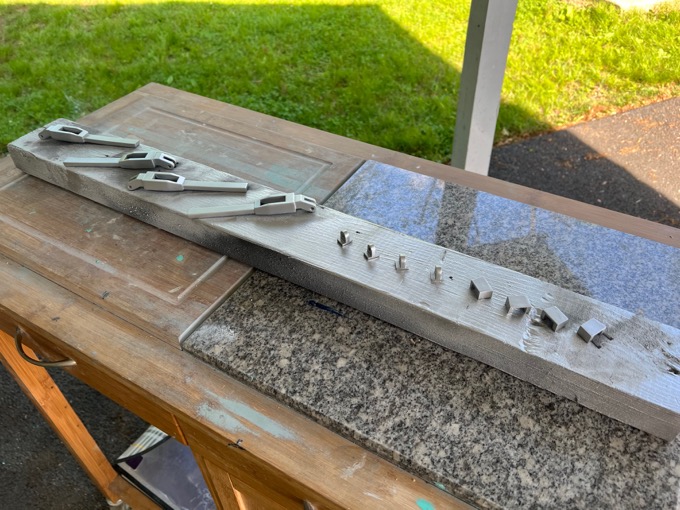
They came out pretty sweet.
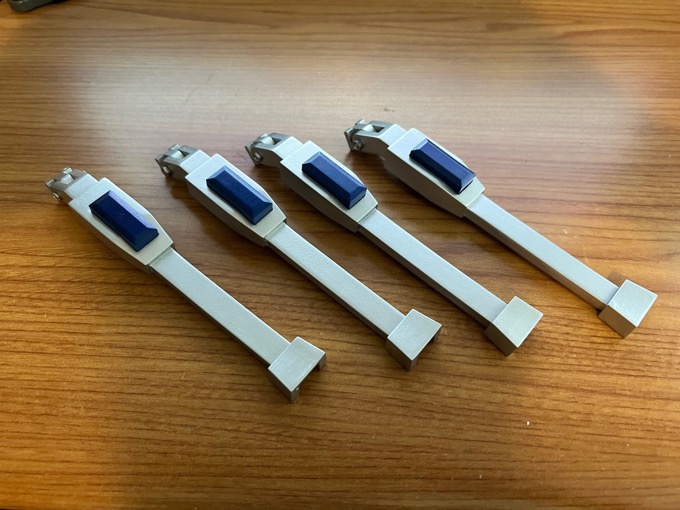
I then glued the pieces together.
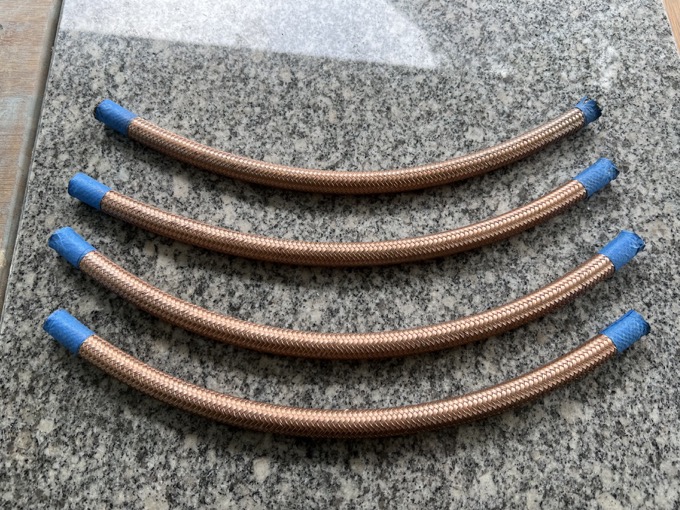
I picked up a 5 foot length of 6AN gas line hose that I cut down to 14" strips. I then gave them a coating of autumn gold Rub 'n Buff. It was no easy task cutting these. I taped off where I was going to make the cuts and secured them with zip ties. I then used a Dremel cutoff wheel and cut along the edge of the zip tie in order to make a straight line. The fine braid frays very easily, so the tape helped to keep them together during the cut.
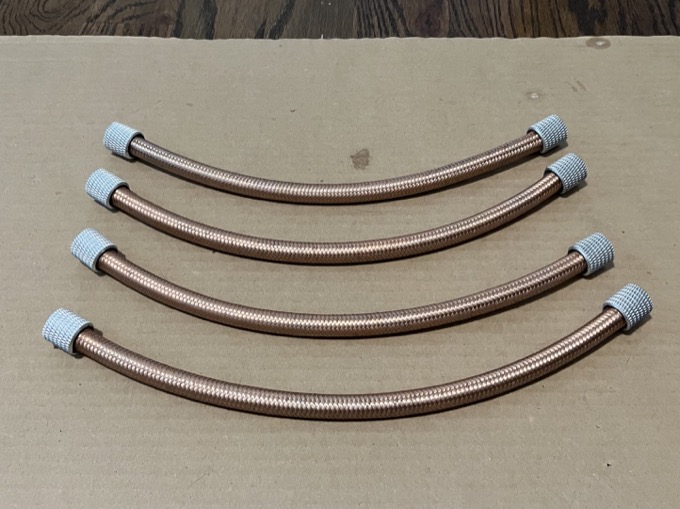
I then glued on the connectors.
Next up? Finish the legs!
See this project from start to finish:
3D-Printed R2-D2 - Part I - Dome 3D-Printed R2-D2 - Part II - Body 3D-Printed R2-D2 - Part III - Skirt 3D-Printed R2-D2 - Part IV - Body Assembly 3D-Printed R2-D2 - Part V - Body and Dome Finishing 3D-Printed R2-D2 - Part VI - Body and Dome Greeblies 3D-Printed R2-D2 - Part VII - Final Dome Assembly 3D-Printed R2-D2 - Part VIII - Legs and Feet 3D-Printed R2-D2 - Part IX - Foot Drives 3D-Printed R2-D2 - Part X - Feet and Battery Boxes
3D-Printed R2-D2 - Part XI - Legs 3D-Printed R2-D2 - Part XII - Foot Shells and Final Assembly 3D-Printed R2-D2 - Part XIII - Doors and Charging Bay Indicator and Data Port Logic Lights 3D-Printed R2-D2 - Part XIV - Interface and Gripper Arms
