3D-Printed R2-D2 - Part III - Skirt
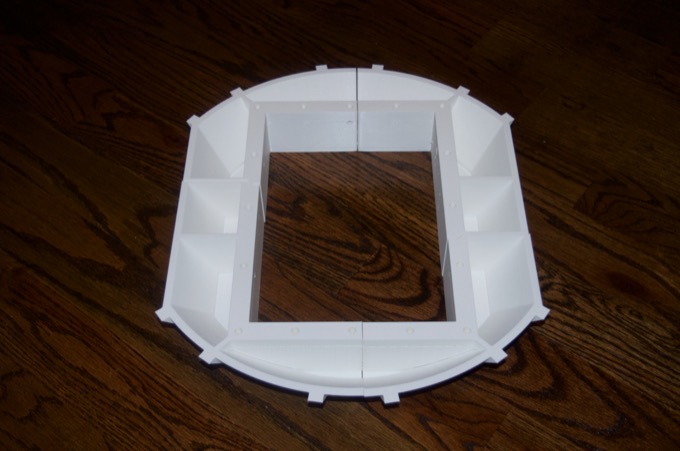
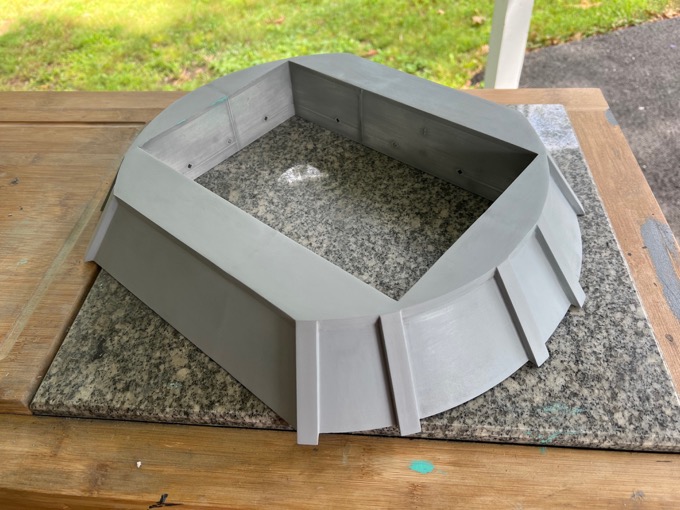
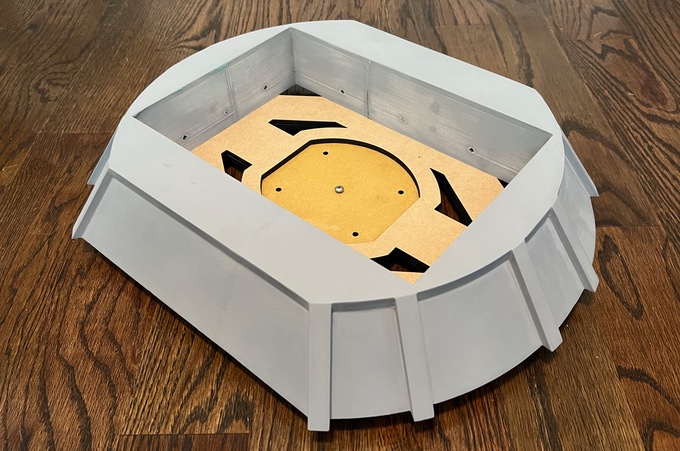
The skirt should be pretty straight forward, and a lot easier compared to the dome or the body. It's just 4 parts.
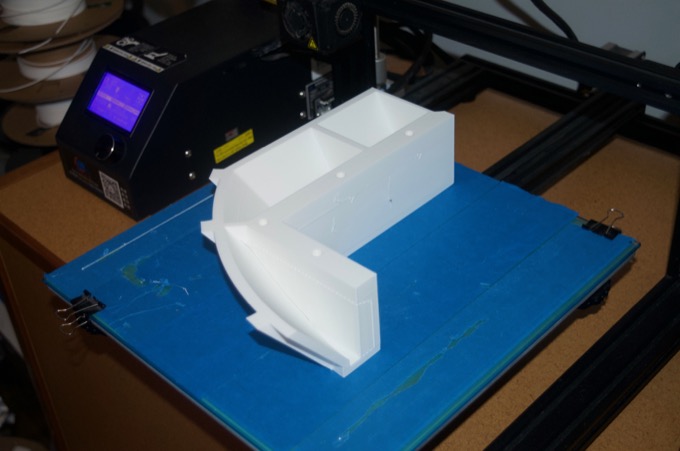
It took about 84 hours to complete.
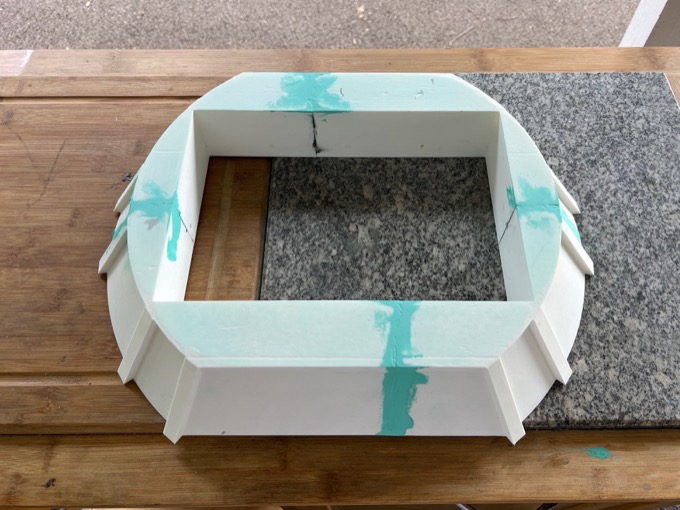
I glued it together and started to clean up the seams with 3M Acryl-Green putty.
I sanded it to 320 grit and gave it a coat of primer just to see what the seams looked like.
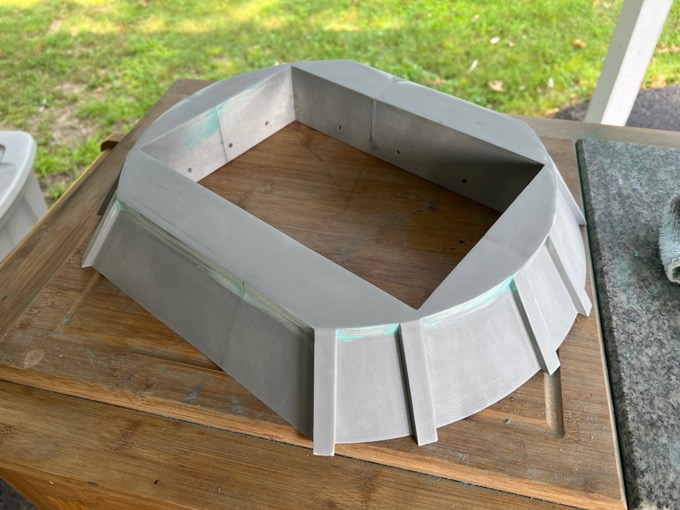
They needed a little more work, so I repeated the process and ended with a 400 grit sanding. To be honest, it does not need to be perfect. It sits under R2 and half if it is not even going to be visible.
The center ankle support is supposed to be printed in this orientation with 50% infill. However, it'll take 36 hours to print and seems like a huge waste of PLA since this could very easily be made out of wood.
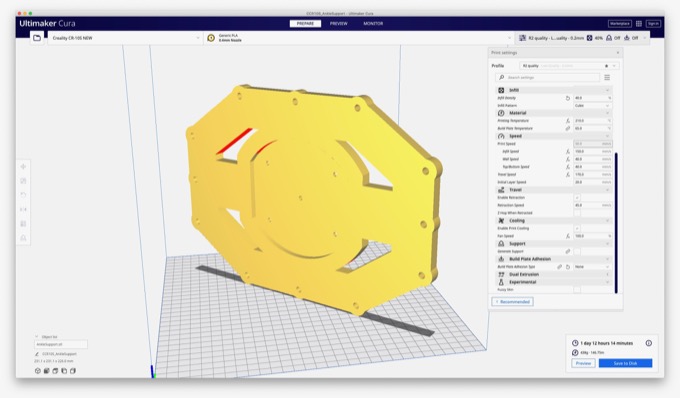
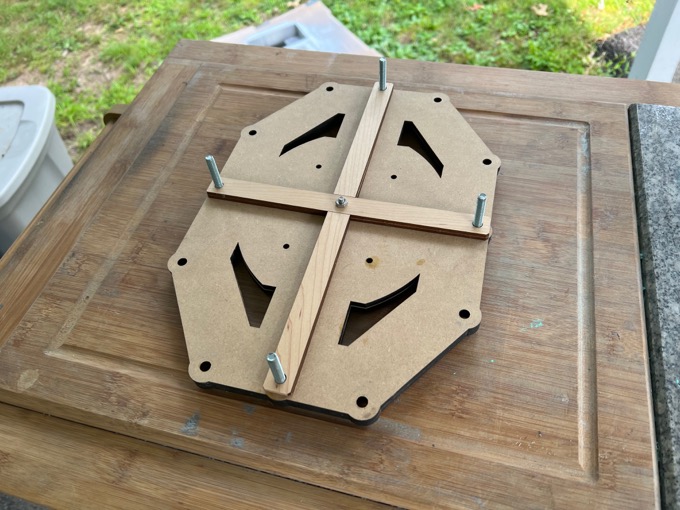
It's exactly 1/2" thick so I could cut it out of two 1/4" thick pieces of MDF and glue them together. I took the part into SketchUp and created the two faces that I could laser cut.
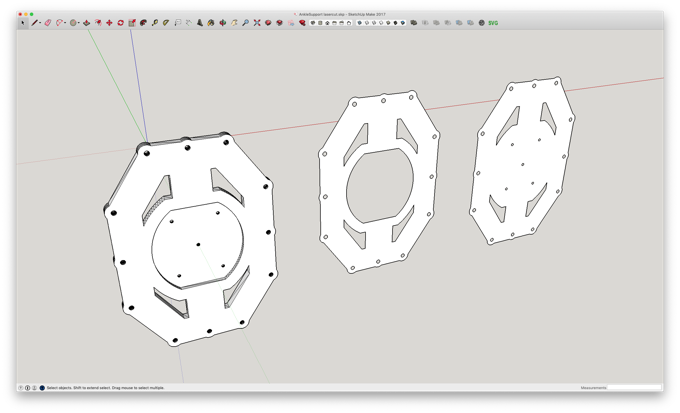
36 hours vs 13 minutes! This will do nicely, and it'll be way stronger than PLA.

I did the same with the ankle support bars.

However, these only need to be 1/4" thick. I cut the parts out of 1/8" maple hardwood for extra strength.
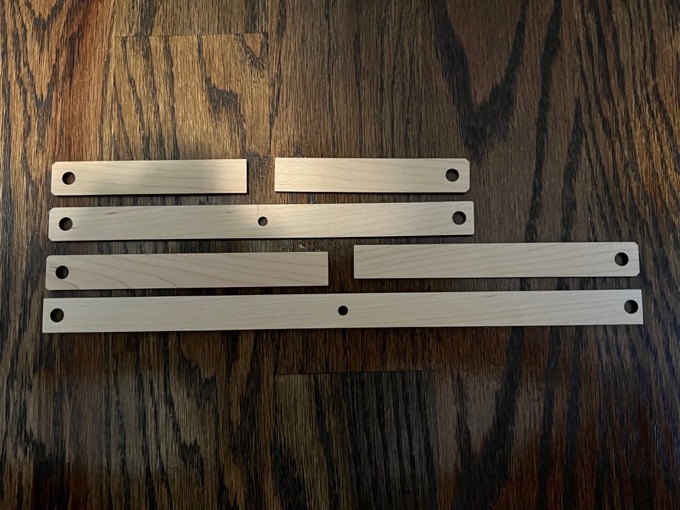
Everything glued together nicely and it's super strong!
It's looking good. All it needs is the final paint job and it's good to go. However, I think I am going to hold off for now and paint it along with the body when that is ready.
 See this project from start to finish:
3D-Printed R2-D2 - Part I - Dome 3D-Printed R2-D2 - Part II - Body 3D-Printed R2-D2 - Part III - Skirt
3D-Printed R2-D2 - Part IV - Body Assembly 3D-Printed R2-D2 - Part V - Body and Dome Finishing 3D-Printed R2-D2 - Part VI - Body and Dome Greeblies 3D-Printed R2-D2 - Part VII - Final Dome Assembly 3D-Printed R2-D2 - Part VIII - Legs and Feet 3D-Printed R2-D2 - Part IX - Foot Drives 3D-Printed R2-D2 - Part X - Center Foot, Ankles, and Battery Boxes 3D-Printed R2-D2 - Part XI - Legs 3D-Printed R2-D2 - Part XII - Foot Shells and Final Assembly 3D-Printed R2-D2 - Part XIII - Doors and Charging Bay Indicator and Data Port Logic Lights 3D-Printed R2-D2 - Part XIV - Interface and Gripper Arms
