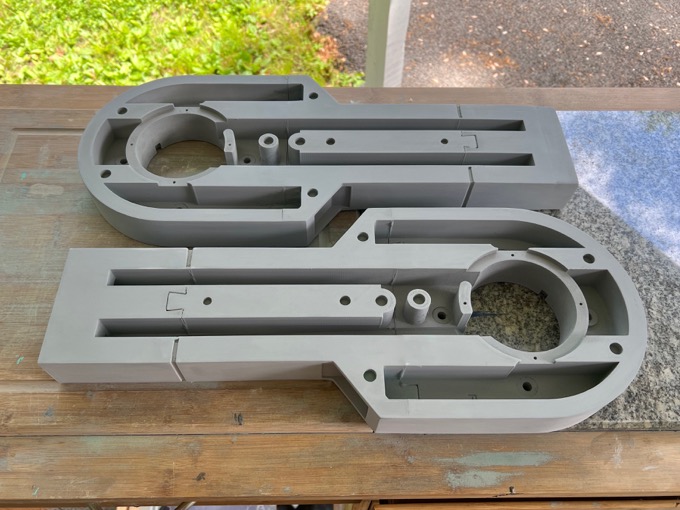
The back of the legs were a complete mess after removing the raft. I started with a generous coating of wood filler and sanded until they were nice and smooth.
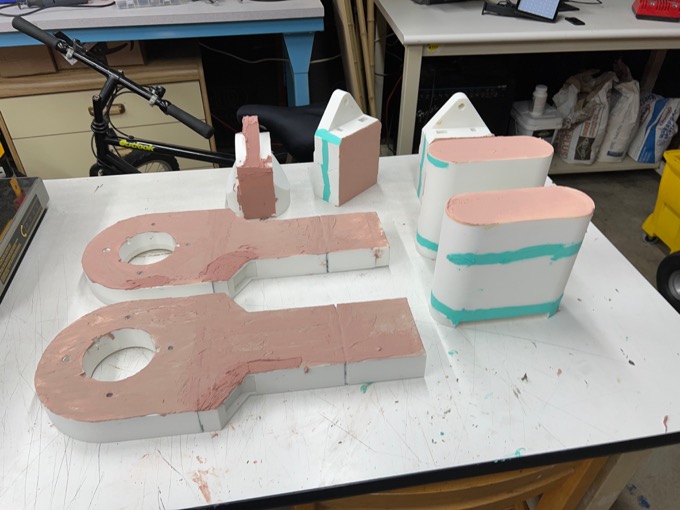
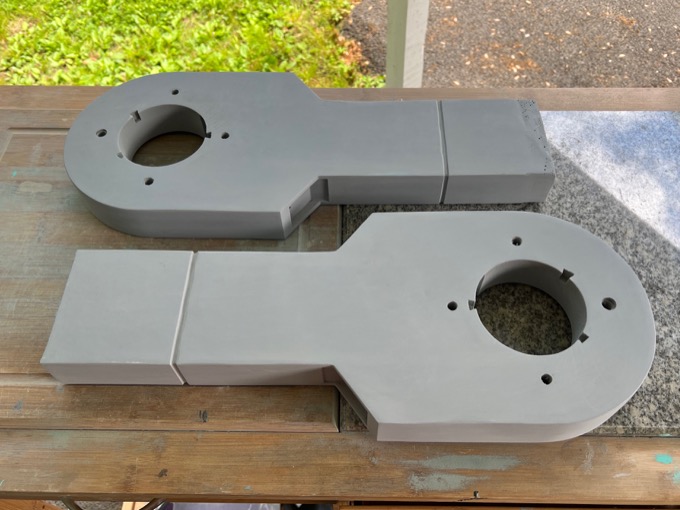
I filled all the seams and gave them many coats of primer.
I wish I took a picture of what the backs looked like before I smoothed them out. You would not believe the difference.
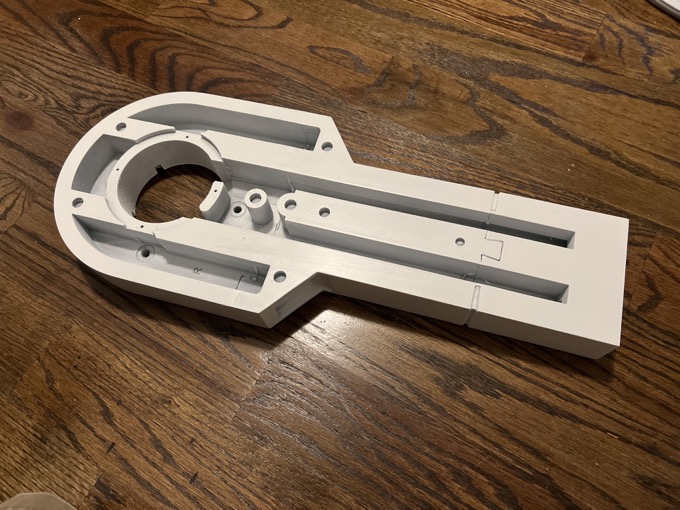
I then gave them several coats of white. I wish I took a better picture of them.
Now for the greeblies. I started with the ankle bracelets. I gave them a few coats of primer.
I then painted them black and gave them a coat of gloss.
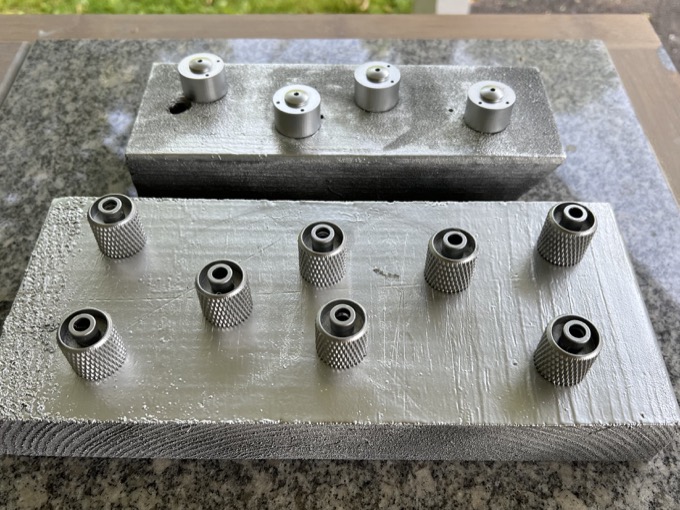
Finally, I painted them silver. It's amazing how even such a simple part like this can take so long to complete. You have to wait until one side is completely dry before flipping it over and doing the other side. After 8 coats of paint, a part like this can take all day.
I then attached the bracelets and the ankles to the legs. With such a tight fit, I didn't even have to use glue. If I ever need to make repairs, I can easily just pull them off.
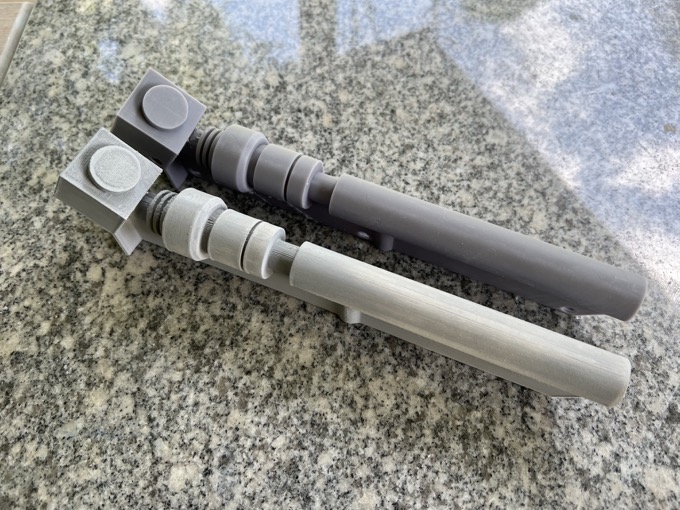
Back to the greeblies! The knurled bits are actually for the battery boxes and feet, but I forgot to paint them before so I figured I'd do them all together.
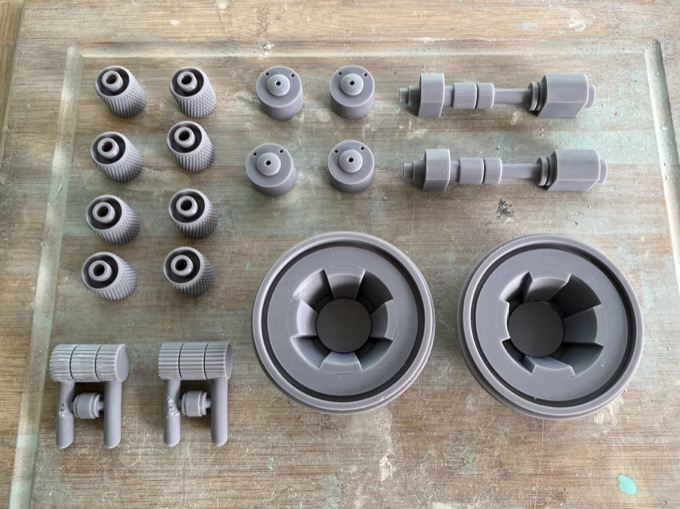
Since these are all resin and the surface is so smooth, I didn't bother priming them. I painted them black, gloss, then silver.
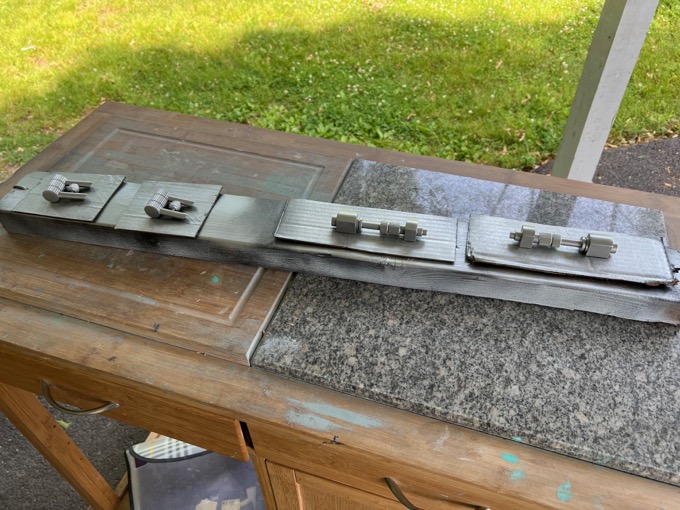
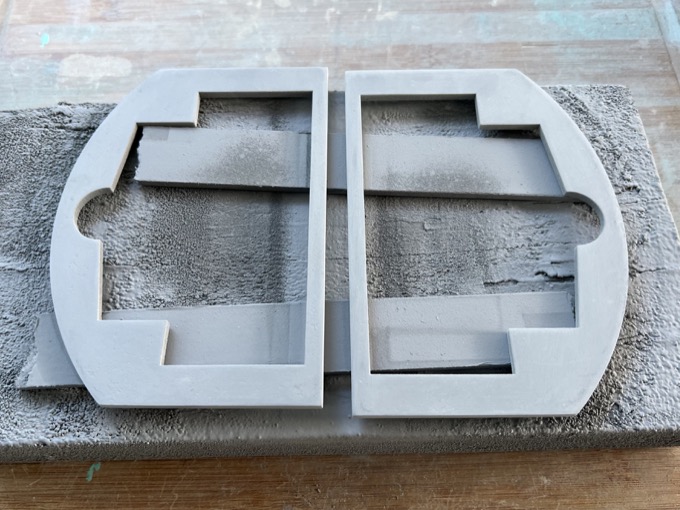
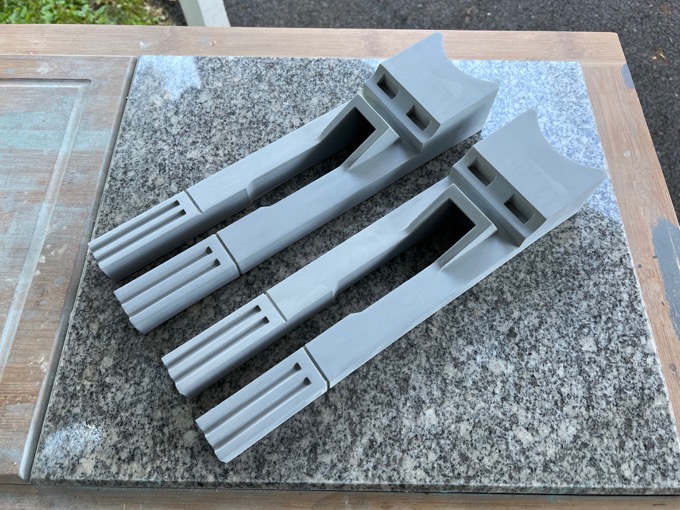
The booster covers came out with a lot of layer stepping since the top surfaces are at an angle. I sanded them as best as I could, lathered them in a layer of wood filler, then sanded them smooth.
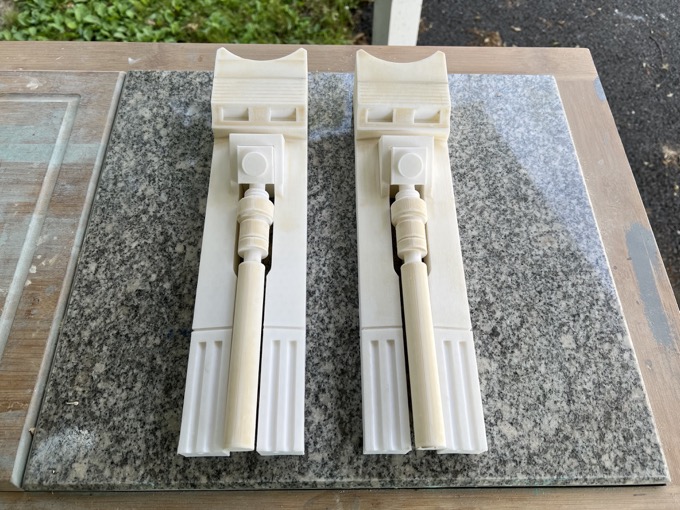
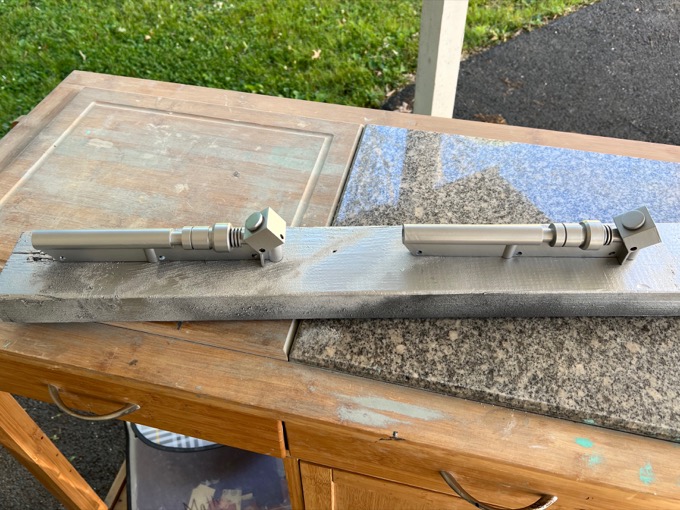
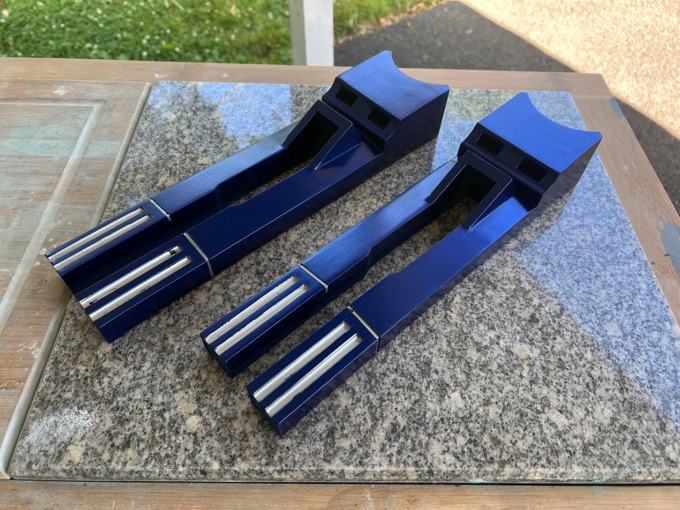
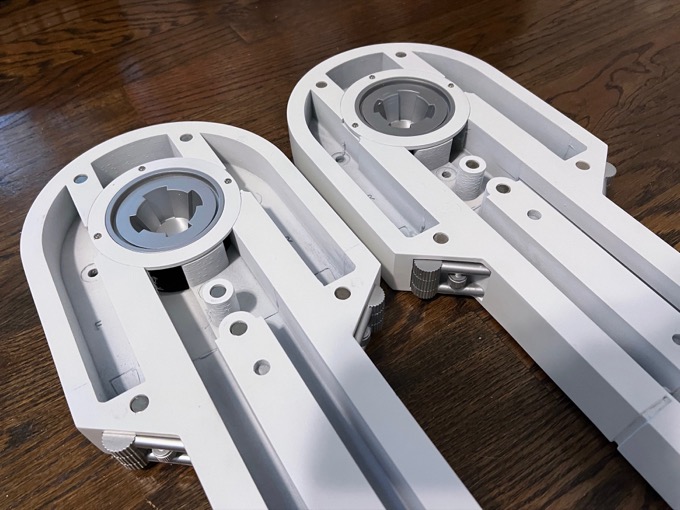
I was not happy at all with how the leg struts looked in PLA. It would be almost impossible to sand them smooth in those hard to reach places. I reprinted them in resin. The difference in quality is night and day.
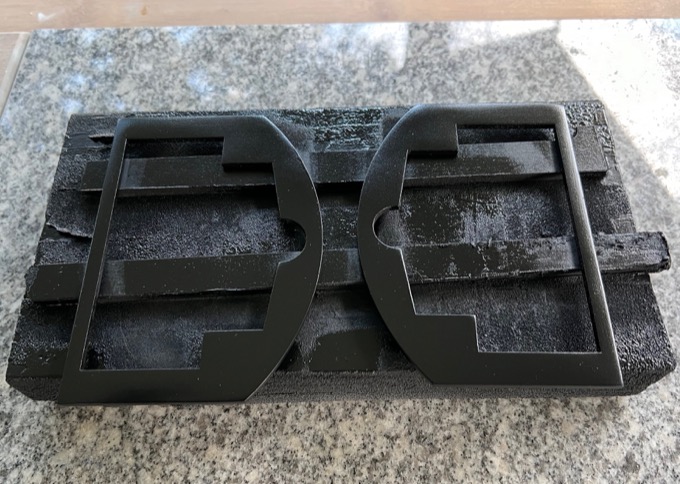
You know the drill… black… gloss…

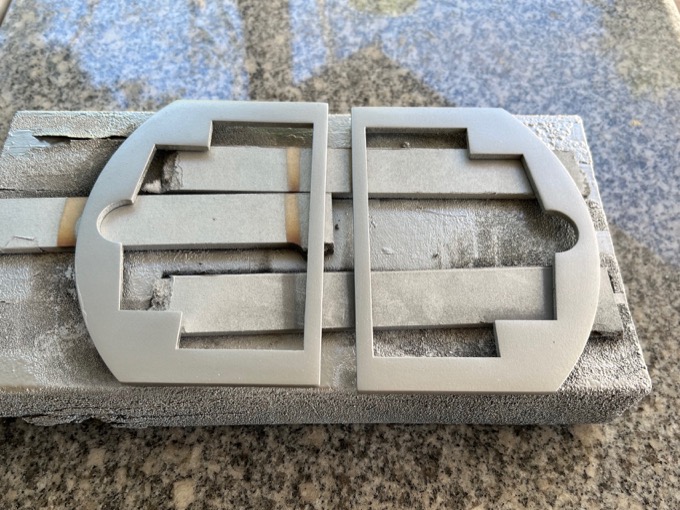
…silver.
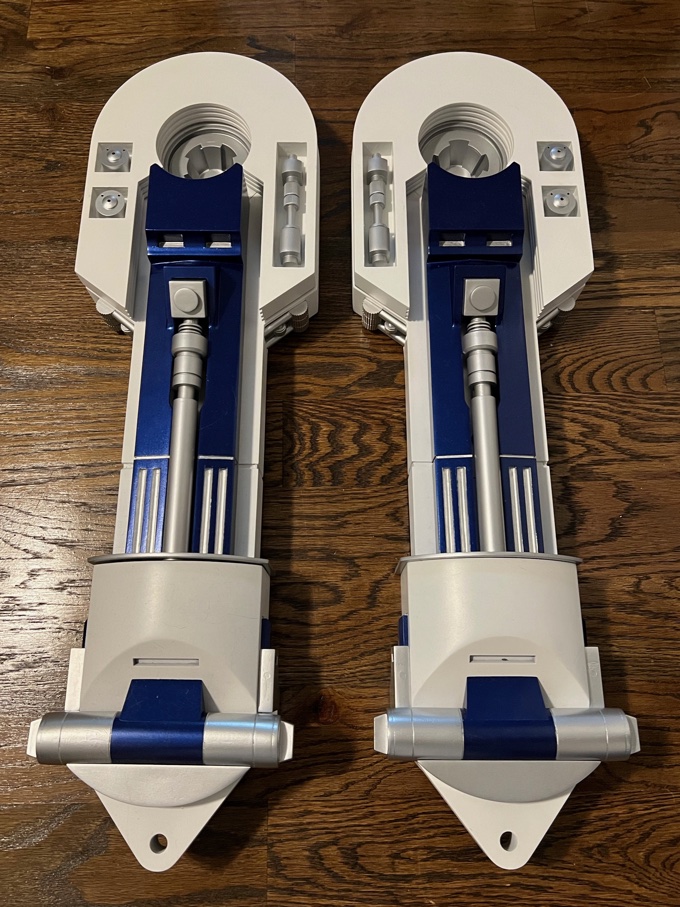
I think I dumped a whole can of primer on these until I was happy with them.
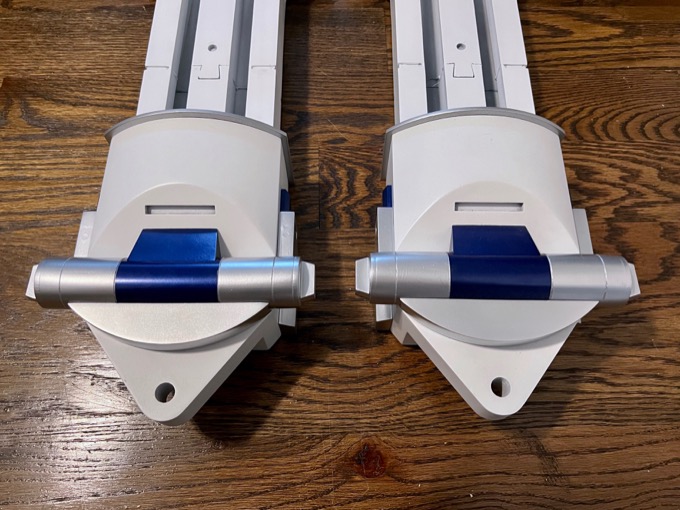
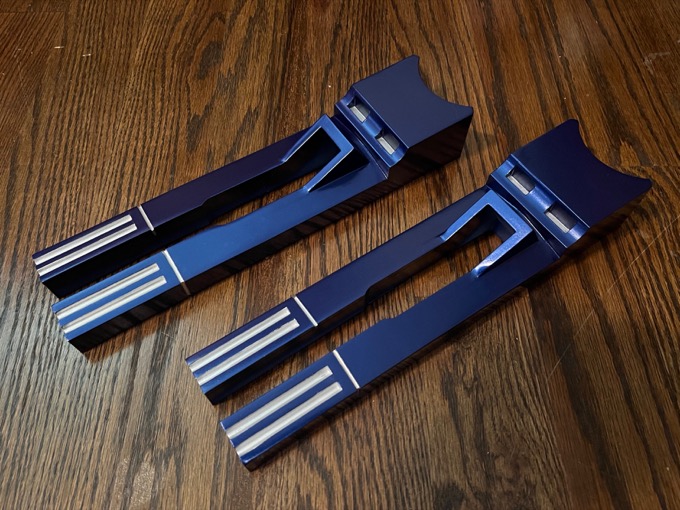
I then gave them a few coats of blue.
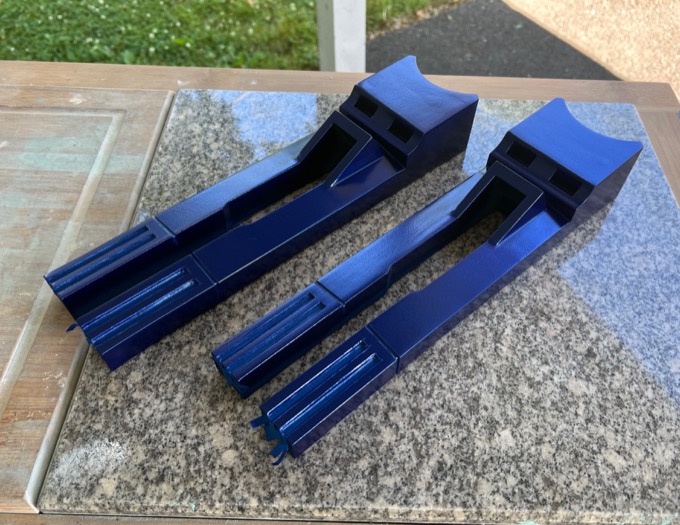
I masked off the blue areas and painted the details silver. When I removed the blue tape, it took some of the silver with it. Bummer.
I took a Q-tip and went back in with some Ruff 'n Buff. They came out perfect.
These guys just got a few coats of primer and some white.
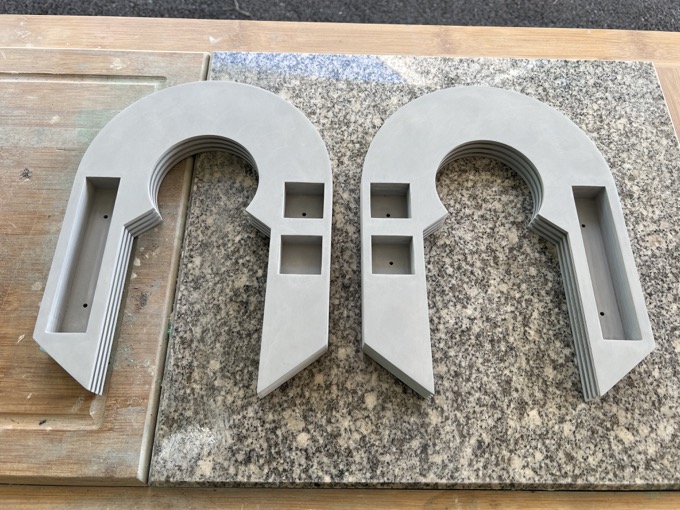
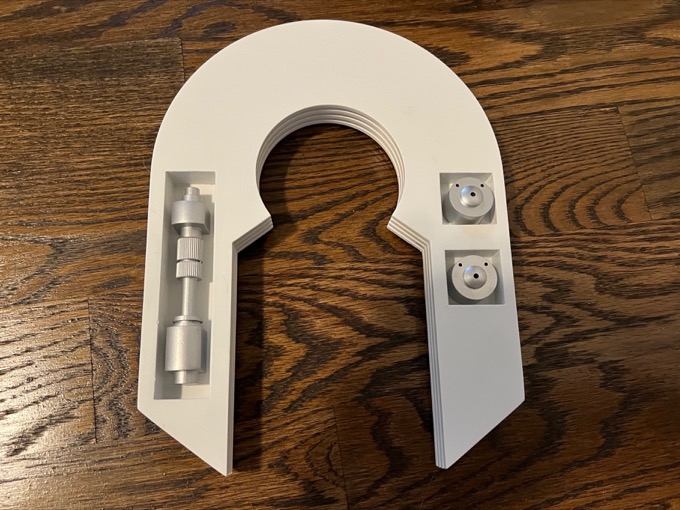
The last piece to do are the horseshoes. The PLA prints came out terrible. Just like the center foot, the top layer was thin and they were crunchy when I squeezed them. They also lifted off the bed a little at the ends causing a visible gap when connected to the legs. Not to mention the print defects around the inner areas would have been almost impossible to sand out.
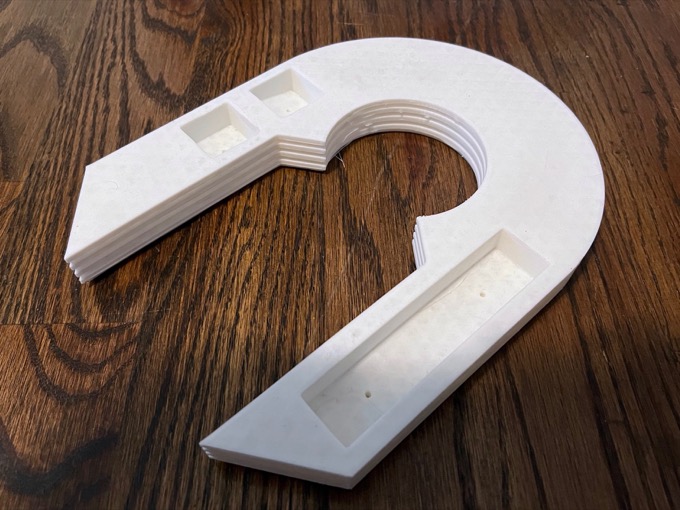
I decided to recreate them in SketchUp using 1/8" layers that I could laser cut out of MDF and glue together.
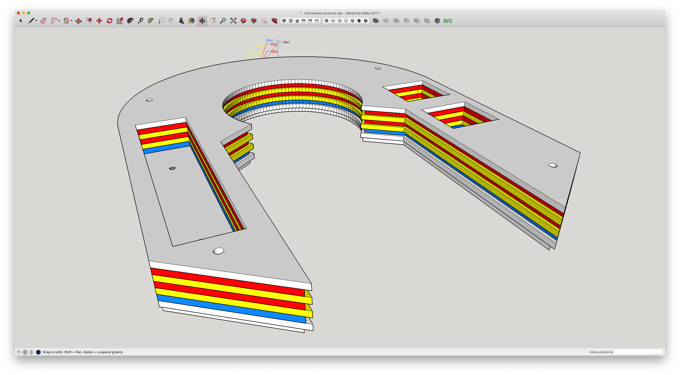
I hollowed out the inner layers as much as I could in order to keep the weight down. I then exported all the layers out and cut them on my Glowforge.
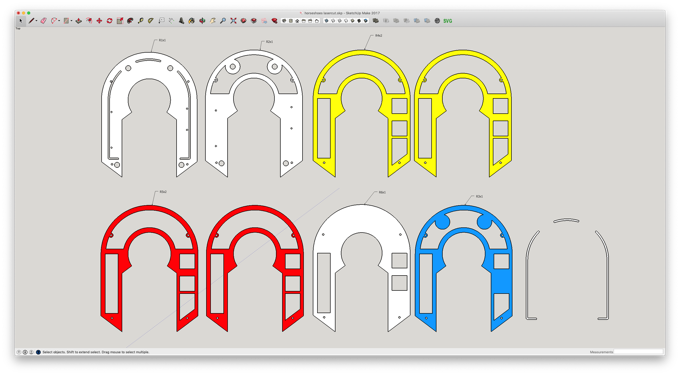
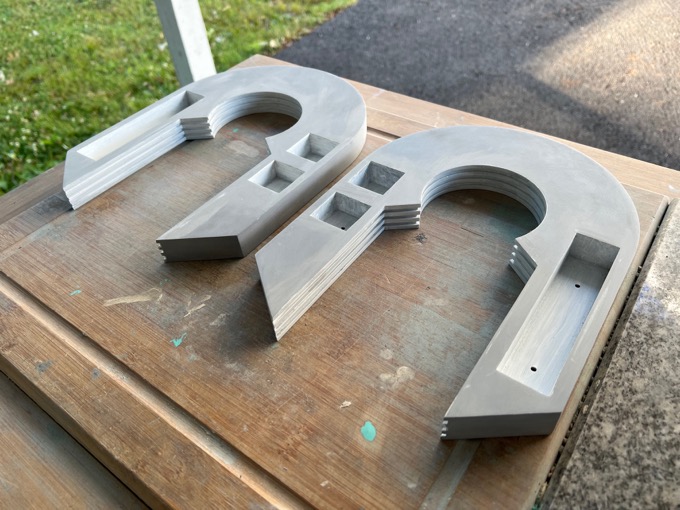
I included alignment holes so that I could hold them together with screws while the glue dried.
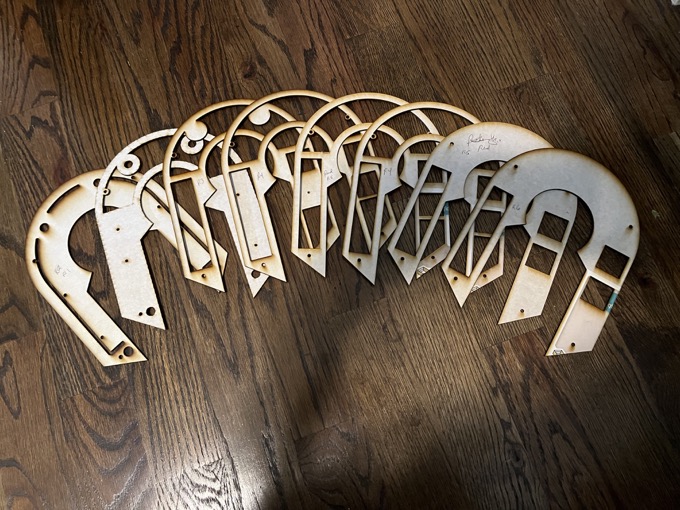
With crisp sharp edges, these look so much better than plastic prints.
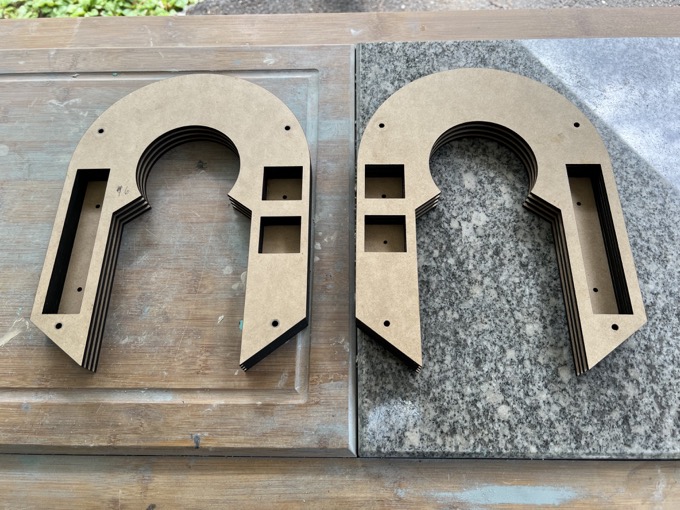
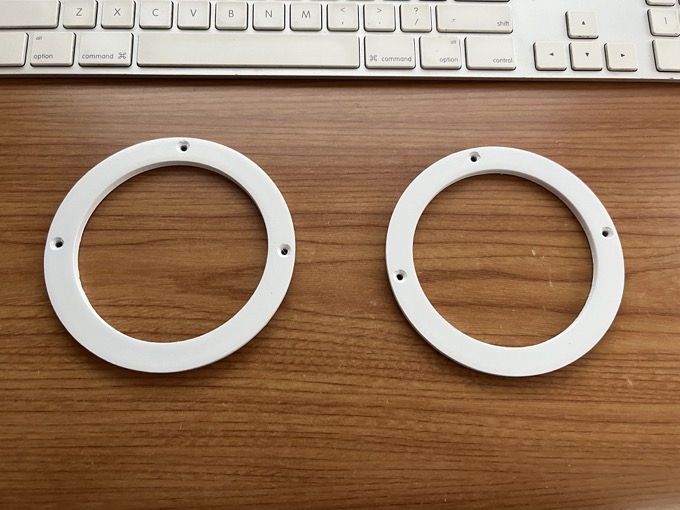
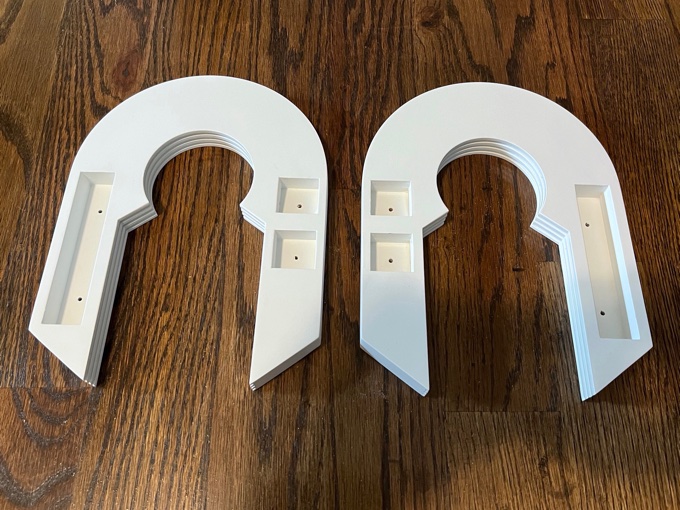
I then gave them a few coats or primer.
It's going to be tricky getting white spray paint in the tiny little recesses and corners so I went in with a brush and some white acrylic just to get some color in there.
After I primed them, I remembered that the bottom of one of the smaller holes is actually at an angle so I took the pieces that were cut out of the holes (glad I kept them) and glued them in at an angle. I then gave them several coats of white.
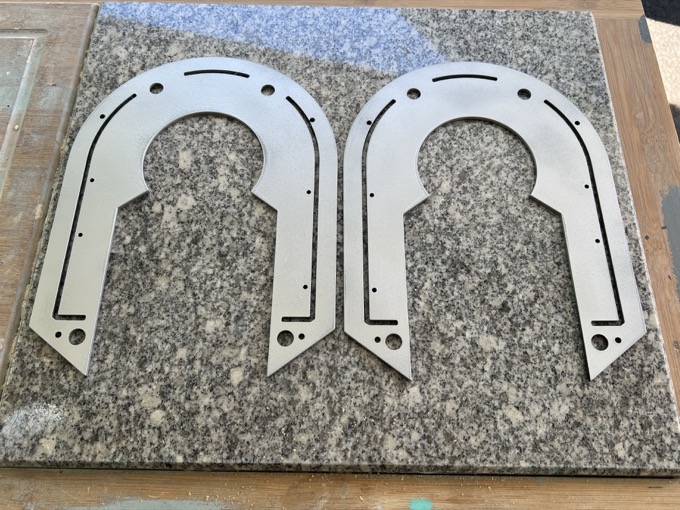
The edge of the back layer is actually painted silver. I imagine if I had glued the whole thing together, it would have been a pain to mask off the entire horseshoe in order to paint that tiny little strip of silver. I decided to not glue that back on so that I could paint it silver separately, then glue it on when it was done.
I painted them black, gave them some gloss, and then painted them silver.
I then glued them to the back, glued in the magnets, and screwed in the greeblies. They came out awesome!
It's time for the finally assembly! I glued in the magnets and started to install the greeblies.
I then installed the boosters and struts, and finally the horseshoes. I am so happy with how they came out. They look amazing!
It took six months to complete the dome and the body, but only two months to complete the legs. I thought it would have taken longer, but the weather has been good to me so I've been able to get a lot done over the past few weeks.
See this project from start to finish:
3D-Printed R2-D2 - Part I - Dome 3D-Printed R2-D2 - Part II - Body 3D-Printed R2-D2 - Part III - Skirt 3D-Printed R2-D2 - Part IV - Body Assembly 3D-Printed R2-D2 - Part V - Body and Dome Finishing 3D-Printed R2-D2 - Part VI - Body and Dome Greeblies 3D-Printed R2-D2 - Part VII - Final Dome Assembly 3D-Printed R2-D2 - Part VIII - Legs and Feet 3D-Printed R2-D2 - Part IX - Foot Drives 3D-Printed R2-D2 - Part X - Center Foot, Ankles, and Battery Boxes 3D-Printed R2-D2 - Part XI - Legs
3D-Printed R2-D2 - Part XII - Foot Shells and Final Assembly 3D-Printed R2-D2 - Part XIII - Doors and Charging Bay Indicator and Data Port Logic Lights 3D-Printed R2-D2 - Part XIV - Interface and Gripper Arms
