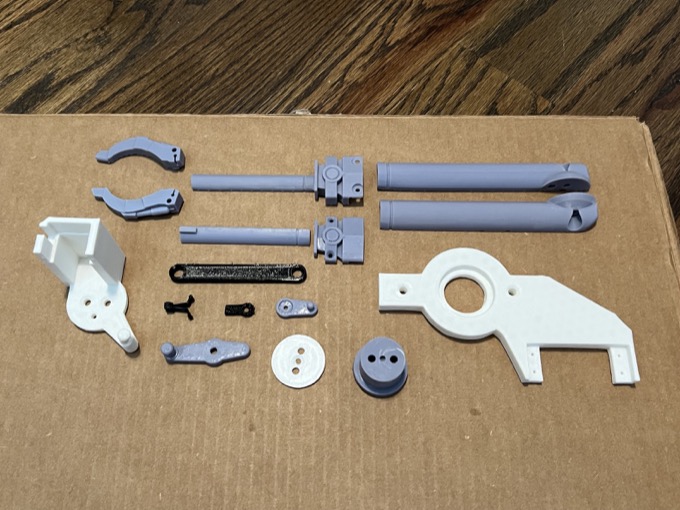
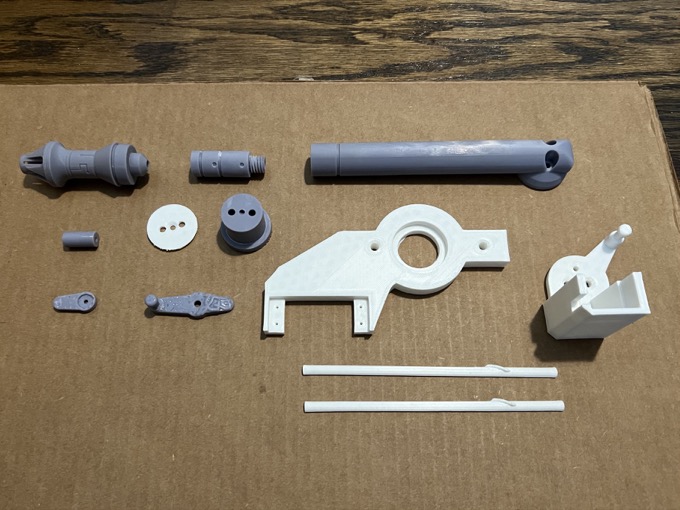
It's time to add some more finishing touches! The gripper and interface arms. I'm not going to lie, these were such a huge pain in the butt to print and to build. I started by printing all the pieces for the gripper arm. Some were in resin, some in PLA, and some in TPU.
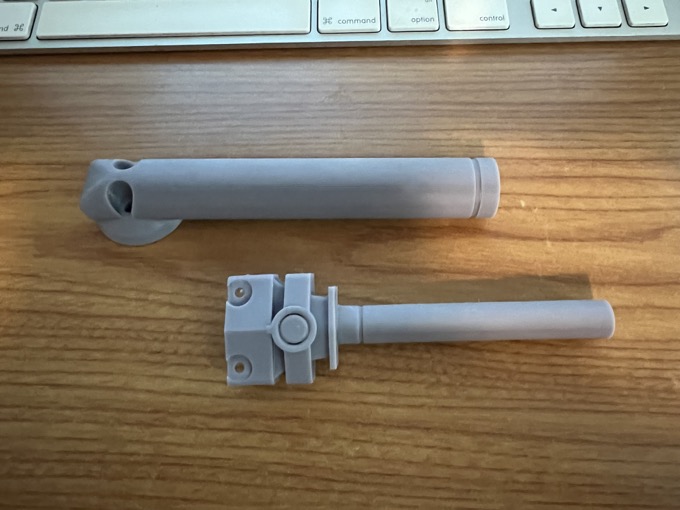
I tried to glue the two halves of the main arm together but they came out terrible. The seams are horrible and the mess that was left behind by the supports made it almost impossible to get the two halves to sit flush together. They were a disaster.
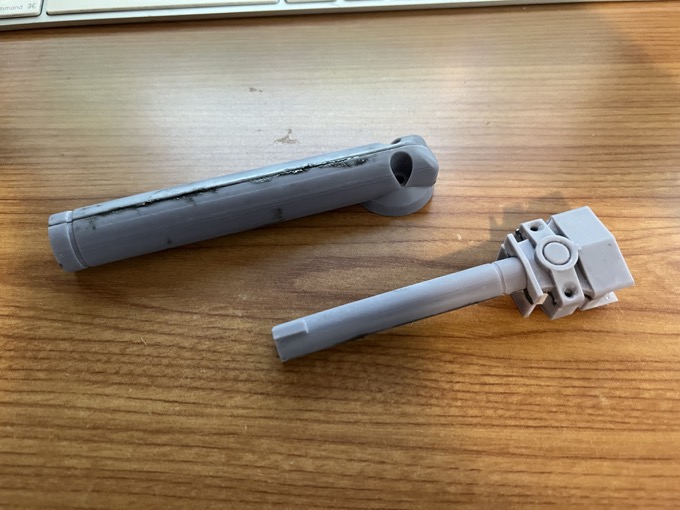
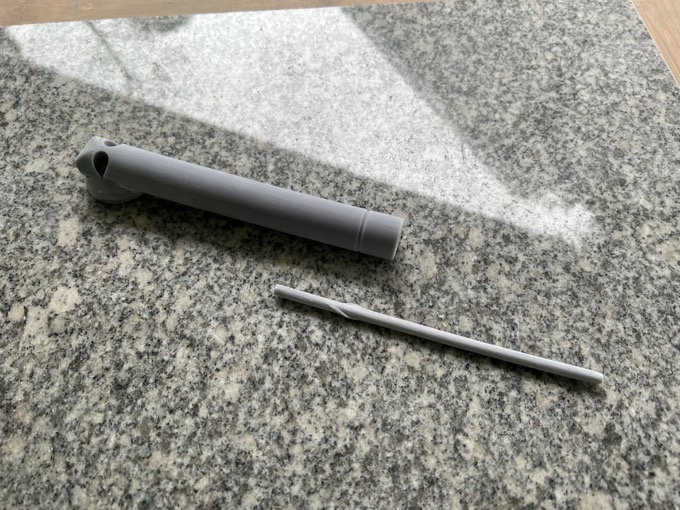
I took the parts into SketchUp and stitched them together so I could print them as one piece. They came out so much better.
I had also printed the parts for the interface arm the same way. Same thing. The supports totally trashed the part making it impossible to glue together.
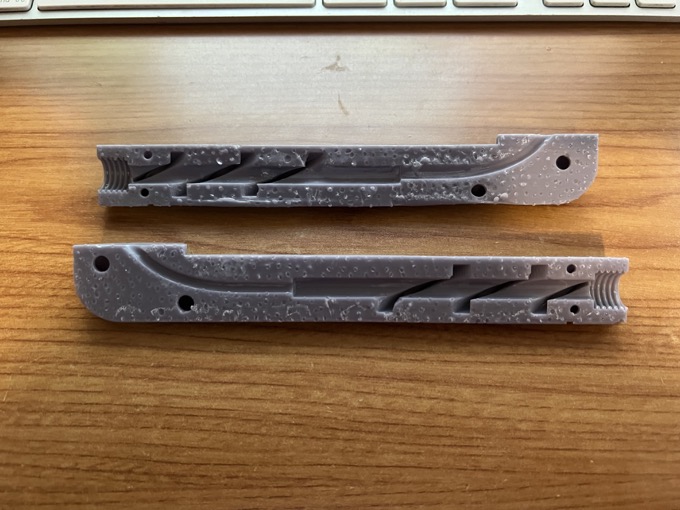
I then stitched the parts together and reprinted it. The servo horns came out terrible and will need to be reprinted. I also realized afterward that it's almost impossible to glue the two parts together for the actuator. There is no way it's going to thread easily in and out of the main arm.
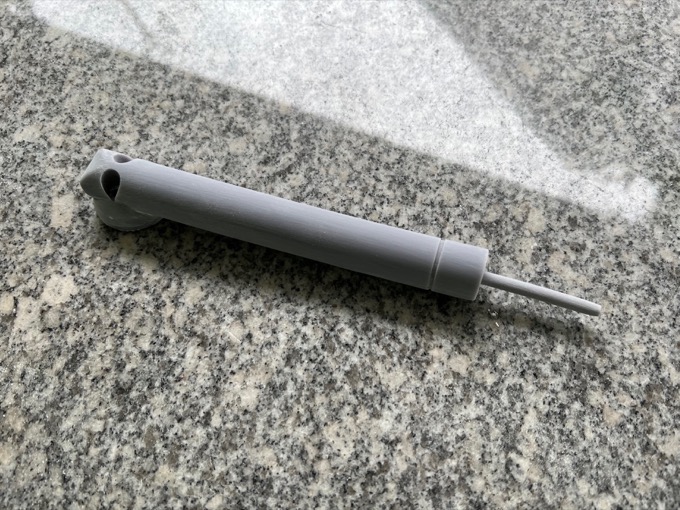
I stitched them together and reprinted it in resin.
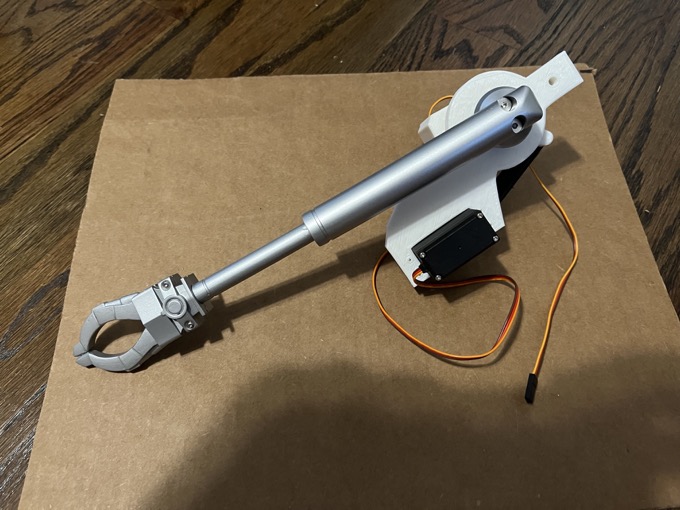
A fair amount of sanding was involved in order to get the actuator to thread in and out easily.
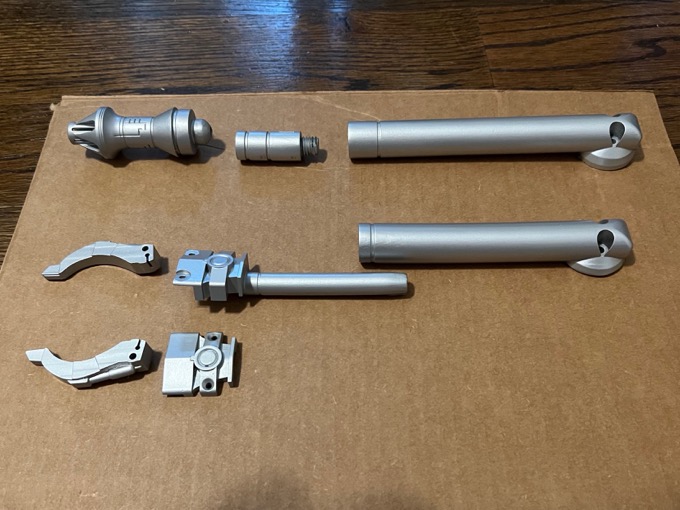
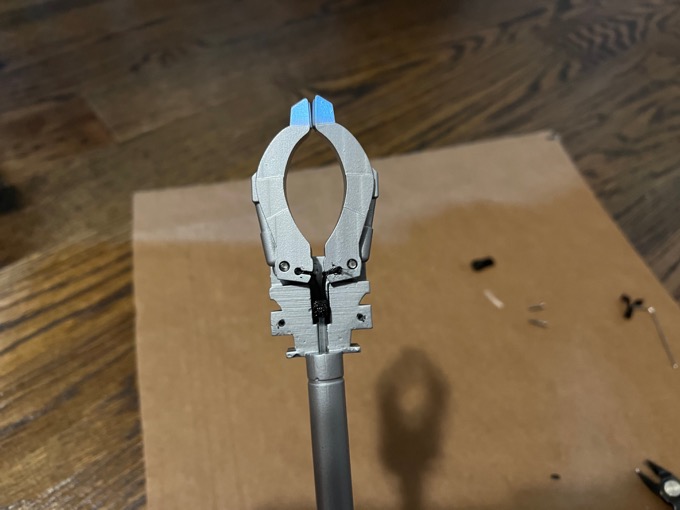
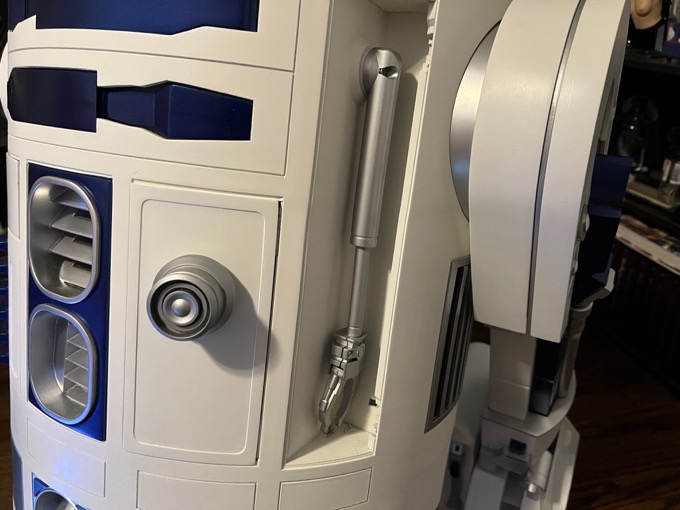
I then painted the silver parts black, gave them some gloss, and then painted them silver.
Nylon filament is supposed to be used to connect the moving parts to the servo, but I wasn't about to buy an entire roll of nylon just to use a few inches. PLA will eventually become brittle and just snap so I hit up the hardware store and grabbed a roll of .065 weed wacker string for a few bucks. It's perfect. I inserted the string and glued it to the TPU part and finished the assembly.
I then put everything else together and wrote some code to test the servos to make sure everything moved the way they should. The gripper doesn't open up as far as I would like, so I will have to make some small tweaks. I might have to take it all apart again and glue in a longer length of weed walker string, so I'll leave that for another day.
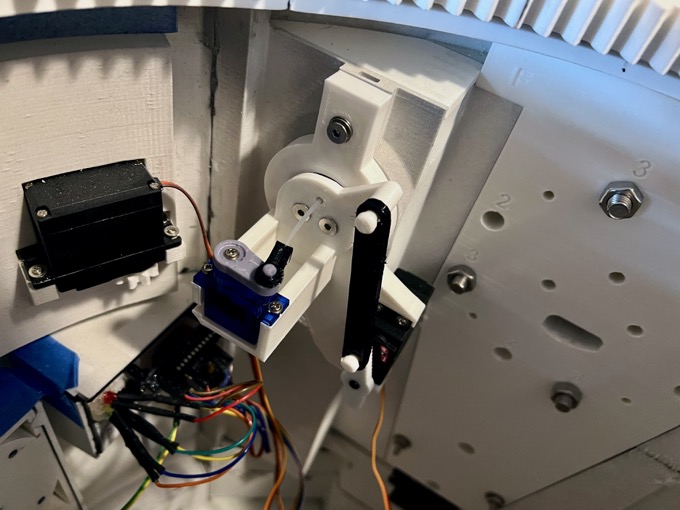
It was at this point that I went to install it and discovered that there is no way to thread the string through the hole of the body while the TPU part that gets attached to the servo is glued on. I had to take it apart and build it inside R2 and glue that part back on from the inside. Luckily it came off easily. What a pain.

Rinse and repeat with the interface arm. Except this time I knew not to glue the TPU connector to the string just yet.
I then installed that into the body.
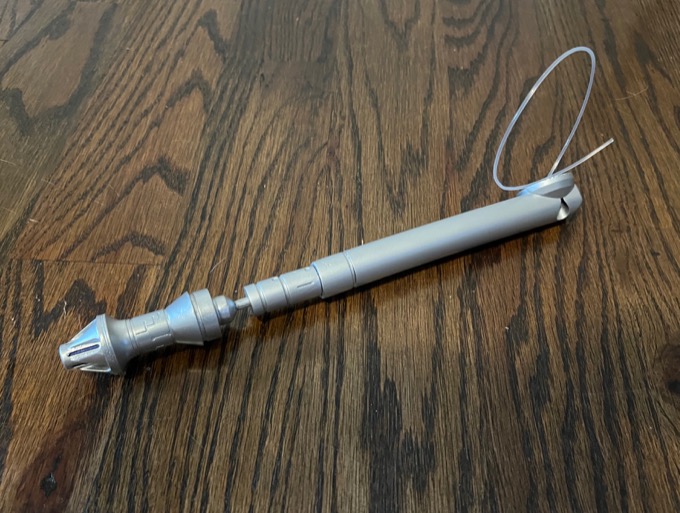
The last finishing touch for now is to print a restraining bolt. I thought it would make a nice addition. I printed it in resin so I wouldn't have to do any post-processing. It came to really sweet. It's actually bigger than I realized.
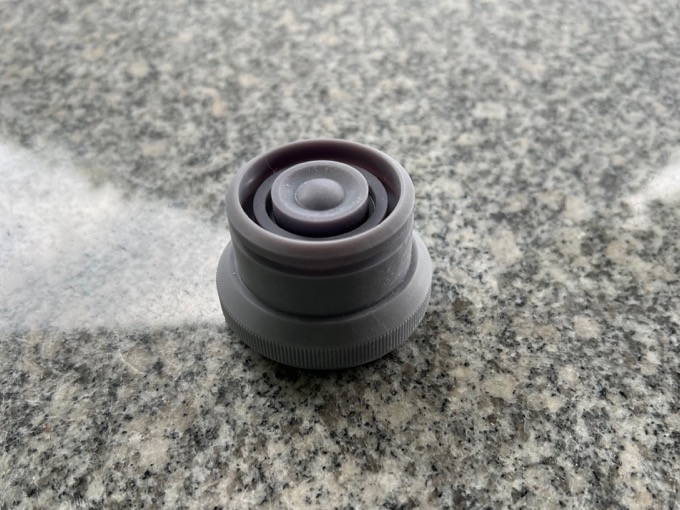
I then glued a magnet into it so that it would stick to the magnet that's embedded in the door and filled it with putty.
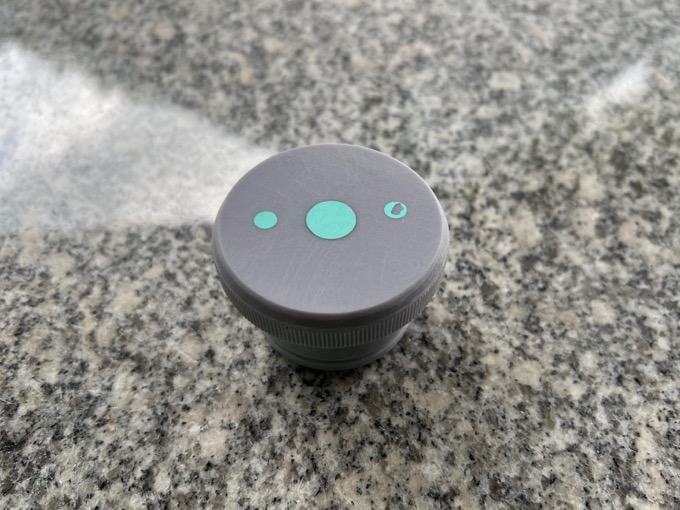
I then painted it silver. Pretty cool.
So they are installed but they run really crappy. I will have to make some tweaks in the future. I haven't exactly figured out the optimal positions for the servos and the length that the string needs to be to move the parts the way that they should. It's going to take some experimenting. It'll probably end up being one of those weekend projects that turns into a week-long fiasco. So I'm going to save that for a rainy day.
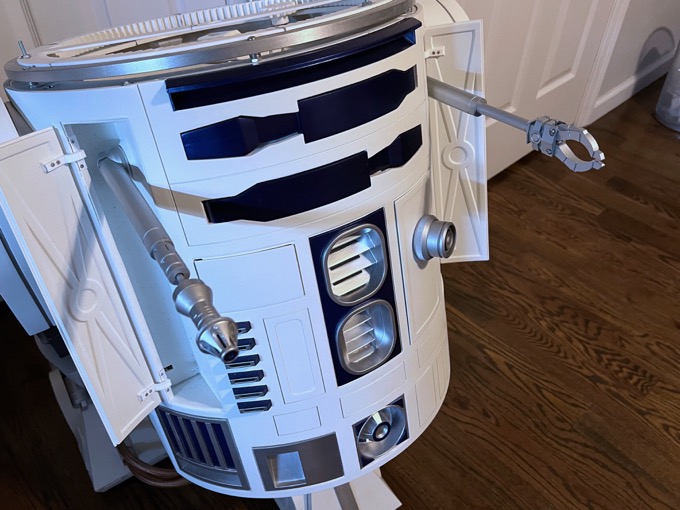
For now, at least they're in there!
See this project from start to finish:
3D-Printed R2-D2 - Part I - Dome 3D-Printed R2-D2 - Part II - Body 3D-Printed R2-D2 - Part III - Skirt 3D-Printed R2-D2 - Part IV - Body Assembly 3D-Printed R2-D2 - Part V - Body and Dome Finishing 3D-Printed R2-D2 - Part VI - Body and Dome Greeblies 3D-Printed R2-D2 - Part VII - Final Dome Assembly 3D-Printed R2-D2 - Part VIII - Legs and Feet 3D-Printed R2-D2 - Part IX - Foot Drives 3D-Printed R2-D2 - Part X - Center Foot, Ankles, and Battery Boxes 3D-Printed R2-D2 - Part XI - Legs 3D-Printed R2-D2 - Part XII - Foot Shells and Final Assembly 3D-Printed R2-D2 - Part XIII - Doors and Charging Bay Indicator and Data Port Logic Lights 3D-Printed R2-D2 - Part XIV - Interface and Gripper Arms

