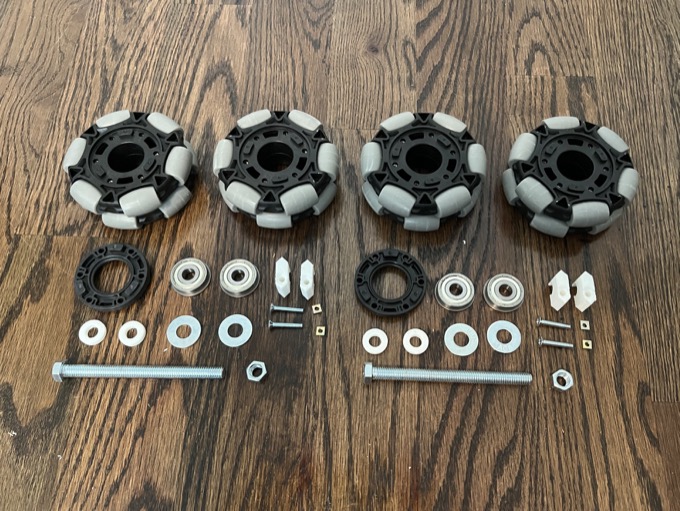
With all the leg and foot parts printed, it was time to tackle the foot drives. These required no shortage of hardware to assemble. It took me a while the gather all the parts. The bearings for the VEX wheels were out of stock from the manufacturer, so it took some time for me to get my hands on them. I suppose I could have sourced an alternative on Amazon, but I wanted to make sure I had the exact ones as called out in the instructions. In addition, the closest match I could find on Amazon was a bulk pack. Since I only needed 4, spending the extra money for a dozen seemed like a waste.
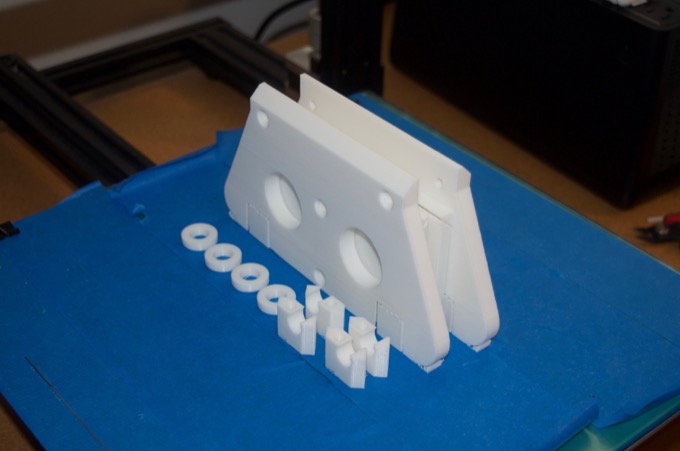
When I first printed the parts for the main housing, I printed them flat on the bed. This caused the parts to slightly warp off the bed at the corners. I didn't think it was a problem until I assembled them. It made it really hard to install the wheels in a way that they would not rub up against the center beam. I even modified the model so that the center beam was a little thinner, allowing some additional clearance for the wheels.
I decided to reprint them standing up.
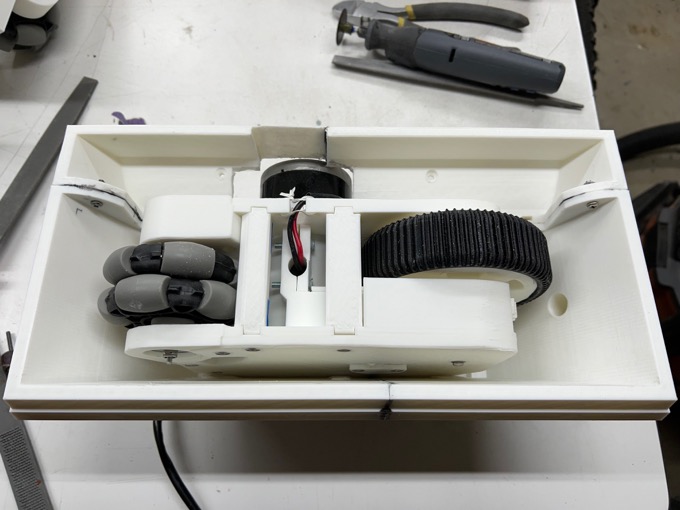
I then assembled the pieces. They looked much better.
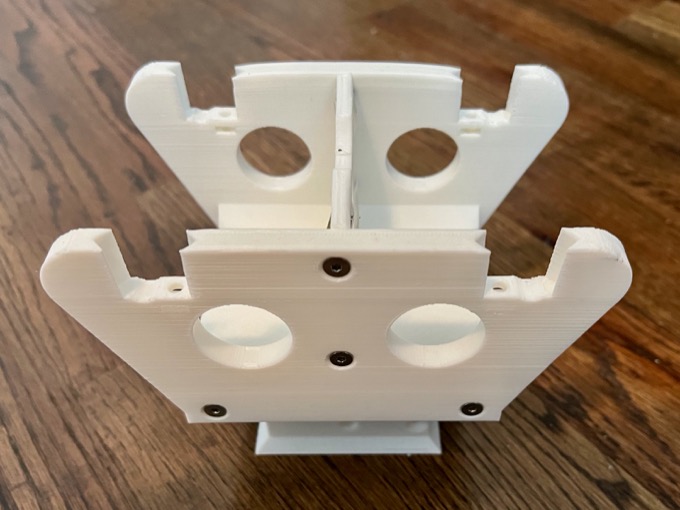
I then re-installed the wheels. They made a much better fit and with the proper sized spacers installed, they spun freely. Of course, I will have to take the whole thing apart later once I install it into the foot shell. However, that needs to be painted first.
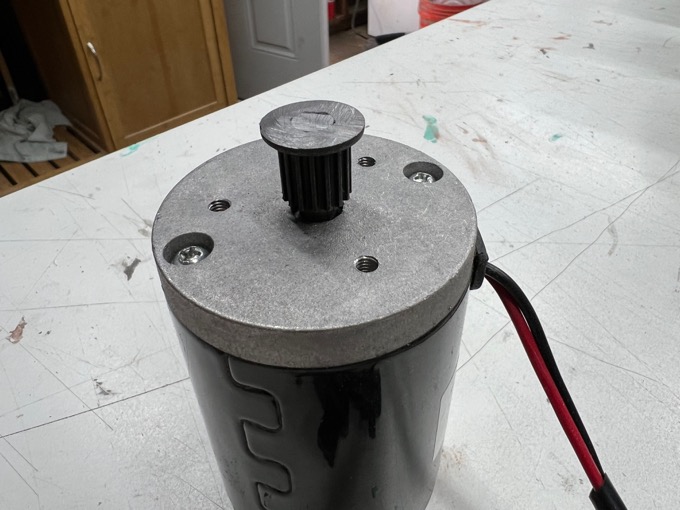
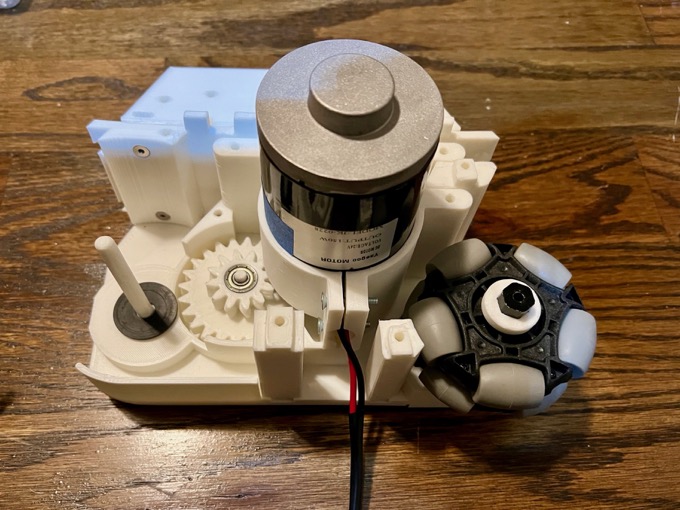
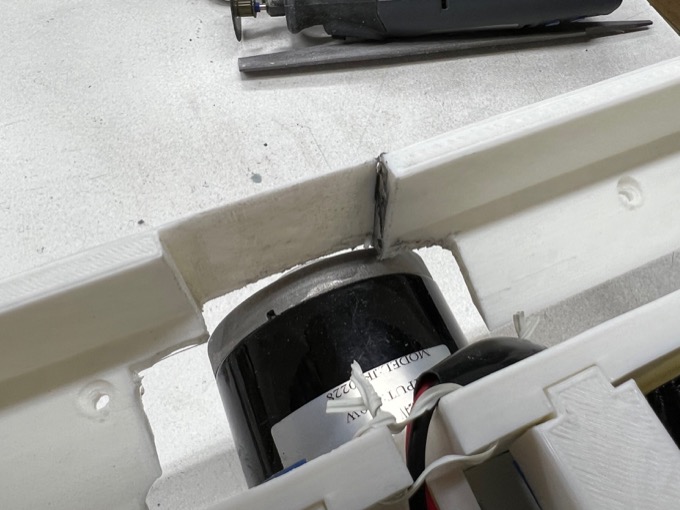
For the main foot drives, the scooter motors that I purchased came with sprockets pre-installed. I thought these would be relatively easy to pop off. I was very wrong. When sourcing your motors, make sure you find ones without them!
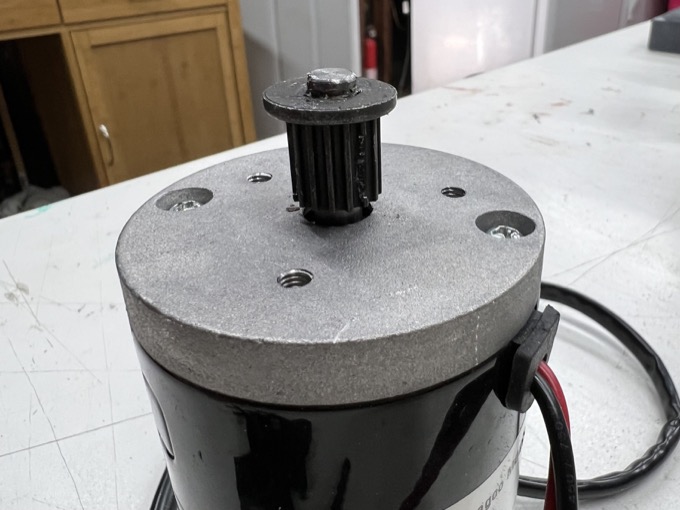
Every means or tool I tried did nothing to pop them off. I thought maybe the part that was protruding from the top was somehow locking it in place, so I filed it down on my belt sander. Still, it was absolutely impossible to free from the motor shaft.
I looked online and figured out what tool I needed to pull them off. It's called a bearing gear puller. Despite being $11.00 for this one-trick pony, it's a complete piece of garbage. It was very loose and overall pretty janky. The threads on the bottom screws did not even run the entire length of the screws so it was impossible to tighten the tool all the way. I had to shim the screws with nuts so that the threads could fully engage and get a firm grab under the sprocket.
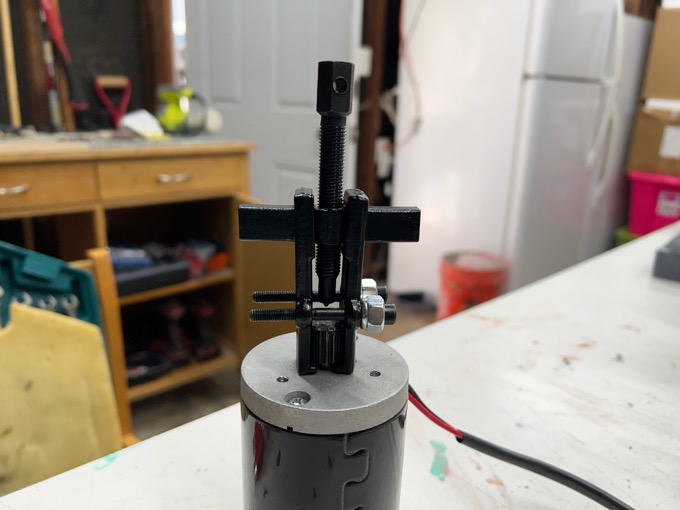
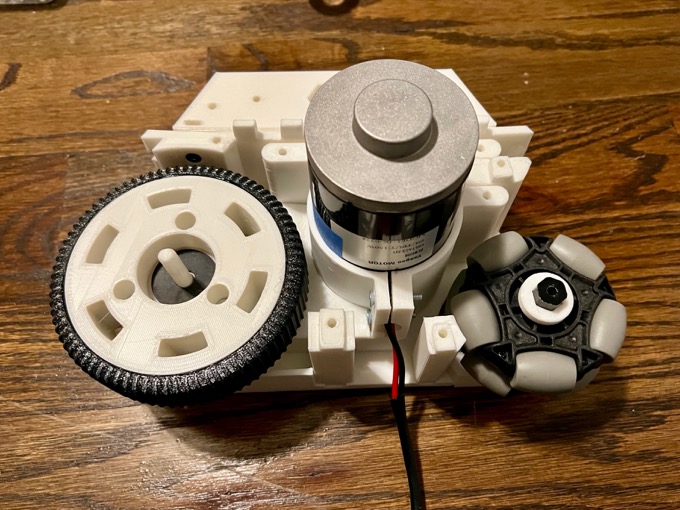
After all the fiddling, I actually managed to get it to work. I'm amazed it didn't break.
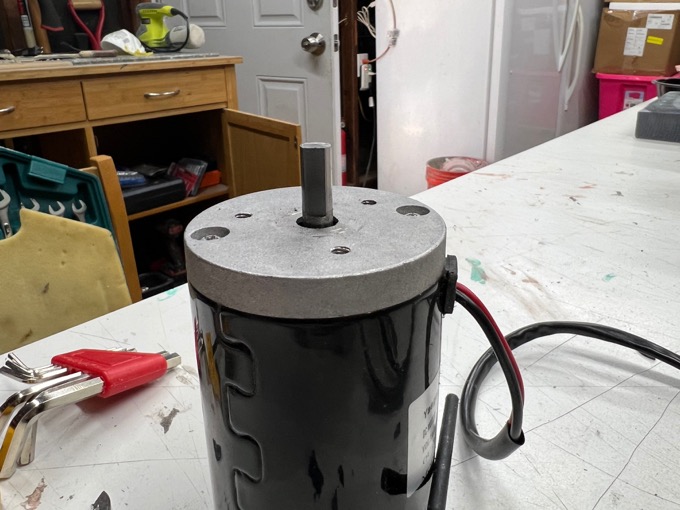
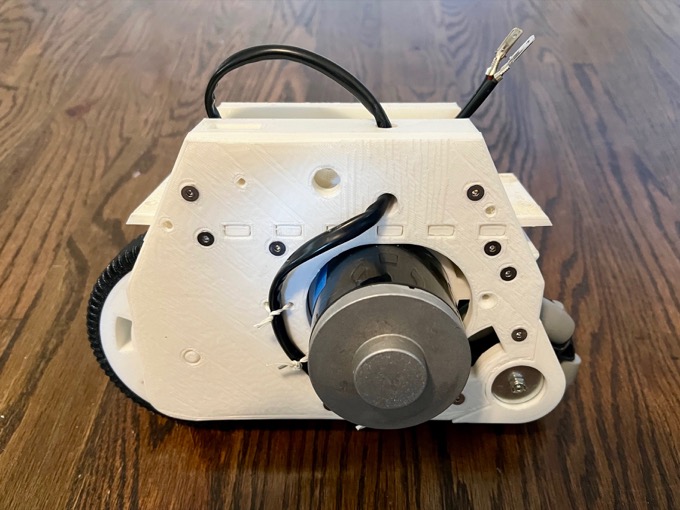
With the motor ready, I was able to install it into the drive chain and proceed with the assembly.
The instructions leave much to be desired as there are no shortage of gotchas. I had to take them apart several times before I got everything in place where it was supposed to be. Definitely check out Mr. Baddeley's YouTube channel for the assembly video.
Not to mention, there are some places where the recommenced screw length wasn't long enough. For instance, the 25mm screws that I purchased were not long enough. I had to stop what I was doing until the 30mm screws the I purchased on Amazon arrived. I had to make several trips to the local hardware store for other various washers, threaded rods, locking nuts, etc.
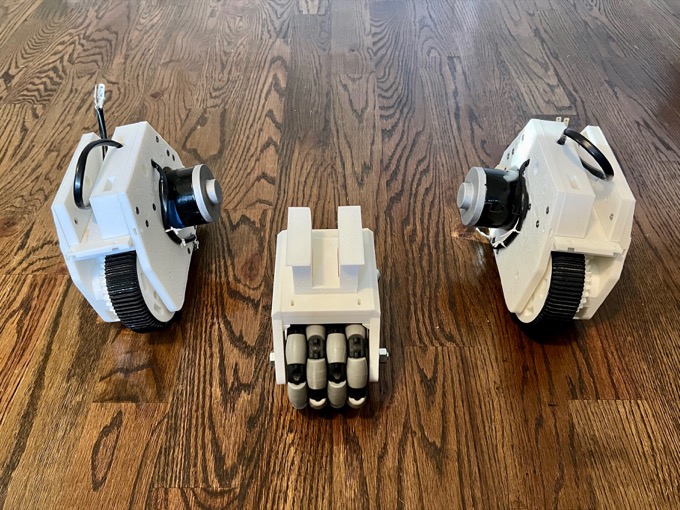
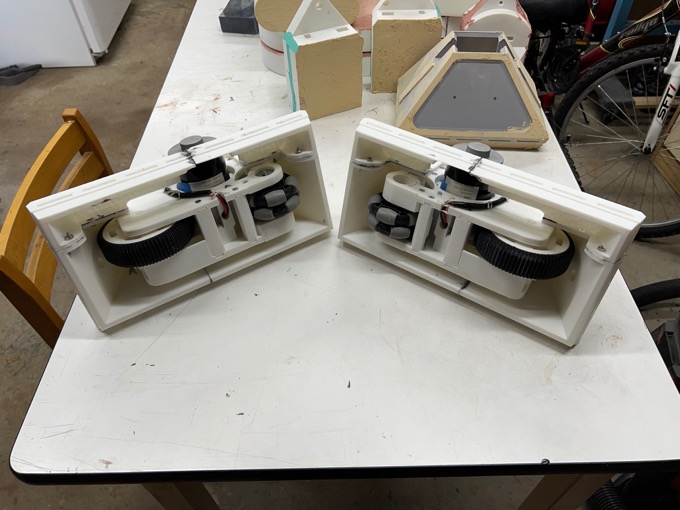
Then rinse and repeat for the other one.
Despite having the foot shells glued together weeks ago, I was not able to make any additional progress on them. I knew that they would probably require a fair amount of sanding and tweaking in order to install the foot drives. So there was no sense in painting them if I had to take a Dremel to them. I didn't want to beat them up and get them all scratched in the process. I had to complete the foot drives first.
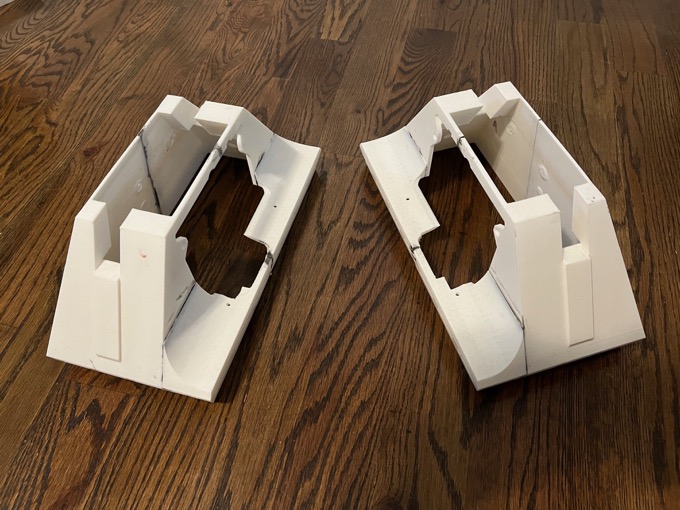
I was not wrong. The foot dries were impossible to install "out of the box". For starters, even after removing a fair amount of material from here to help clear the motors, I still managed to snap this joint trying to get it in.
I had to Dremel away these four points where screws and magnets go in the opposite side in order to slide the drives all the way in, along with sanding the top edges of the drives smooth.

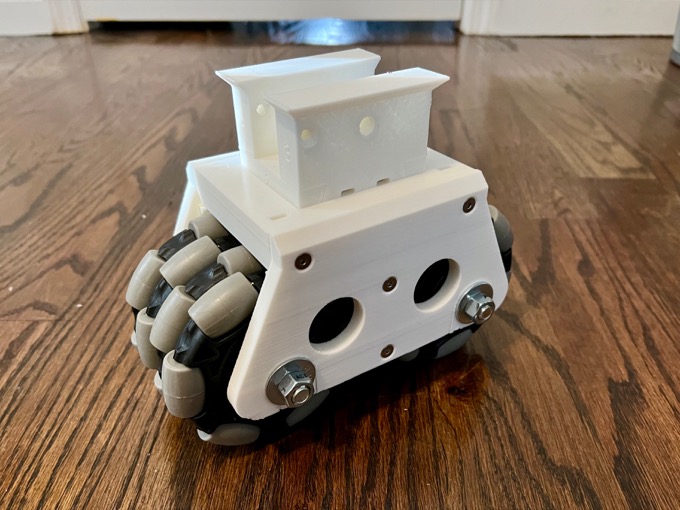
Finally! I got it in.
I must have spent well over an hour working on them and I think they still could use some work. After I took the picture I removed the drives so that I could start to work on finishing the shells. It was no easy task. I'm afraid after the shells are painted, I'll either break them trying to get the drives in, or break them if I ever have to remove them for repairs. So they fit, but they are a bear to get in and out.
 See this project from start to finish:
3D-Printed R2-D2 - Part I - Dome 3D-Printed R2-D2 - Part II - Body 3D-Printed R2-D2 - Part III - Skirt 3D-Printed R2-D2 - Part IV - Body Assembly 3D-Printed R2-D2 - Part V - Body and Dome Finishing 3D-Printed R2-D2 - Part VI - Body and Dome Greeblies 3D-Printed R2-D2 - Part VII - Final Dome Assembly 3D-Printed R2-D2 - Part VIII - Legs and Feet 3D-Printed R2-D2 - Part IX - Foot Drives
3D-Printed R2-D2 - Part X - Center Foot, Ankles, and Battery Boxes 3D-Printed R2-D2 - Part XI - Legs 3D-Printed R2-D2 - Part XII - Foot Shells and Final Assembly 3D-Printed R2-D2 - Part XIII - Doors and Charging Bay Indicator and Data Port Logic Lights 3D-Printed R2-D2 - Part XIV - Interface and Gripper Arms
