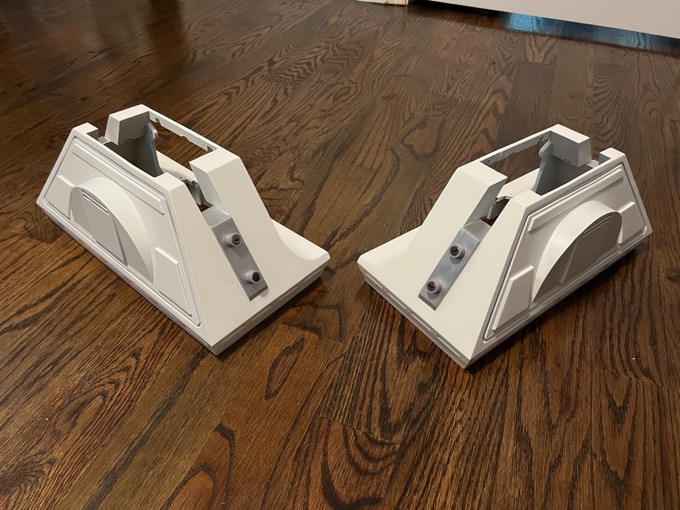
Now that the foot drives are complete, I can finish the foot shells. These are the last pieces to complete before I can finally attach R2's legs!
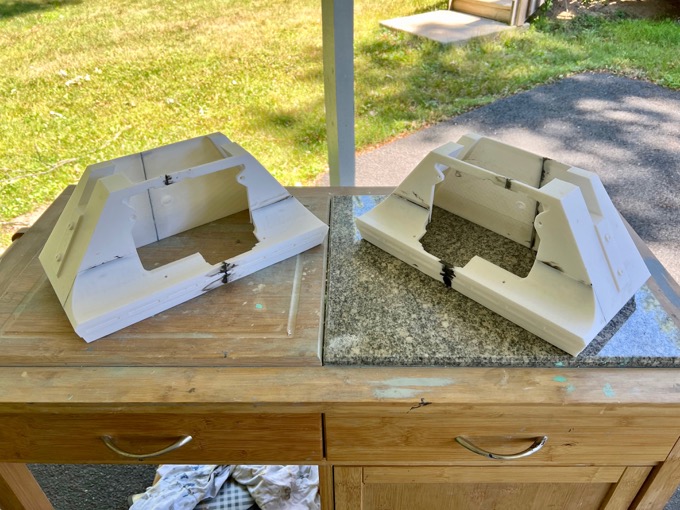
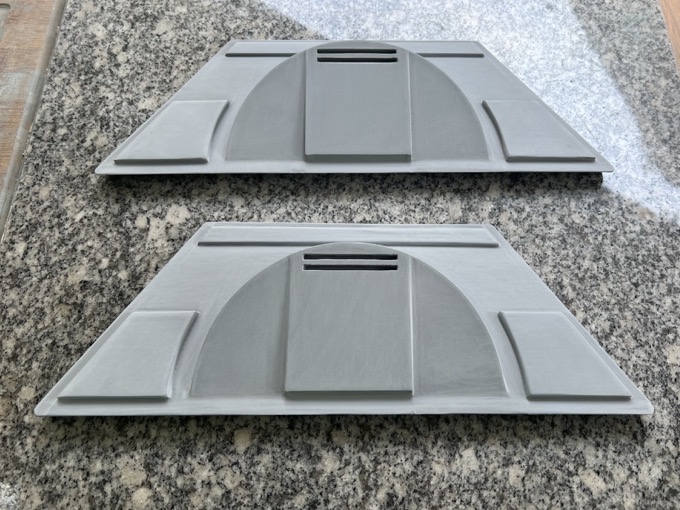
I gave them a generous coating of wood filler.
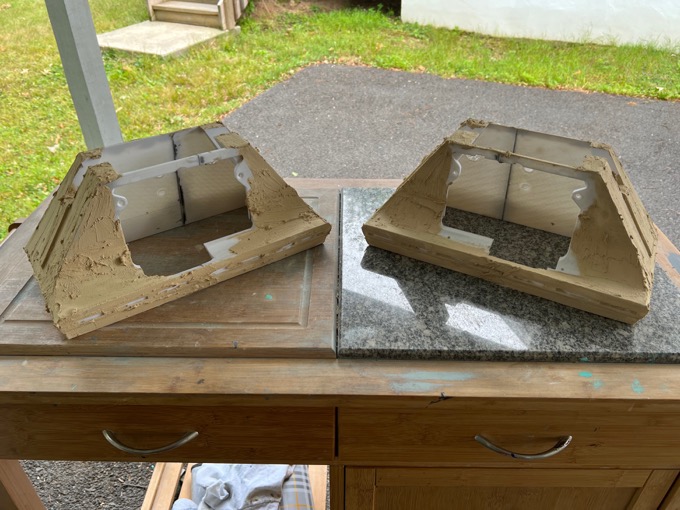
I then sanded them completely smooth.
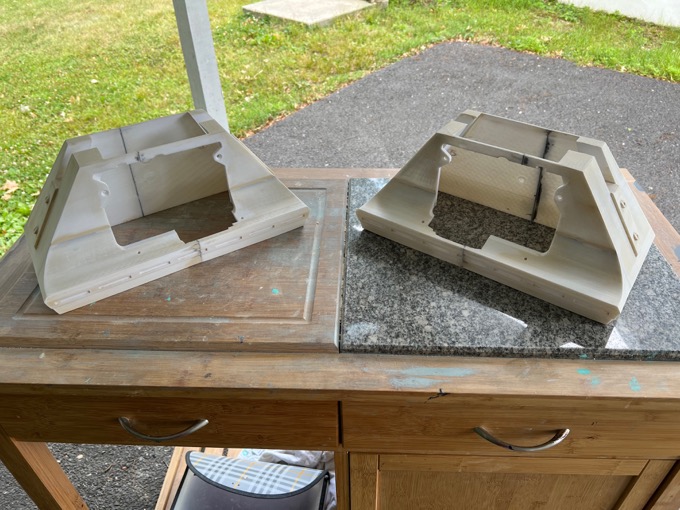
After I gave them a few coats of primer. I had to fill in some minor imperfections with 3M Acryl-Green spot putty and gave them a few more coats of primer.
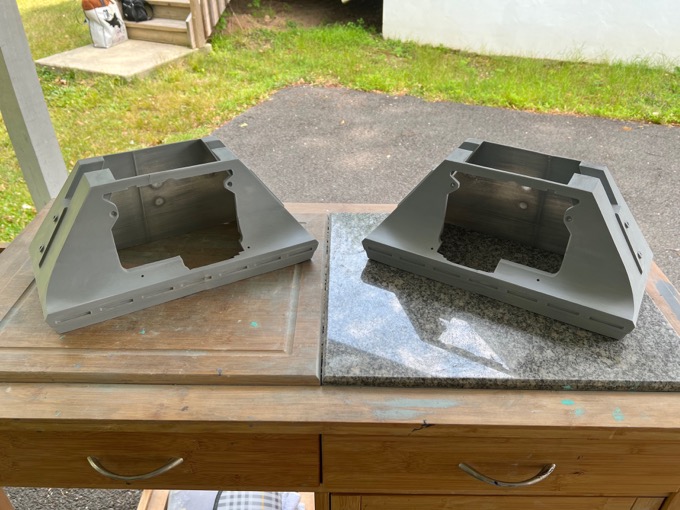
I also filled, sanded, primed, and painted the shell sides. These took a lot of work to eliminate the print lines.
I then painted them white.
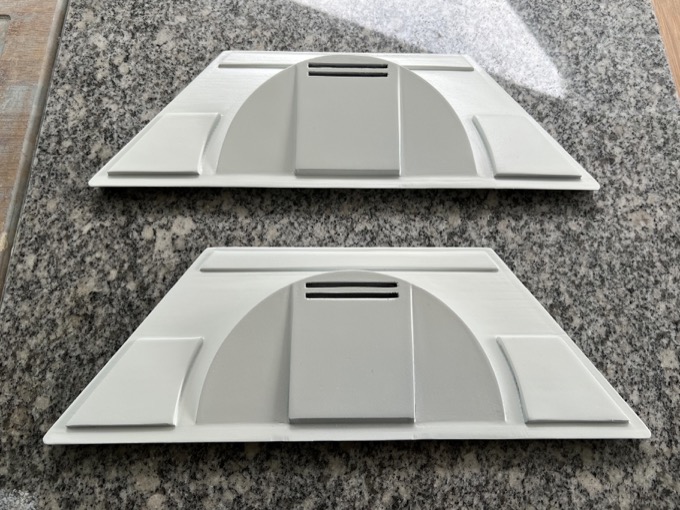
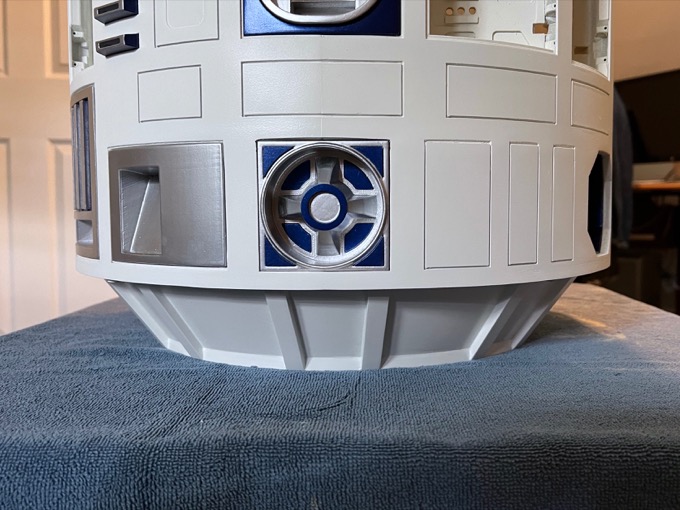
I painted the foot shells white, finished the silver detailing, and glued on the magnetic connectors.
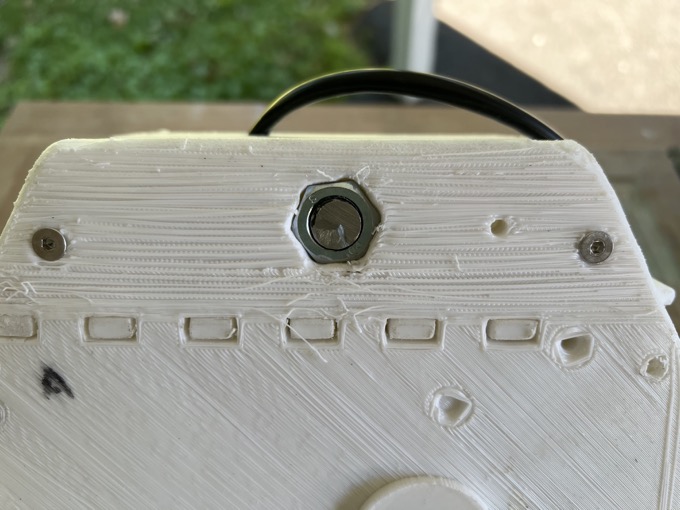
I managed to finally get my hands on some M12 x 100mm socket cap bolts. I first looked on Amazon, and was really surprised to see that they go for almost $13 each. I just couldn't bring myself to spend that on bolts. I looked on eBay and managed to find someone selling 3 for $10 bucks. Score! I did buy a pack of bolts on Amazon. Those were reasonable.
I took a Dremel cutoff wheel and cut them down to 80mm.
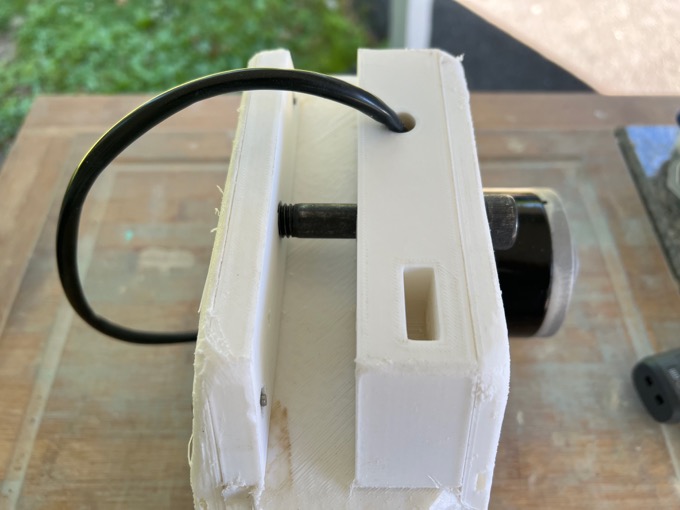
Not gonna lie. It took a considerable amount of finagling with a Dremel bit and a file in order to get those nuts to fit in the holes. It probably would have been easier to file the nuts down.
Time for final assembly!
I first started by connecting the skirt. This was no easy task. Trying to keep all eight bolts from falling back into the skirt while pulling them through the base was pretty tricky. I had to take a drill bit a little larger than the 1/4-20 bolts to open up the holes a bit so they had a little more wiggle room.
After some finagling, I got it connected.
Last, but certainly not least, I attached the center foot and the legs. I was able to sit R2 on the corner of a table and attach the two legs. However, lifting him off the table and onto the floor was a two-person job. R2 weighs a ton! My son tilted R2 back and held him in place until I was able to get the center foot under the skirt and into position.
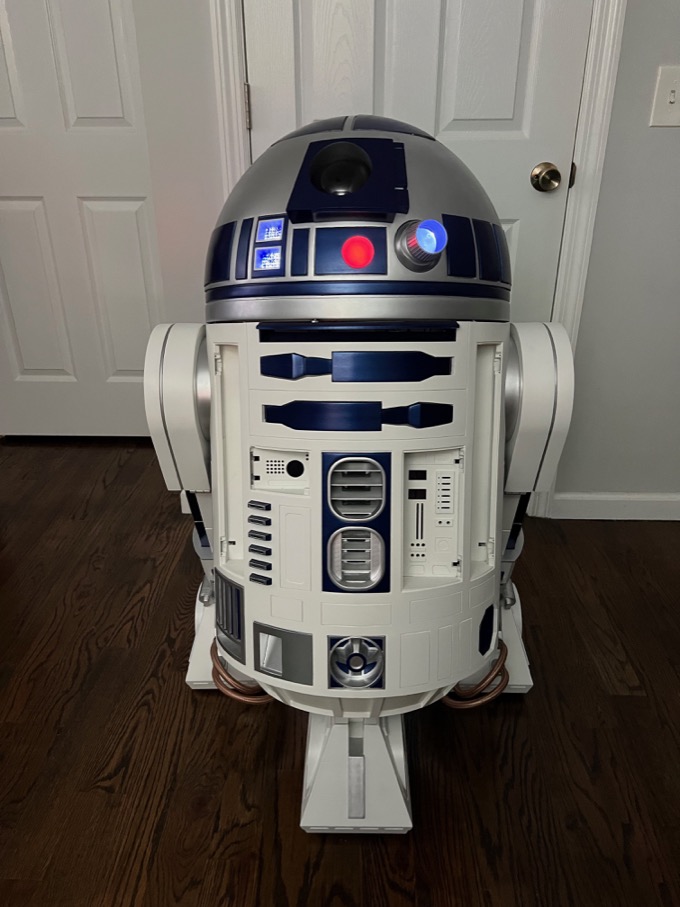
After 13 months of work, R2 is finally on his feet! I am absolutely thrilled with the results. Every time I walk in the room and look at him, I think to myself, "I can't believe I built that!"
I just need to finish the doors and then I can start to work on the electronics and the gripper and interface arms.
See this project from start to finish:
3D-Printed R2-D2 - Part I - Dome 3D-Printed R2-D2 - Part II - Body 3D-Printed R2-D2 - Part III - Skirt 3D-Printed R2-D2 - Part IV - Body Assembly 3D-Printed R2-D2 - Part V - Body and Dome Finishing 3D-Printed R2-D2 - Part VI - Body and Dome Greeblies 3D-Printed R2-D2 - Part VII - Final Dome Assembly 3D-Printed R2-D2 - Part VIII - Legs and Feet 3D-Printed R2-D2 - Part IX - Foot Drives 3D-Printed R2-D2 - Part X - Center Foot, Ankles, and Battery Boxes 3D-Printed R2-D2 - Part XI - Legs 3D-Printed R2-D2 - Part XII - Foot Shells and Final Assembly
3D-Printed R2-D2 - Part XIII - Doors and Charging Bay Indicator and Data Port Logic Lights 3D-Printed R2-D2 - Part XIV - Interface and Gripper Arms
