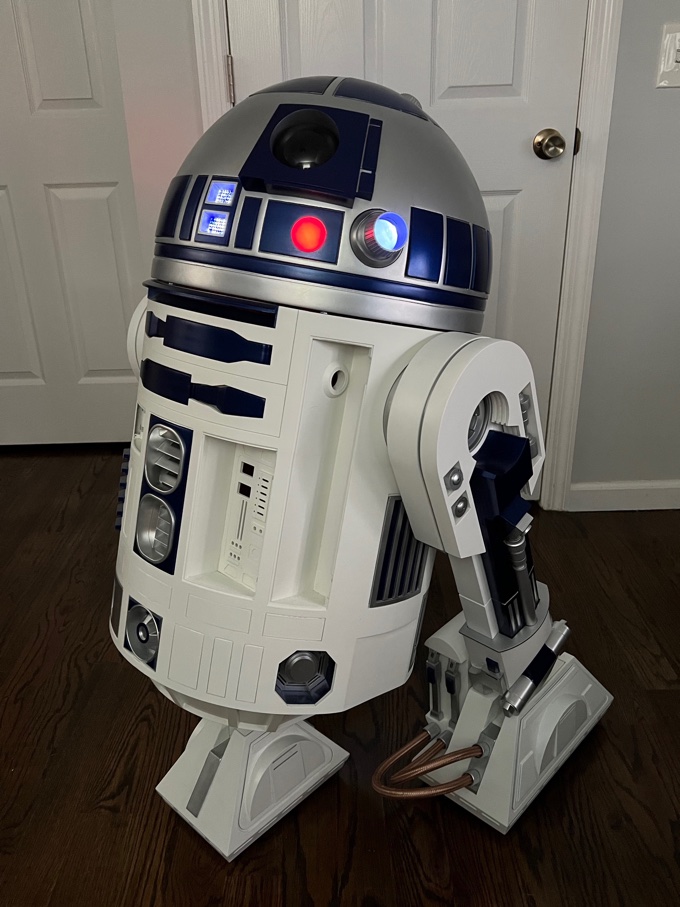
Now that the 3D-printing portion of R2 is pretty much complete, it's time to put on some finishing touches. That means doors and lights!
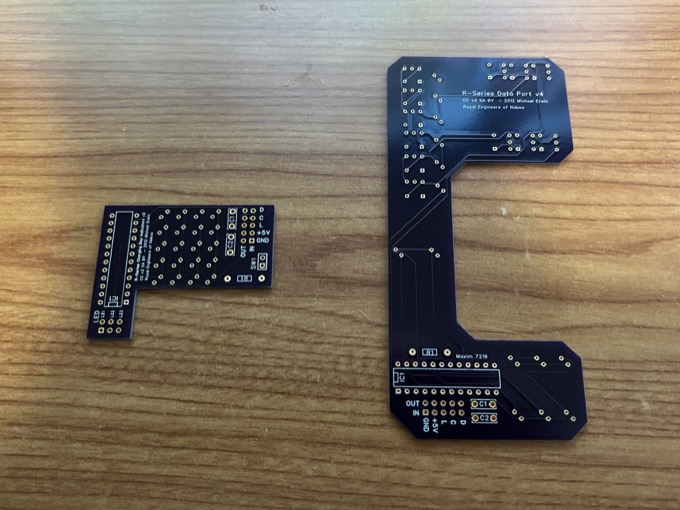
I decided the build the Charging Bay Indicator and Data Port Logic light assemblies myself. Rather than drop over $100 bucks on the kit, I picked up the bare PCBs from OSH Park. I already had 99% of the components. I just needed to buy a few of the LED bar graphs and I was in business. The boards arrived only a few days after I ordered them.
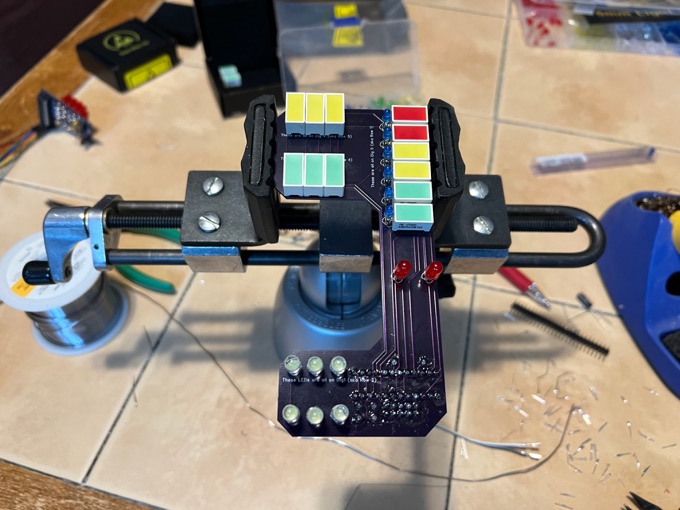
I started with the CBI. For the green, yellow, and red LEDs, I just inserted some LEDs into some 2-pin connectors.

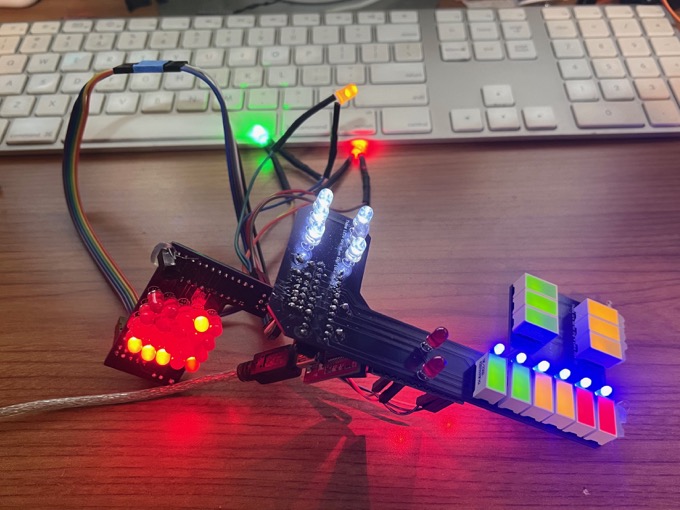
The DPL came together nicely,
I then connected an Arduino Pro Mini to it and uploaded the sketch. Voilà! Very nice.
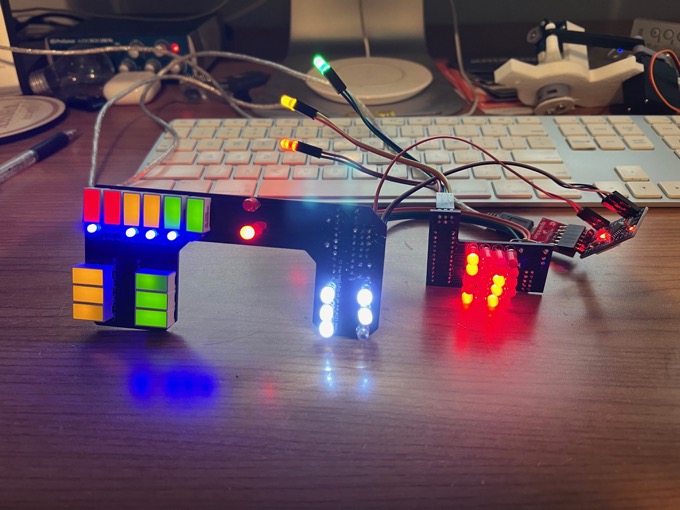
I found the red, yellow, and green LEDs to be obnoxiously bright. I decided to ditch the 2-pin connectors and solder 470 ohm resistors inline and secure them with heatshrink tubing.
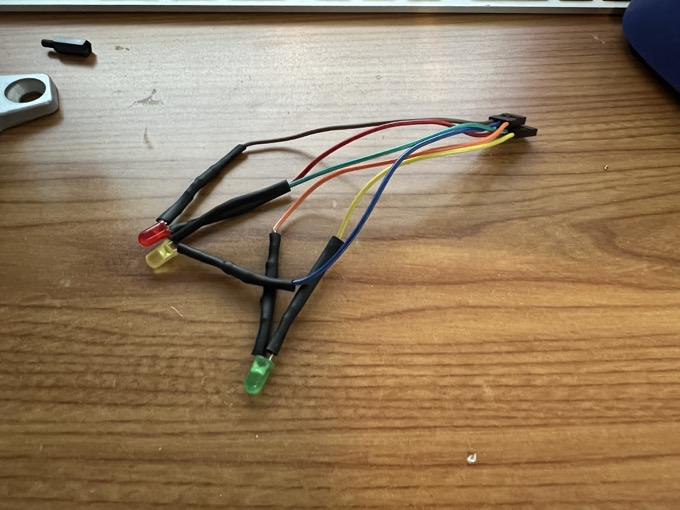
Much better! You can't really tell by looking at the images, but that green LED was almost hard to look at before. I still might even knock it down a tad. It's still pretty bright.
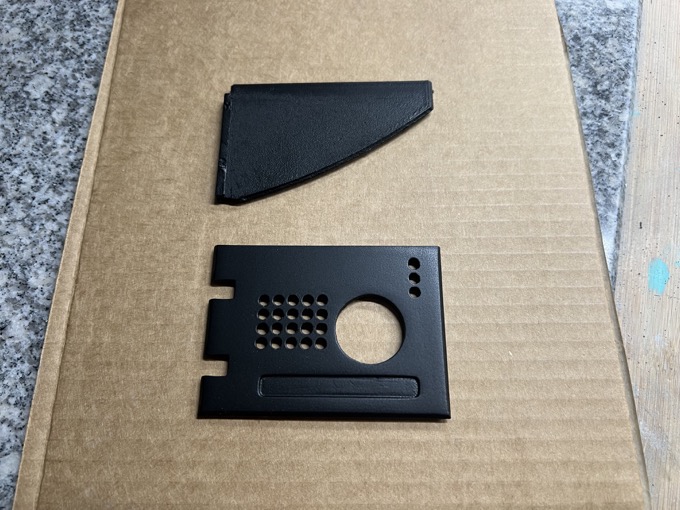
I painted the inside of the charging bay black, as well as the back and top panels. I probably should have done that 9 months ago when I painted the body but I forgot all about it.

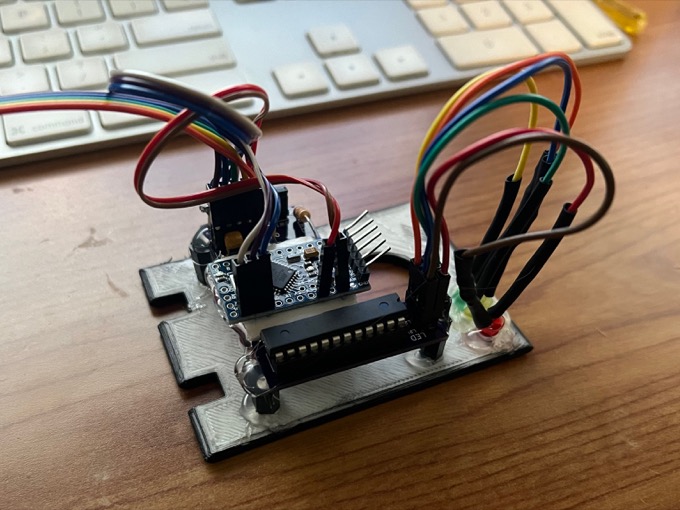
I popped a little 3M sticky pad on the back of the CBI and connected the Arduino. I then hot glued the whole thing to the panel on top of some plastic standoffs.
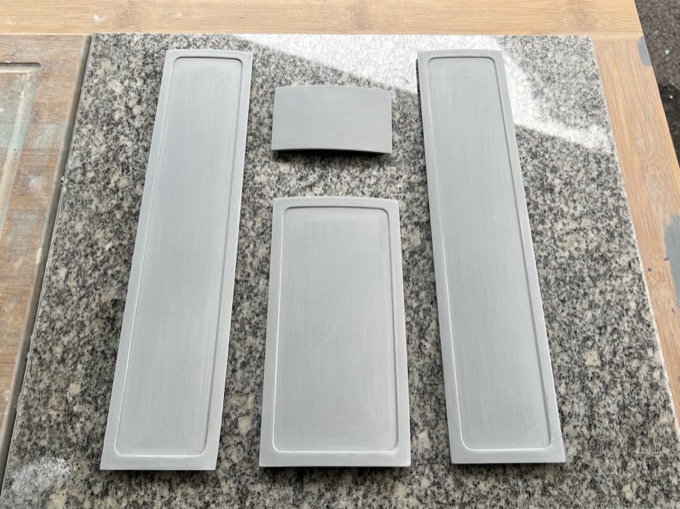
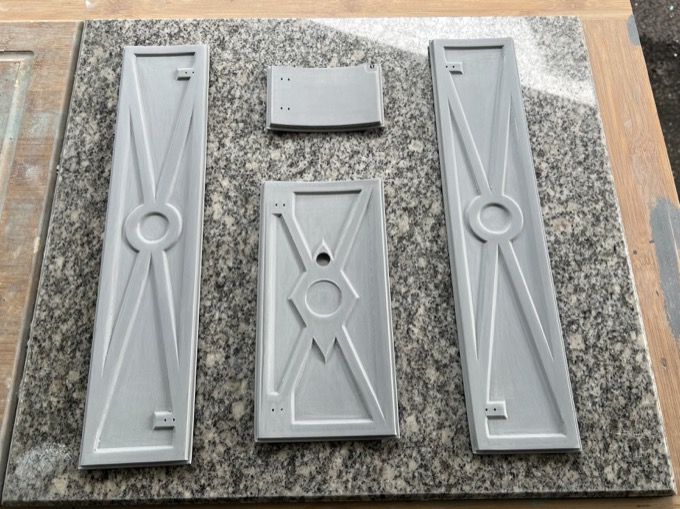
I had such a hard time printing the doors. That's why I pretty much left them until last. They just kept warping off the bed. I managed to get a set to print that weren't half bad. They lifted ever so slightly at the corners. I don't think you'd notice unless I told you. They'll have to do for now. I just want to see R2 with doors on. If I'm not 100% happy with the results, I can always make upgrades later.
I started with a good sanding and a few coats or primer.
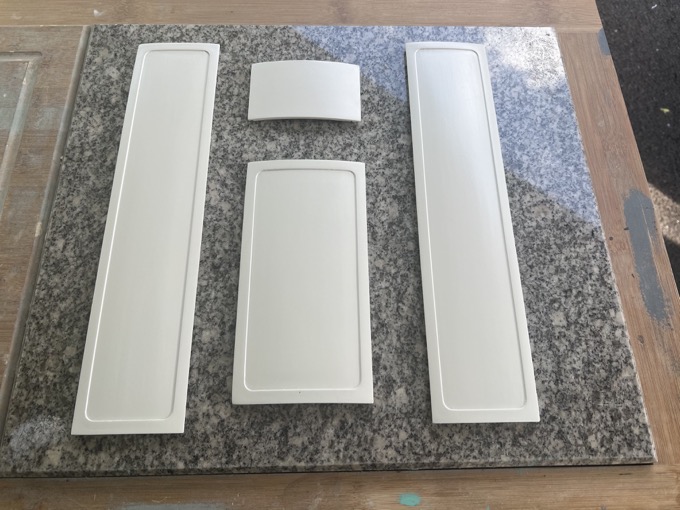
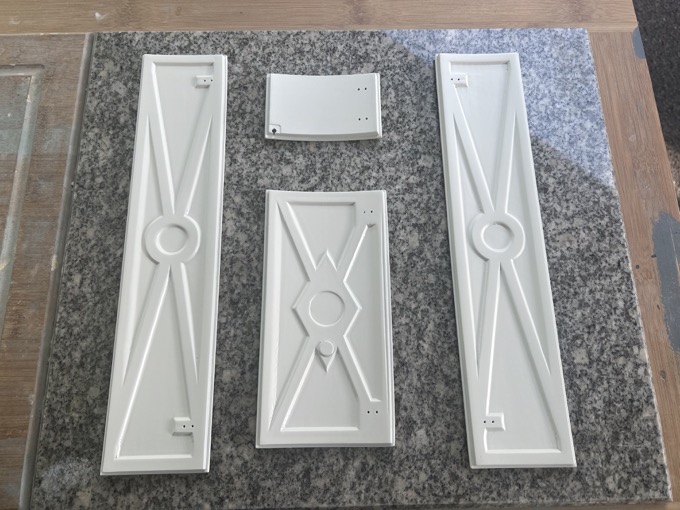
I then painted them white.
I glued a magnet into the hole in the middle door there. That's so a magnetic restraining bolt can be attached to the door later.
I then installed the doors and the lights. They came out amazing.
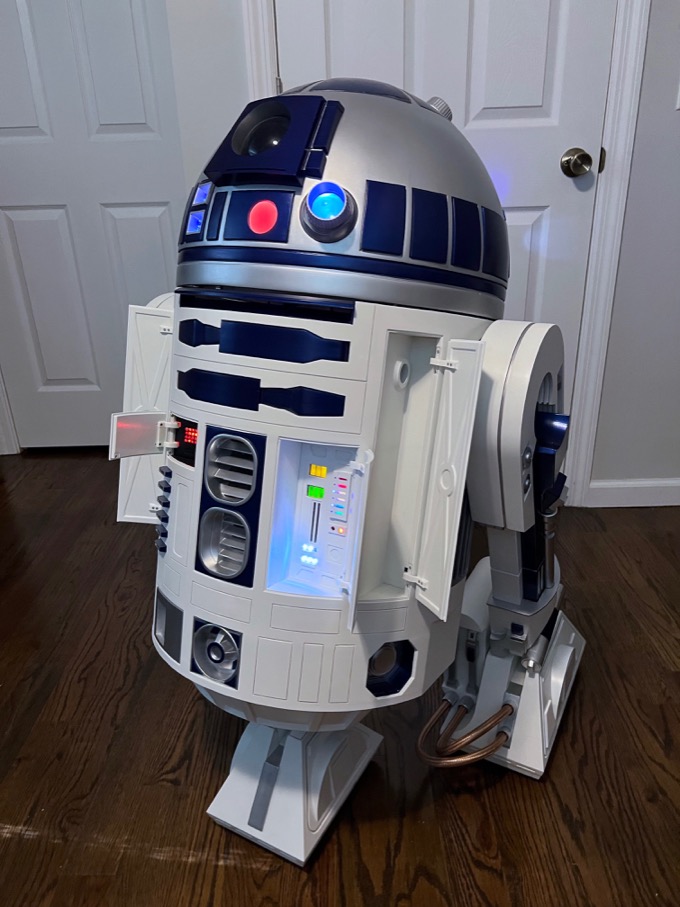
The doors do not open and close perfectly just yet. I will have to go back and do a little sanding here and there on the hinges to iron out the kinks. For now I'm pretty happy that they're installed.
See this project from start to finish:
3D-Printed R2-D2 - Part I - Dome 3D-Printed R2-D2 - Part II - Body 3D-Printed R2-D2 - Part III - Skirt 3D-Printed R2-D2 - Part IV - Body Assembly 3D-Printed R2-D2 - Part V - Body and Dome Finishing 3D-Printed R2-D2 - Part VI - Body and Dome Greeblies 3D-Printed R2-D2 - Part VII - Final Dome Assembly 3D-Printed R2-D2 - Part VIII - Legs and Feet 3D-Printed R2-D2 - Part IX - Foot Drives 3D-Printed R2-D2 - Part X - Center Foot, Ankles, and Battery Boxes 3D-Printed R2-D2 - Part XI - Legs 3D-Printed R2-D2 - Part XII - Foot Shells and Final Assembly 3D-Printed R2-D2 - Part XIII - Doors and Charging Bay Indicator and Data Port Logic Lights
3D-Printed R2-D2 - Part XIV - Interface and Gripper Arms
