I admit it: I'm a total geek. I love electronics, programming, 3D printing, 3D art, and vintage Apple hardware. I'm always juggling half a dozen projects. I also enjoy documenting it all: my successes, my failures, my experiences... and everything geeky along the way.

Temperature Shield for BBA3, Part I | Kevin Rye.net - Main

Kevin Rye

Geek Extraordinaire. Yeh, I said it.

Temperature Shield for BBA3, Part I

With version 3 of my Bare Bones Arduino boards off being fabbed, as well as the laser-cut acrylic, it was time to go ahead a design my first shield.

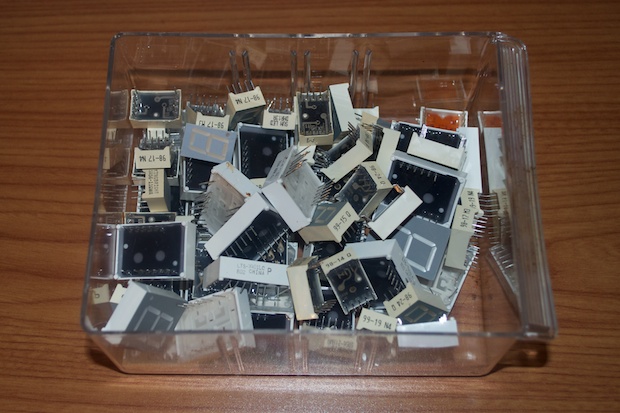
I have a ton of 7-segment displays that I’ve sourced over the years from various tear-downs of stuff from the garbage. I’ve been meaning to make something with them for years.

7segsbucket_0011

I have a DS18B20 temperature sensor that I’ve been meaning to make use of too. It almost made it into my GPS clock, but I ended up just using the temperature from the DS3231 RTC chip.

I figured it would be cool to just make something simple with it. I decided that I could easily make a shield for the BBA3 with 2 x 7-segment displays and I could pop it on my desk as a cheap little digital thermometer. It’s a one-trick pony, but at least I get to use up a few of those displays. Not to mention, the PCBs will only cost $3.70 a piece.

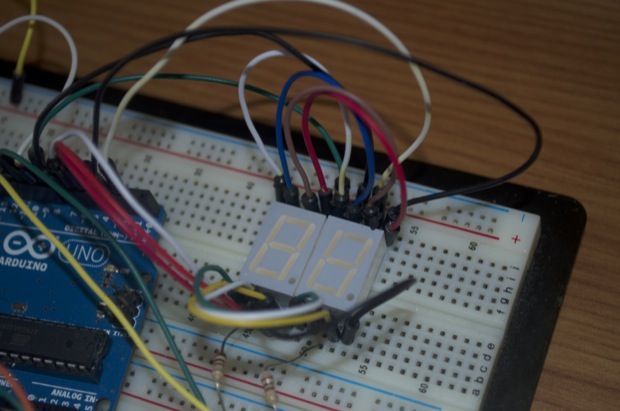
I got to work on a prototype. I connected a few 7-segment displays together and wired them to my Arduino.

BBA3temp_proto1

I though it was pretty easy to multiplex a few displays with the ATmega328 after building the Mini 7-Segment Clock, but I found an even easier way to do it. It was then just a matter of dropping in the code for the DS18B20 temperature sensor.

#include <OneWire.h> 

int DS18S20_Pin = 9;
OneWire ds(DS18S20_Pin);

byte digit0 = 10;
byte digit1 = 11;

int xyz = 0;
float temperature;
int nnn;
int fTemp;

byte sevenSegmentPins[] = {2,3,4,5,6,7,8};
byte sevenSegment[10][7] =
{
  //a b c d e f g
  { 0,0,0,0,0,0,1 },  // 0
  { 1,0,0,1,1,1,1 },  // 1
  { 0,0,1,0,0,1,0 },  // 2
  { 0,0,0,0,1,1,0 },  // 3
  { 1,0,0,1,1,0,0 },  // 4
  { 0,1,0,0,1,0,0 },  // 5
  { 0,1,0,0,0,0,0 },  // 6
  { 0,0,0,1,1,1,1 },  // 7
  { 0,0,0,0,0,0,0 },  // 8
  { 0,0,0,1,1,0,0 }   // 9
};

void setup() {
   pinMode(digit0, OUTPUT); //pin 10
   pinMode(digit1, OUTPUT); //pin 11

  for(int i=0; i<7; i++) {
    pinMode(sevenSegmentPins[i], OUTPUT);
  }
  digitalWrite(digit0, HIGH);
  digitalWrite(digit1, HIGH);
  
  temperature = getTemp();
    fTemp = (temperature * 1.8) + 32.0; // Convert Celcius to Fahrenheit
   nnn = fTemp*100;
}

void segmentWrite(byte digit) {
  byte pin = 2;
  for (byte i=0; i<7; ++i)   {
    digitalWrite(pin, sevenSegment[digit][i]);
      ++pin;
  }
}

void loop() {
  xyz++;
  if (xyz == 1000) {
    xyz = 0;
   temperature = getTemp();
   int fTemp = (temperature * 1.8) + 32.0; // Convert Celcius to Fahrenheit
  Serial.println(fTemp);
}
   showNum(nnn);
}

void showNum(int n) {
  //display digit 0
  int n1 = (n%10000)/1000;

  //digit 1
  int n2 = (n%1000)/100;
  
  digitalWrite(digit0, LOW);   //enable digit0
  segmentWrite(n2);             //send number to the segments
  delay(10);                  // delay
  digitalWrite(digit0, HIGH);  //disable digit0
  digitalWrite(digit1, LOW);   //enable digit1
  segmentWrite(n1);             //send number to the segments
  delay(10);                  // delay
  digitalWrite(digit1, HIGH);  //disable digit1
}
    
float getTemp(){
  //returns the temperature from one DS18S20 in DEG Celsius

  byte data[12];
  byte addr[8];

  if ( !ds.search(addr)) {
    //no more sensors on chain, reset search
    ds.reset_search();
    return -1000;
  }

  if ( OneWire::crc8( addr, 7) != addr[7]) {
    Serial.println("CRC is not valid!");
    return -1000;
  }

  if ( addr[0] != 0x10 && addr[0] != 0x28) {
    Serial.print("Device is not recognized");
    return -1000;
  }

  ds.reset();
  ds.select(addr);
  ds.write(0x44,1); // start conversion, with parasite power on at the end

  byte present = ds.reset();
  ds.select(addr);  
  ds.write(0xBE); // Read Scratchpad

  for (int i = 0; i < 9; i++) { // we need 9 bytes
    data[i] = ds.read();
  }

  ds.reset_search();

  byte MSB = data[1];
  byte LSB = data[0];

  float tempRead = ((MSB << 8) | LSB); //using two's compliment
  float TemperatureSum = tempRead / 16;

  return TemperatureSum;
}
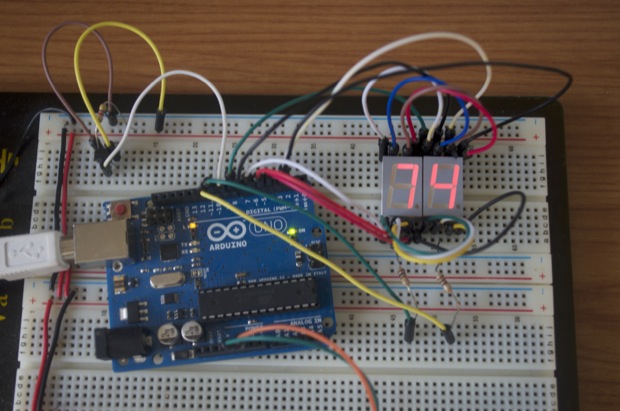
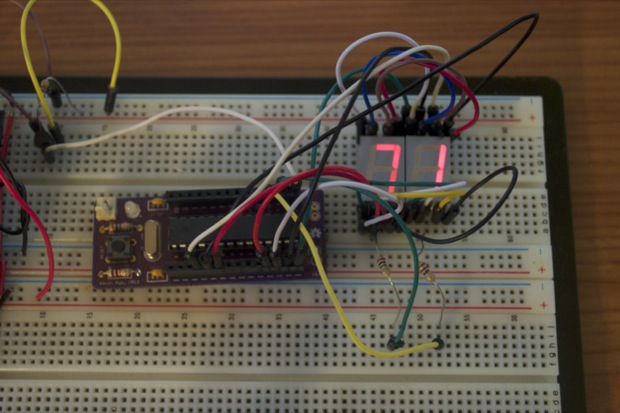
Here it is in action. I agree that it’s not exactly ground-breaking stuff, but it works!

BBA3temp_proto2

I then tried it on my Bare Bones Arduino. Runs like a top on 2 x AA batteries. However, it’s pulling 150 mA. At that rate, the batteries won’t last 24 hours. Maybe I can shut down some stuff on the ATmega to save some power. I’ll probably run it with an adapter anyway.

temponBBA2_0006

Seeing that the prototype was good-to-go, it was time to design the shield PCB.

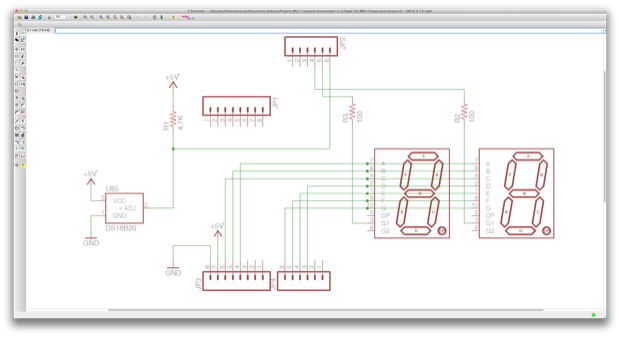
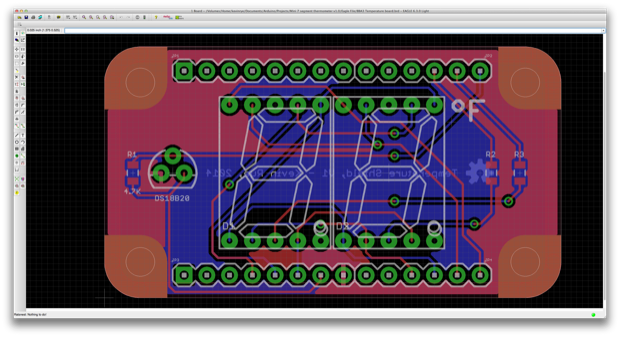
I took the BBA3 schematic and stripped everything out, just leaving the headers. I then popped in 2 x 7-segment displays and the DS18B20 temperature sensor.

screen-shot-2014-01-02-at-3.51.25-pm

Now you see why I made the BBA3 footprint as wide as I did. If I kept it as thin as versions 1 and 2, I would have not been able to fit the 7-segment displays between the headers.

screen-shot-2014-01-02-at-3.51.16-pm

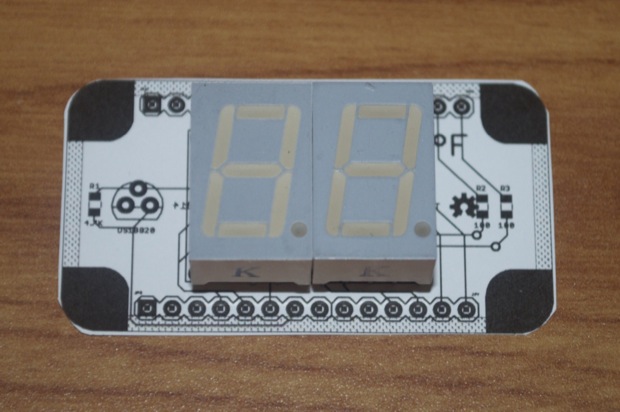
I then printed it out just to make sure that SparkFun’s 7-segment footprint matched my parts. SparkFun has made mistakes in the past, so I don’t take any chances.

BBA3temp_footprint_0002

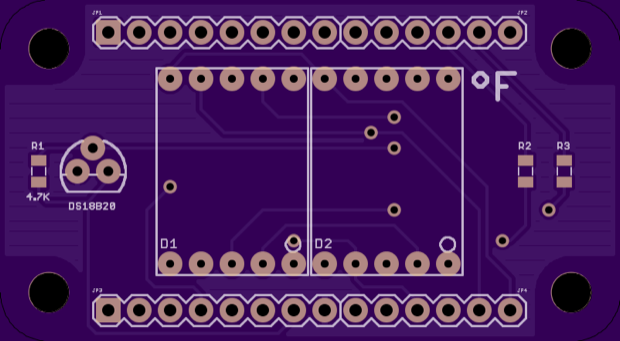
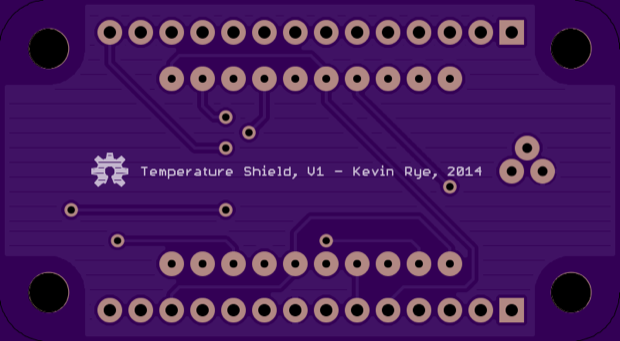
With that validated, it was time to uploaded my PCBs to OSH Park. Here’s the render:

temp-shield-oshpark-render-front

temp-shield-oshpark-render-back

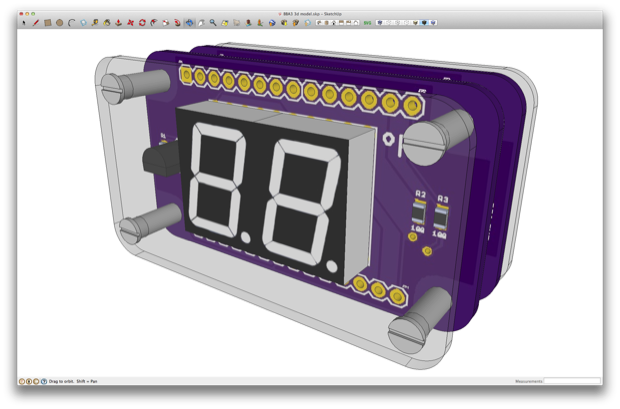
Just like the BBA3 PCBs, it was $11.10 for 3 boards. With the BBA3, the Temperature Shield and the acrylic, it should cost me less than $10 bucks to assemble a complete unit. (Not counting the ATmega.) It should look a little something like this:

Screen Shot 2014-01-03 at 3.21.08 PM

Pretty cool. I can’t wait to build one!

See this project from start to finish:
Temperature Shield for BBA3, Part I
Temperature Shield for BBA3, Part II