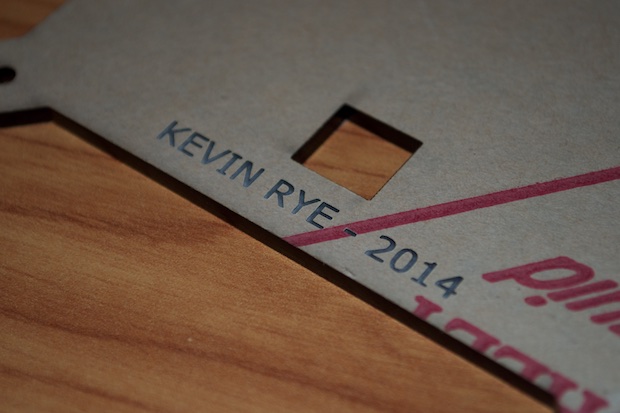
Pinoco was hit with the holiday rush, so it took a few extra weeks to get my new batch of laser cut acrylic. I nailed it this time. Right away I could tell the engraving was perfect.
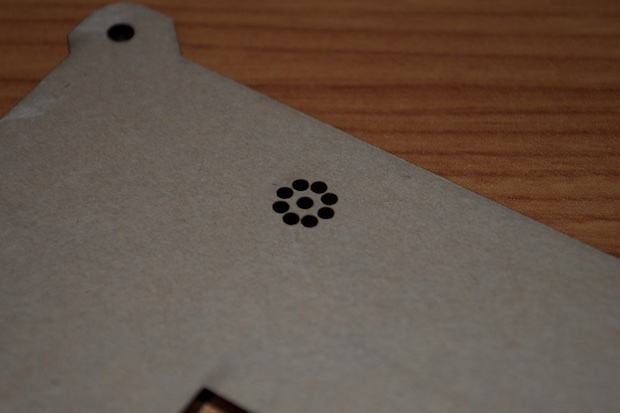
I even spaced out the holes for the speaker just a hair. The holes on the last one were so close together, that they weren't separated by more than a hair of plastic.
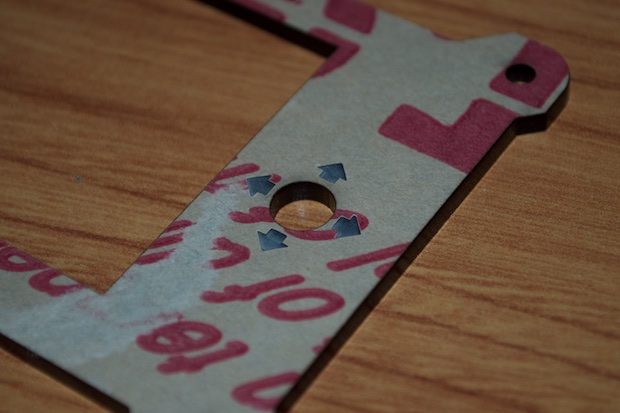
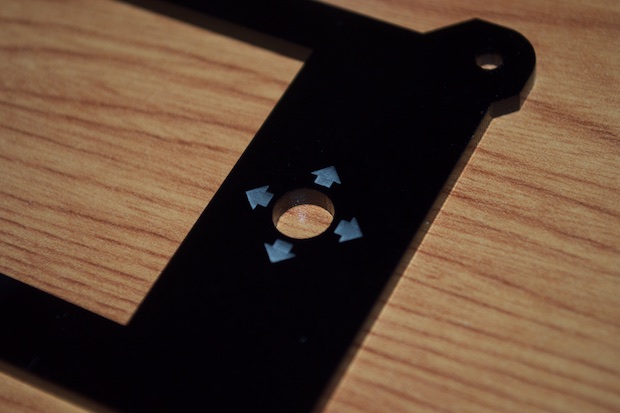
The arrows came out great too. I contemplated spray painting them with some white paint like I did on the enclosure for my 7490 clock, but I figured it was good enough.
Time for the moment of true. I peeled off the protective paper to check it out. It looks great!
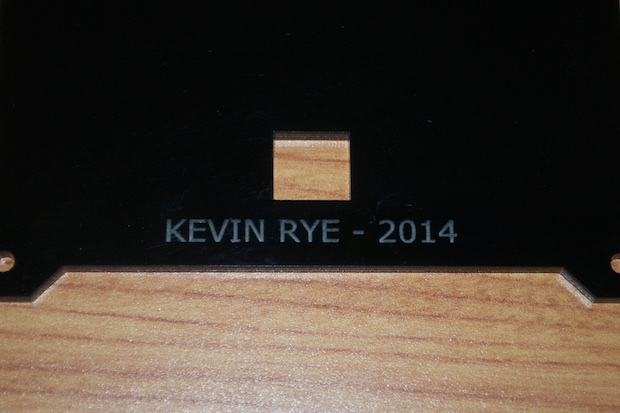
The etching on the arrows has enough contrast from the shiny black to make them nice and visible. Filling them with white paint would have been overkill. Besides, being the 2nd spin on this, I didn't want to take my chances ruining it!
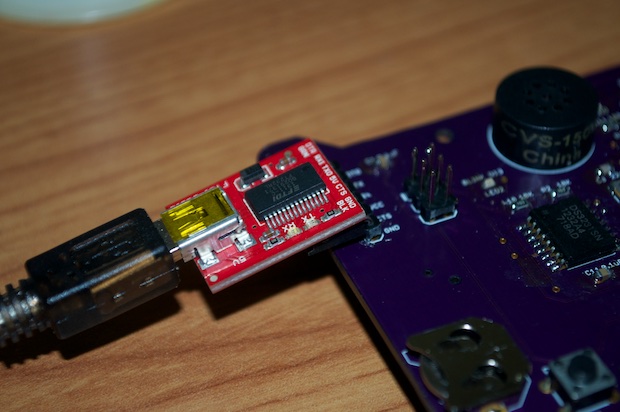
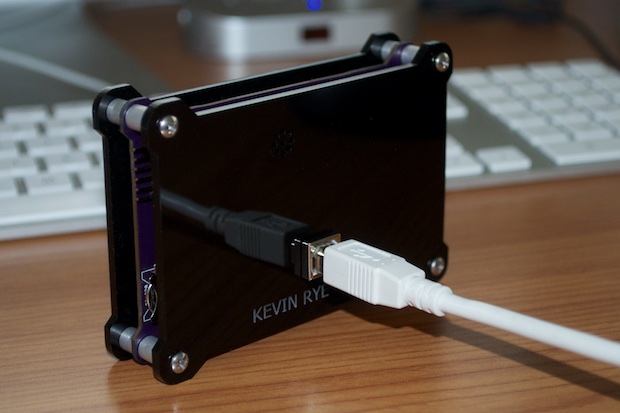
I still had some code tweaking to do, but I really wanted to button this up. The mounted the 6=pin FTDI header vertically. That makes it impossible to screw the back on and retain access to the programming header. In order to get around this, I unsoldered the old header and replaced it with a right angle one. The pins don't; even stick out past the enclosure. So I can load software in the future without having to take the whole thing apart.
I screwed the front panel on. It fits perfectly.
Same as the back. It's perfect.
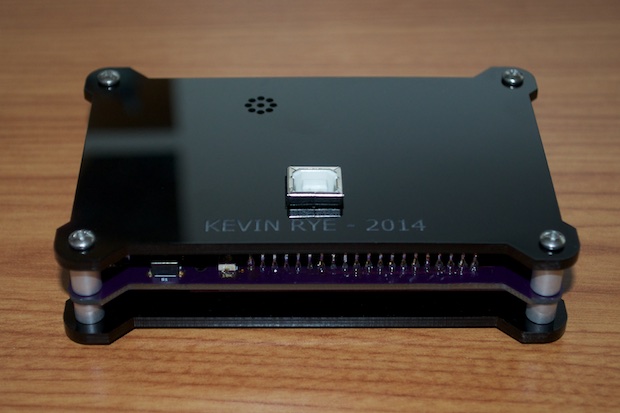
The one problem with black acrylic is that it shows all the dust and finger prints. I don't think it'll look this clean and shiny for long.
I made my final changes to the code and uploaded it. Here are the final results.
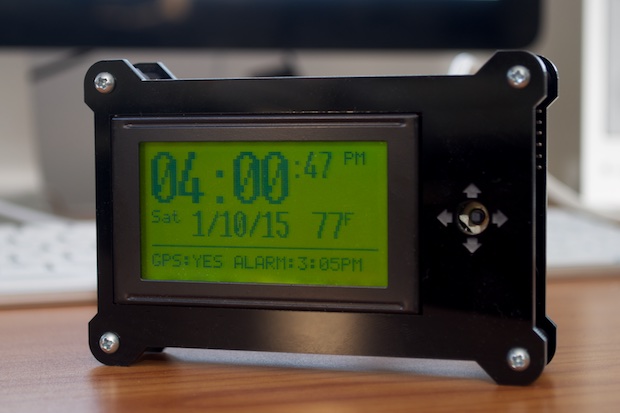
Pressing the center button on the 5-way switch brings up the main menu.

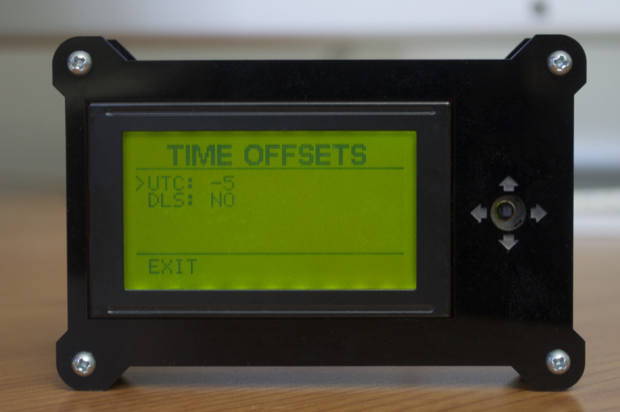
Using the up and down buttons, a sub-menu can be selected. Entering the Time Offset Menu allows you to set your time zone and adjust for daylight savings.
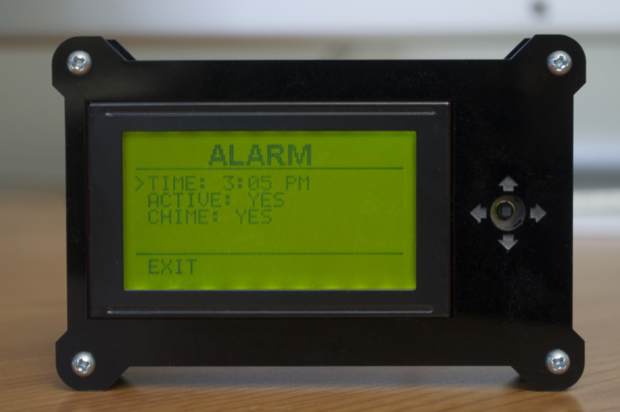
Selecting the Alarm Menu allows you set an alarm time (that is subsequently displayed on the main screen), as well as toggle the alarm and the chime-on-the-hour features on and off.
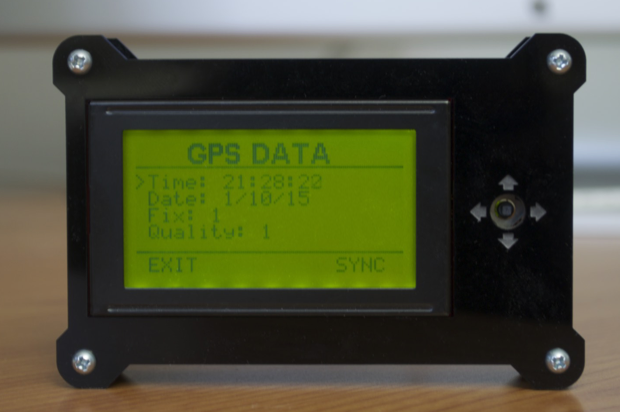
Selecting the GPS Menu shows all the data streaming in from the GPS module. Scrolling down shows you the longitude, latitude, and satellites. You can also force a manual sync by scrolling down until the cursor is at "SYNC". Once the center button is pressed, "DONE" appears on the bottom as a confirmation.
Selecting the Save Settings Menu gives you the option to save all your settings into the EEPROM. They are read back in at power-up. A confirmation is displayed when complete. Selecting Restore Defaults does just that. It restores all the settings back to the default configuration. Again, a confirmation screen is displayed when complete.

I've been working on this clock for a long time, and a lot of effort has been put into it. I've learned so much from this project. I do have to admit some parts of the code aren't as elegant as they should be. My sketch only uses up 40K. With 256K of code space, I wasn't too concerned with code optimization. I'll be the first one to tell you that some parts are just plain out redundant and convoluted. Rather than pursuing the ultimate in code elegance, I opted to just get it done. After all, the end user doesn't care how poetic your code is. They just want to know that when you push a button, it does what it's supposed to. Me being the user, I'd have to agree.
With the code complete, I'll let it sit for a day or two and make sure it syncs at midnight and that the day and date roll over correctly. If all the syncing does what it's supposed to, them I'm finished! (With the code at least.) As far as a joystick for the 5-way switch, no one seems to make one for it. I'm going to have to try my hand at designing something myself and getting it 3D printed.
See this project from start to finish: GPS Clock Prototyping, Part I GPS Clock Prototyping, Part II Arduino Mega 2560 GPS Clock Prototyping, Part III GPS Clock Prototyping, Part IV GPS Clock Prototyping, Part V GPS Clock Assembly, Part I GPS Clock Assembly, Part II GPS Clock Assembly, Part III
GPS Clock Assembly, Part IV GPS Clock Rework - Ditching the Joystick, Part I GPS Clock Rework - Ditching the Joystick, Part II GPS Clock Rework - Ditching the Joystick, Part III
