I admit it: I'm a total geek. I love electronics, programming, 3D printing, 3D art, and vintage Apple hardware. I'm always juggling half a dozen projects. I also enjoy documenting it all: my successes, my failures, my experiences... and everything geeky along the way.
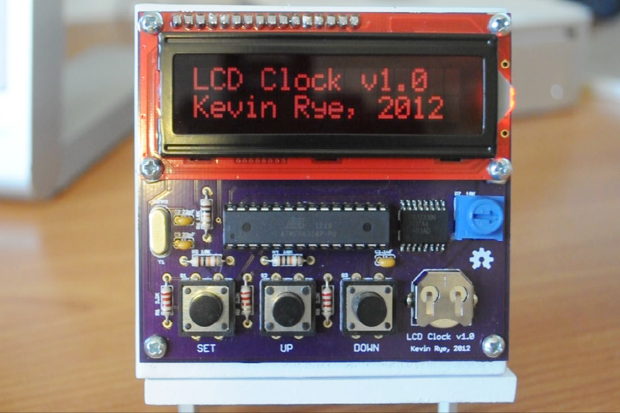
Was I happy with the GUI for my 16x2 LCD Digital Clock? Sure. I did what it needed to do. It displays the time and date. It displays the time in 24-hour mode. Why? Because it was easy. The DS3231 RTC chip spits the time out in 24-hour format. I was easy to pull the time from the DS3231 and just display it as-is on the LCD. If I wanted to display the time in 12-hour format, I’d have to massage the numbers a bit.
I also wanted a better way to set the clock. As of now, to set the clock, you press the “SET” button to enter “set mode”. Each field that is settable will then flash with each subsequent press of the “SET” button. You basically step-through each field and press the “UP” or “DOWN” buttons to set them accordingly. To get out of “set mode”, you had to keep your finger on the SET button and time it just right to get out of “set mode”. It was cumbersome, but it worked.
I thought that a better way to do it would be to have an actual menu system that displays exactly what field you’re setting. Then you can press the UP and DOWN buttons to set the field you’ve chosen. I also wanted to make the clock display in 12-hour mode.
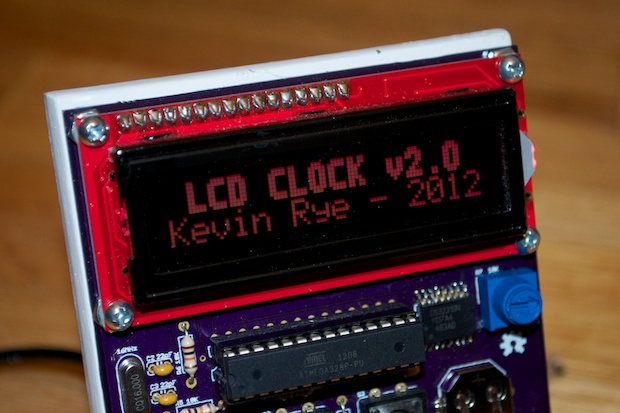
While I was at it, I happened upon this site that generates the code to display your own custom characters.
Instead of my boring old text-based splash screen…
...I could now draw up some custom characters:
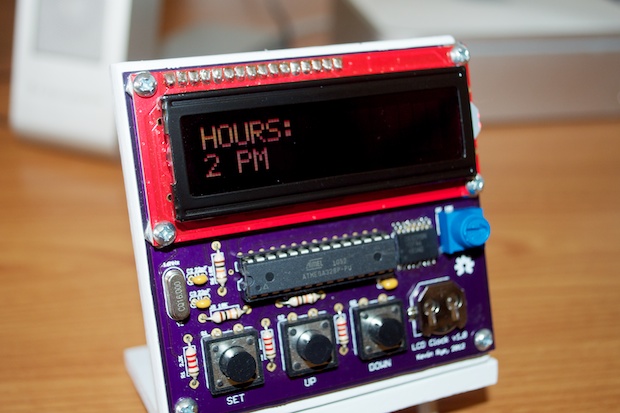
On with the clock:
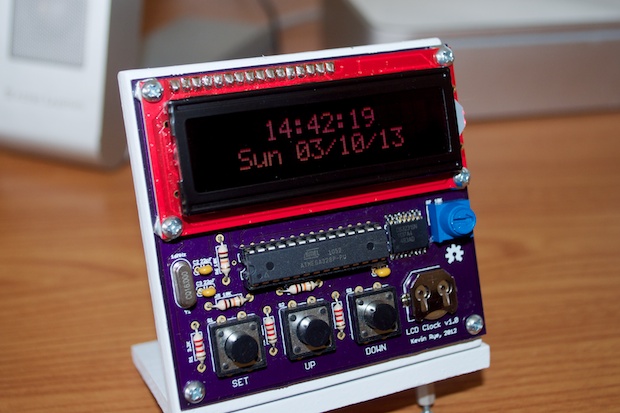
Pressing the “UP” button toggles the clock between 12 and 24-hour modes. I also figured out how to save that setting to the 328s EEPROM. Whatever mode you select will be permanently saved in memory and will redisplay if you lose power.
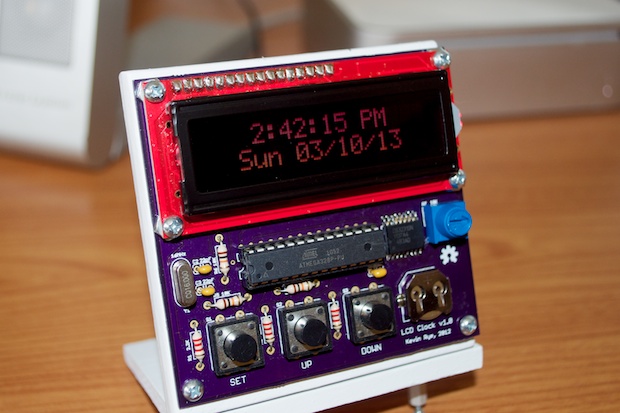
12-hour mode:
24-hour mode:
As far as setting the clock, instead of flashing each field to be set, the clock displays a new screen for each field. You just press “SET” to enter set mode, and “SET” again to step through the various screens.
For each screen, the UP and DOWN buttons will increment or decrement the field. I made the DOWN button, when you’re not in set mode, a quick and easy way to throw the seconds back to zero. I also made the startup splash screen display for a few more seconds than it used to.
Here’s a video to sum it up:
That down-button-zero-the-seconds feature works perfectly in 24-hour mode, but in 12-hour mode it does some funny stuff. I’ll have to look at the code again and see what I did there.